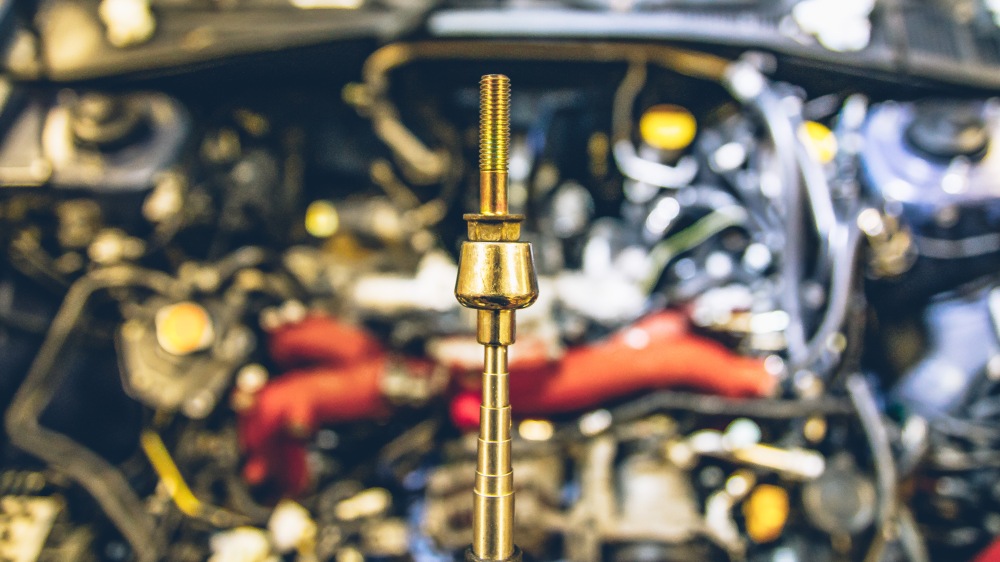
I picked up a pair of used 3mm Grimmspeed Phenolic Spacers from a friend. And since I have a JDM long runner intake I am hoping that these will be easier to install over my USDM 2005 STi intake manifold.
 First things first. I needed to clean off most of the remaining sealant. They didn’t need to be perfect since I planned to use grey sealant instead of gaskets. Most of it just rubbed right off.
Now with those ready to go it’s time to pull the intake manifold. If you’ve never done it before, it’s not hard, but it is slow and time consuming. If you think you will have it off in 15 mins then prepare to have a bad time. While there are only 8-bolts holding it to the heads, there are a pile of wires, hoses and brackets that need to be disconnected. Here is a good reference thread on IWSTI on pulling the manifold.
Also my car is modified so some brackets and hoses have already been removed or relocated.

However I do have a pro-tip. Because of the long runner manifold, the intake is easier to remove but the bolt are harder to grab. So I recommend a good magnetic pick up tool for removal and installation of at least four of the bolts. Particularly the ones on the inside of the runners. Considering how many bolts I find laying on the engine block I would recommend keeping this tool nearby while working on the engine.

I did try to remove the manifold by removing the least amount of parts as possible. Partly out of laziness and mostly out of curiosity.

With the manifold removed it was time to time to check out those big ports I’ve been hearing so much about. Now at first glance I didn’t see what the big deal was about. So I pulled up a pic of my old 2005 STi Ej257 for a comparison. And the differences soon became clear.

The Ej207 (version 8 or version 9) heads clearly have bigger ports than their EJ257 counterparts. Astonishingly so for a 2.0 liter. I’m not entirely sure why Subaru would give the smaller engine the bigger ports other than to support an 8,000-RPM redline. 🙂
At this point it basically clean-up duty. Cleaning up the ports in the manifold and scraping off the old gasket material. Along with rerouting any hoses and wires that I have found offense with.


I also wanted to make sure the phenolic spacers cleared the intake ports without obstruction. No problems here.

After cleaning up the heads/block of debris it was time to reinstall the intake manifold. In retrospect, I realize I only needed to put RTV around the intake ports but I erred on the side of caution. Also it is a good idea to zip tie any loose wires and/or hoses out of the way so they don’t get in the way of dropping the manifold back into place.

As far as torque specs go, I am a big fan of the Gutentight technique. Tight is tight. 🙂

I reinstalled the TMIC to see how level my intercooler would be and what tweaks would need to be made to the brackets. Right now it looks ok.

At this point it just the slow process of reinstalling the turbo inlet parts and reconnecting a slew of wiring connectors and hoses. And then double check those connections. I didn’t fully seat a harness near the battery and the car went into test mode and wouldn’t start. Once I reconnected the harness I was able to prime the fuel system it fired right up.
After a week of spring/summer like weather we are back to winter-mode in Knoxville. So I won’t be able to give good feedback on how well they perform until it warms up again. My overall goal is to reduce my underhood/intake temps to as low as possible before I add a short ram style intake to keep my IATs low.
My next engine mod should probably be some sort of catch can or AOS setup. I’m still debating which one I should go with. But a clean and cool intake charge is fundamental to a healthy turbocharged engine. I will probably make another post over the two setups I am thinking about.

