
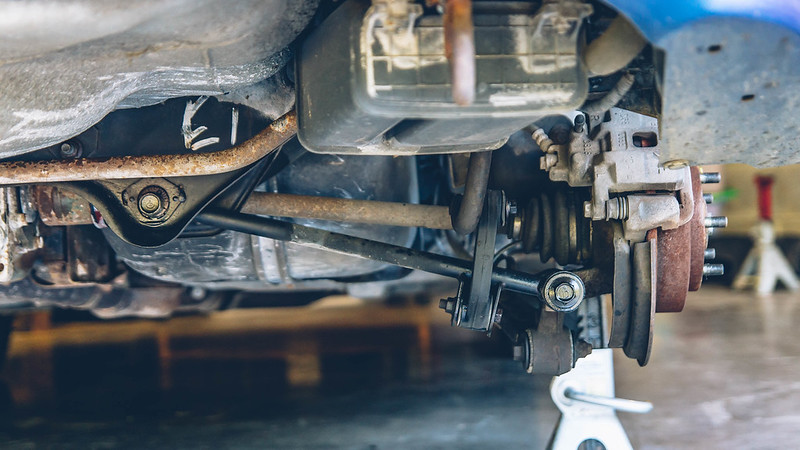
To round out my STi suspension upgrades, I picked up a set of STi rear lateral links. With these you will need an STi rear sway bar and end links. Finding a 20mm rear sway bar proved to be a royal PITA. These seem to be hot sellers.
I eventually found a JDM STi rear sway bar on eBay and bought it as soon as I could. I’m not entirely sure what the benefits of the STi lateral links are other than the additional track width. That should give me a bit more camber.
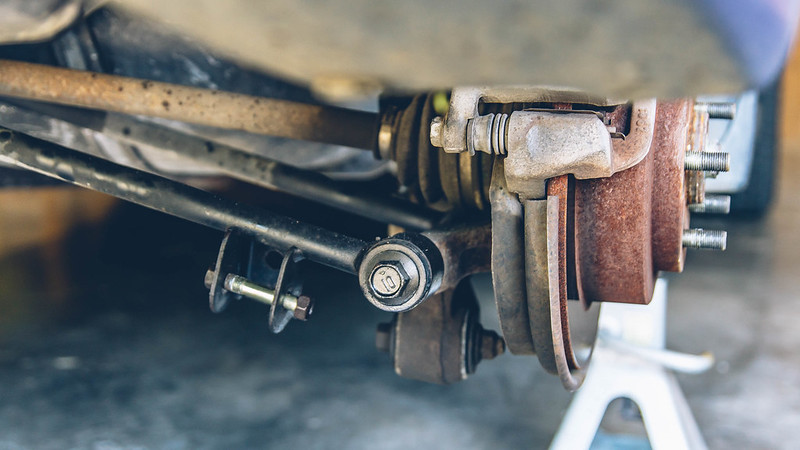
First up is to pop off the rear end links. I believe these are 14mm. Impact and done.
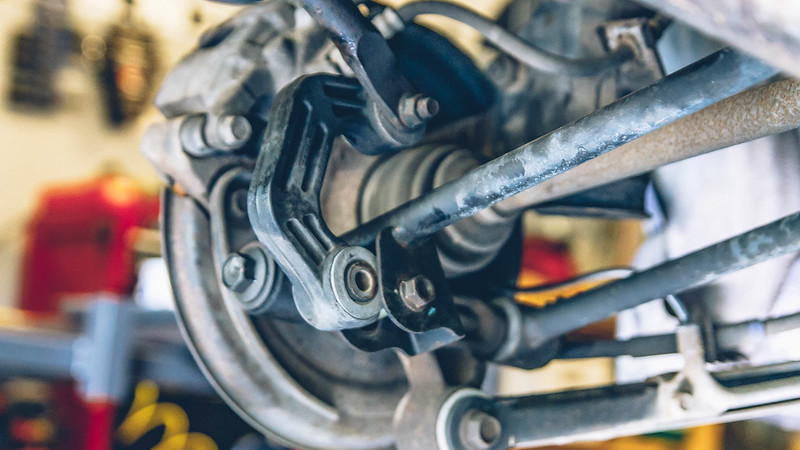
Next I chose to tackle the inner lateral link bolts since I’ve never touched those before. The rear link bolt is easier to break loose once I dropped the axle back down. The eccentric bolt is 22mm and the nut is 17mm. The driver’s side had ribs on the nut that prevented me from using a wrench. I ended up using a pair of channel locks to hold the nut stead

The forward bolt was a bit of a PITA since the axle is in the way. I didn’t want to pop the axle out so I used a smaller breaker along with a large wrench to break these loose. Pushing and pulling simultaneously seemed to work best. IIRC, these are bolt 17mm.
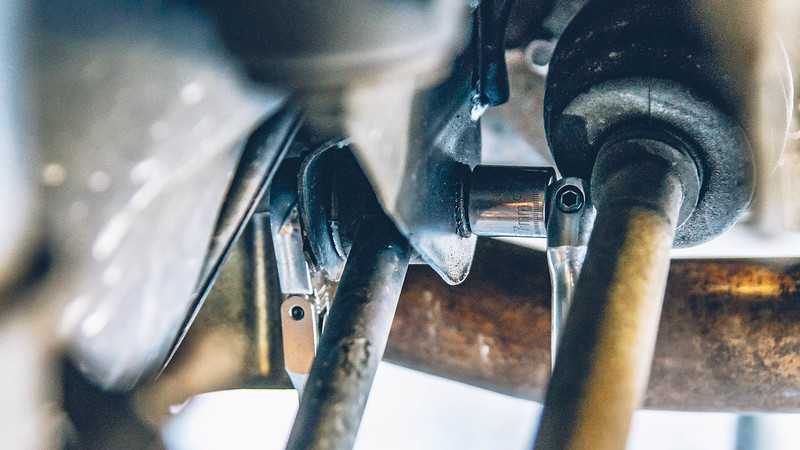
To get the bolt out I had to jack up the suspension high enough, along with pushing the axle inward, so the bolt could be removed.
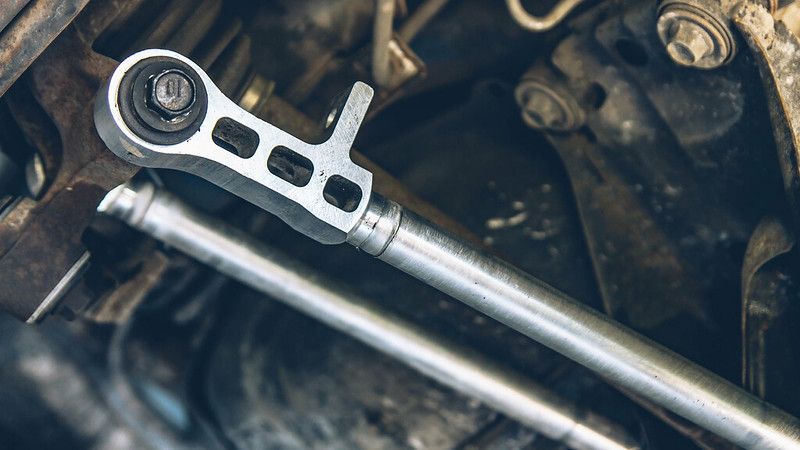
Next is everyone’s favorite, the long lateral link bolt. These have been pretty uneventful for me. I’d had terrible issues with my 2009 WRX rear suspension bolts. I’ve had to use comically long breaker bar extensions that either broke the tool or damaged the bolt. No issues on the lateral link bolt. Break it loose with the breaker and the impact handles the rest.
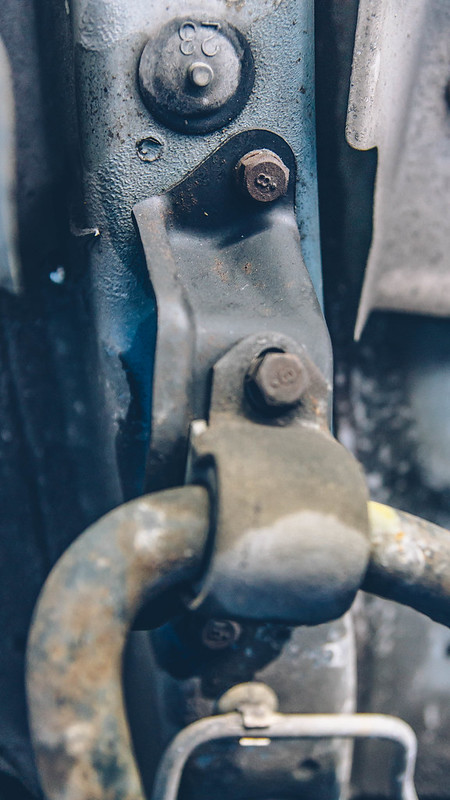
Dropping the swaybar is straightforward, but somehow frustrating. The driver’s side is easy peasy. Two 12mm bolts and it’s done.
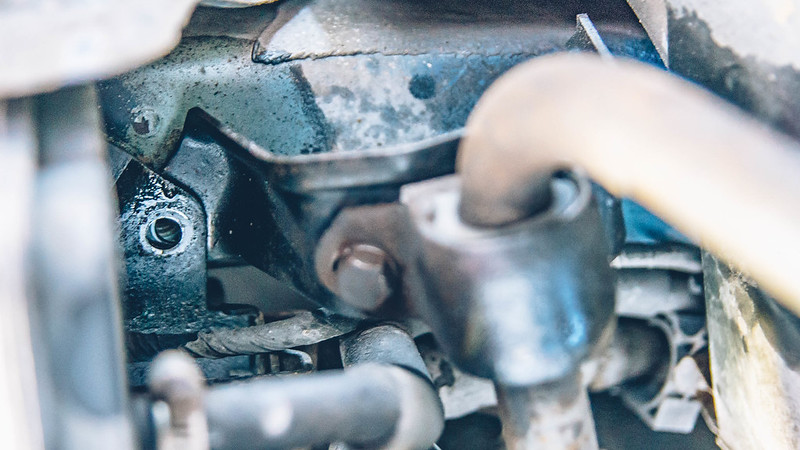
The passenger side is the same deal except you have two obstacles shaded in your way. The charcoal canister and the gas filler tube. They can be snaked around with an extension and shallow socket, however reinstallation in this spot was probably the worst part of this whole install.
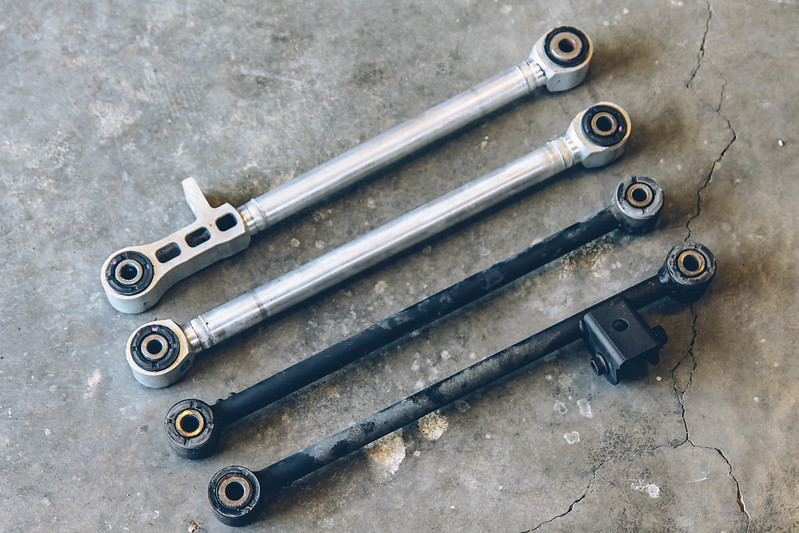
One thing I forgot to do was weigh the lateral links. I was in a bit of a rush and they felt about the same in hand. Maybe the STi links were a little bit lighter. Perhaps a pound or less.
Installation is more or less reverse of removal. For the passenger side sway bar mounting bracket, I would install it separately from the swaybar. I had to flatten part of the bracket to get it to play nice with the charcoal canister bracket. Trying to hold the bracket with swaybar attached and trying to thread in bolts you can barely get your fingers on is an exercise in complete frustration.
Also just a tip, the swaybar endlink tab on the STi lateral link points up instead of down.
And for the toe setting I just set it to the middle setting on both sides. I will be getting an alignment later on.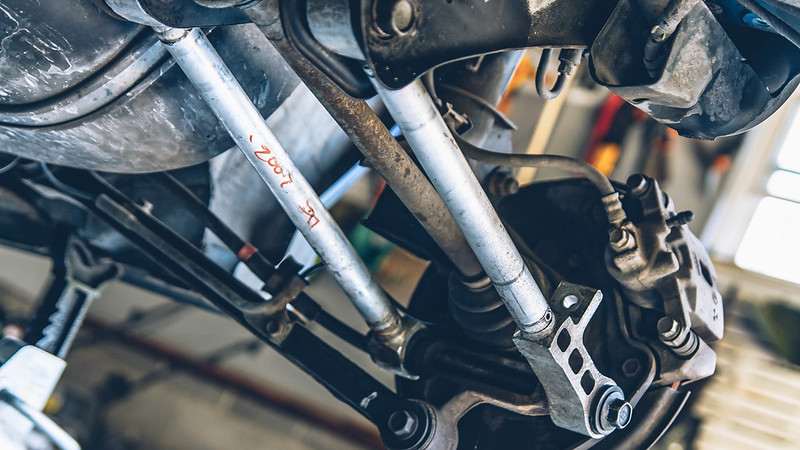
Endlinks are attached and the only thing left to do is double check that all bolts are torqued down to at least Gutentight specs. If you don’t have your gutentight hands yet, it’s best to use the FSM specs. Inner lateral links are 74 ft-lbs and the outers are 100 ft-lbs.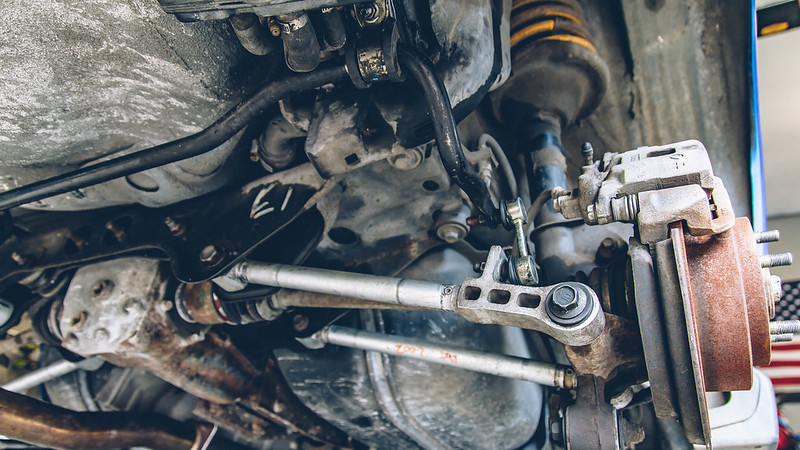
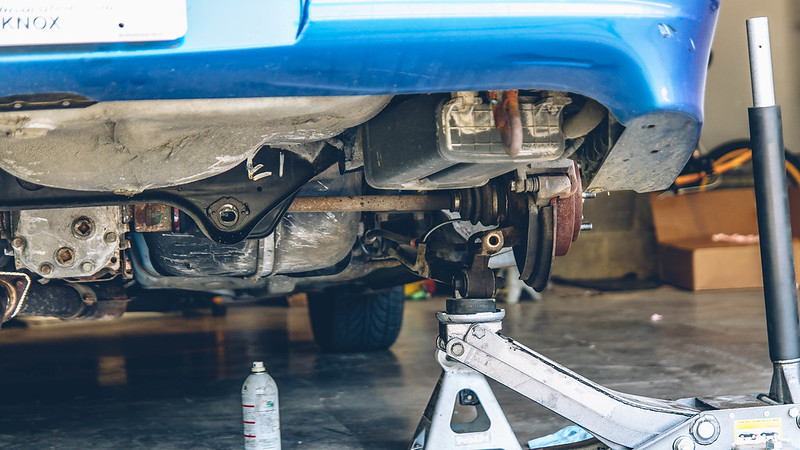
To be honest I am a little surprised that I have a full STi suspension already. I figured gathering all of these parts was going to take a lot longer than I expected, then everything just came together all at once. 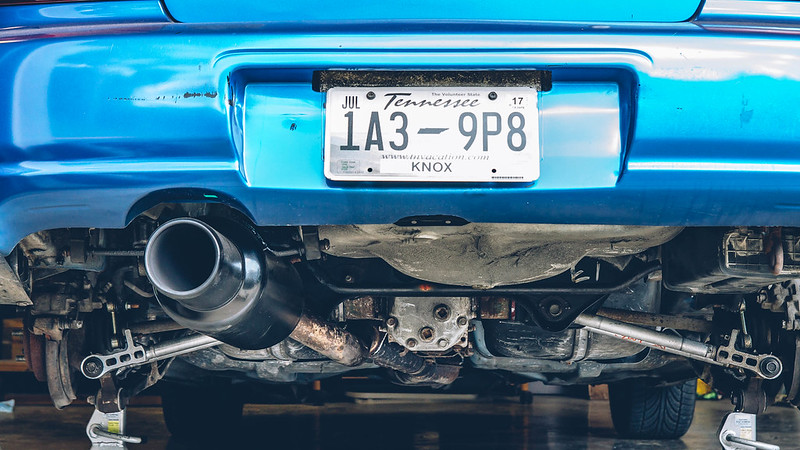
Initial impressions? Not a huge difference so far. The rear just feels a little bit tighter. I need to go back to the Skyway/Dragon to see how the car performs.
Next up? Probably LGT rear brakes.
