I decided to make my own transmission mount since it is cheaper than buying aftermarket transmission mount and I can choose the durometer of the urethane. I am currently running a Torque Solutions transmission mount and one of the studs is loose and won’t fully tighten. Other than the loose stud, the mount is obnoxious on deceleration. Maybe I am finally getting too old (almost 40) but it has grown tiresome.
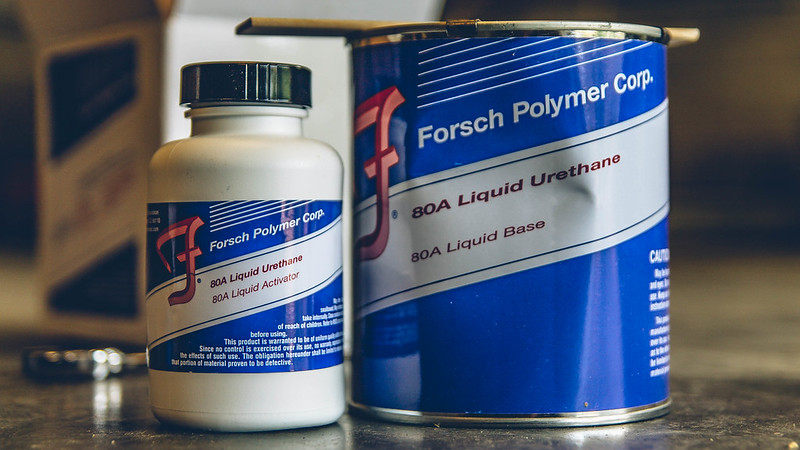
I have made transmission mounts before using windshield sealant and liquid urethane. The windshield sealant degrades pretty quickly, but it is easier to use. I wanted something with a bit higher quality so I went with a pound of liquid urethane from energysuspension.com. I choose a durometer of 80A since it is a great compromise between racecar and DD duty.
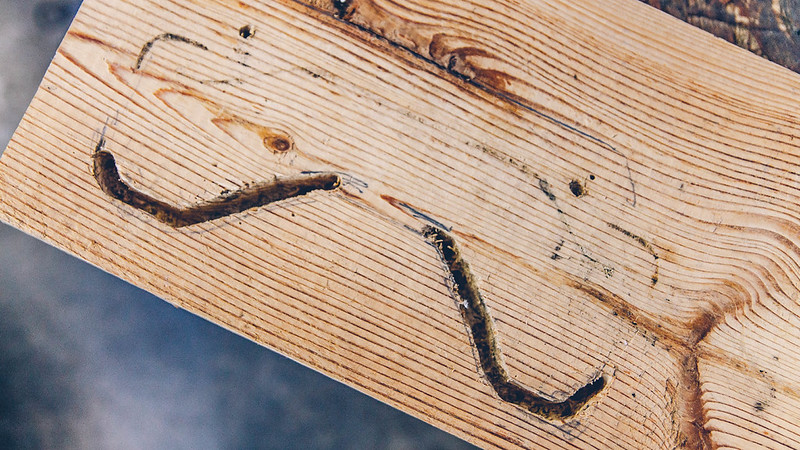
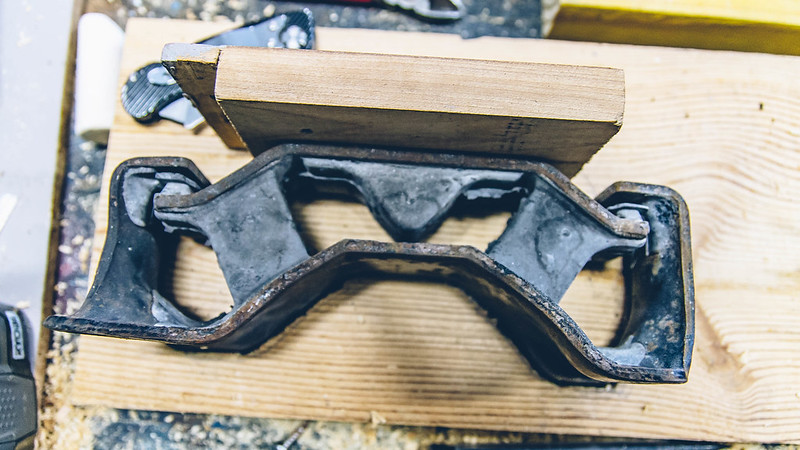
While I waited to order the urethane, I decided to make a mounting setup for my trans mount. First thing was mocking up the mounting points so I can secure top plate once the rubber is removed. Usually I leave the rubber in place, but this time I wanted to try removing all the rubber and replacing it with urethane. So I grabbed some scrap wood and modified them to hold the trans mount in place.
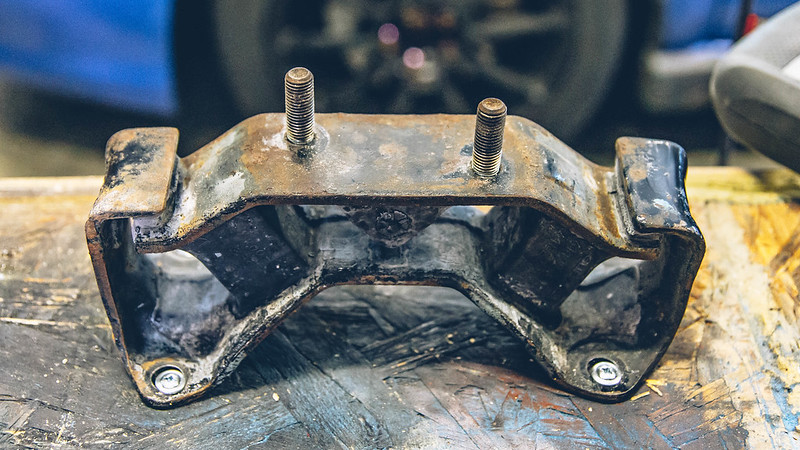
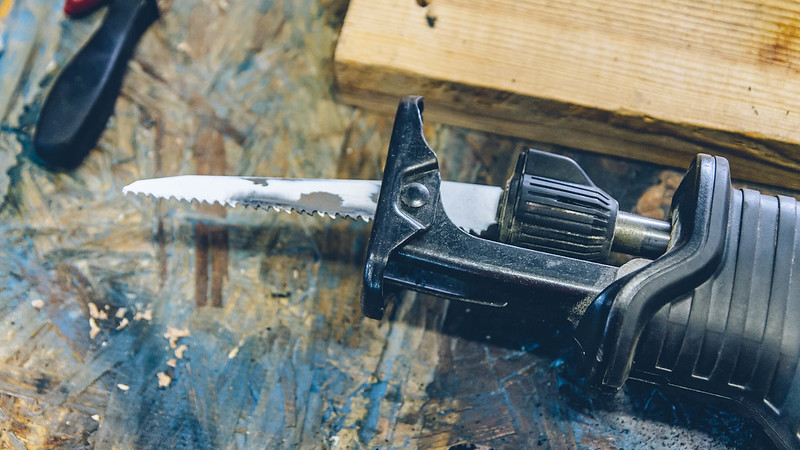
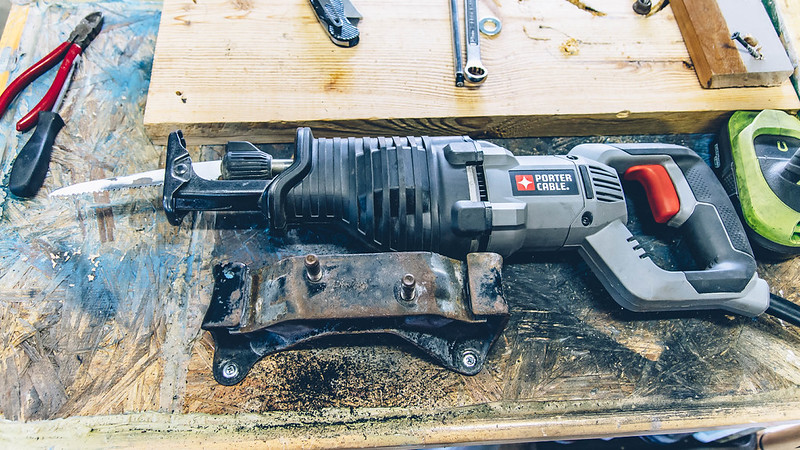
With the mounting rig done, it’s time to remove all of the old rubber. There a few ways to do this, depending on how creative you are or what tools you have handy, but I choose to cut the old rubber out with a reciprocating saw. Secure the mount to the workbench and start cutting!
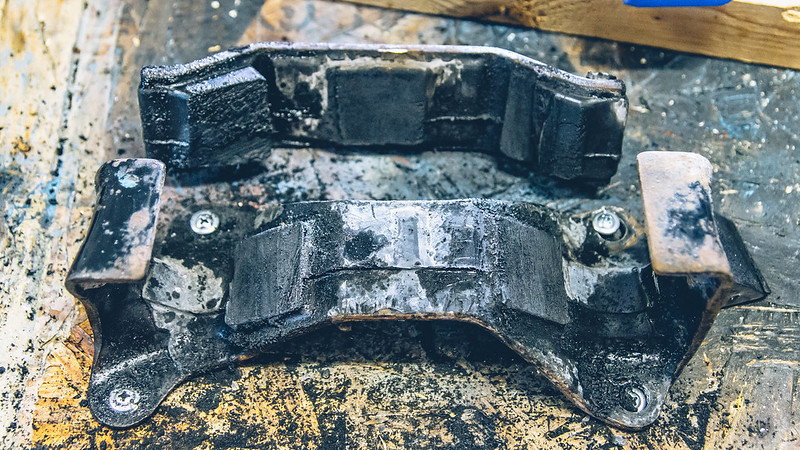
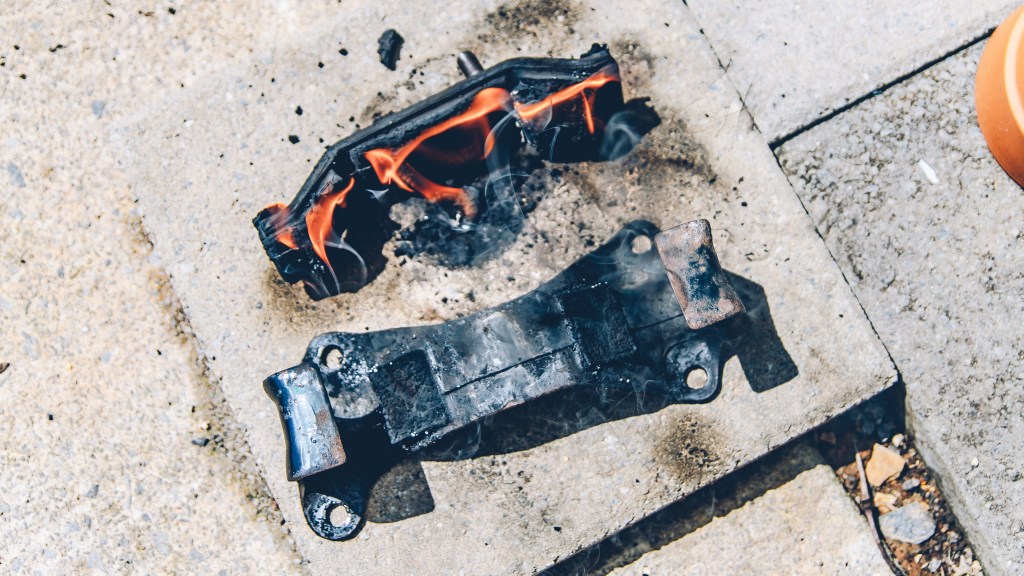
With most of the rubber removed it’s time to remove the rest with fire. A propane torch works great, just try to do it on a calm day. I picked a pretty windy day and had to keep reigniting the rubber. Clean up the roasted rubber with a scraper and a wire wheel.

It took a few months before I ordered the urethane. I forgot about it until I couldn’t take the popping noises anymore.

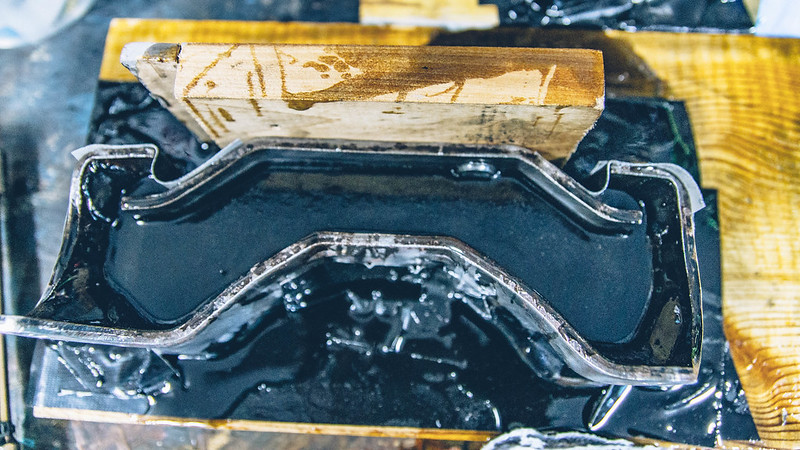
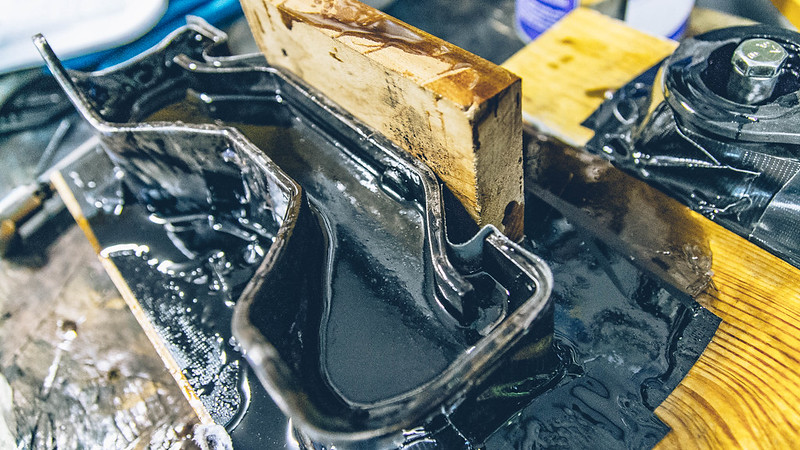
The urethane is pretty straightforward, pour in the activator into the base and stir it up. My mistake was pouring the urethane into the transmission mount too soon. I should of let it thicken up to minimize leakage.
But before that, I put down a layer of gorilla tape to act as a release barrier and help prevent leakage. I should of bolted the mount to the wooden base to help seal it against the tape. But it worked pretty good as a release.

As you can see, about a third of the urethane leaked out before it hardened. Not exactly what I wanted, but not a total failure either.
I was working on my pitch mount as well, but I bailed on it and focused solely on the transmission mount. I stole it’s urethane in the process. I nearly gave up on the trans mount as well.
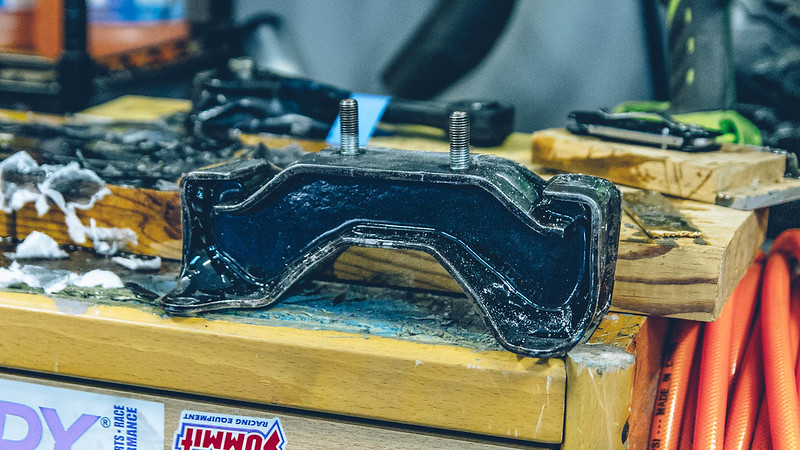
But it worked out. I swapped it out with the Torque Solutions mount and my loud, annoying popping noises are gone. The deceleration noises are significantly reduced as well and really, no penalty in performance. Overall a much better solution for a DD.
Update (7/5/2020)
The DIY mount failed. In retrospect, I probably should have scuffed up the surfaces to promote better adhesion. I am tempted to just have it welded together for a solid mount one day. But that will have to wait until this car has been retired from daily driving duties.

