
As discussed in the previous post, I ordered a set of hood vents from DrivewayLabs.
https://www.instagram.com/p/BfoIQtZFDoK/
The package arrived quickly as it was shipped out Priority Mail via USPS. Generally speaking, packages coming from the west coast may as well be in another county. I tend to avoid vendors on the west coast because of this. Perhaps, I am a little paranoid, but the longer something is in transit, the greater the opportunity for something to go wrong.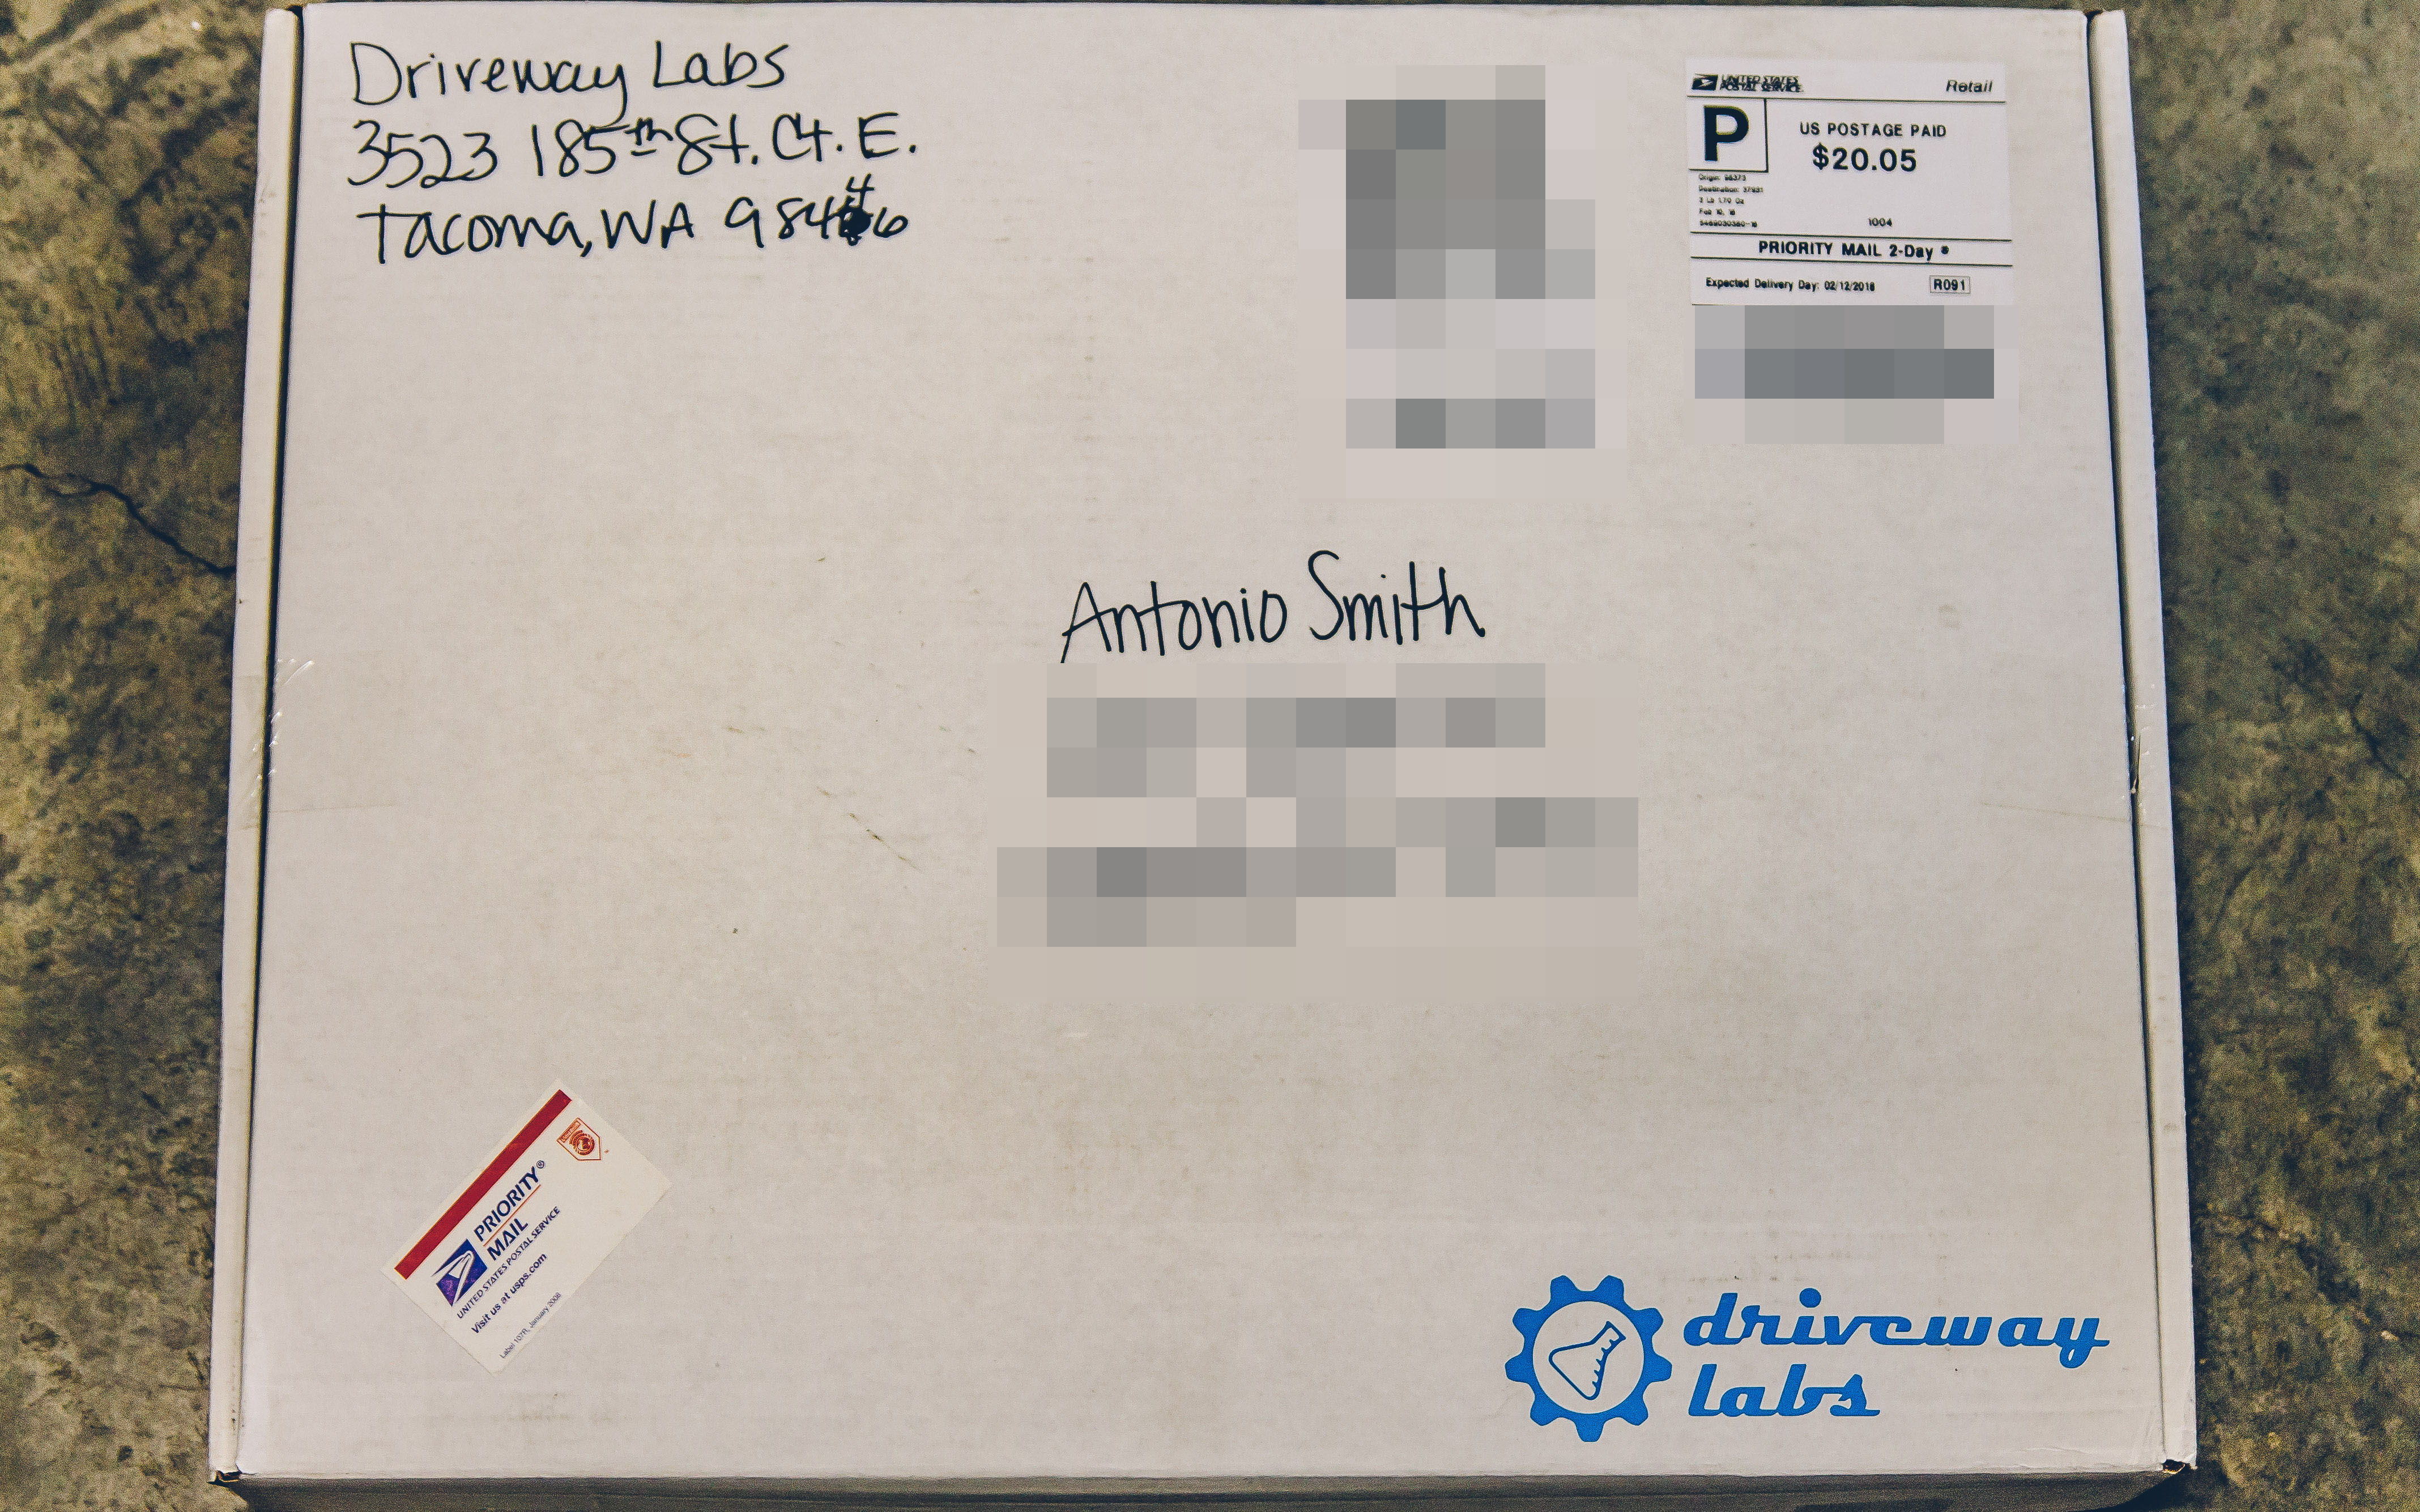
However, the Driveway Labs packaging is very nice and the vents arrived safe and sound.
Ignore the crumpled up template, it arrived flat from DrivewayLabs. I accidentally put the vents back in the box upside down after initially inspecting the package. The vents came wrapped in protective plastic which is very nice of them. They also came with the hardware to attach them to the hood.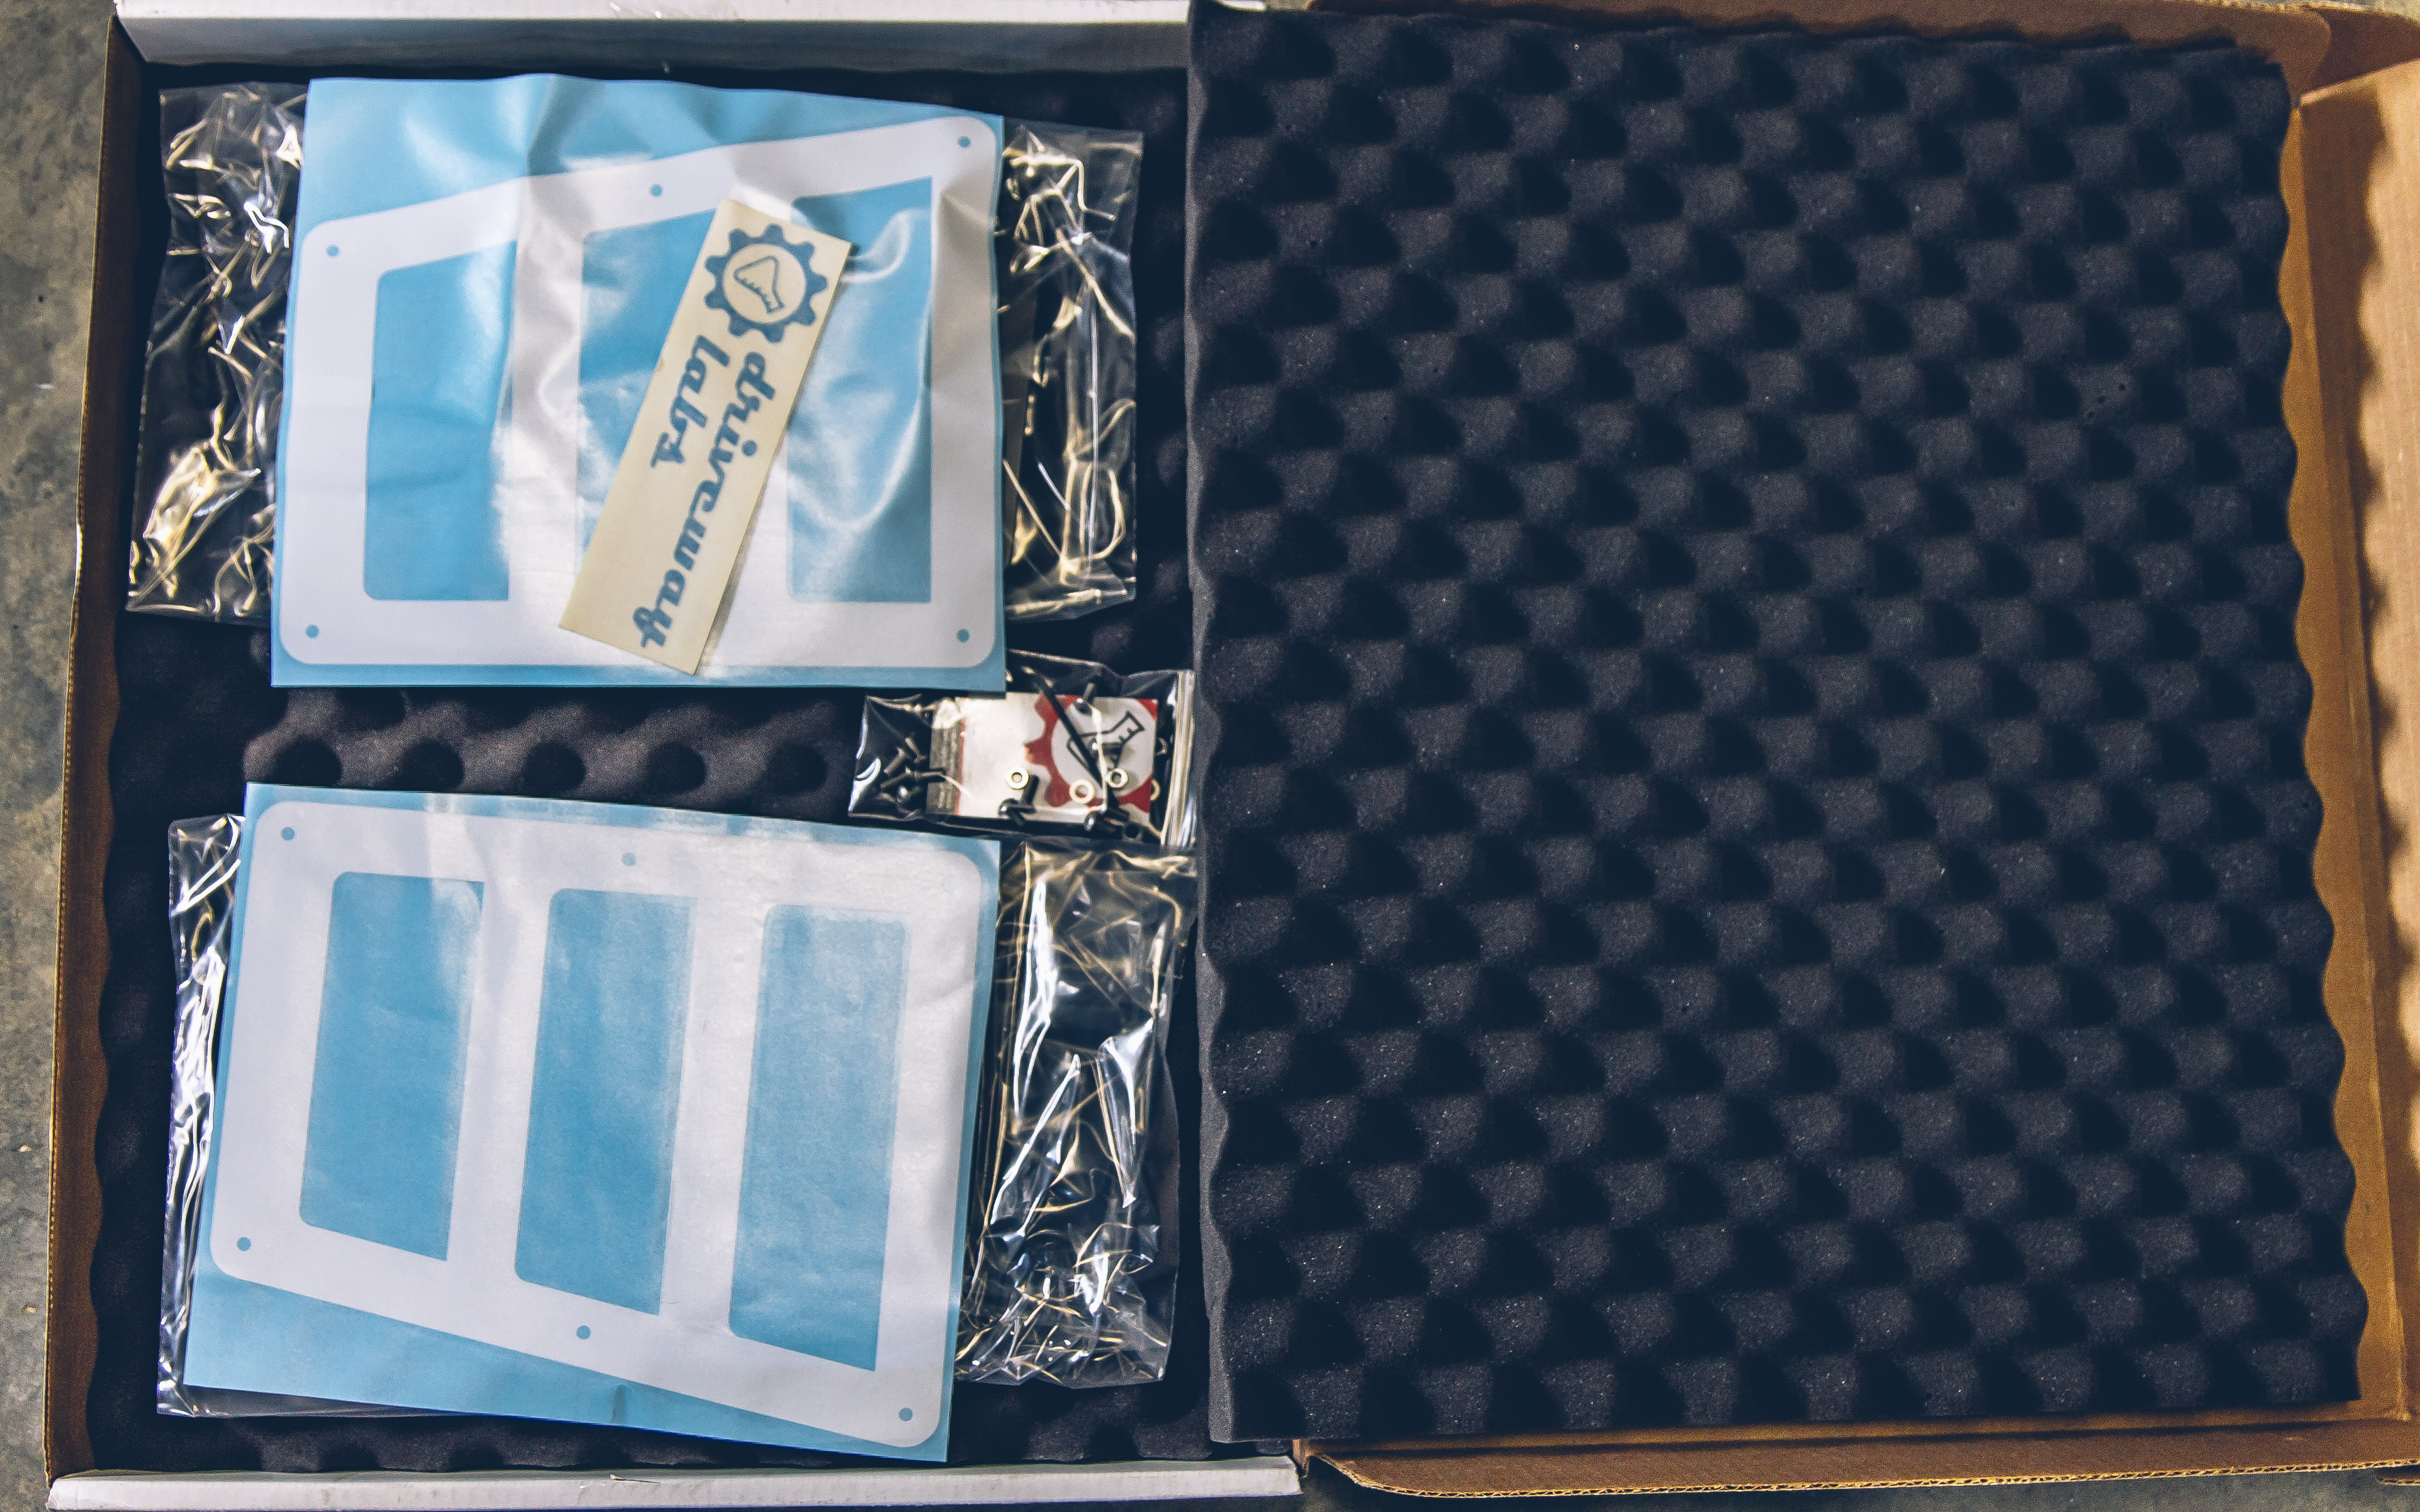
Normally, when I get car parts in the mail, they are installed almost immediately. However, between work and school, I had next to no free time available for a couple of weeks. Even after I decided to go ahead and install the vents, I was on a very tight schedule.
While it was still Spring, temperatures were in the 80s for most of the week and I could feel my turbo performance slipping away. That motivated me to go ahead and cut the hood up and to evacuate some of this heat.
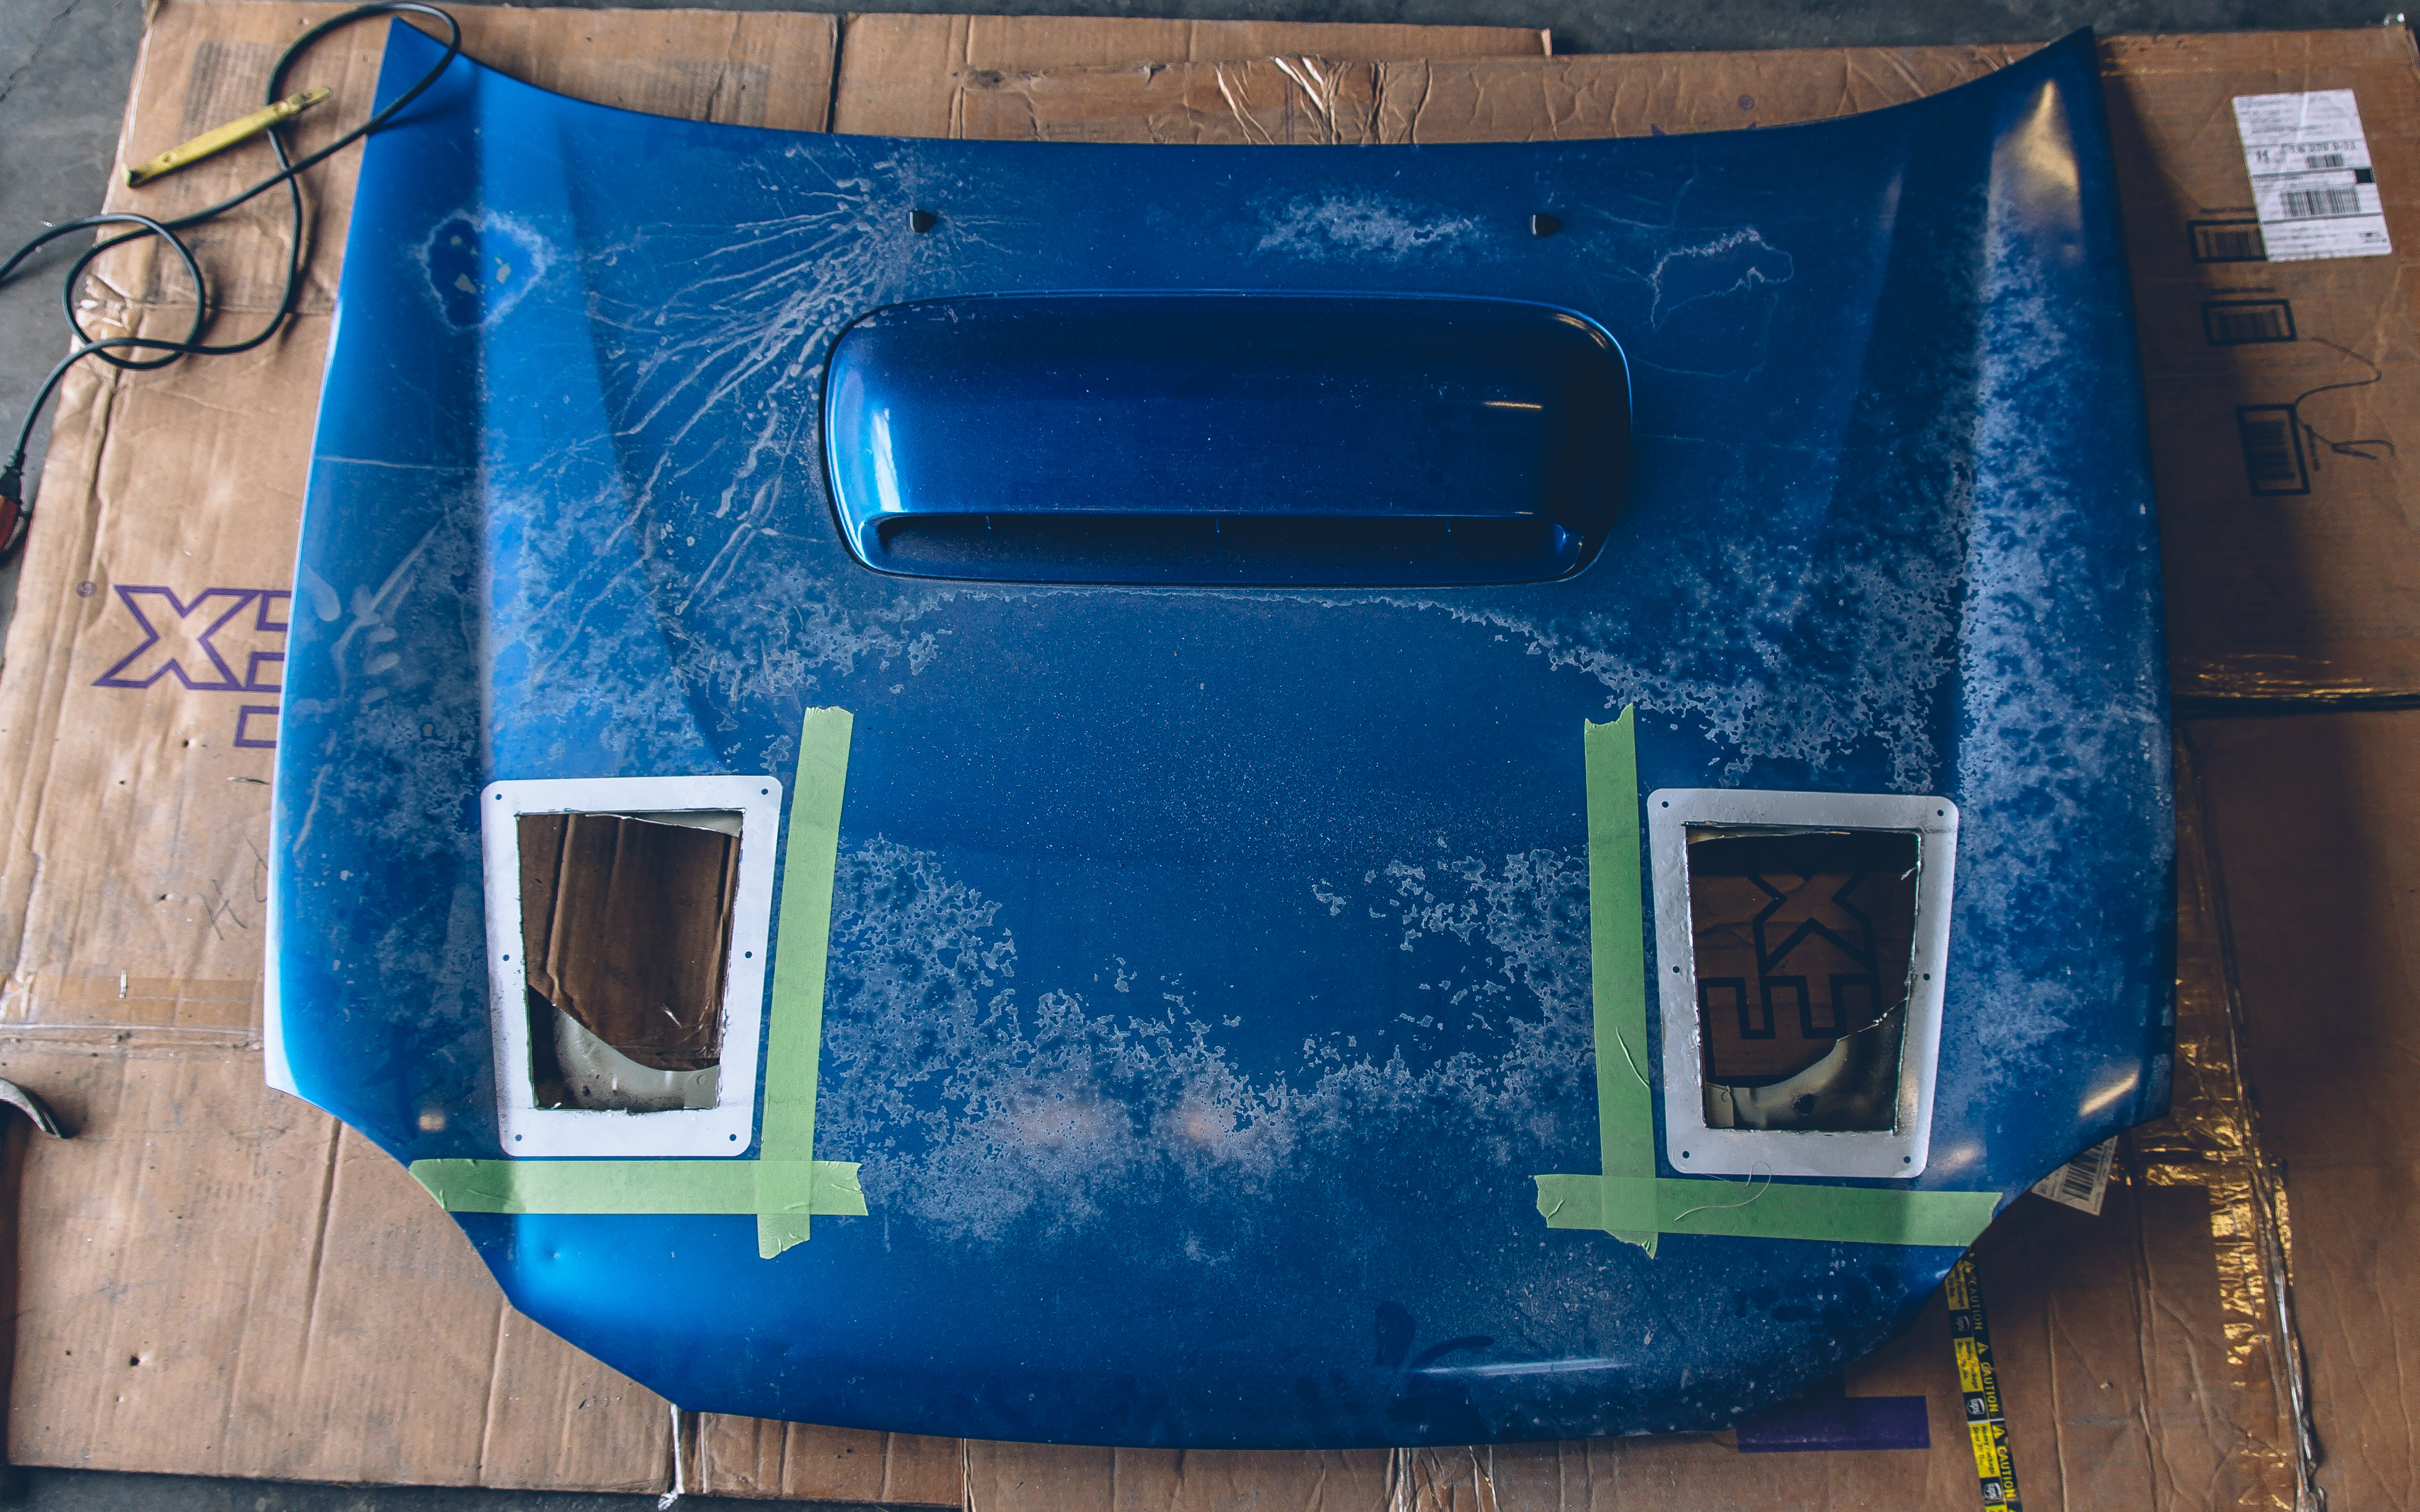
With the vents in hand, I could at least choose the final locations for the vents. Since the Bugeye hood has a few creases in it that the Blobeye & Hawkeye hoods do not, placement of wide hood vents is limited. 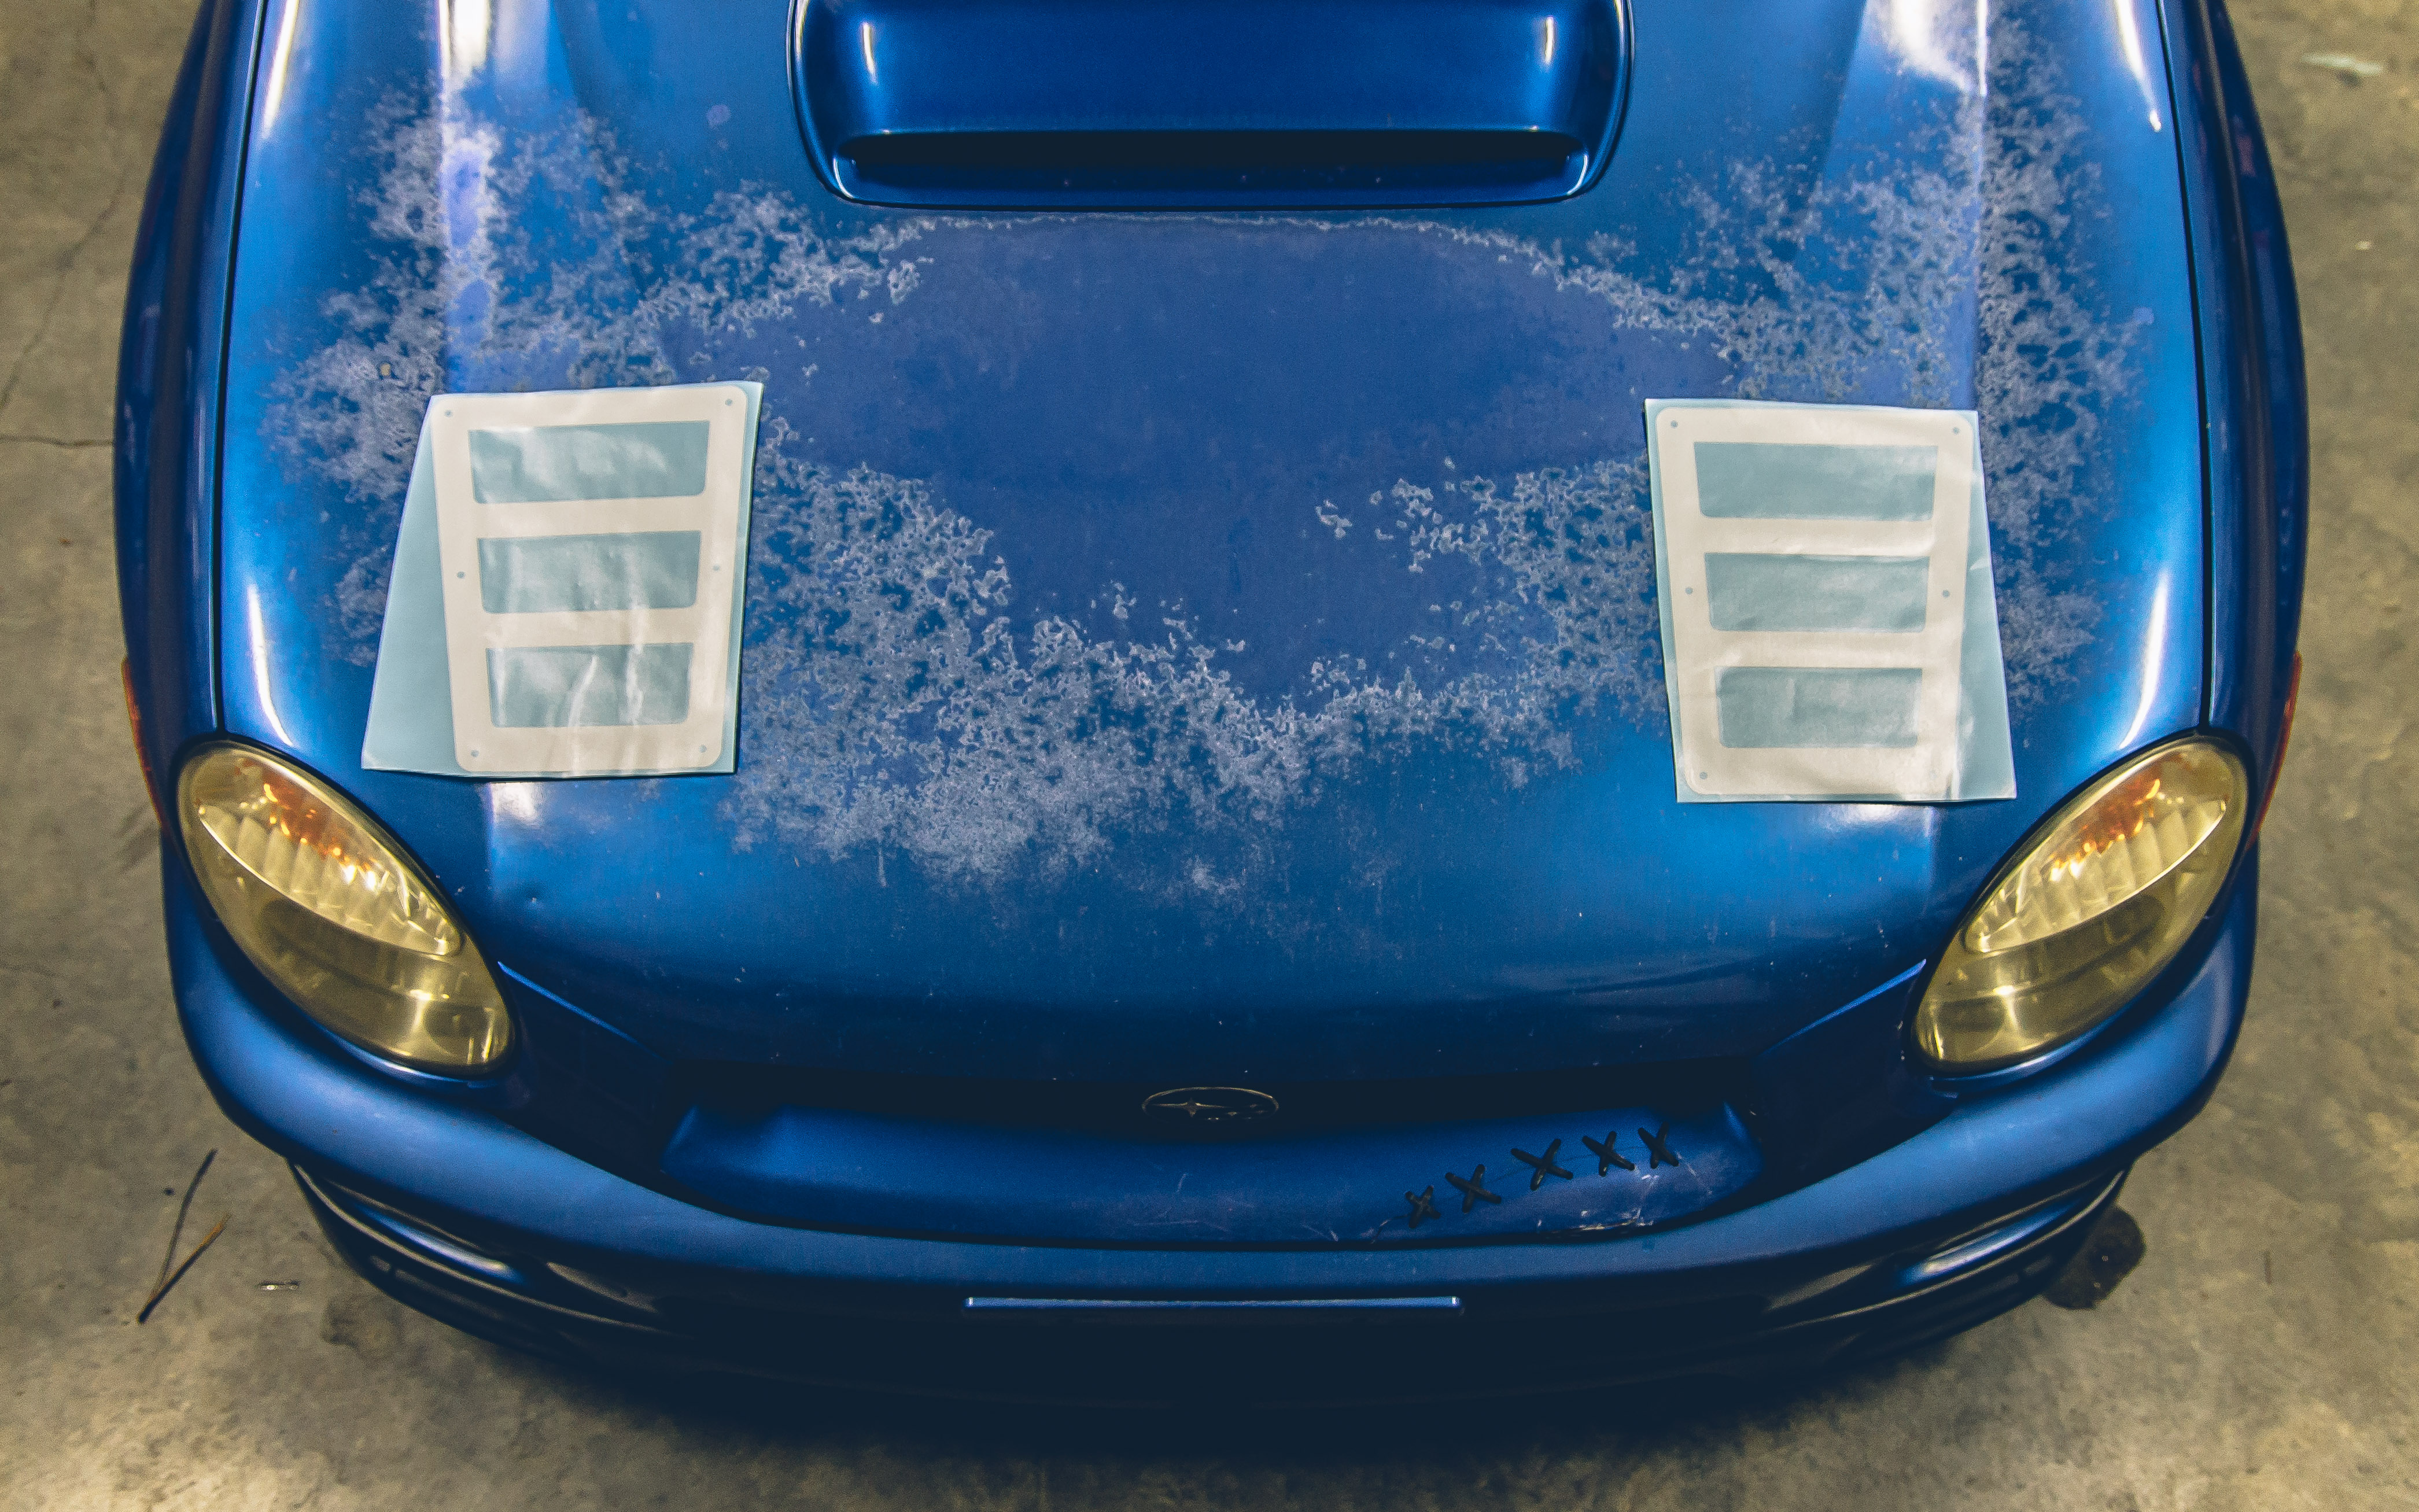
For full functional purposes, I would have preferred to mount them further back, probably with the back edge in line with the hood scoop. I probably could have made it work, but I didn’t want to chance it. 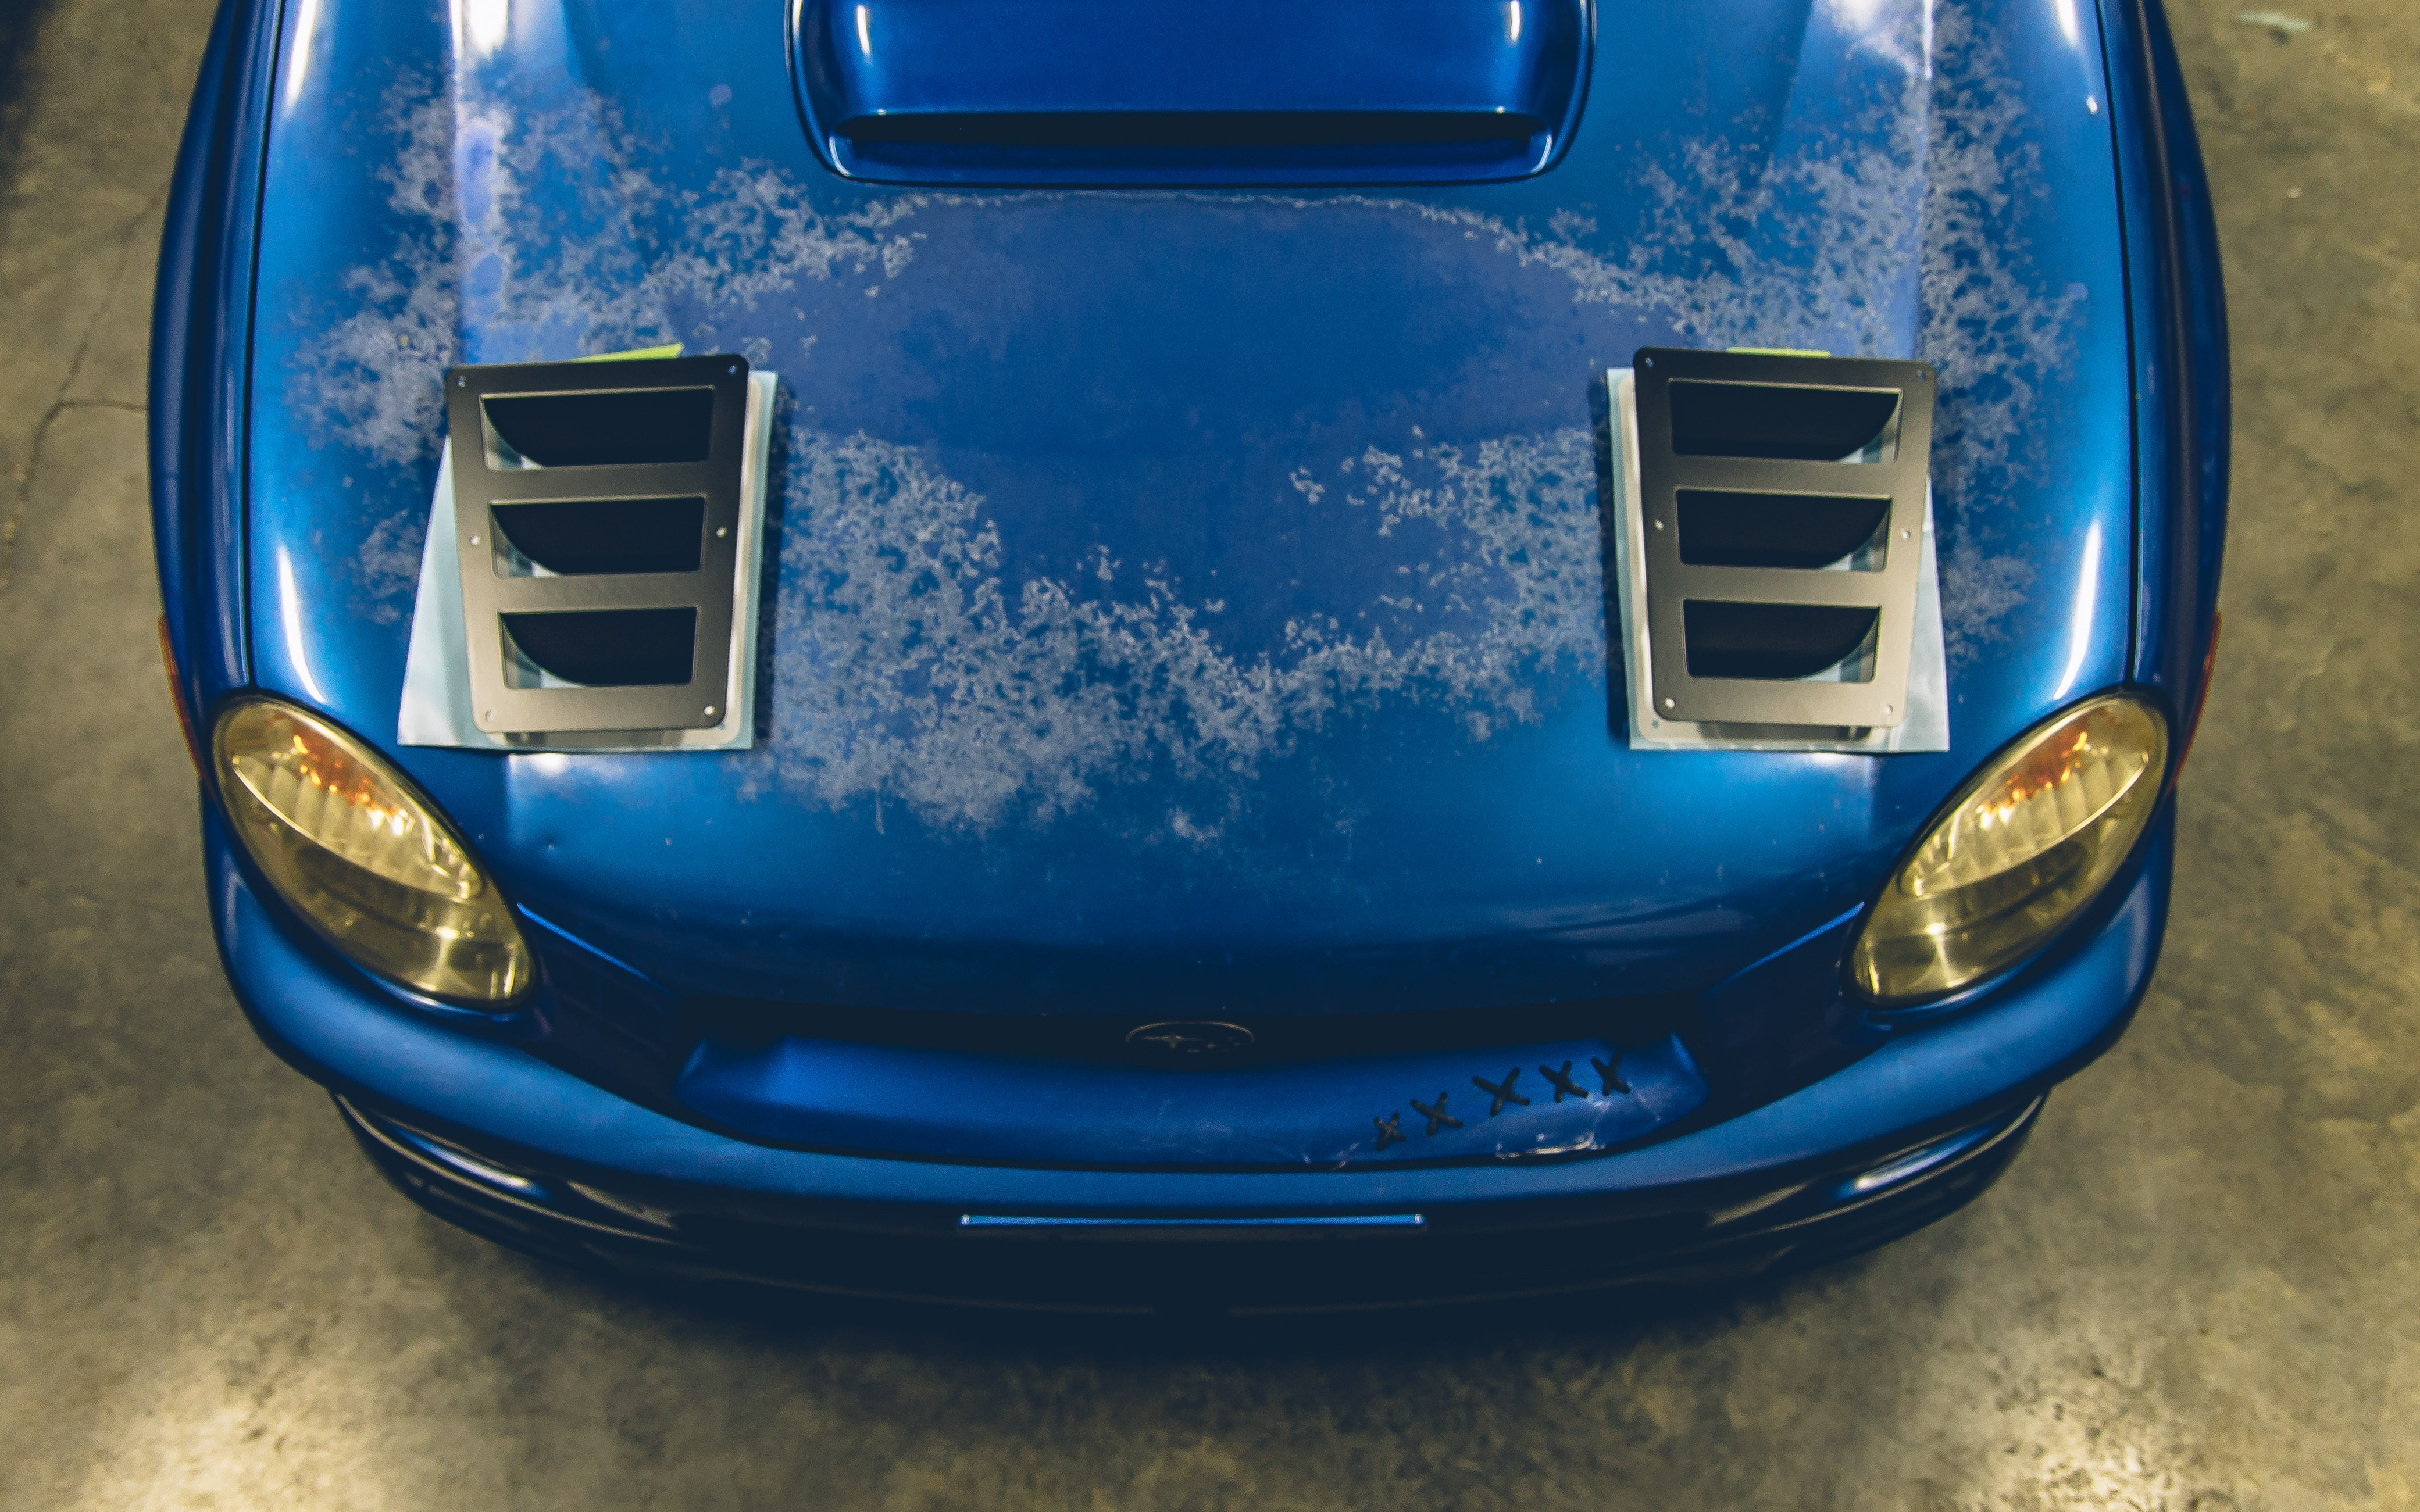
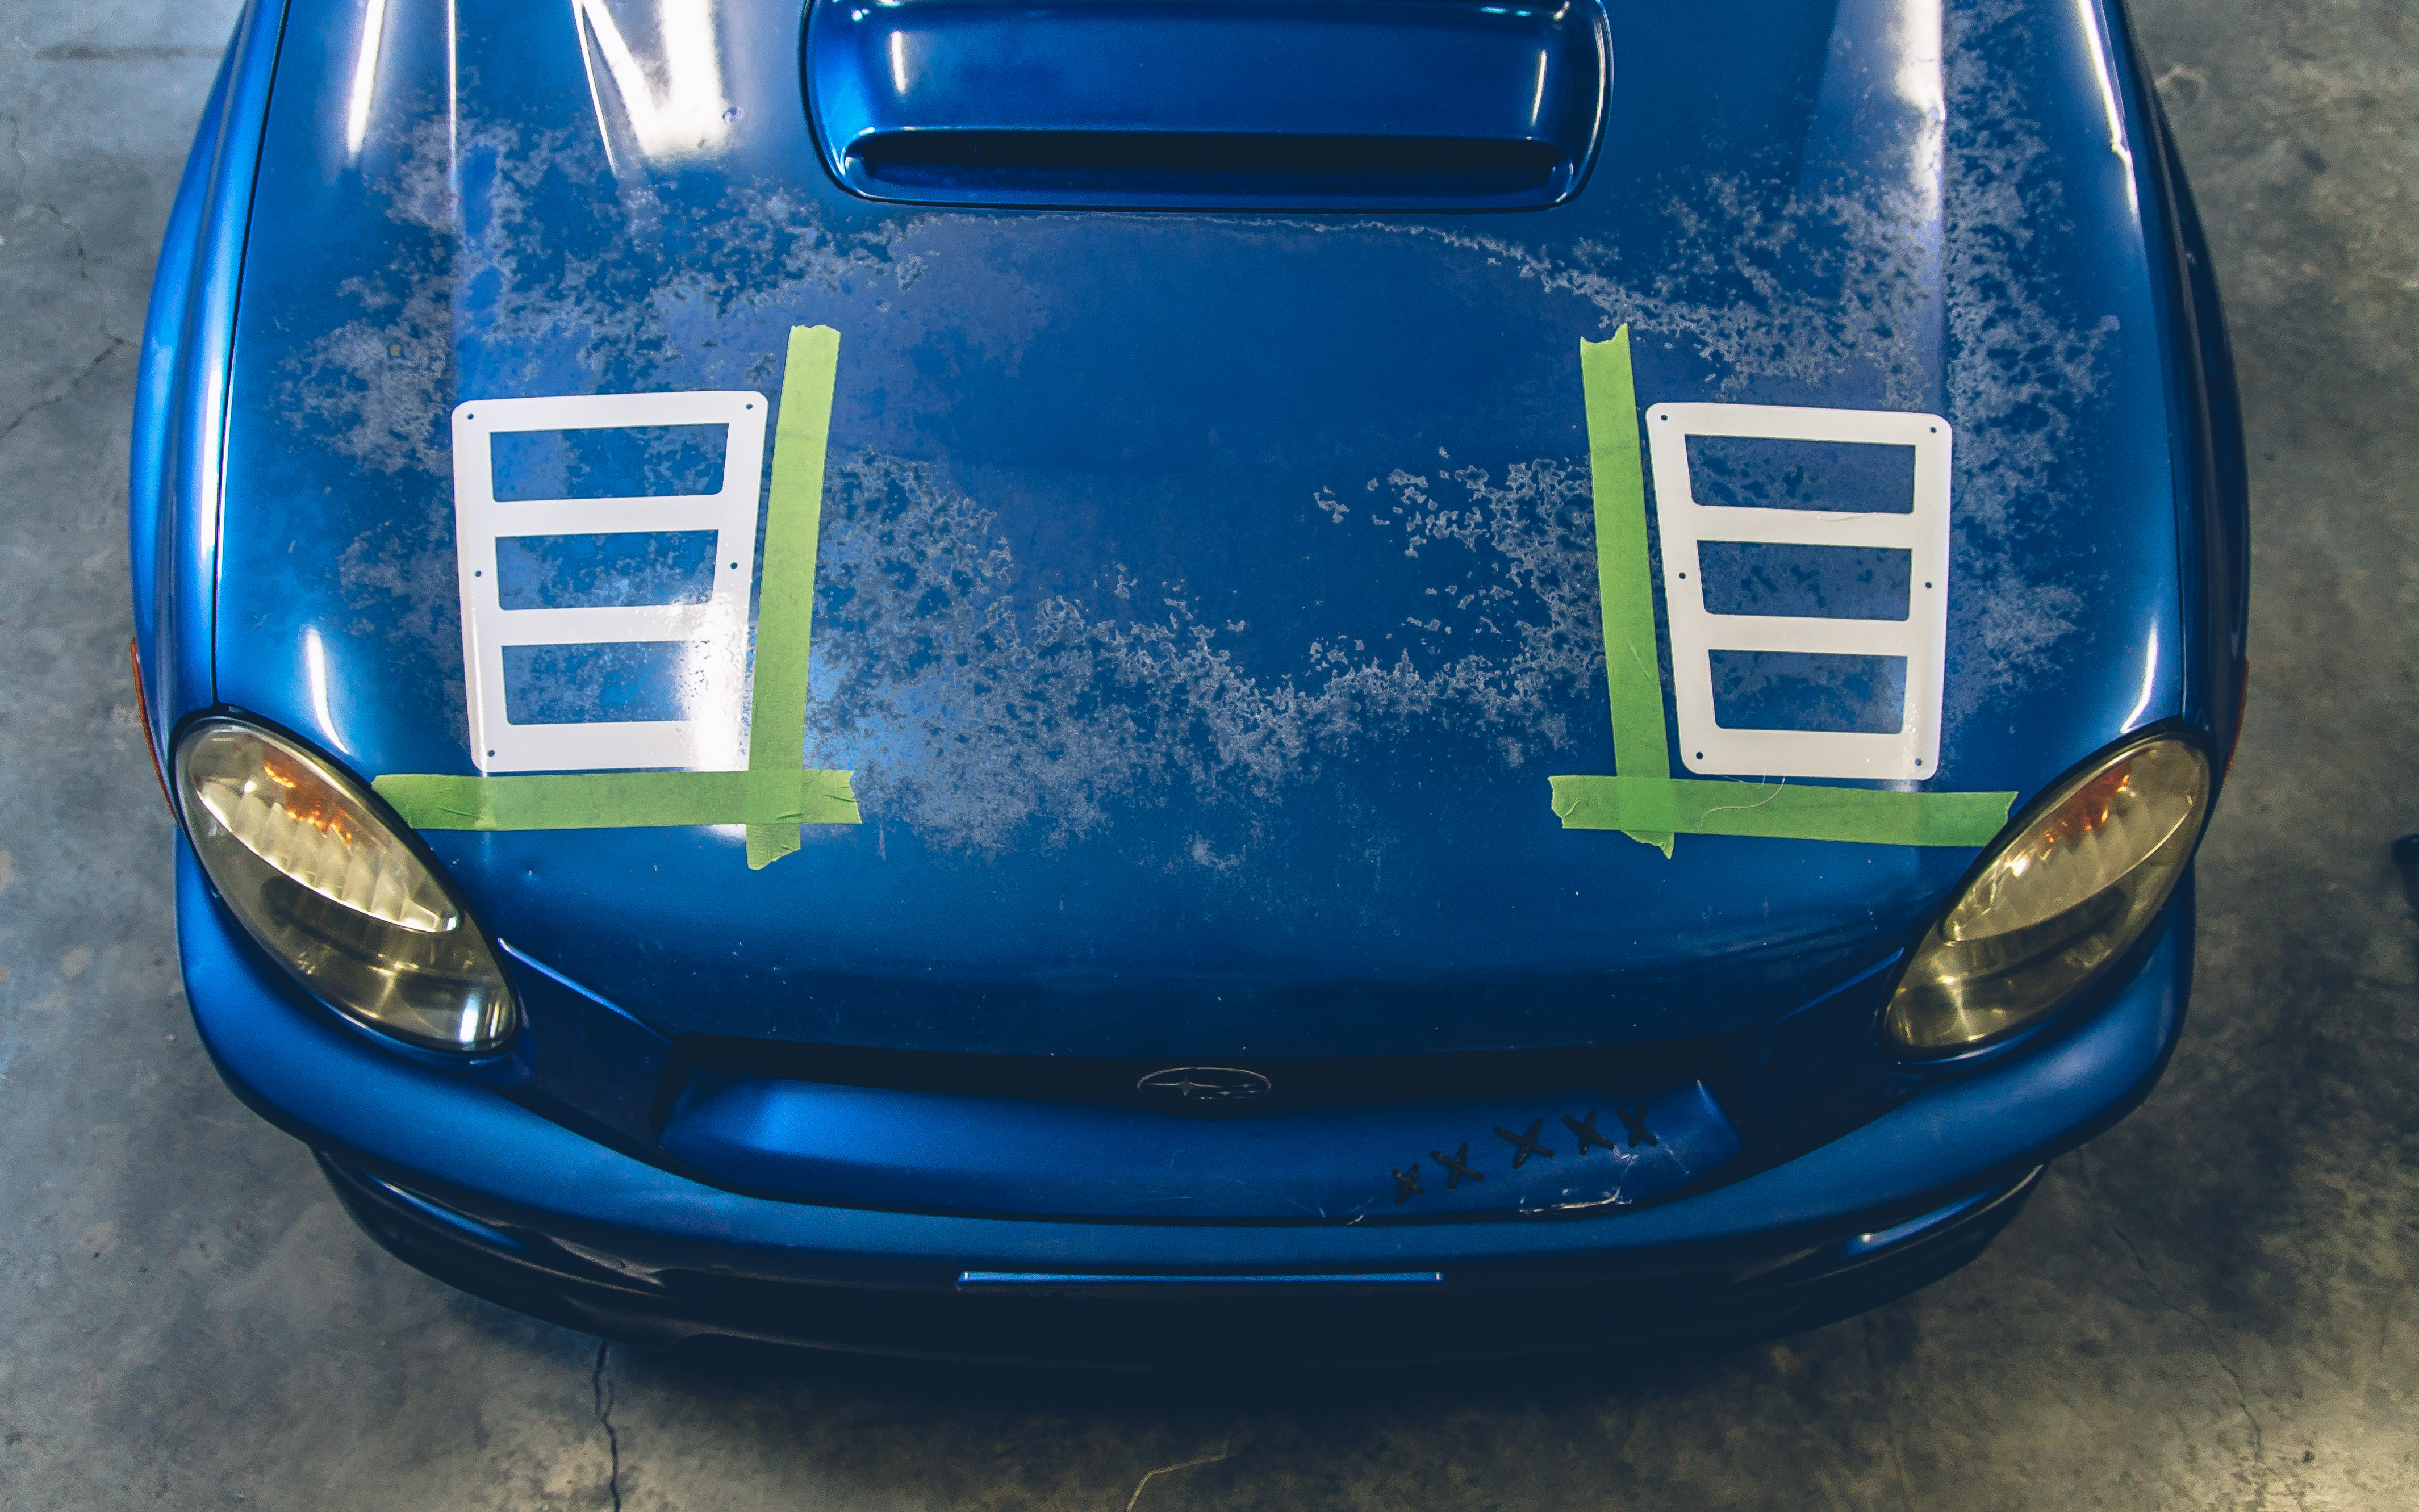
Using the templates, I placed them close to their final locations and taped them down. Then with a measuring tape, I took multiple measurements and made adjustments as needed. It was getting late, and I didn’t want to cut up my hood under a shade of drowsiness. Making a mistake with a clear head is preferable to regretting a double mistake of not getting enough rest along with making errant cuts.
The next day I had to run to the store to pick up some cutoff wheels for my grinder as I only had grinding wheels. I taped off the locations for the templates and drove to Home Depot. I somehow managed to buy two of the wrong size wheels and just one that fits my grinder.

Thankfully, the Bugeye hood is aluminum so the cutoff wheel sliced right through it. I only have experience cutting steel with an angle grinder so guess I was expecting to go through at least one wheel.
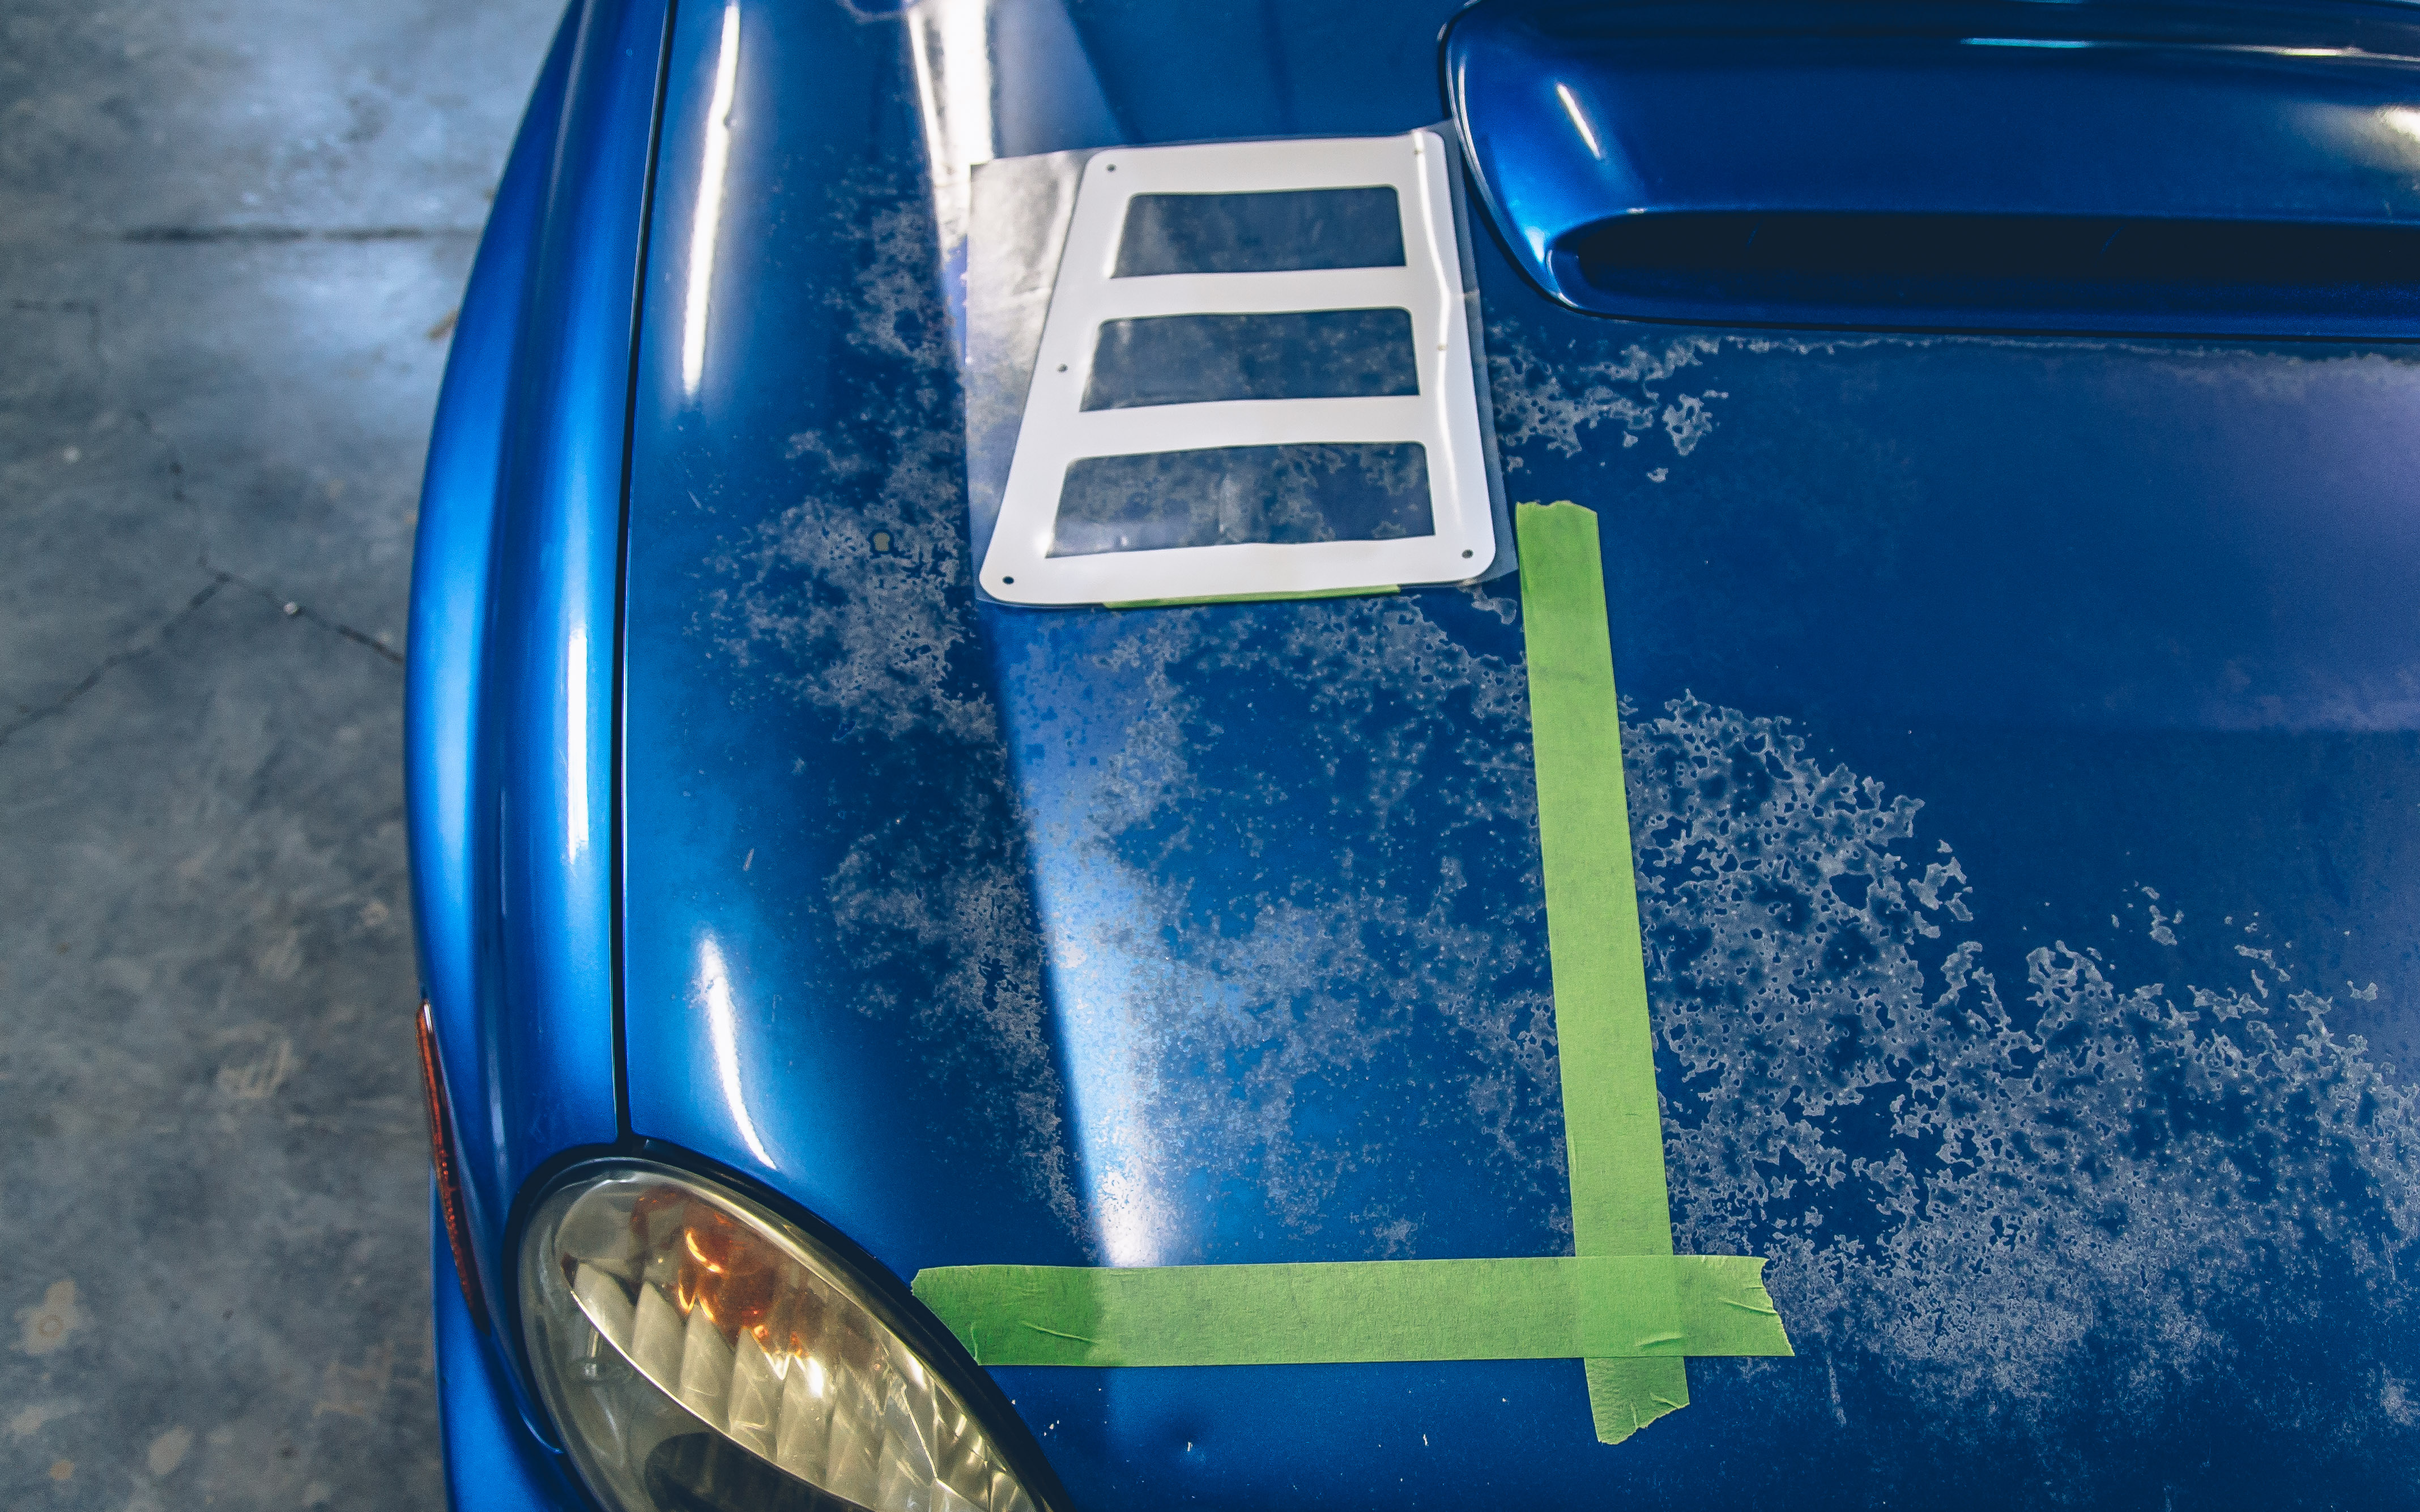
After returning from the store, re-measured and placed the templates; double checked their locations again, then flipped the templates up to clean off the hood so the templates could adhere better. With the templates still attached at the top of the template, I pulled the backing paper off and worked the vinyl onto the hood.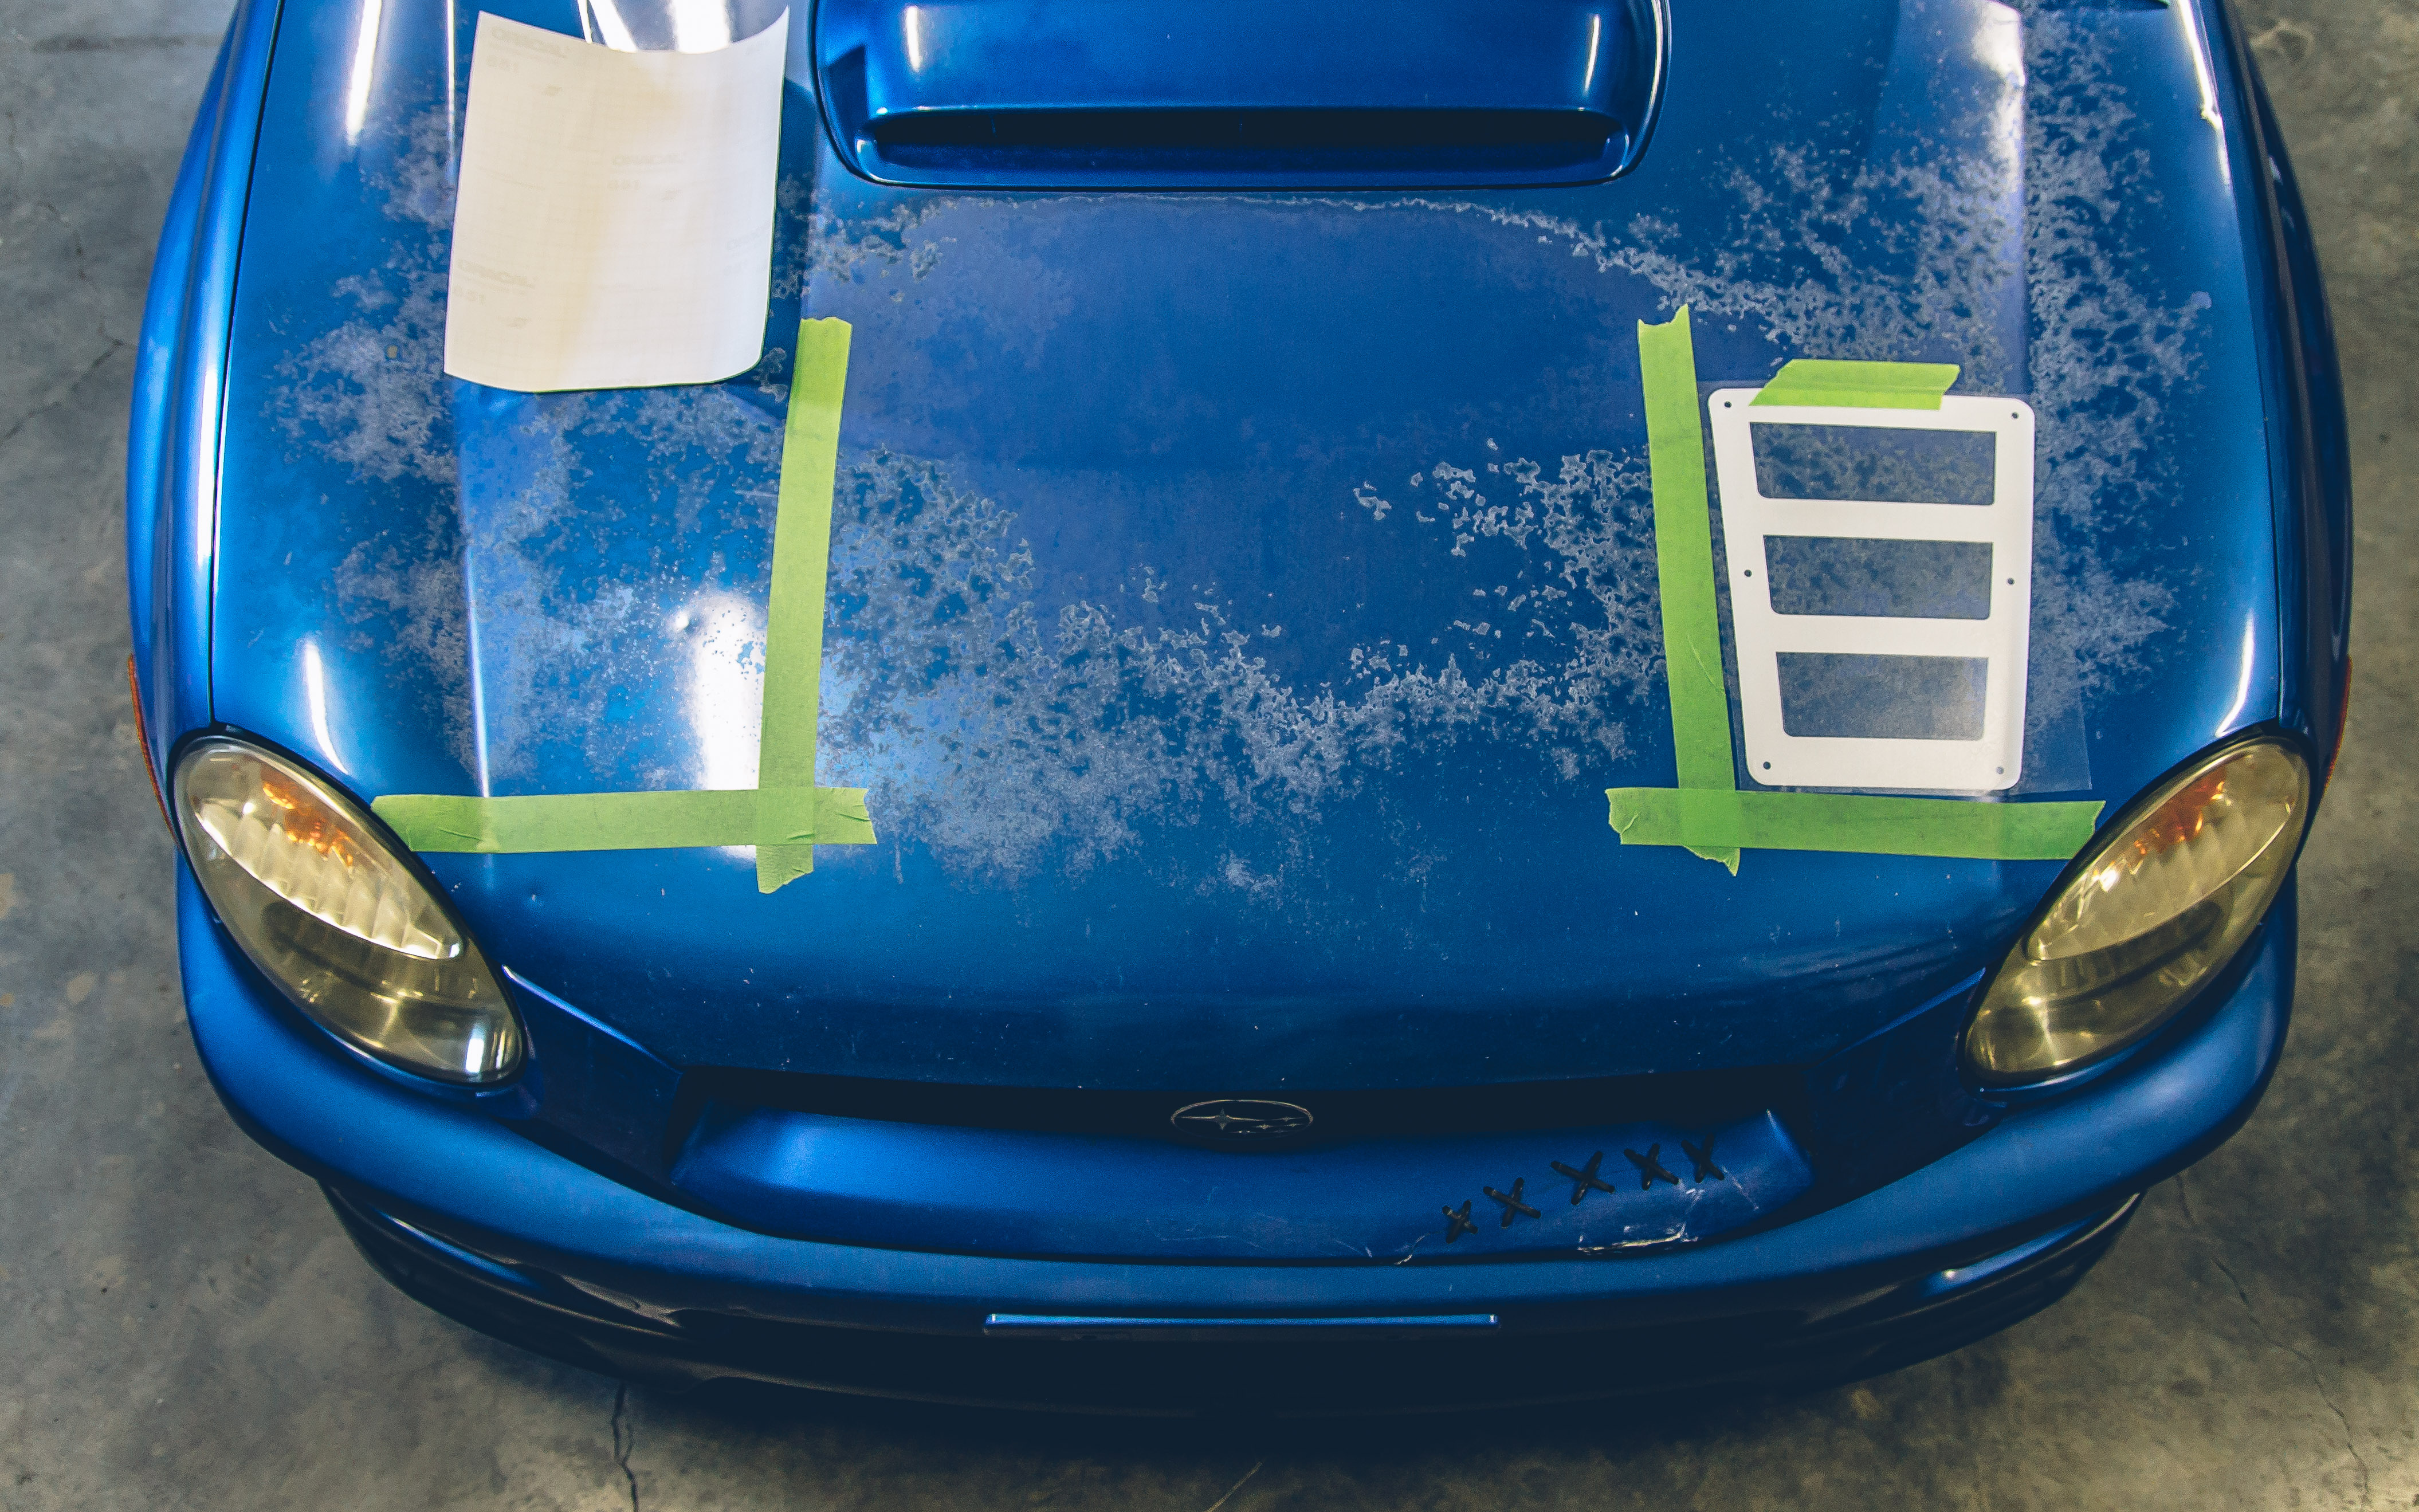
At this point, I had two options. Cut away and hope for the best or remove the hood and avoid throwing aluminum dust all over my engine. Having made the former mistake before, I opted to go ahead and remove the hood.
There are four 12mm bolts holding the hood in place. This is probably a lot easier with two people. I cracked all of the bolts loose. I thought I removed the bottom two bolts first, but I removed one from the bottom and one on the opposite side from the top. I placed a box on top of the engine and set the hood down on top of it to prop the hood up a bit. Leaving the top bolts in place will make this last step a lot easier.
With the hood off of the car, it was time to cut out the insides of the template.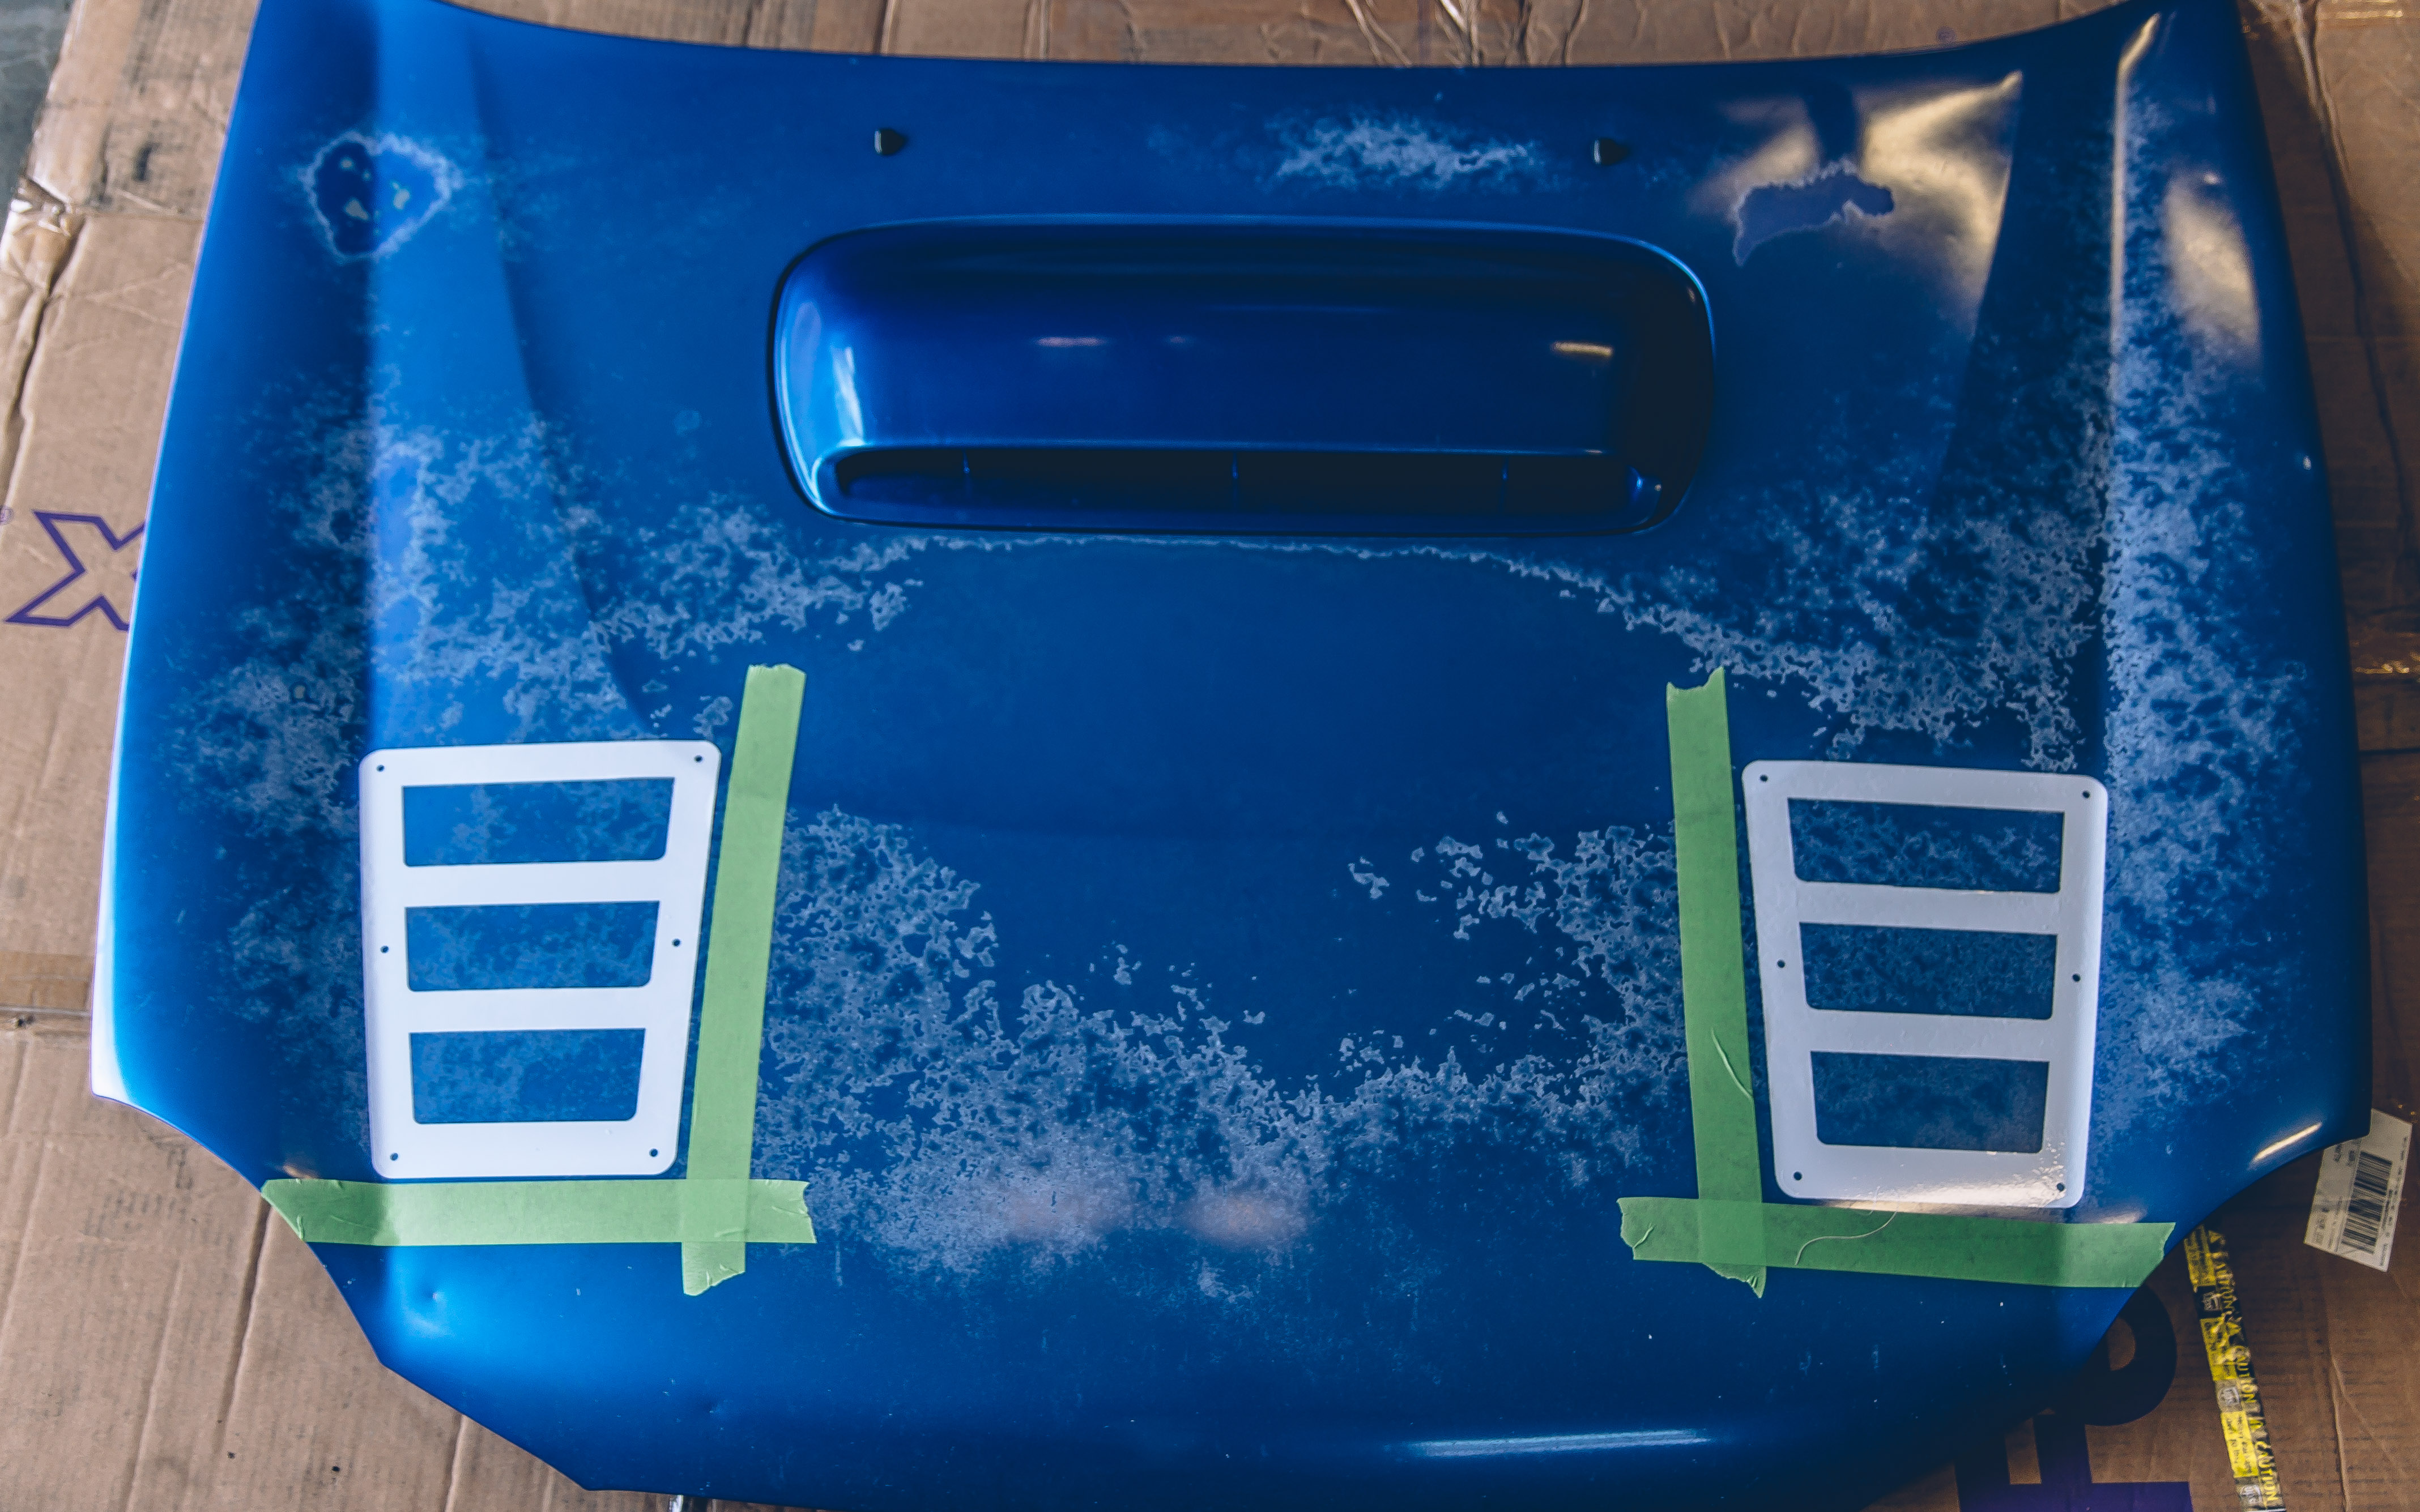
The angle grinder made quick work of the aluminum hood; my only issue being visibility. I didn’t care to keep my face in the line of fire so the process was a bit slower. Had I known they had them in stock, I would have grabbed one of these face shields from the box store while I was there.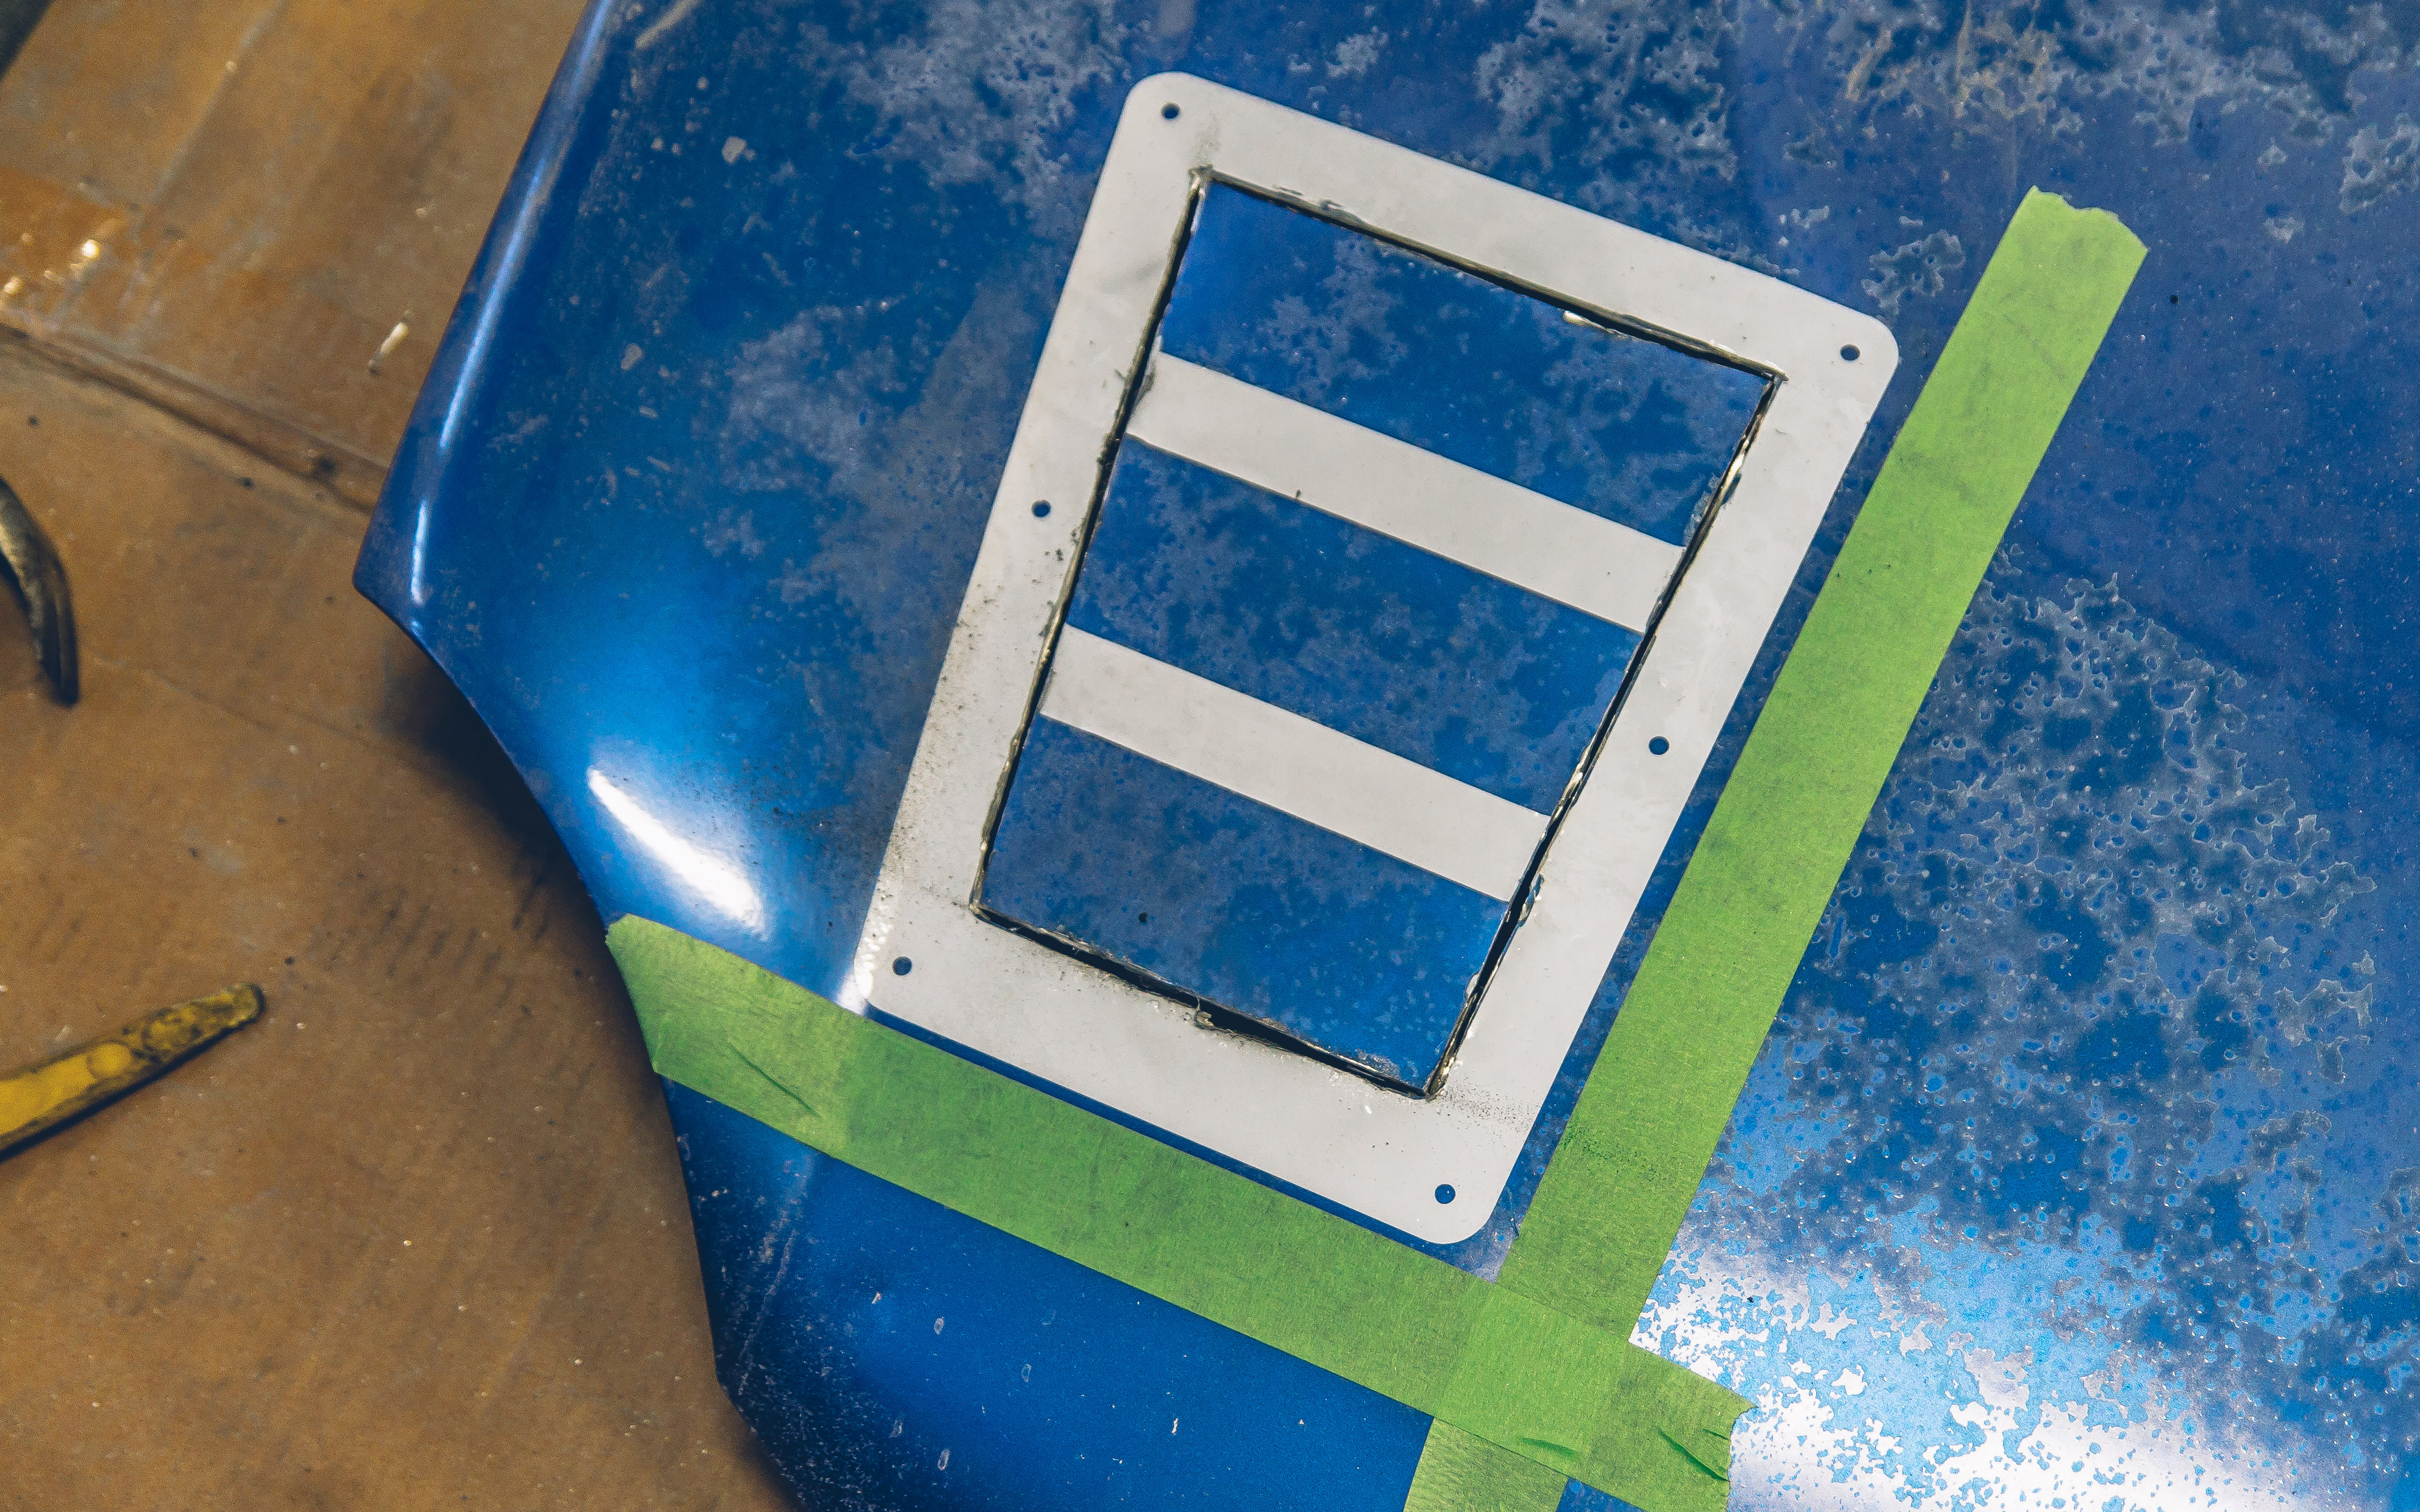

With the outer skin mostly cut away, with the exception of a then pieces of metal at the corners, it was time to flip over the hood and cut out the underbracing. 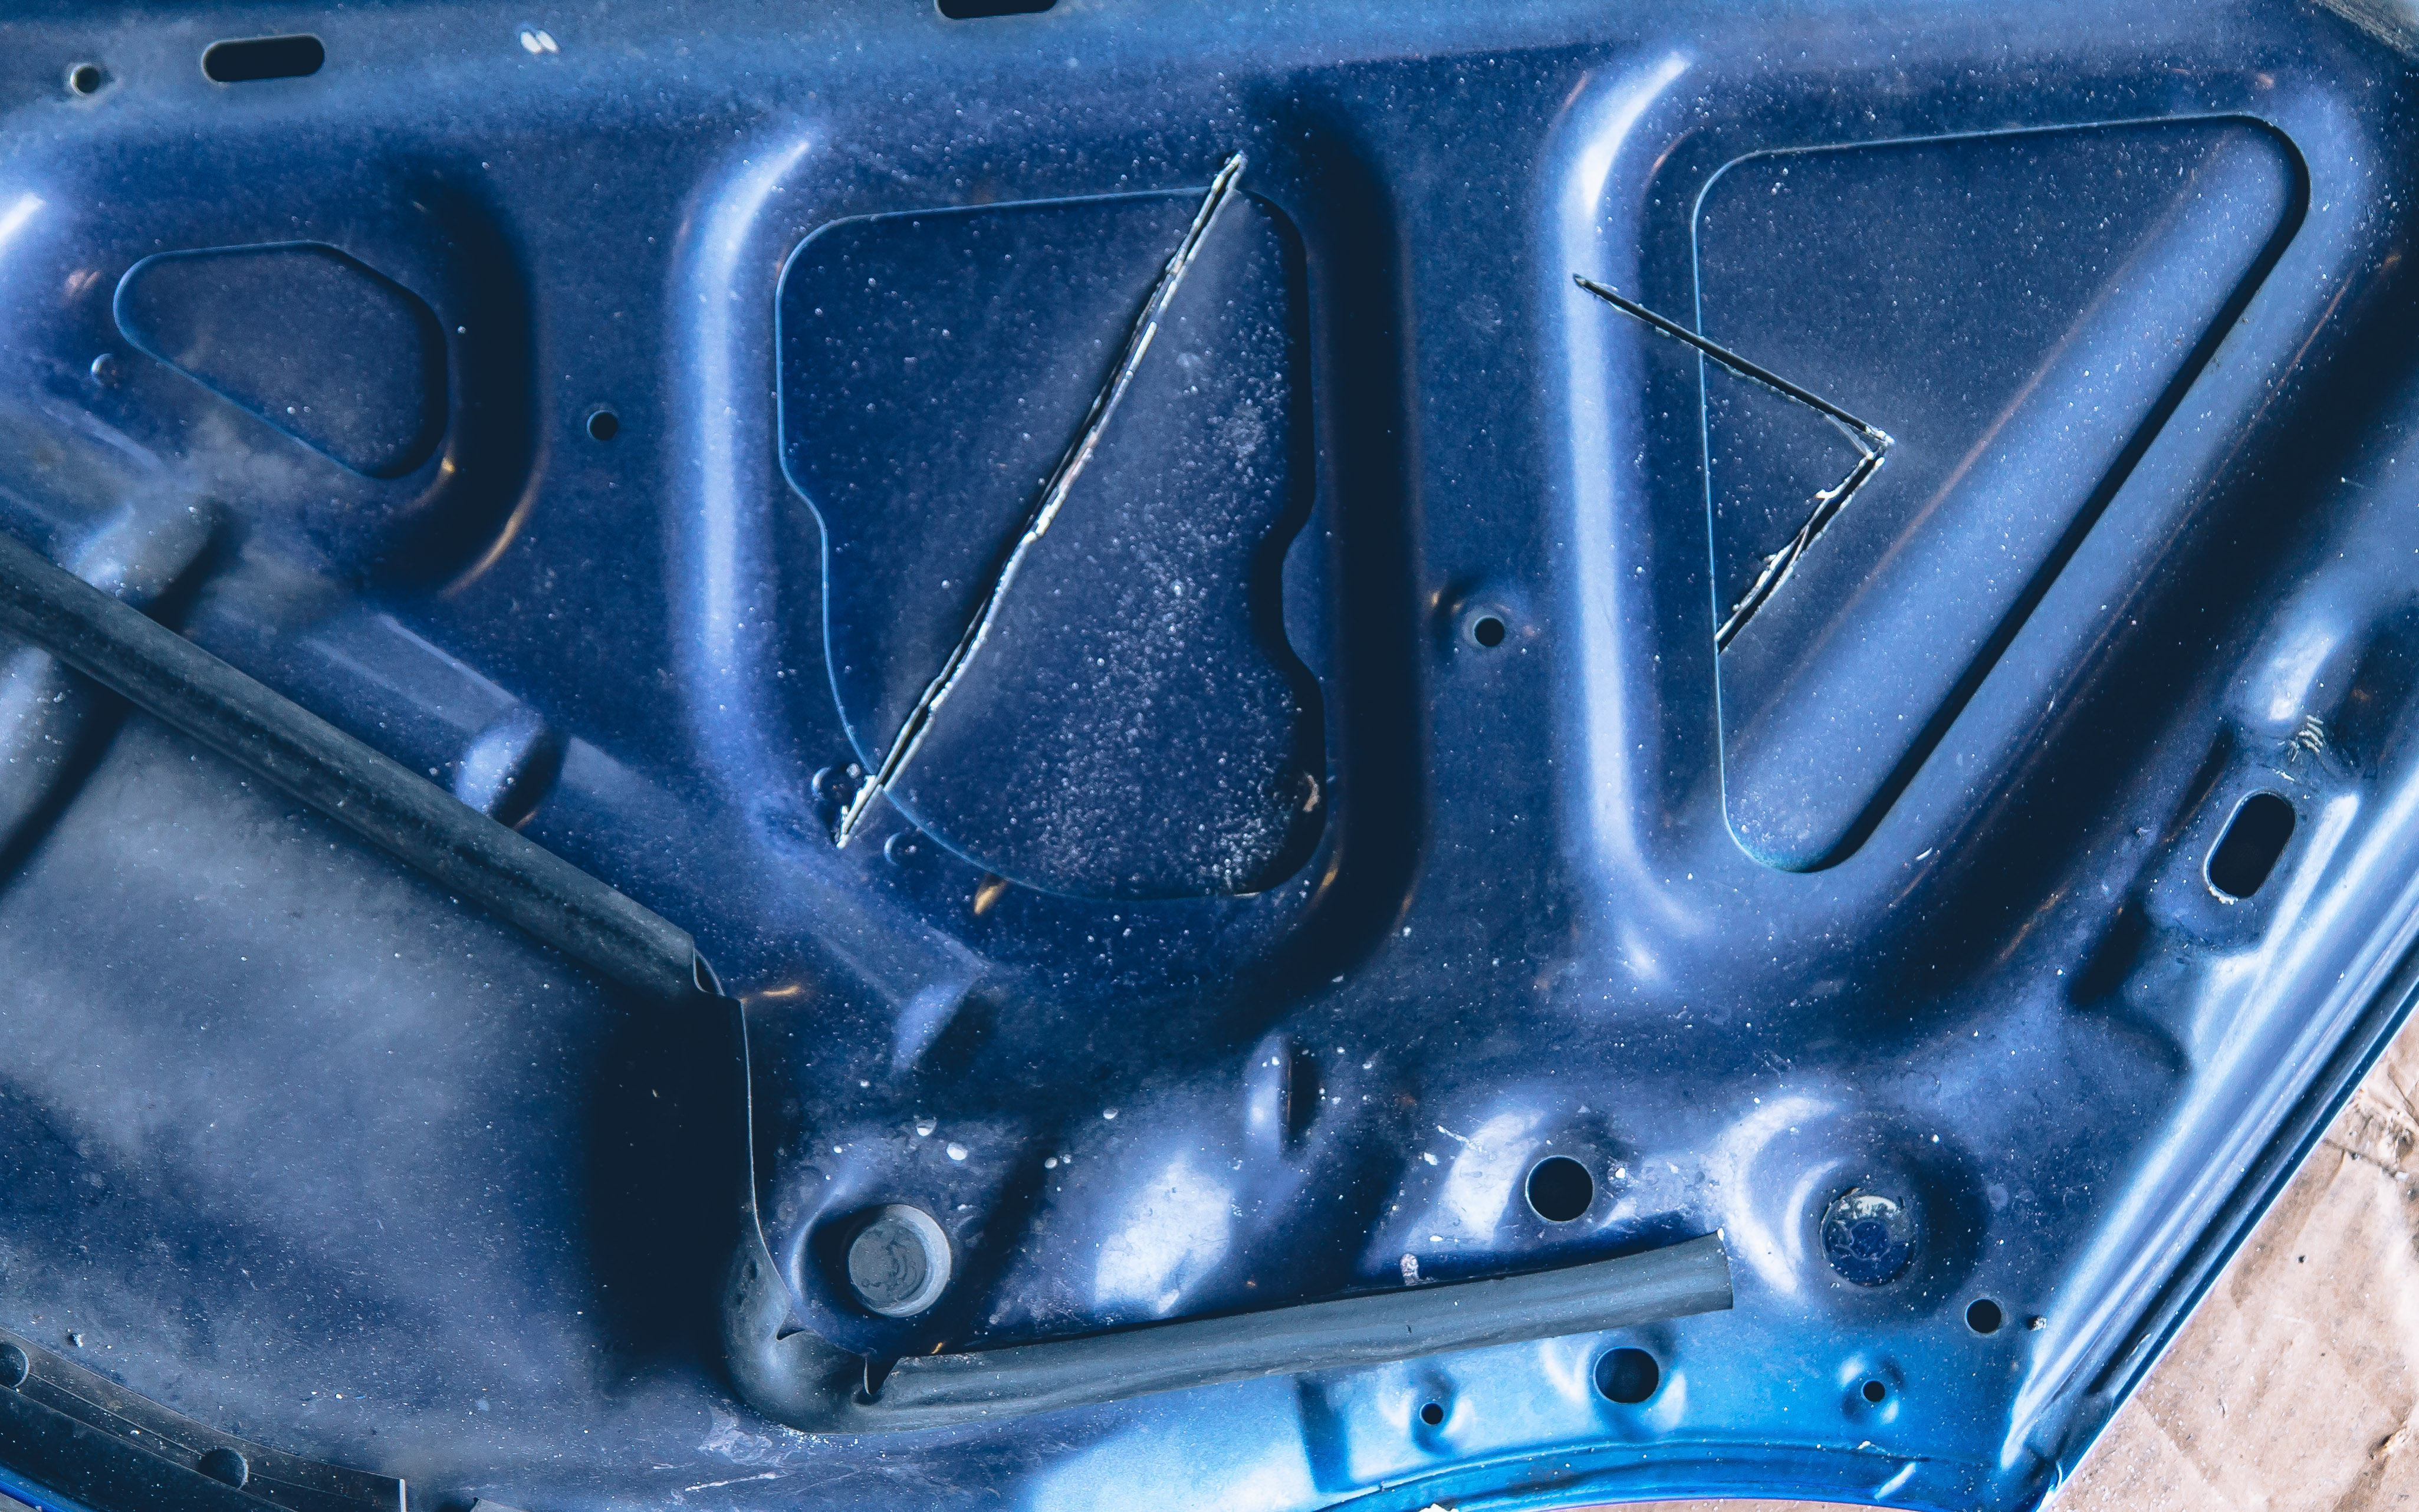
This process was more or less trial and error. Cut out some metal, flip the hood over and test fit the vent; remove the vent and cut out some more metal until it fits.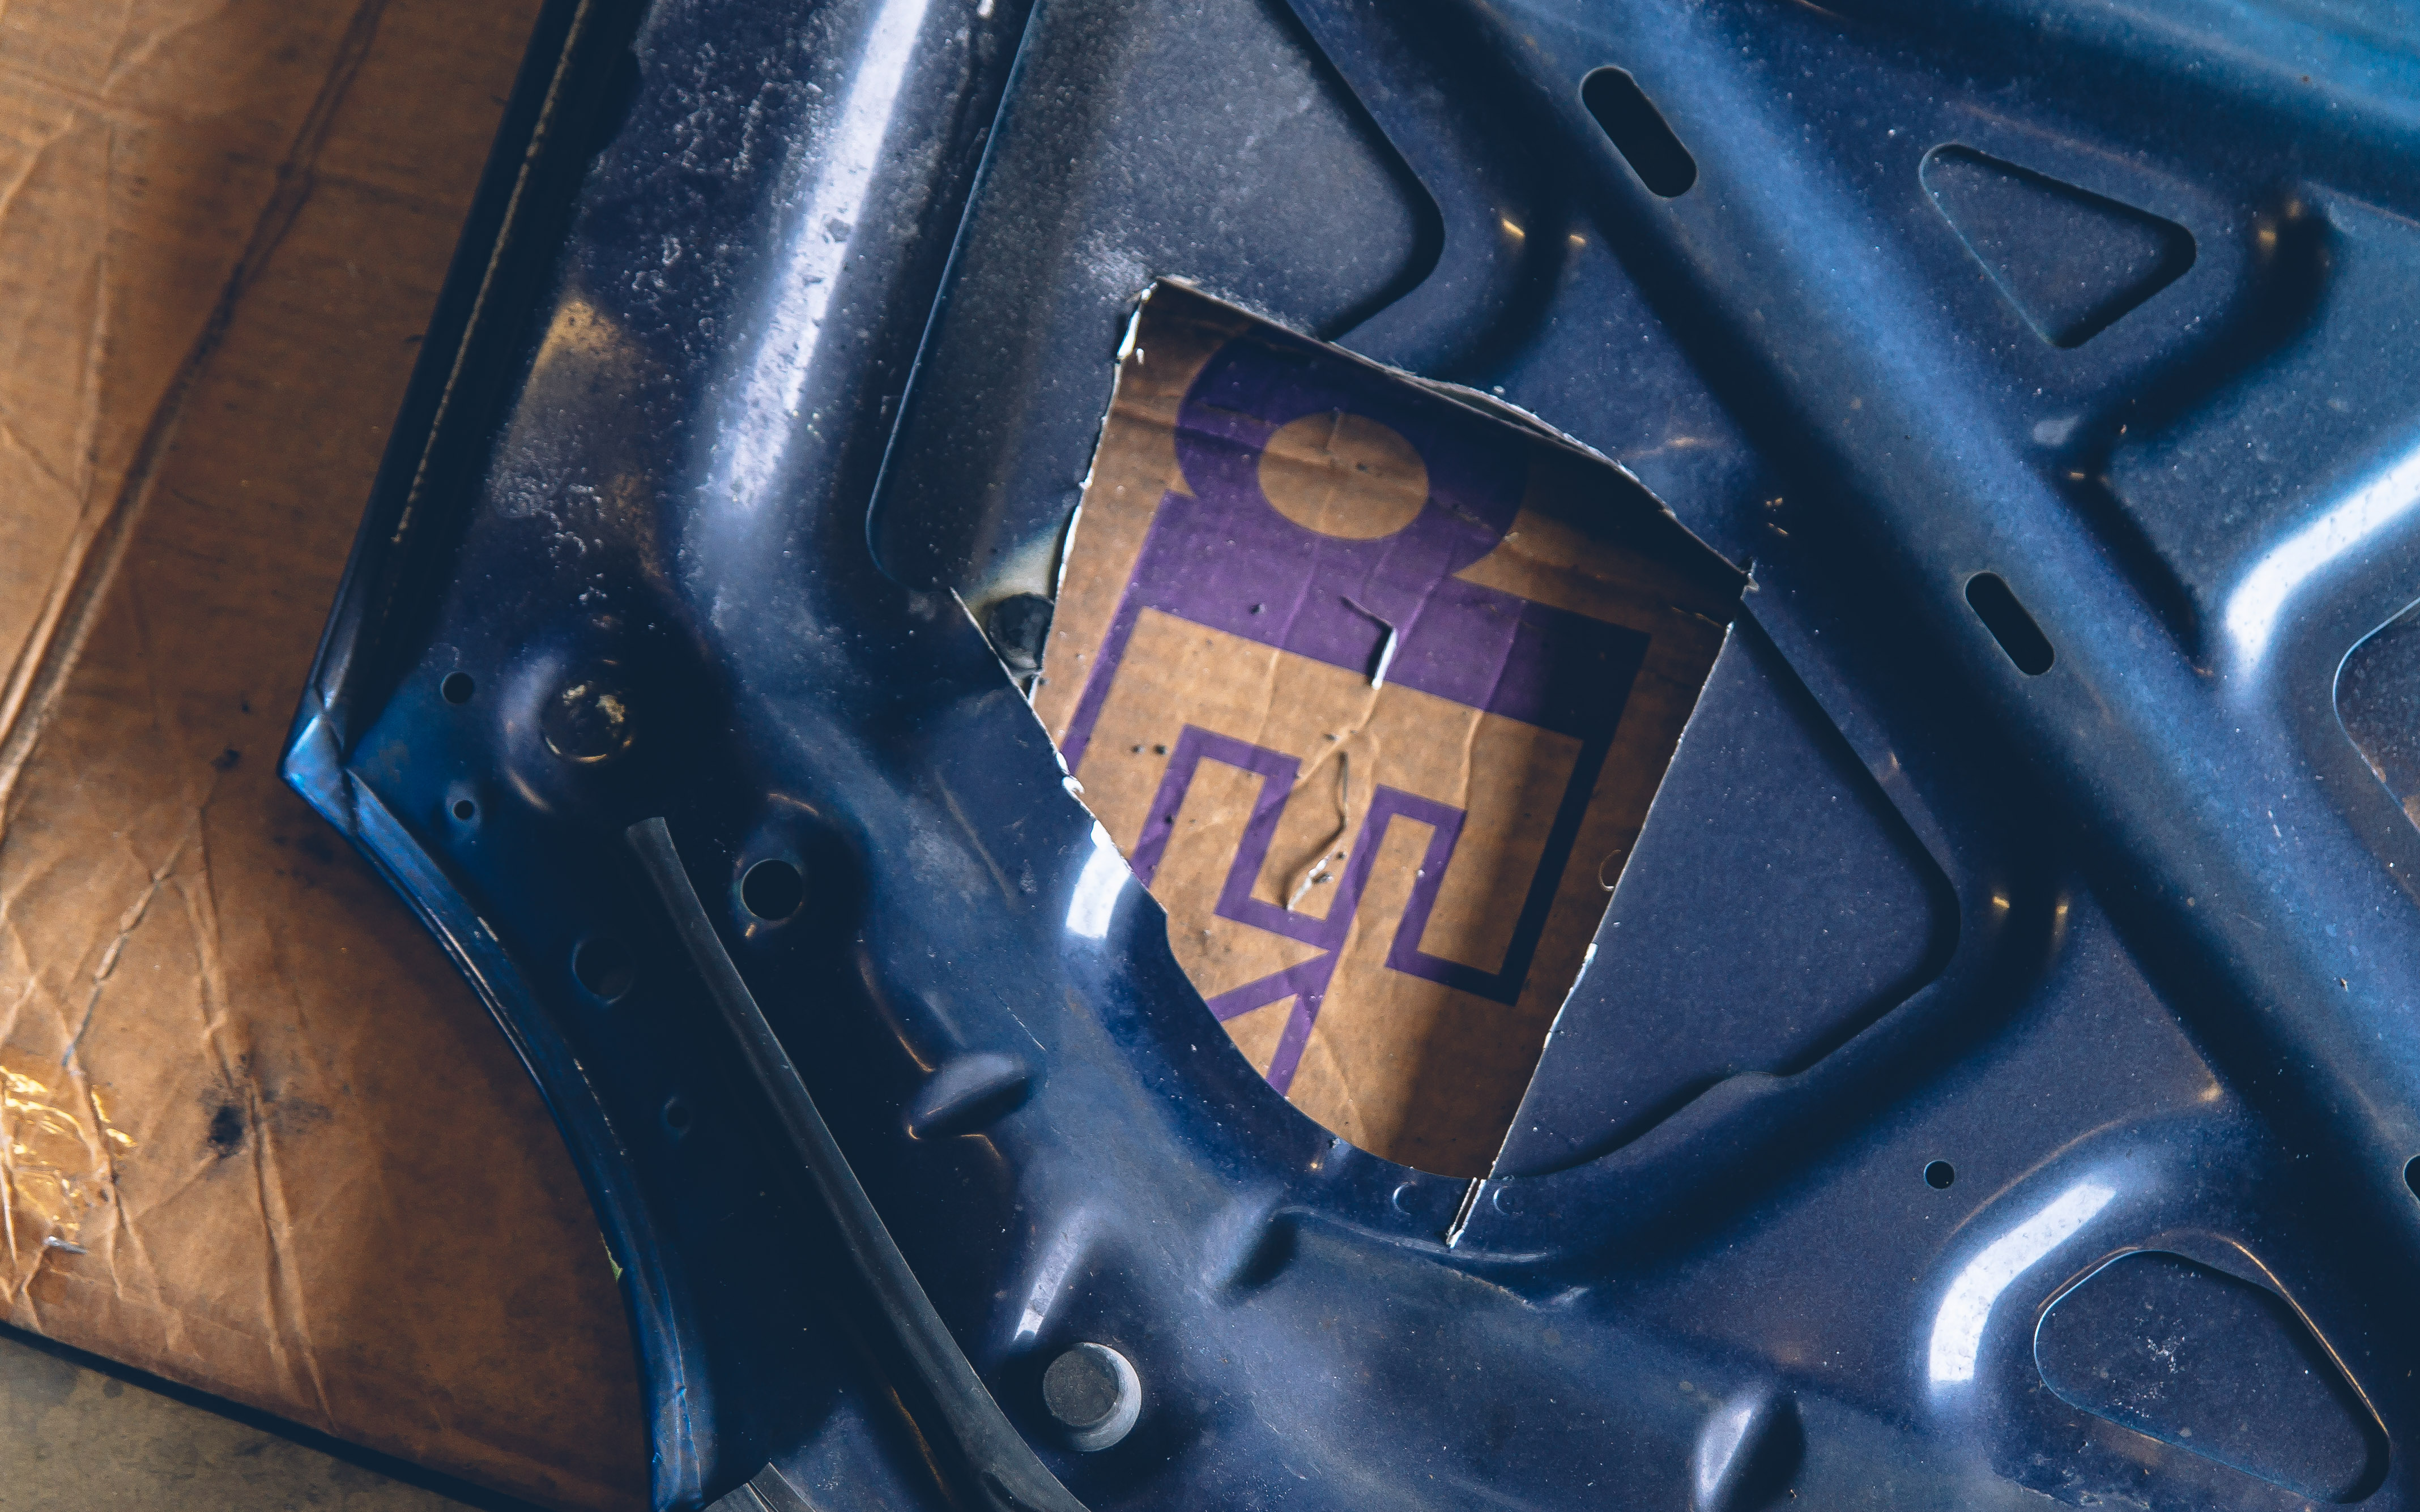
I didn’t want to remove too much bracing material from the front of the hood, so I kept those cuts to a minimum. 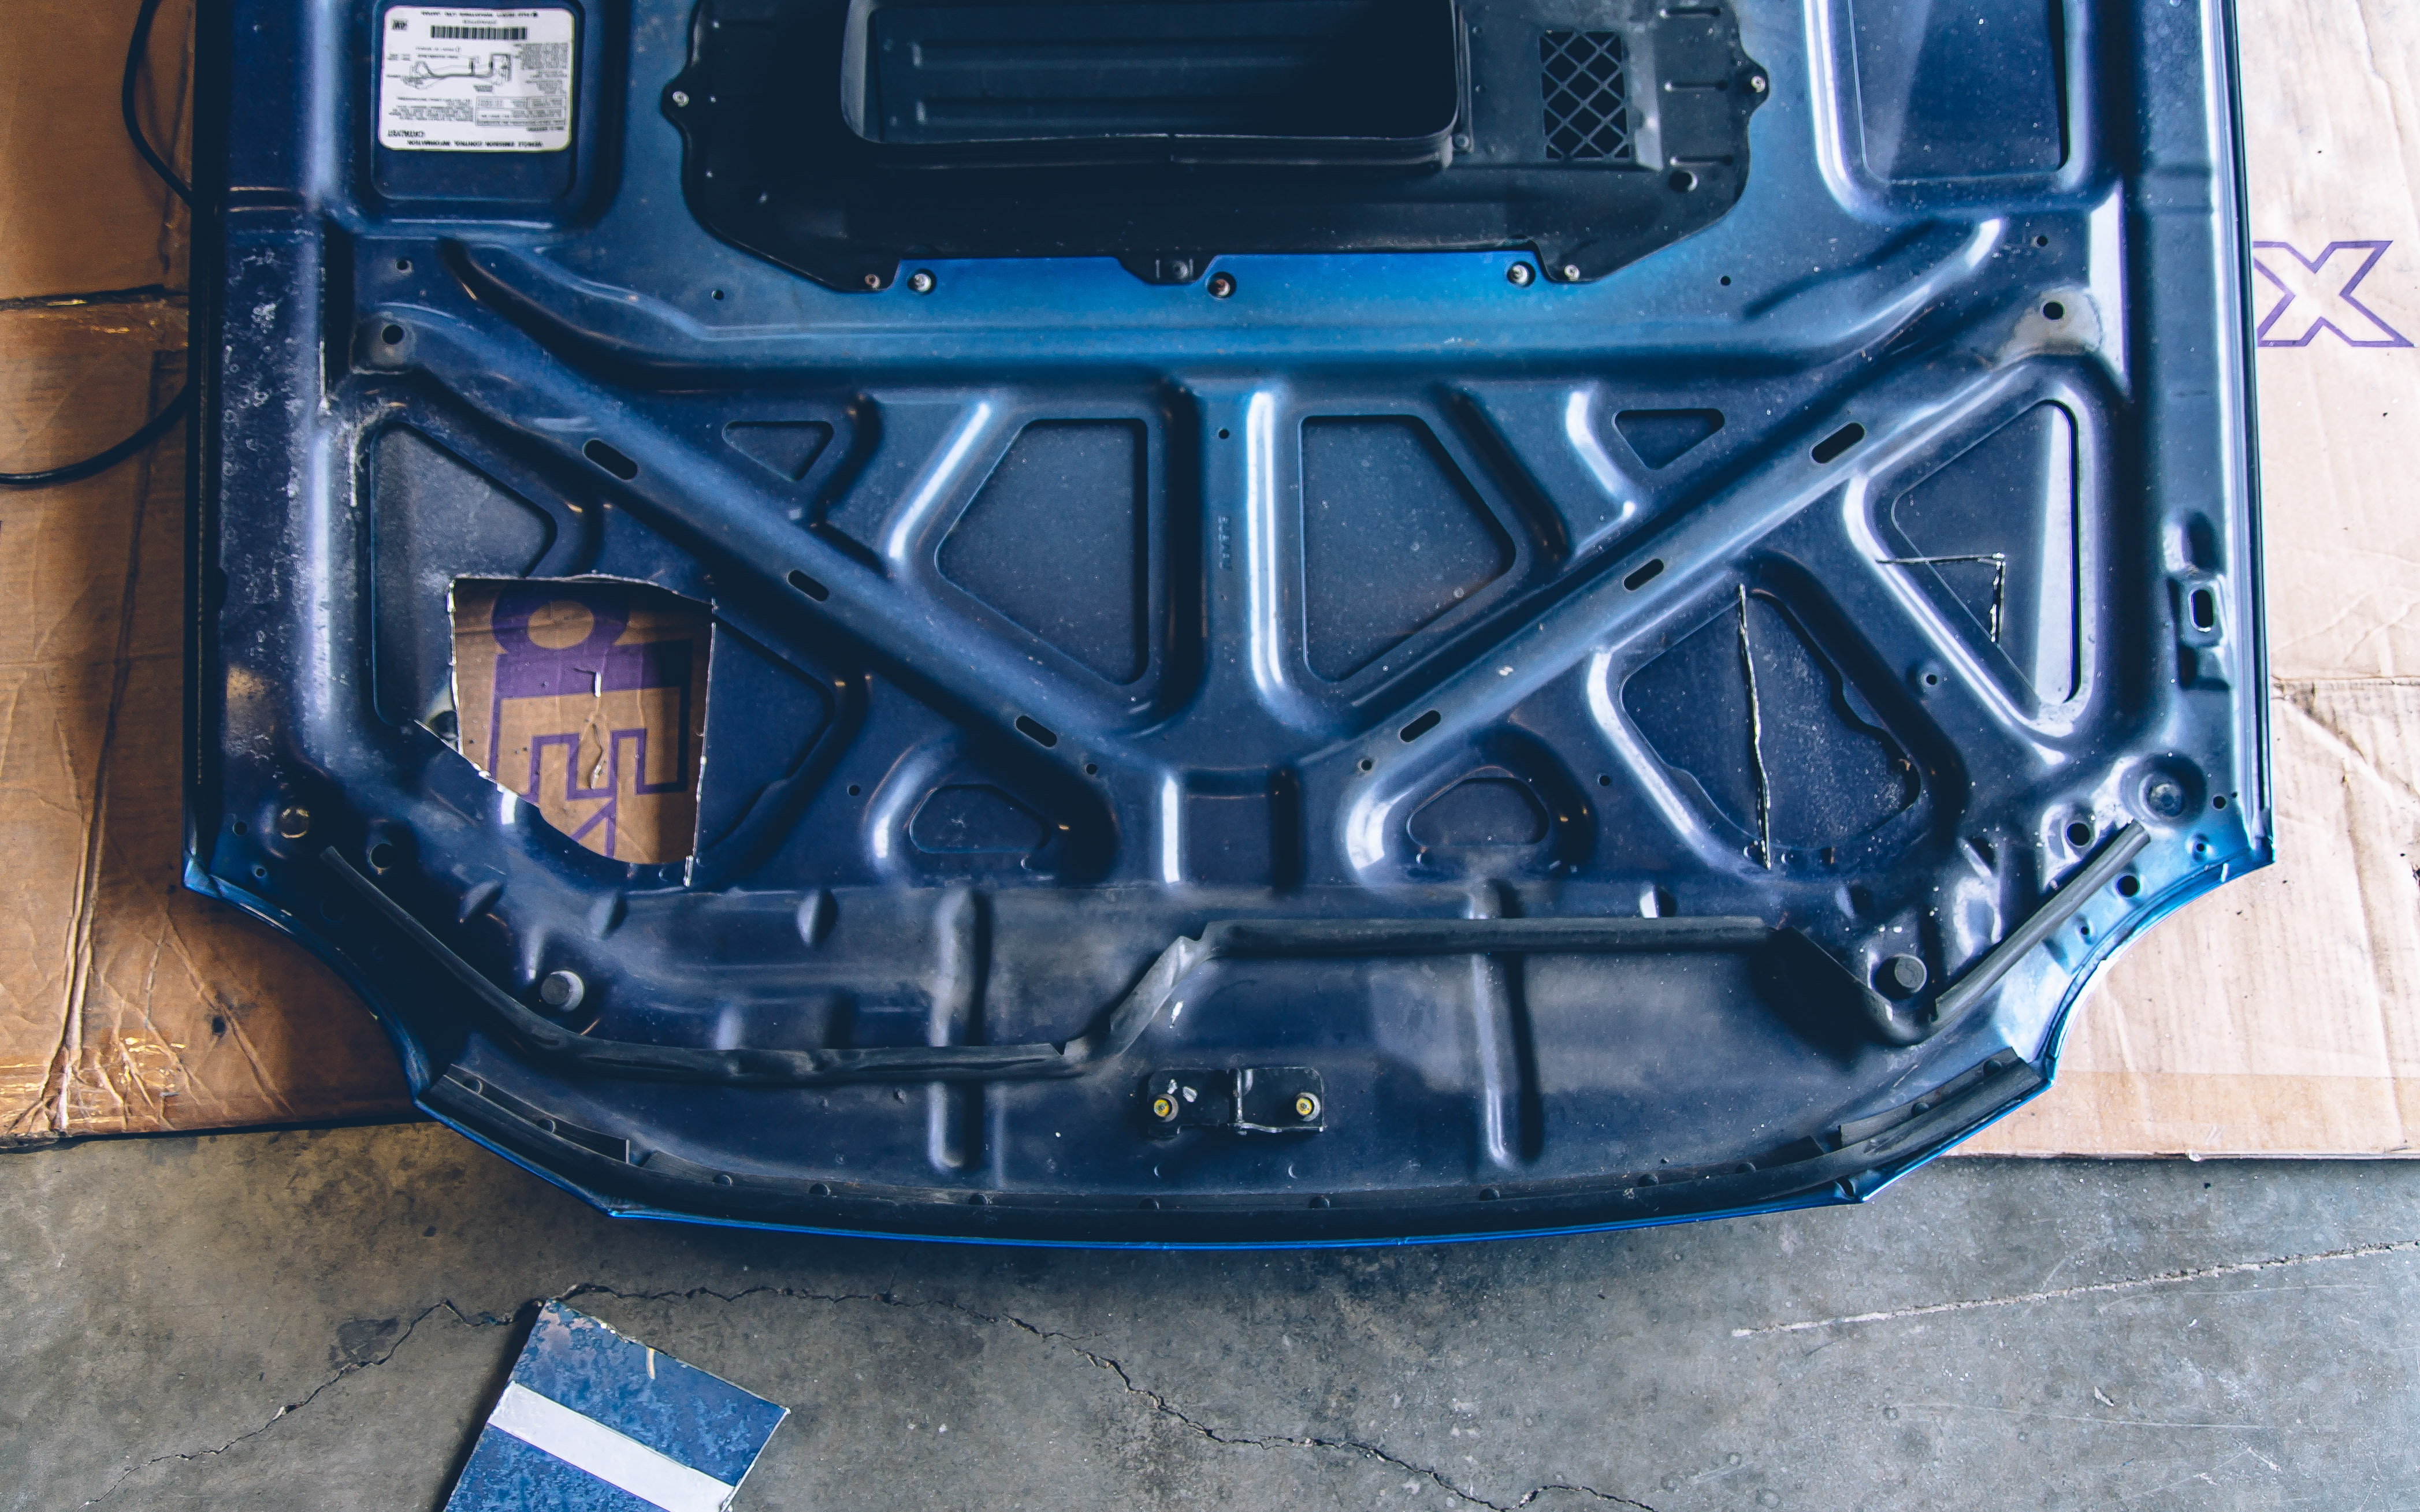
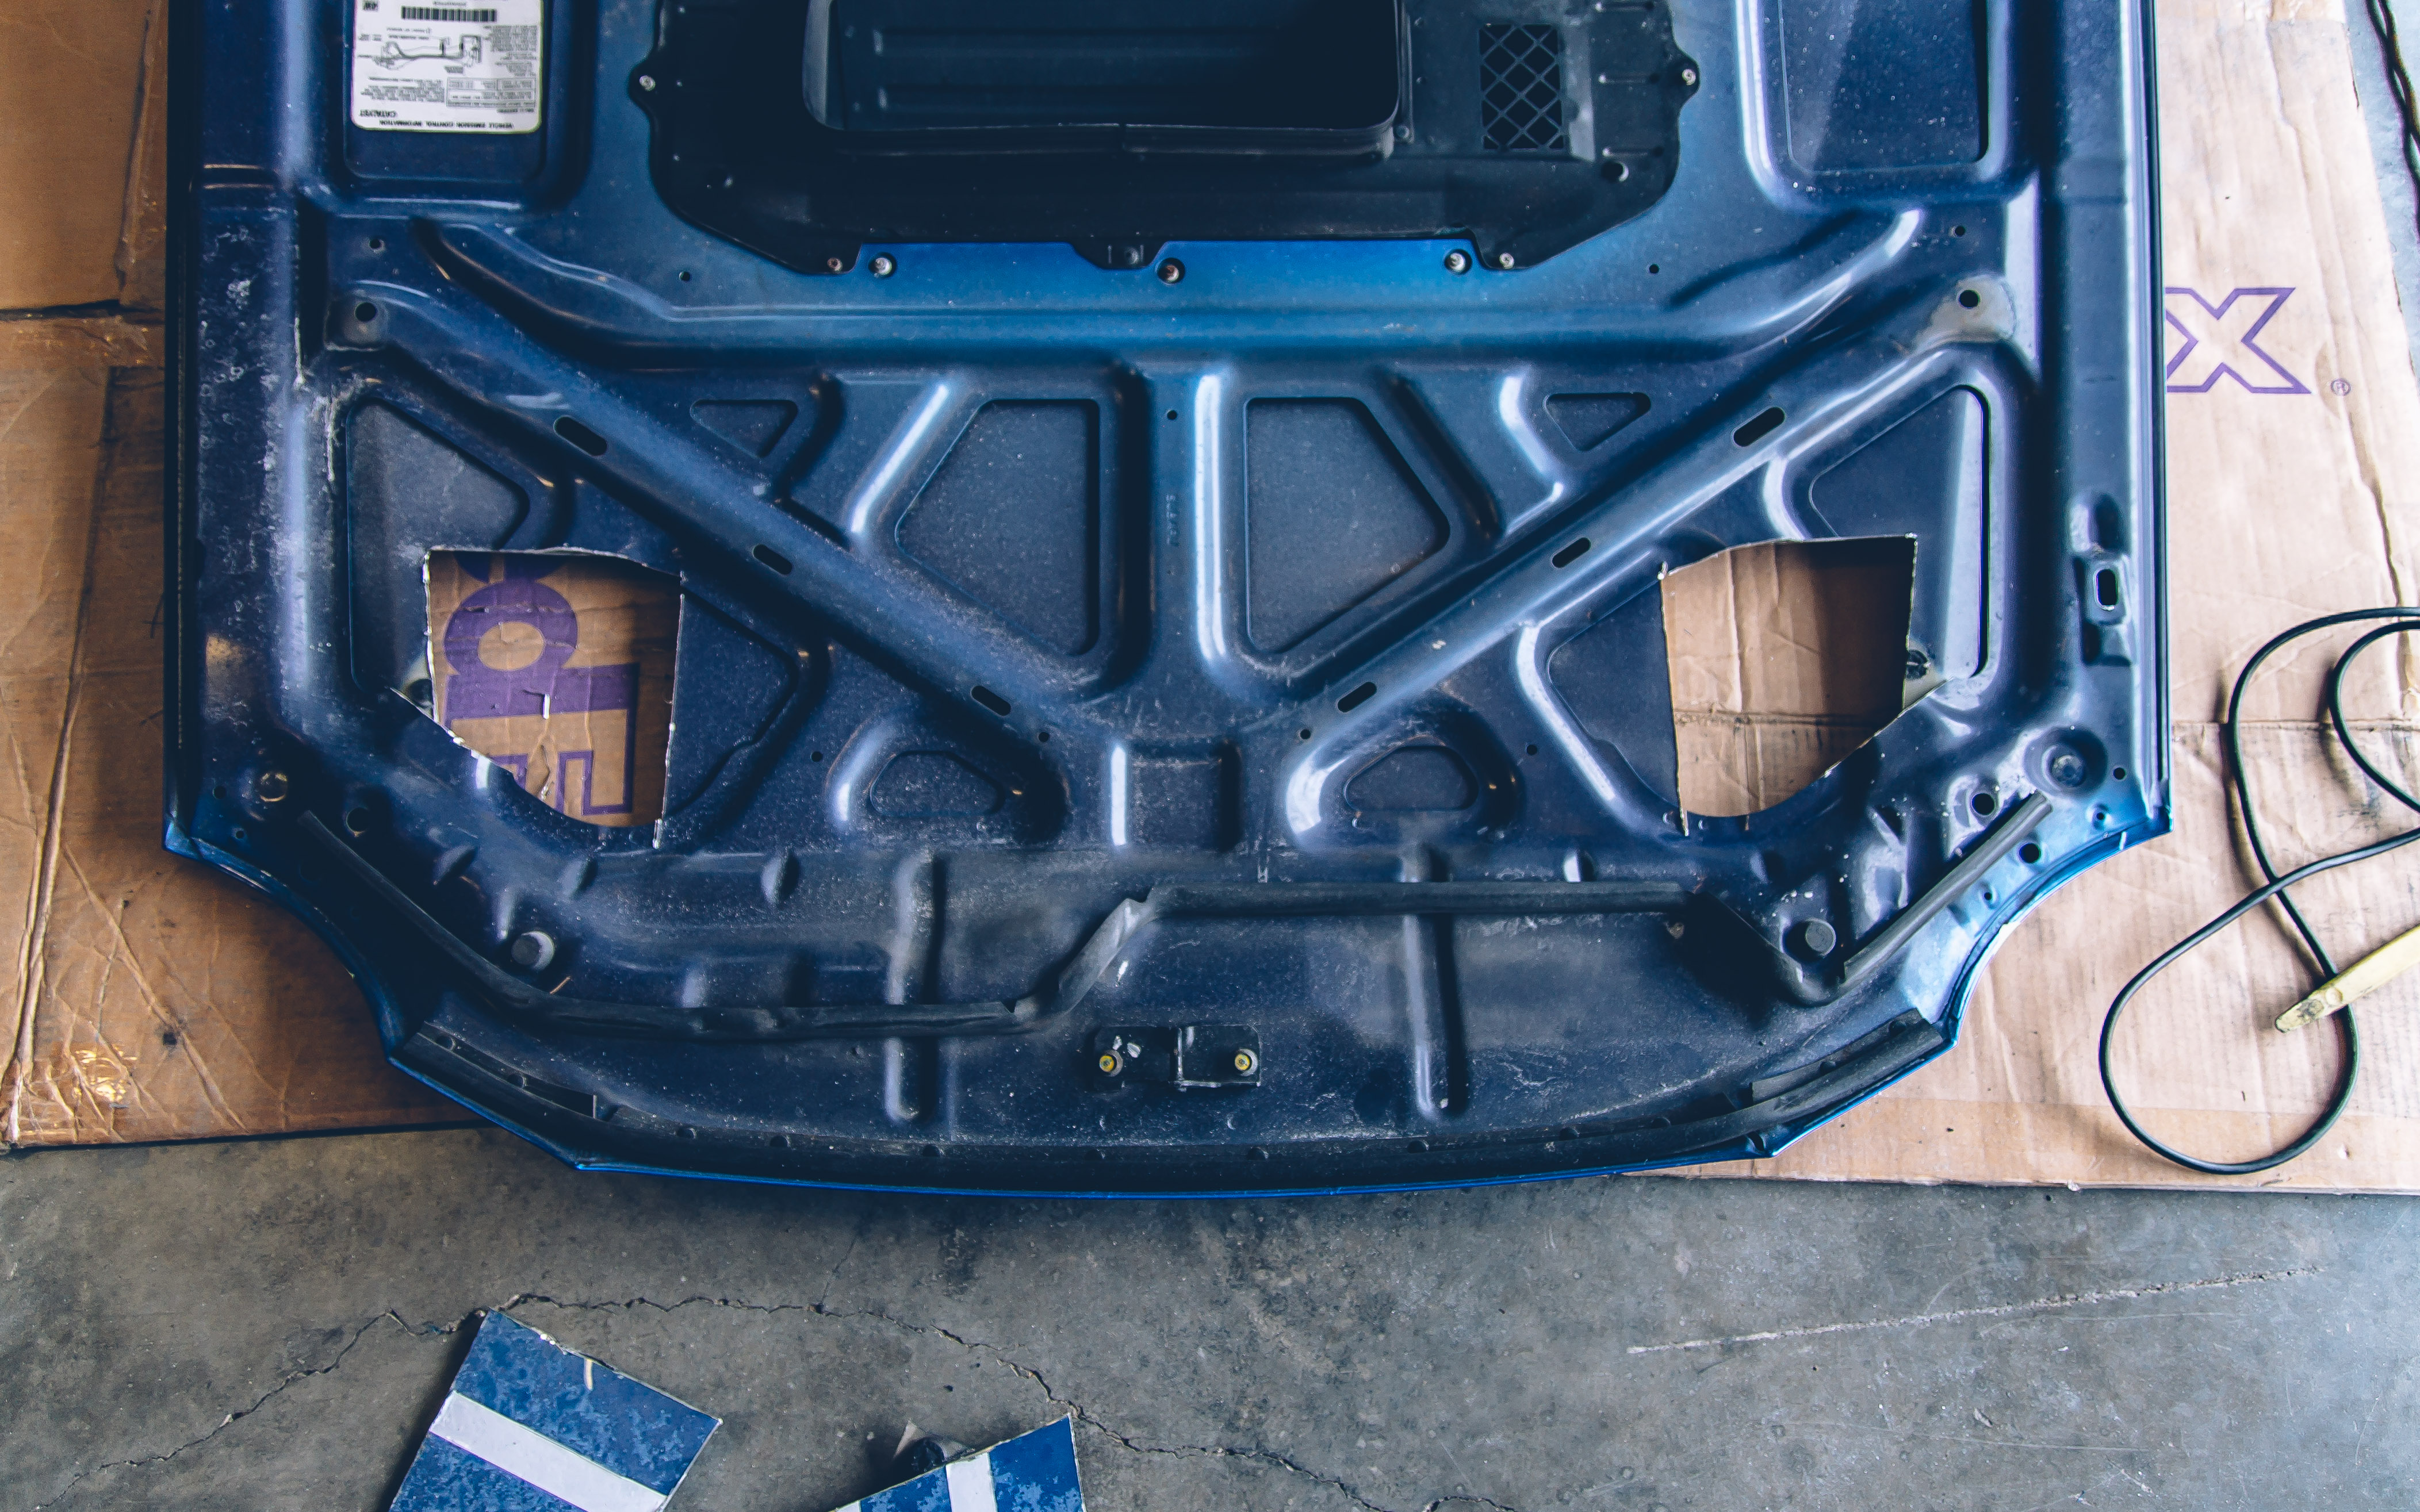
However, you can see that more material needed to be removed from the underside of the hood. 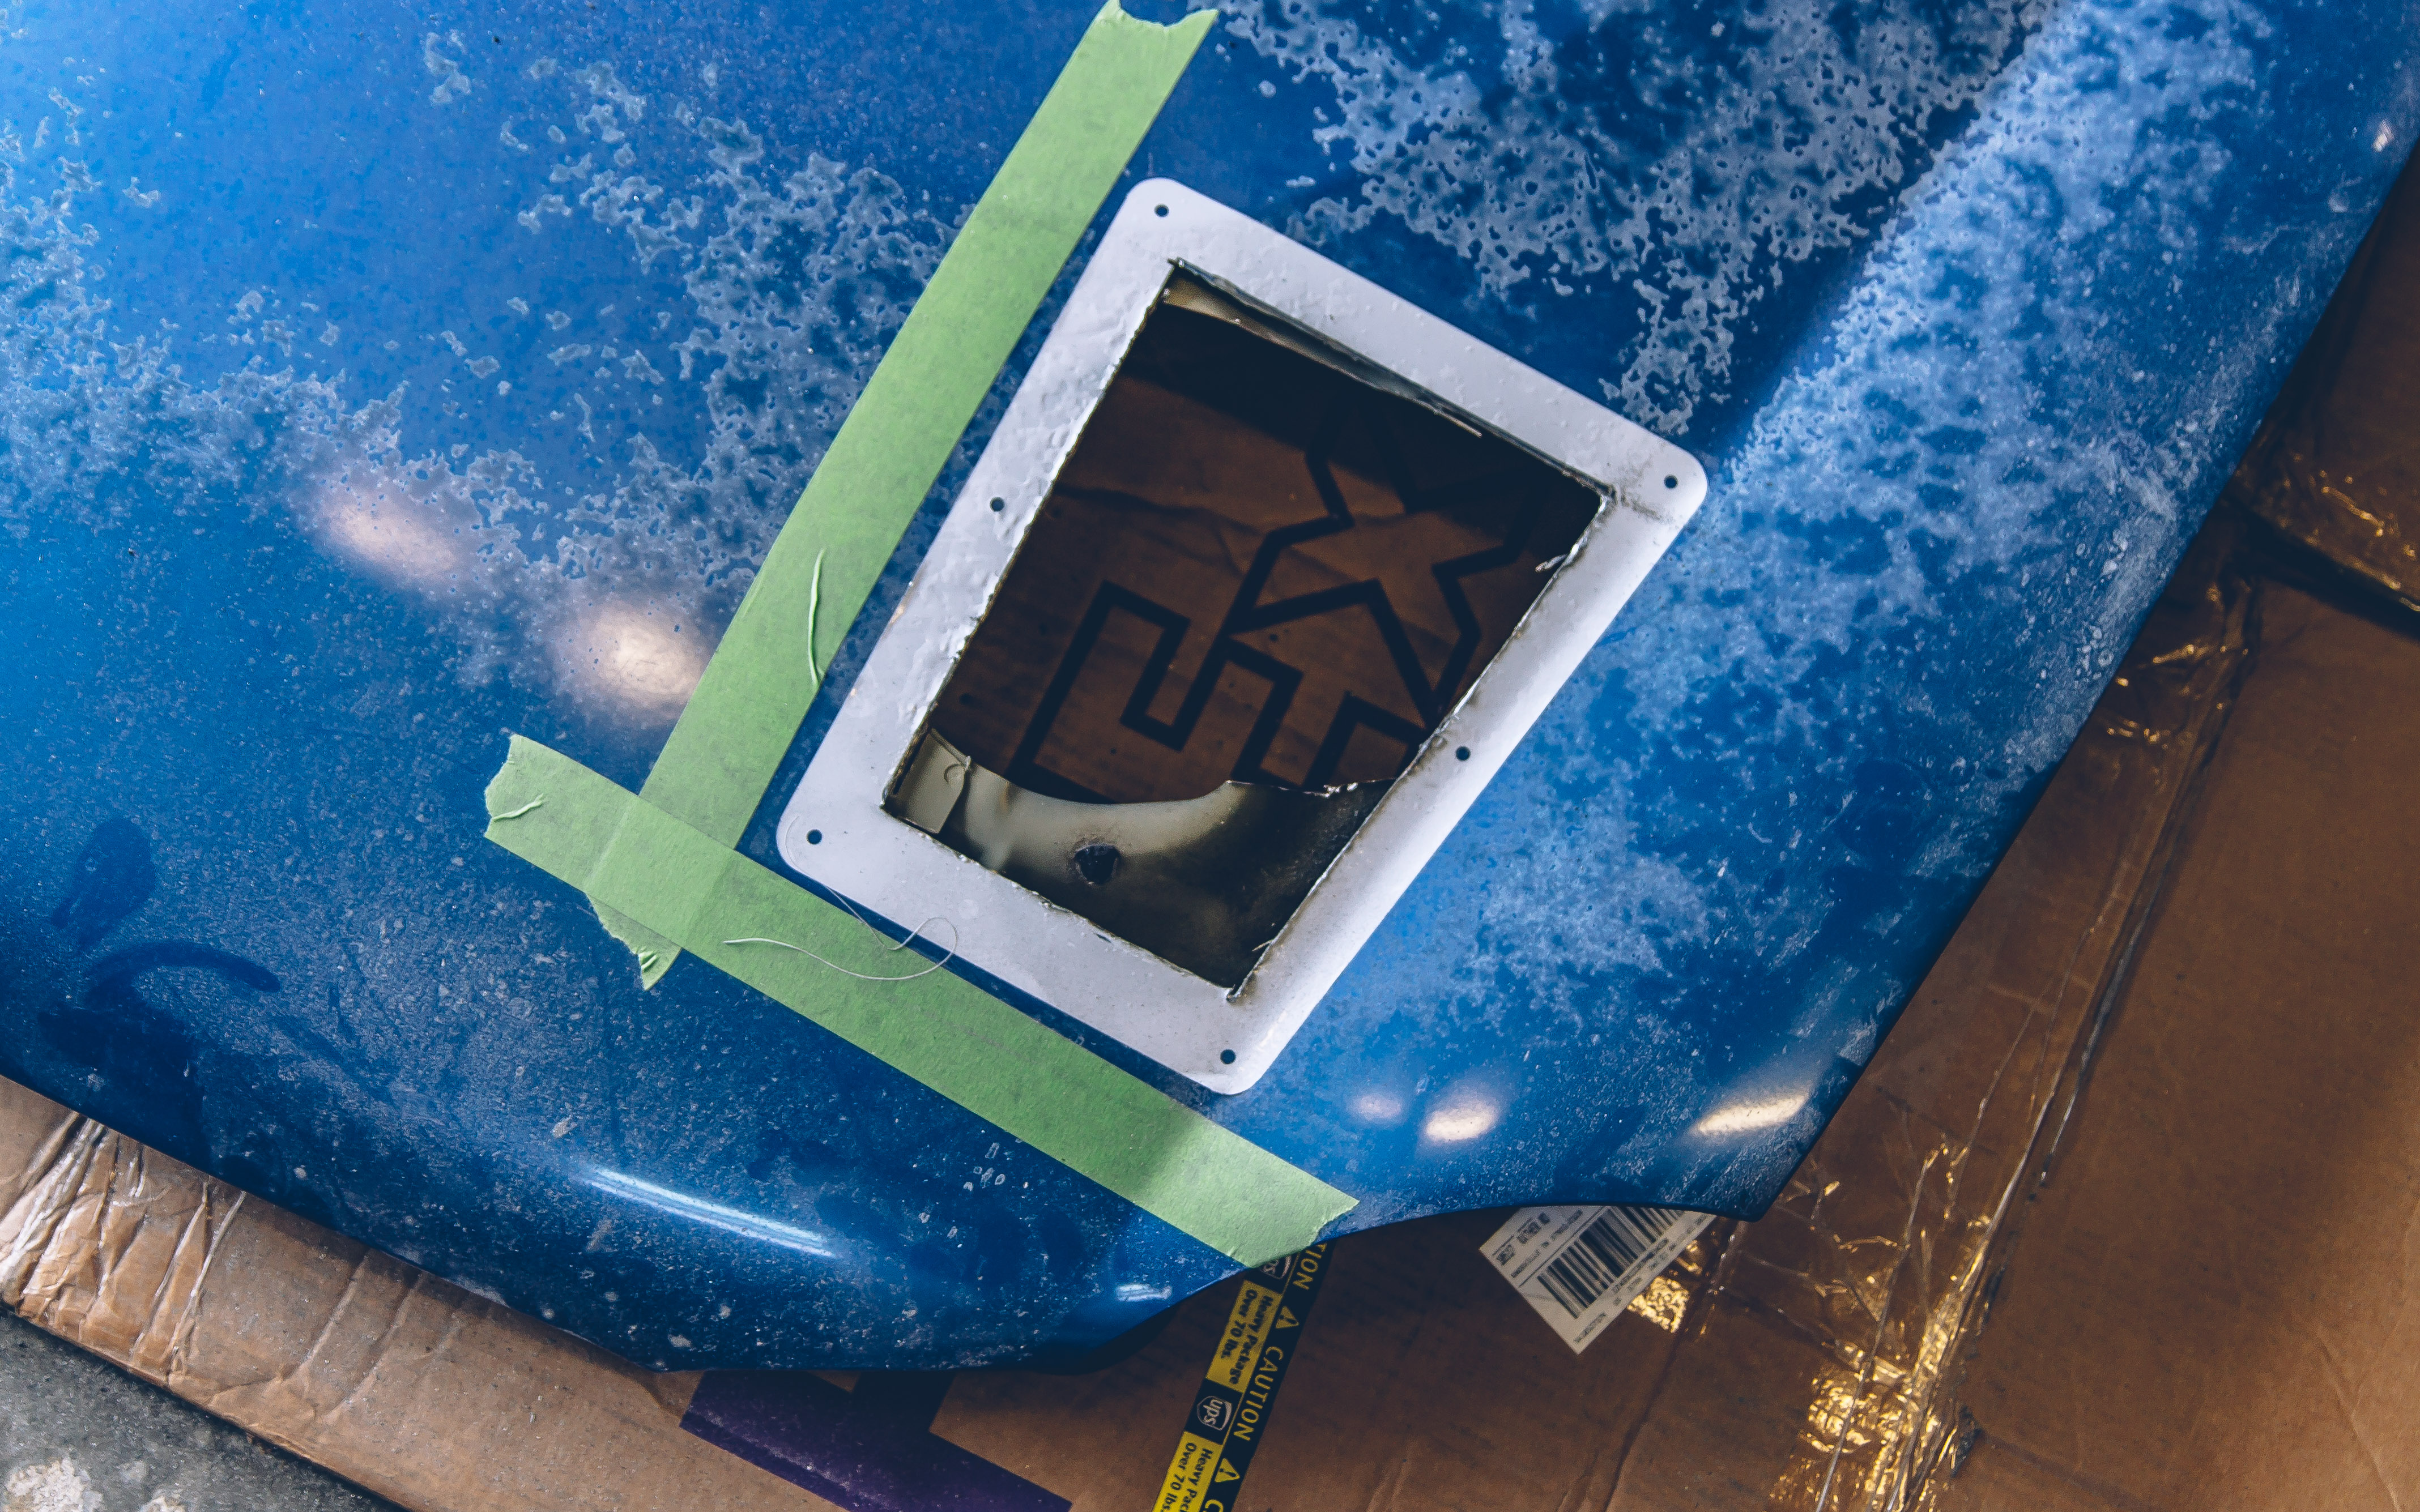
As with earlier, flip the hood over, cut out some material; flip it back over and double check your work. It’s easier to remove more material than to add material back on. 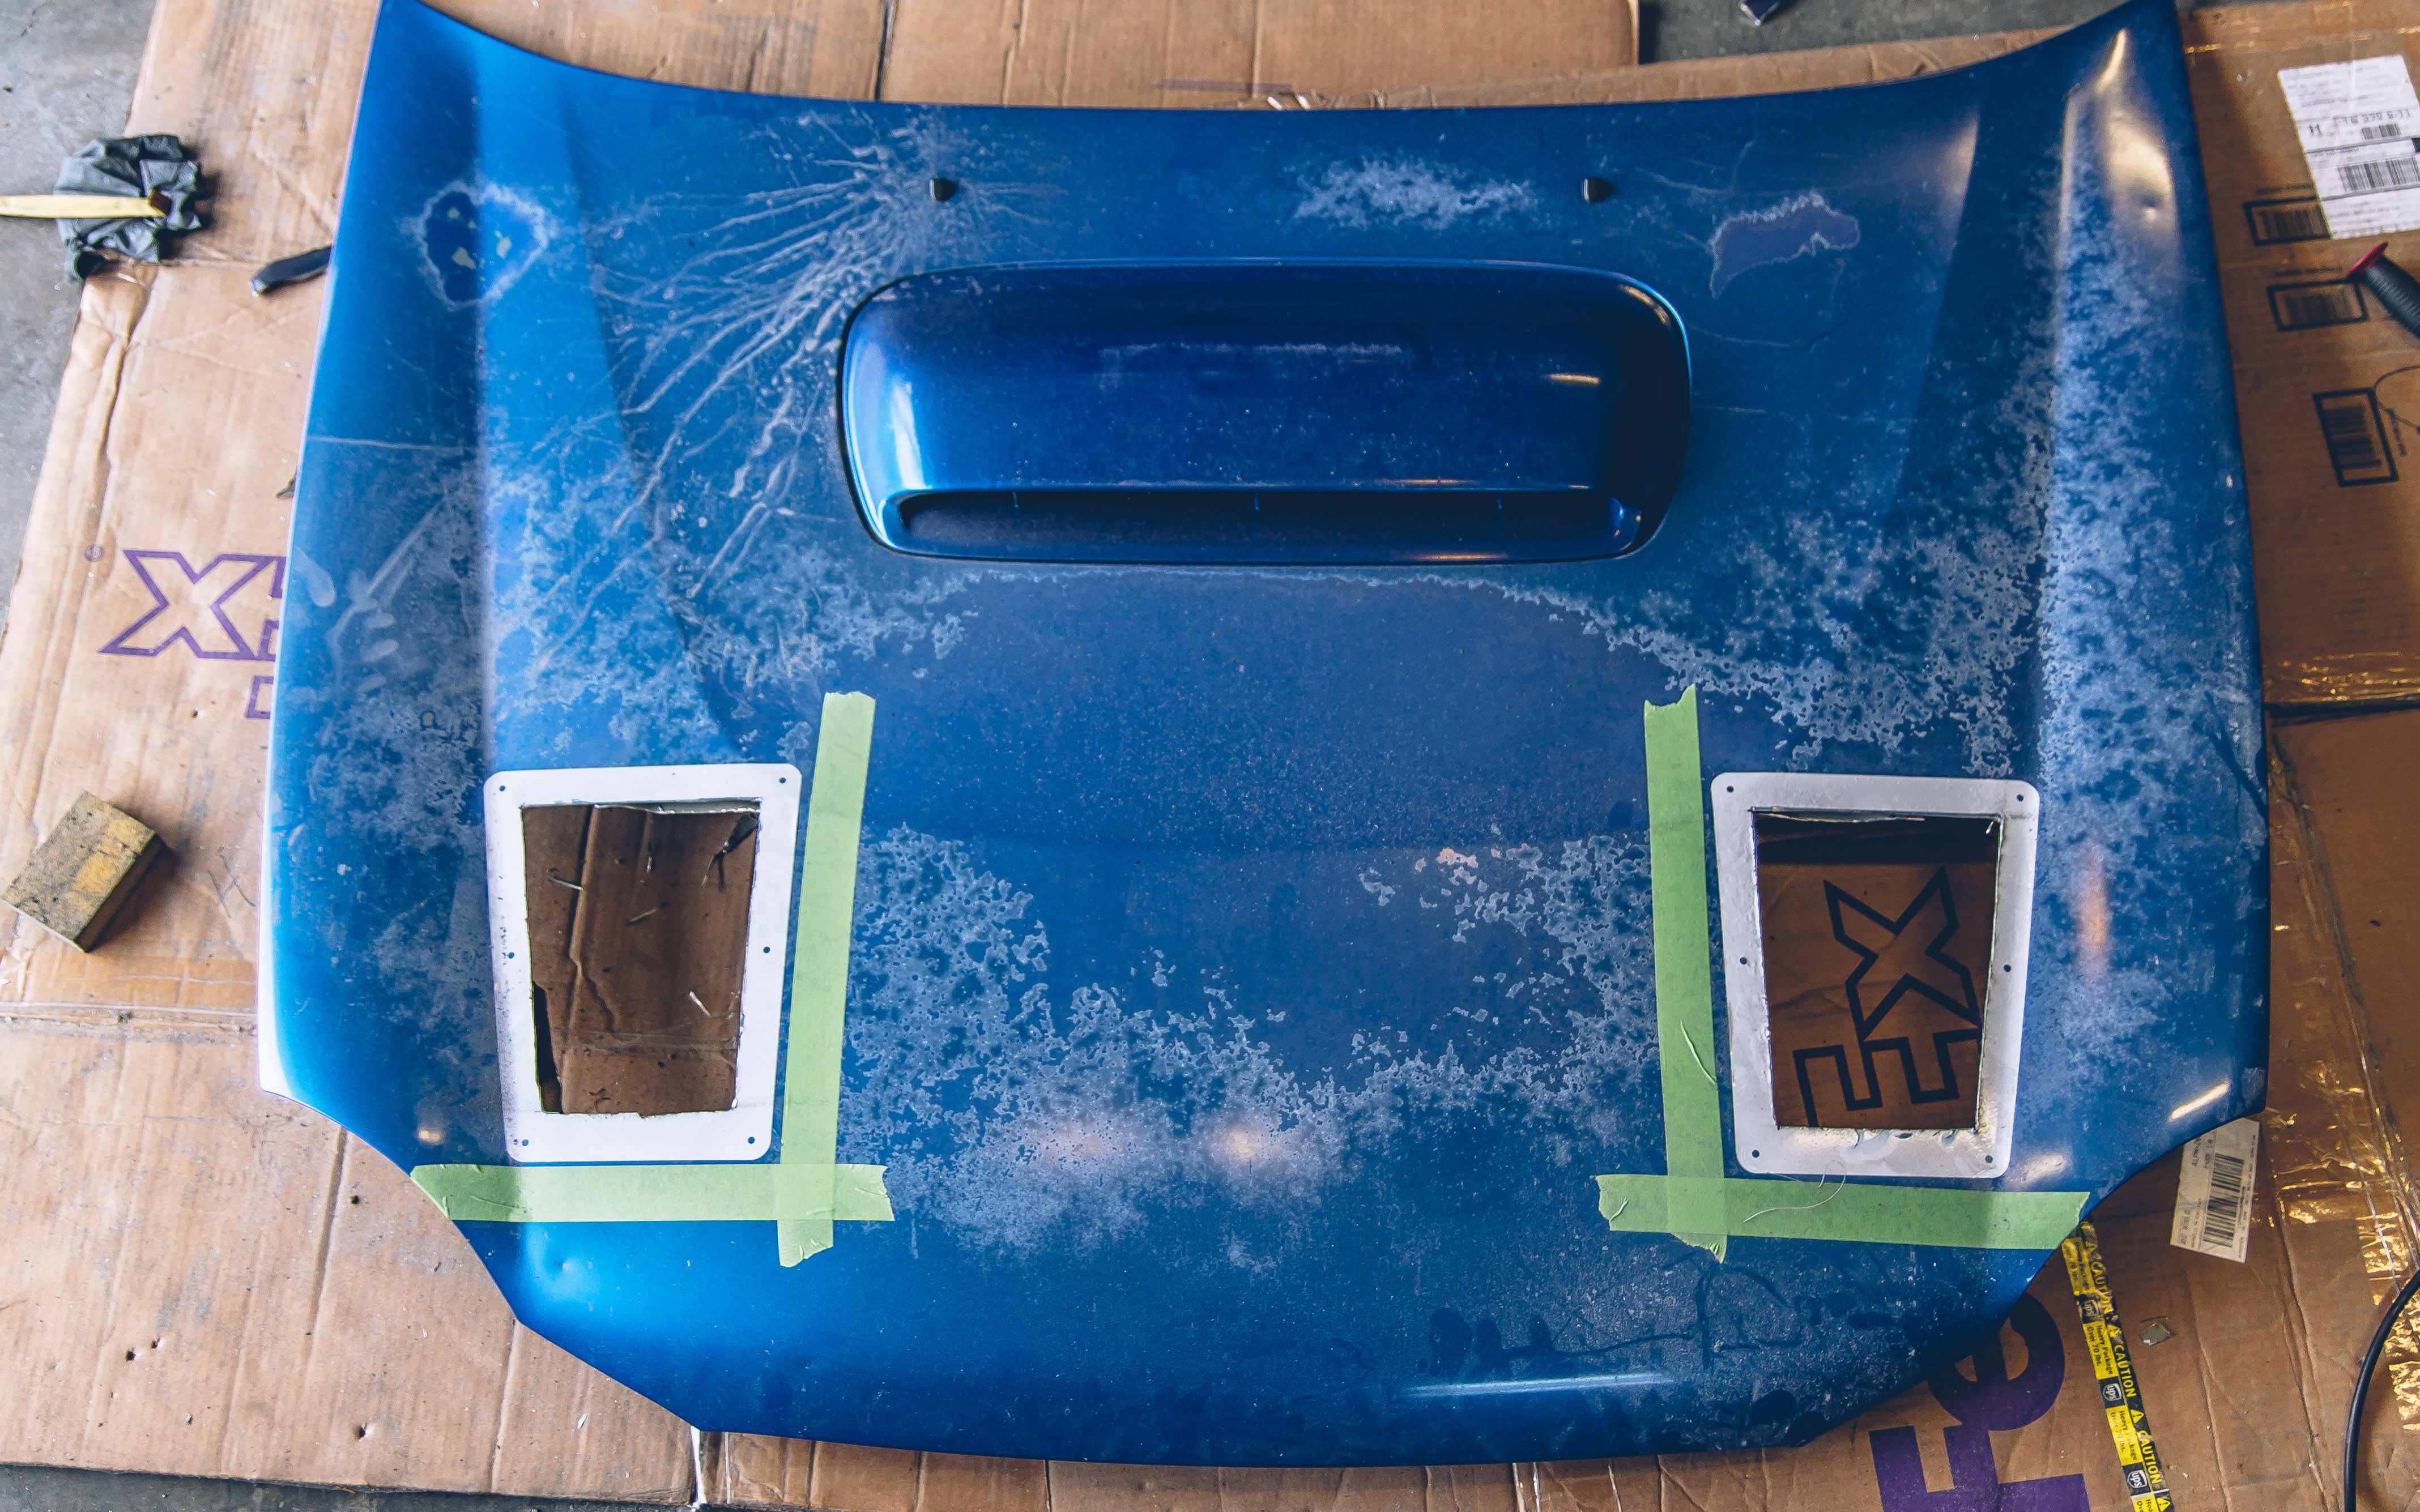
Now that the vents sit flush in the opening, the mounting holes can be drilled. The best way would be to mark the locations; use a center punch to keep your drill from walking, and then drill out the holes. I drilled one hole with the vent in place, bolted it down and then drill out the rest and removed the vents to clean out the metal shavings.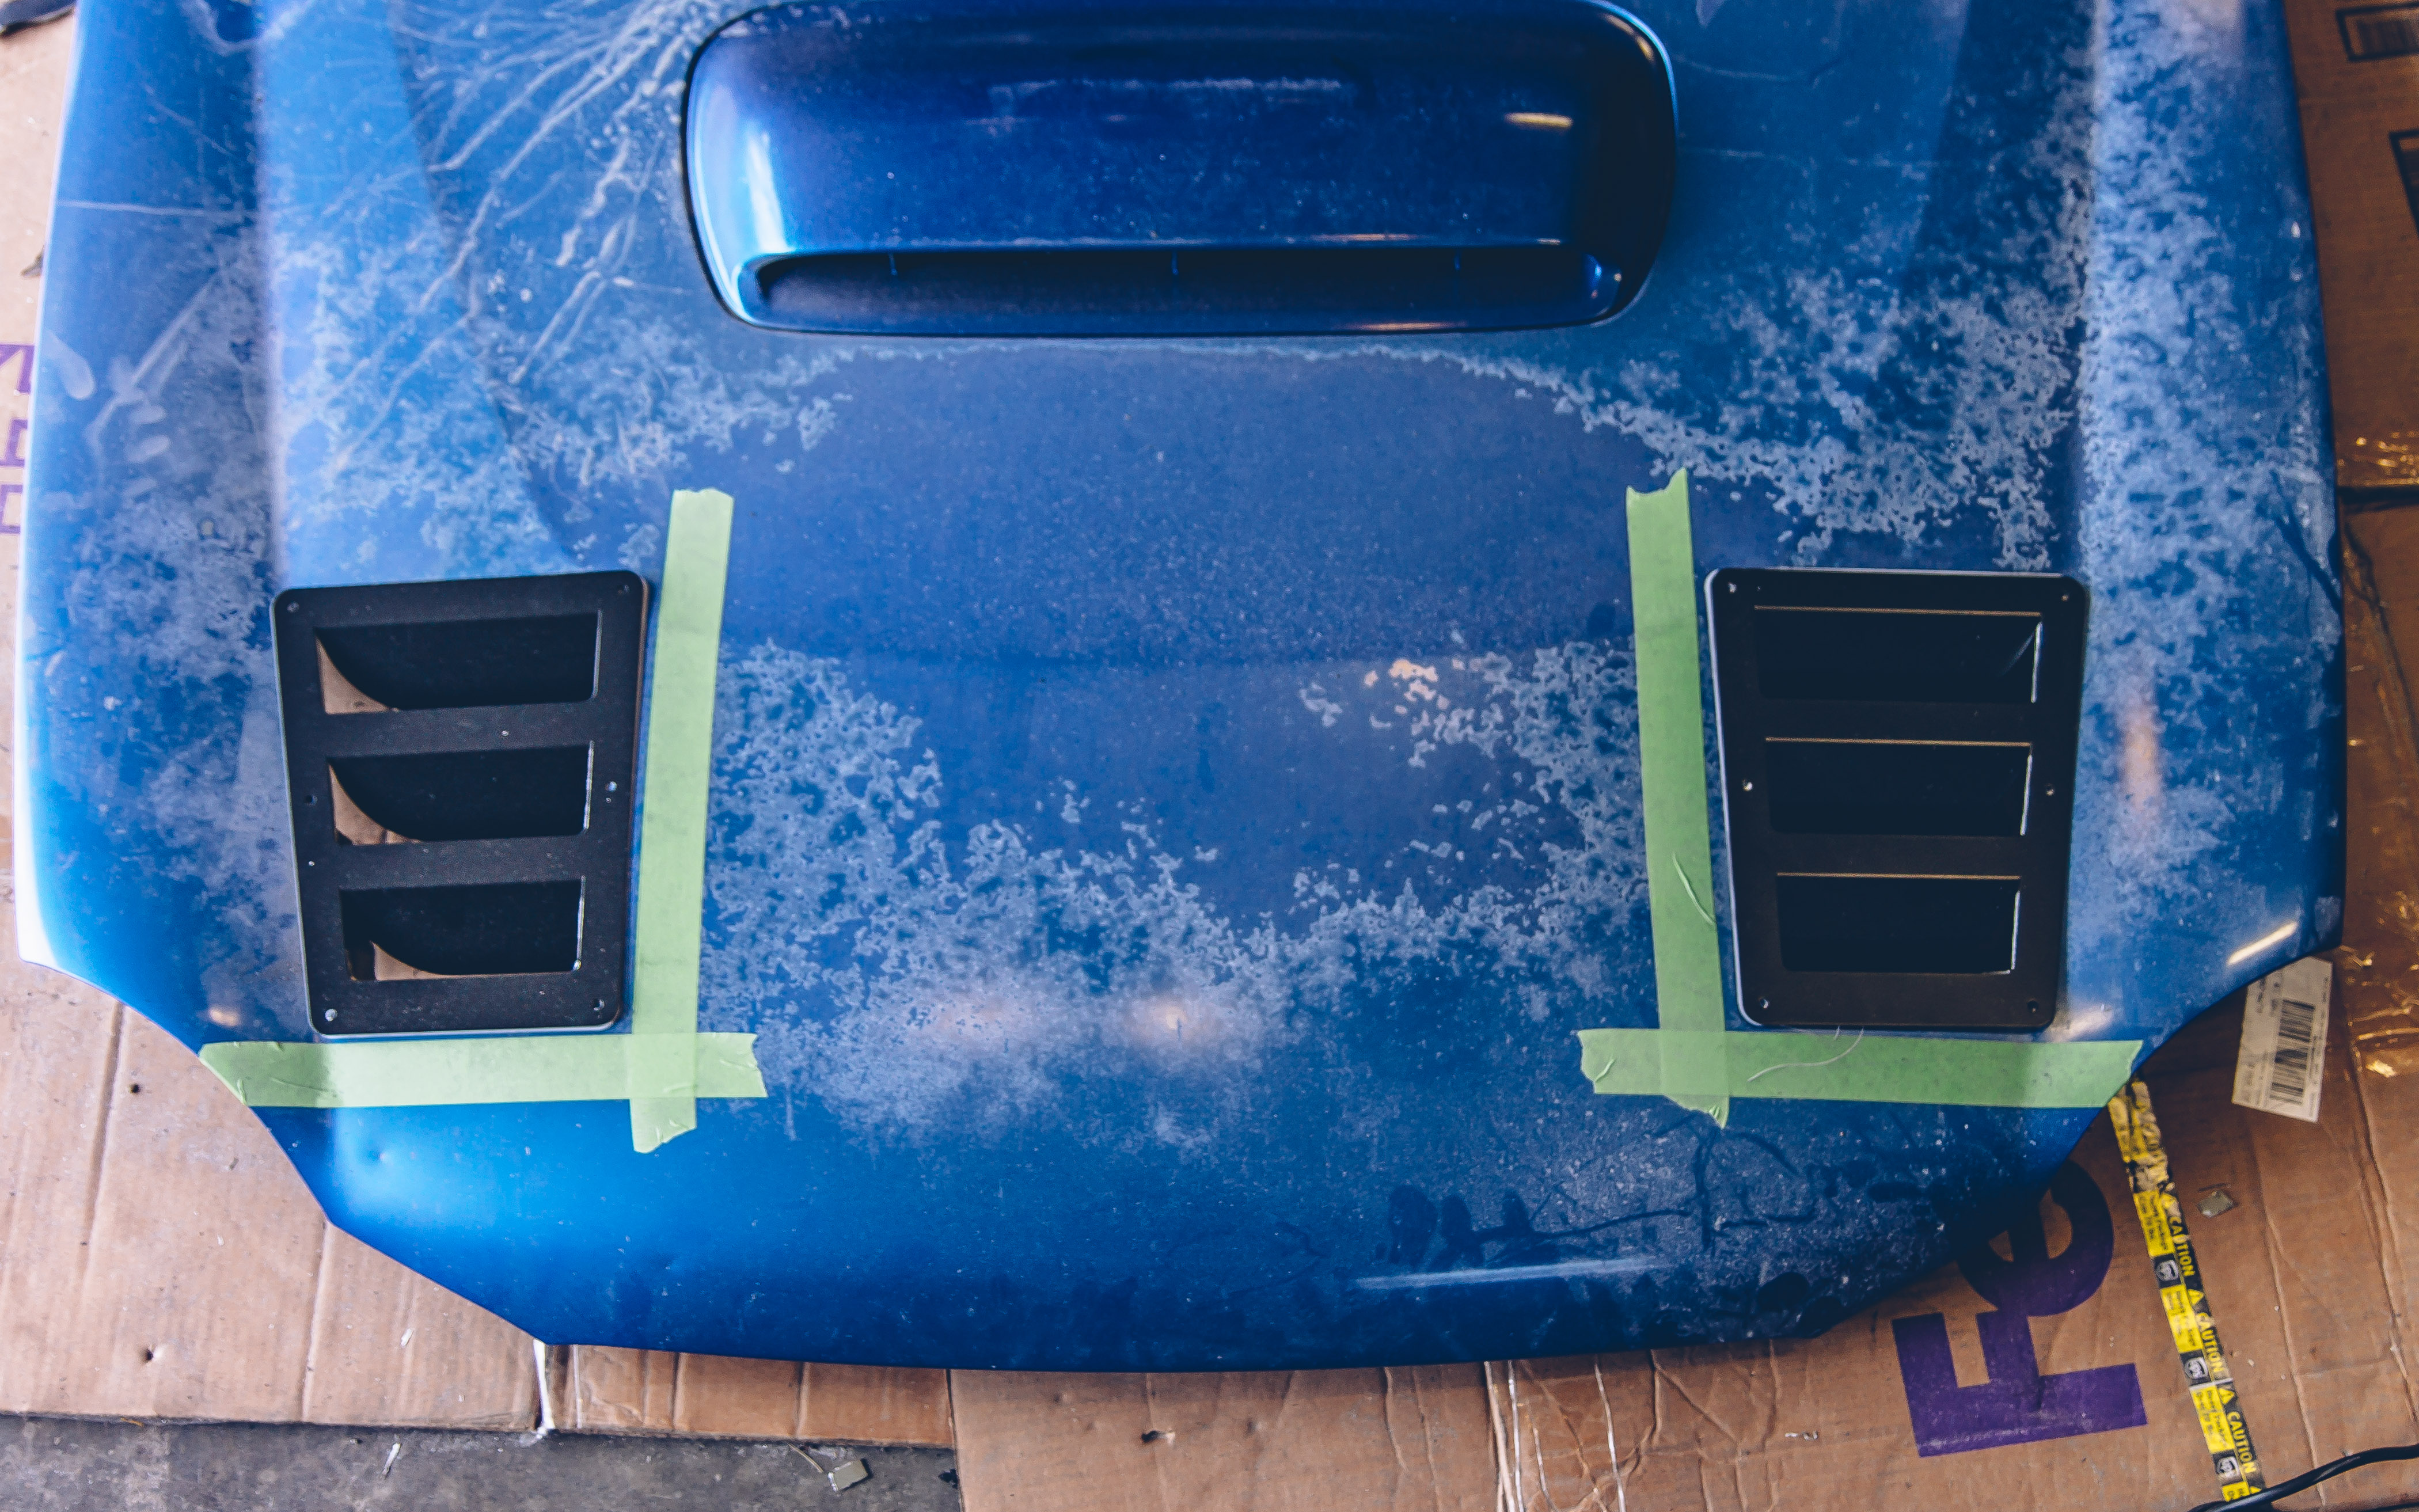
Then install the bolts and nuts. Some are kind of difficult to get to, so my plan is to install rivserts in place of the nuts so I can remove the vents without worrying about dropping a tiny M5 nut into my engine bay or into the underbracing of the hood. And if I decide to replace the vents with covers in the winter, that will be a lot easier to do with rivserts.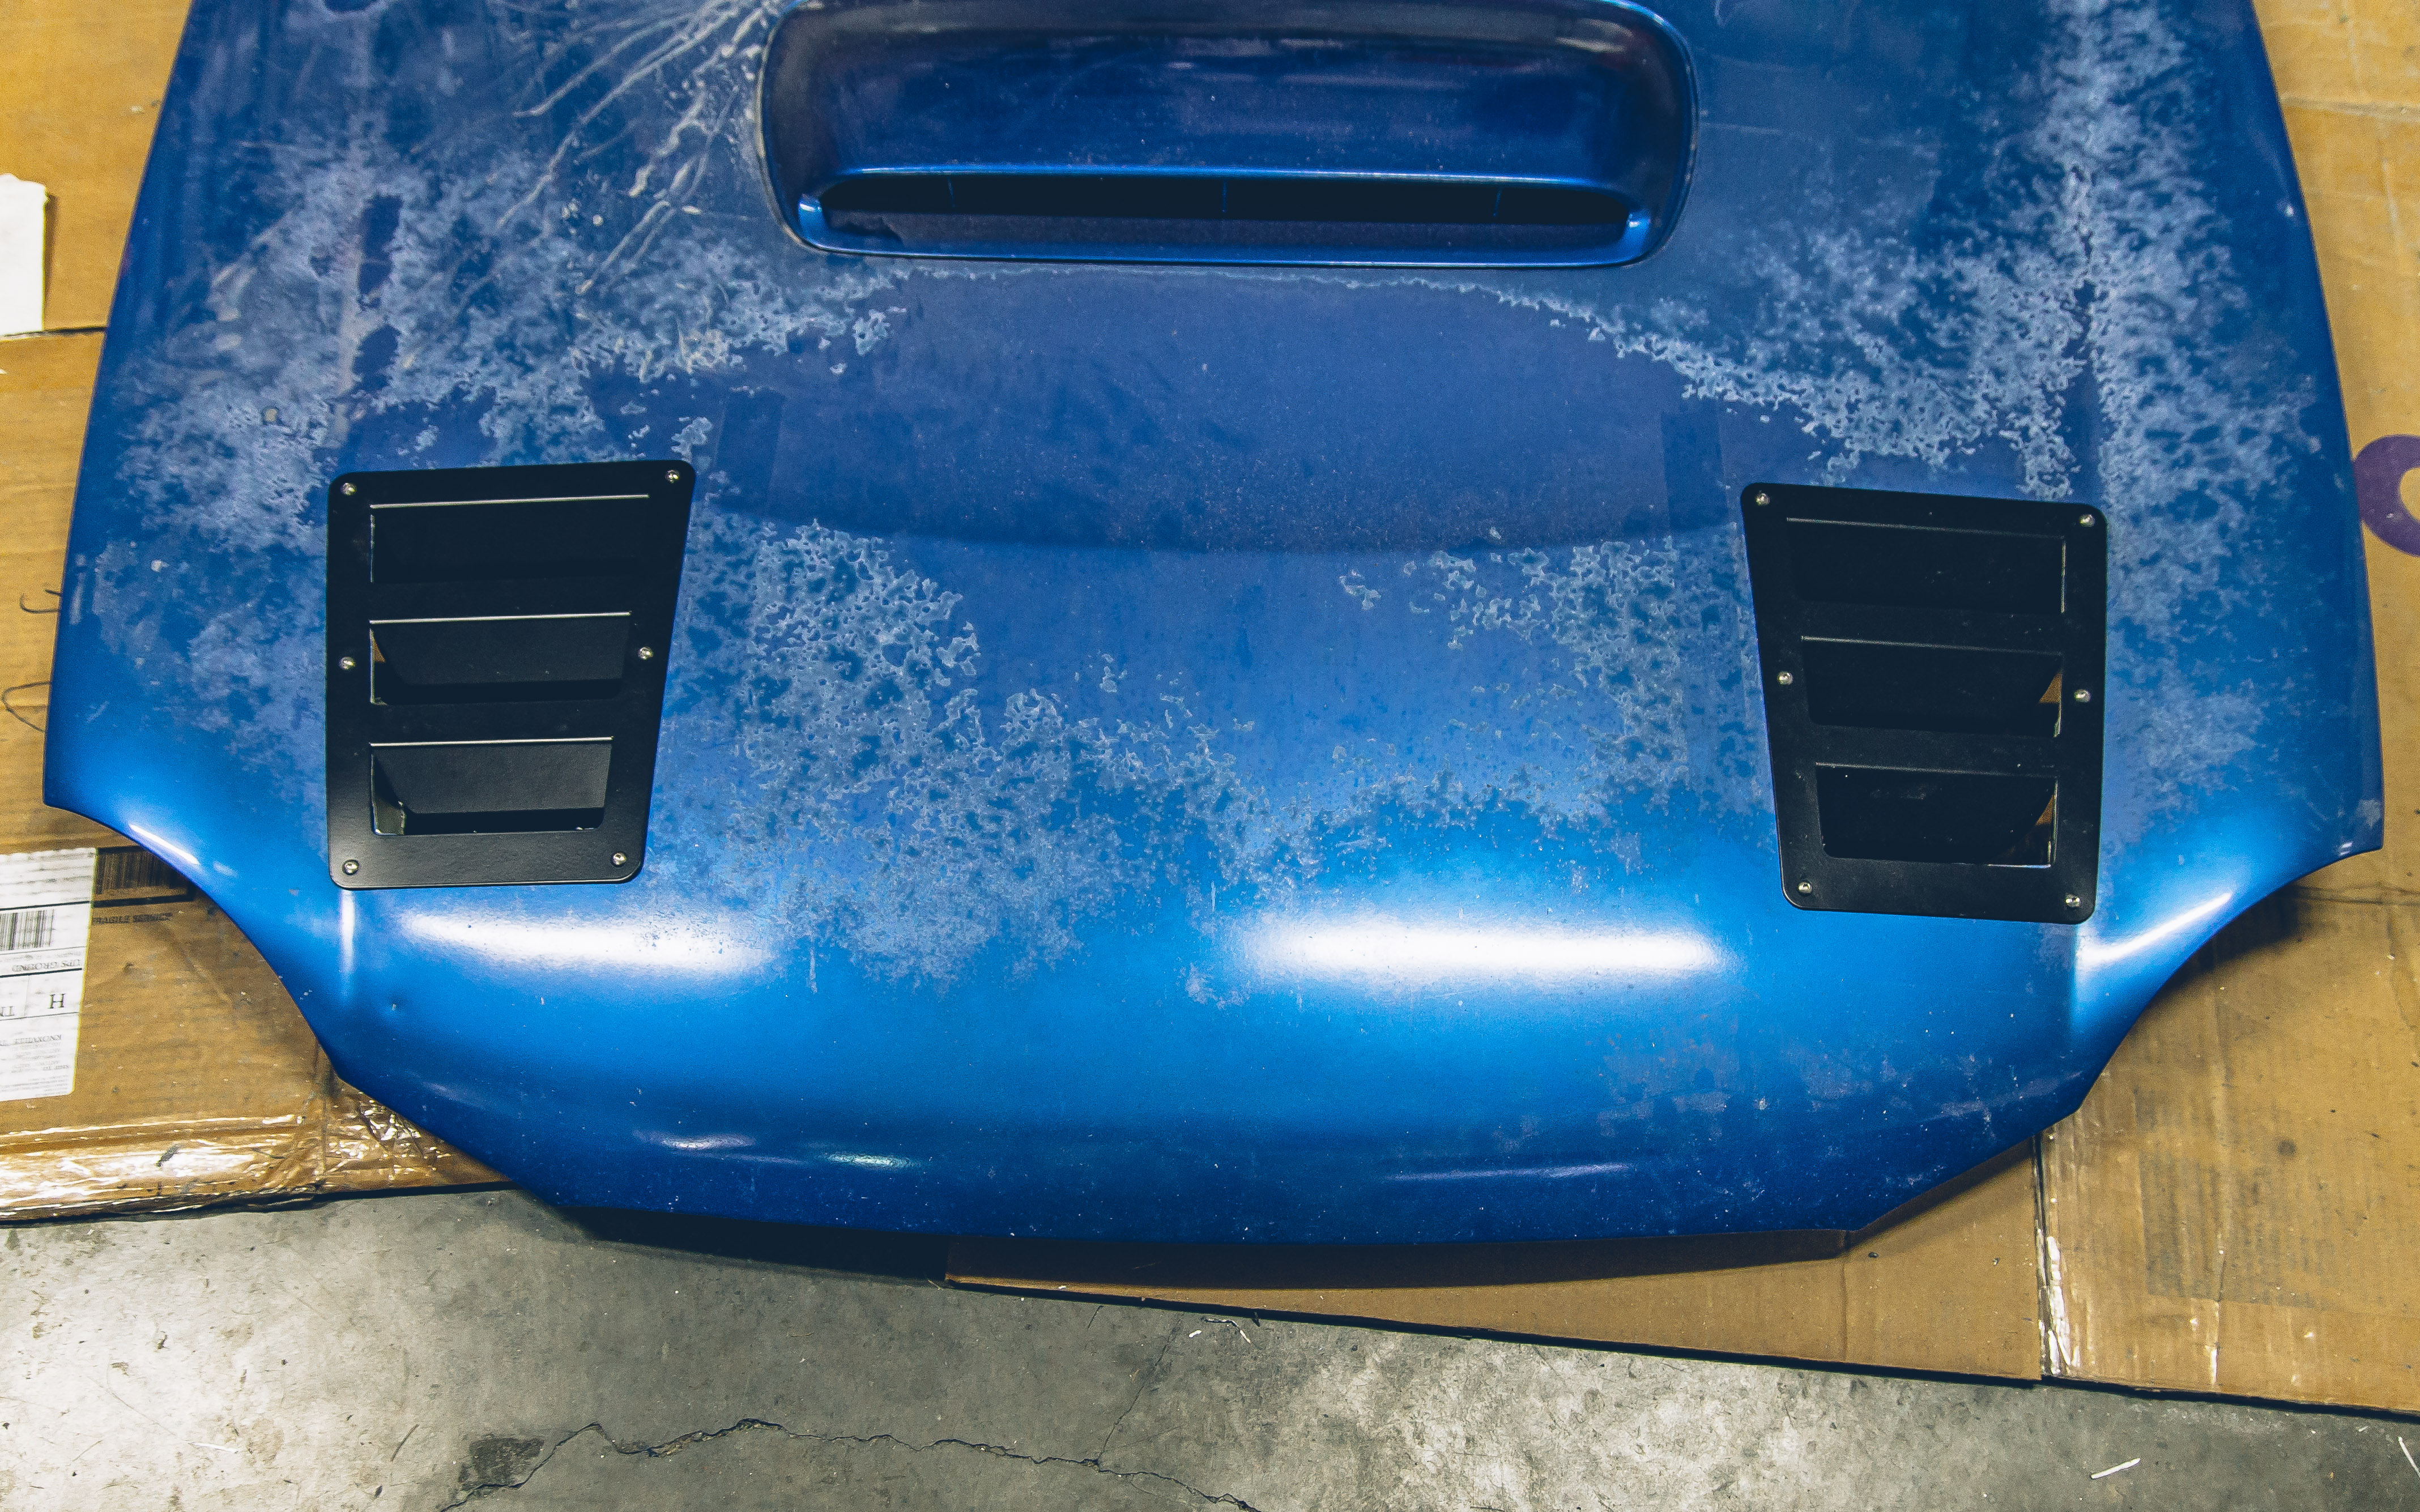
Reinstalling the hood was not fun. I have no helpful advice other than finding someone to help you reinstall it.
However, after viewing the final product, I completely forgot about the difficulties of reinstalling the hood. While aesthetics weren’t the primary reason for this mod, I think these vents look really good on the Bugeye hood, and perhaps any Subie hood. 
This post is already over a 1,000 words so I will continue this install in another post after the rivserts have been installed and all of the loose ends have been tied up.
Additional Photos


Cheers!
