
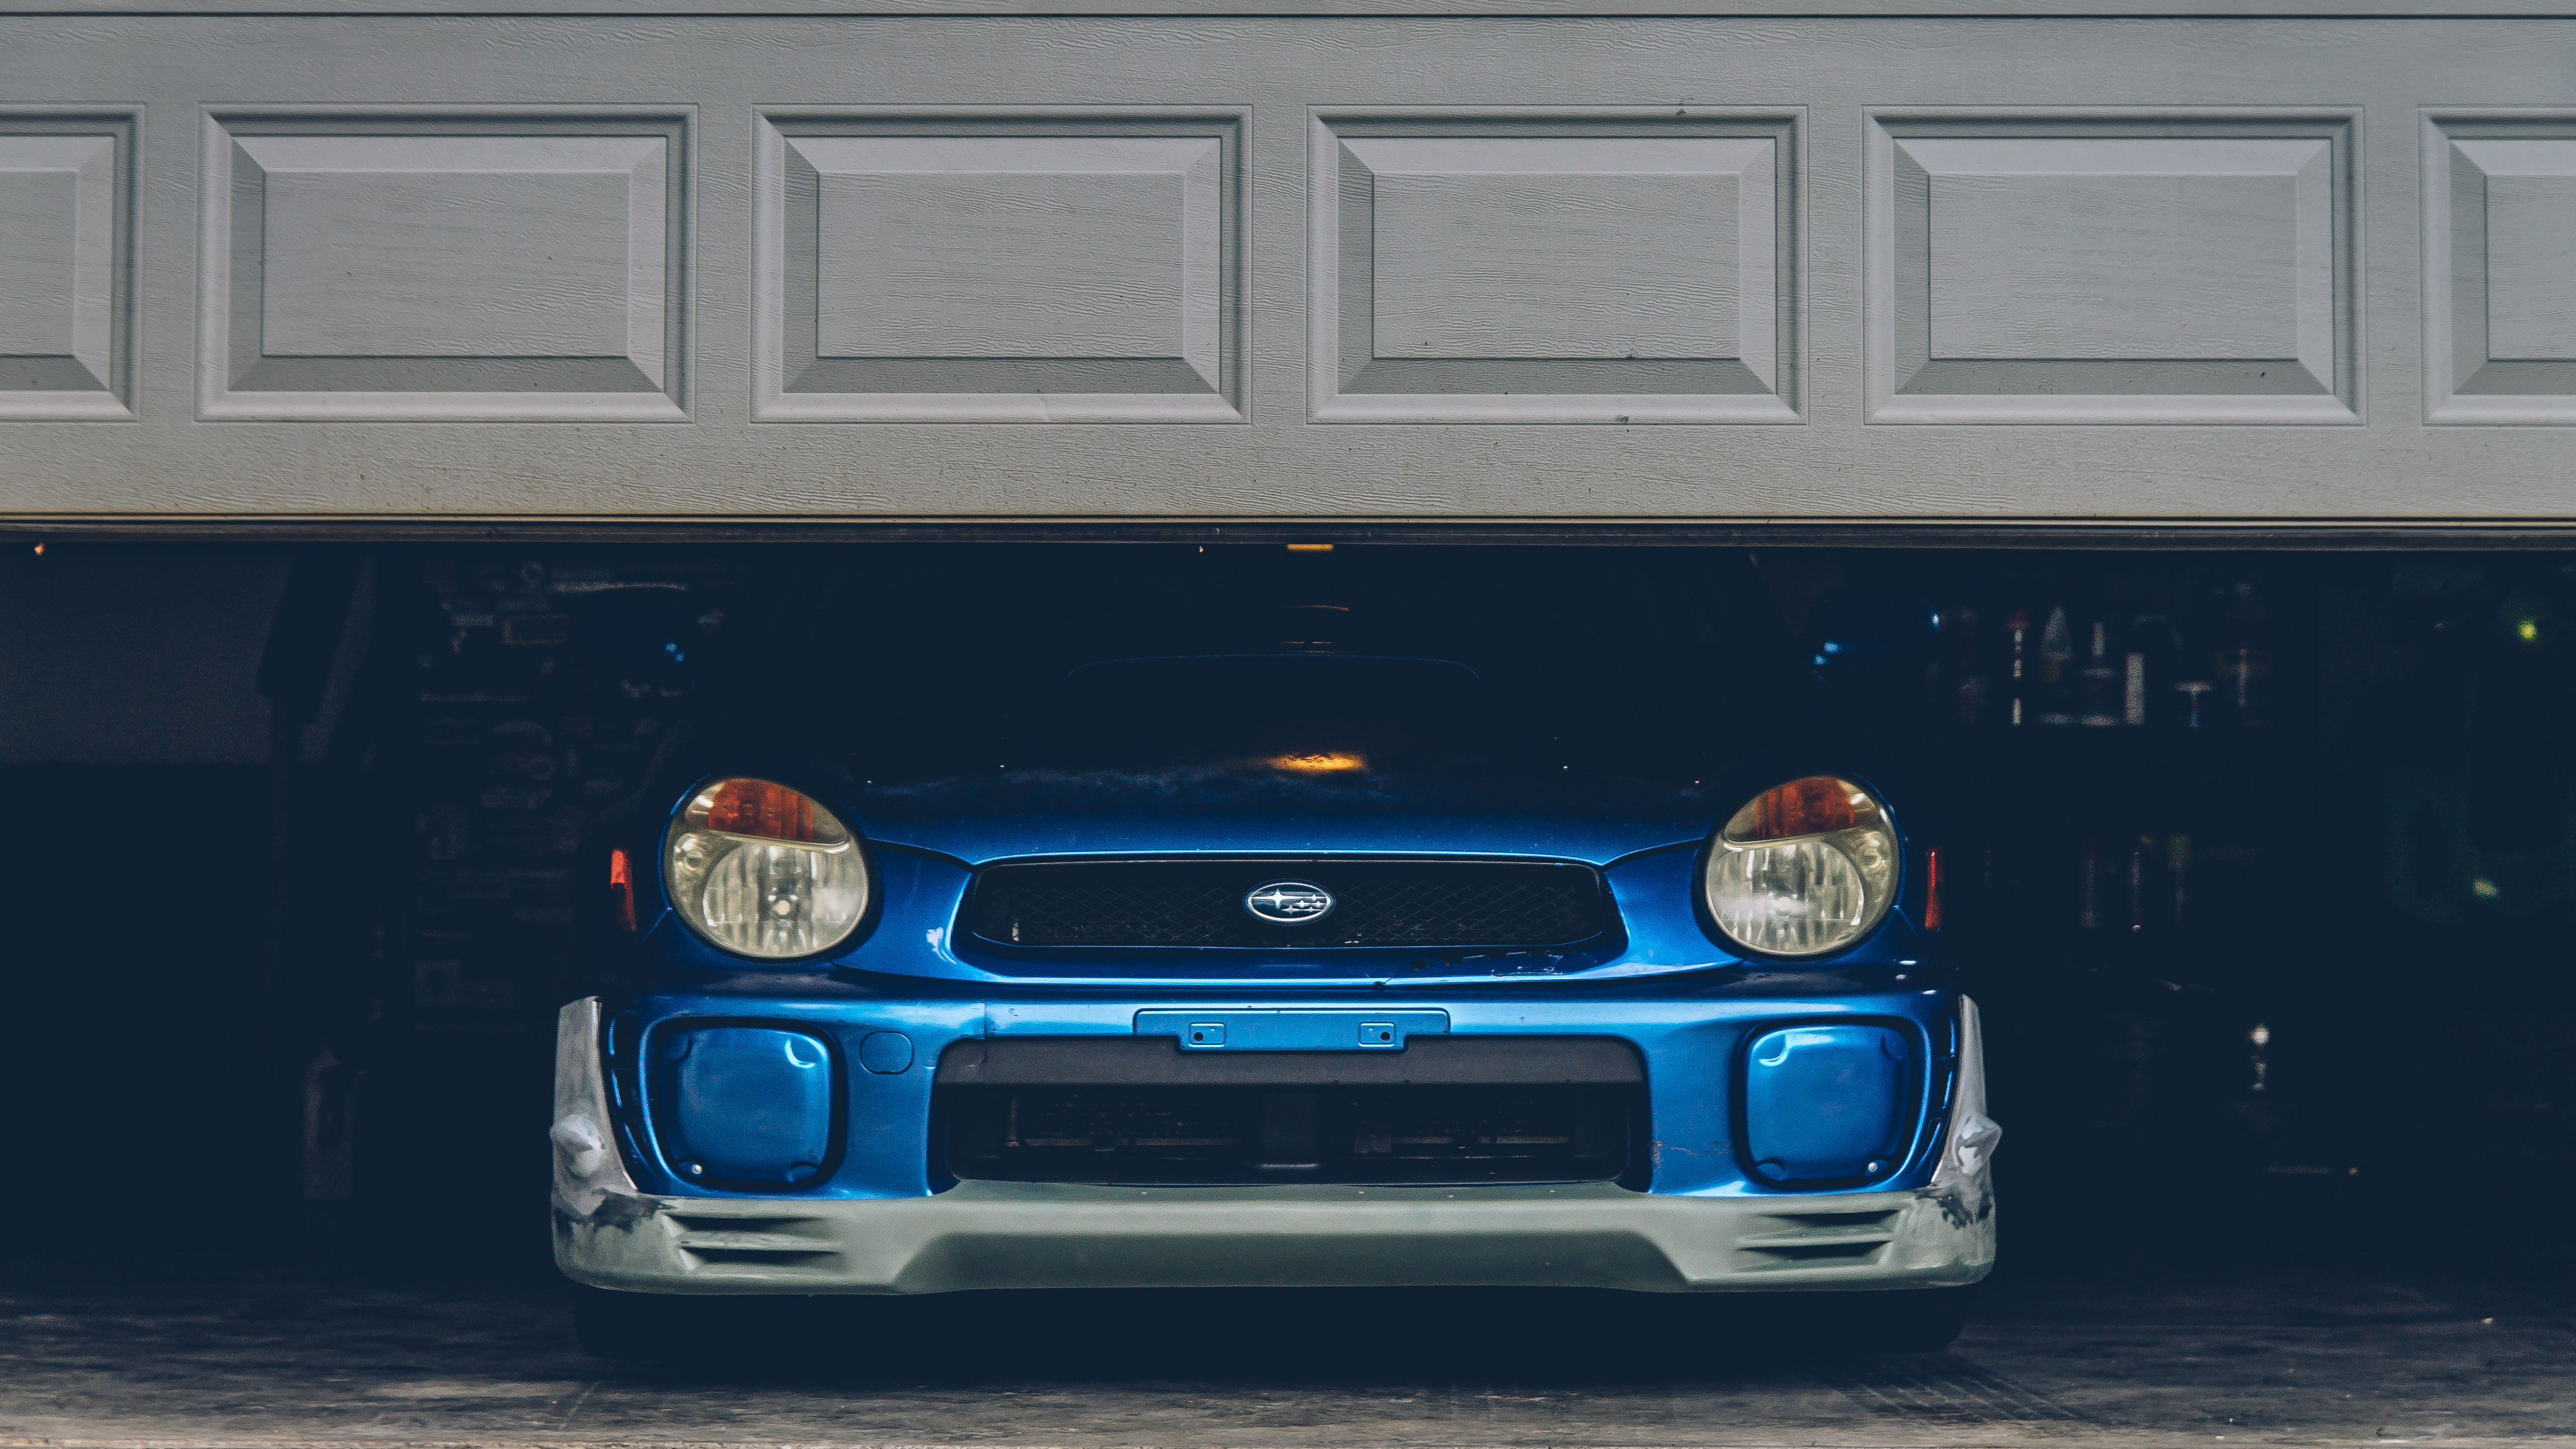
Picking up from Part 1, this post will cover the STi side splitters I added to the v2 eBay lip. And if you don’t know what STi side splitters are here is a pic.

These splitters are found on 04-05 STi (Blobeye) models. I believe the Hawkeyes got some too but those are integrated into the bumper. I picked up a couple off of eBay for pretty cheap.
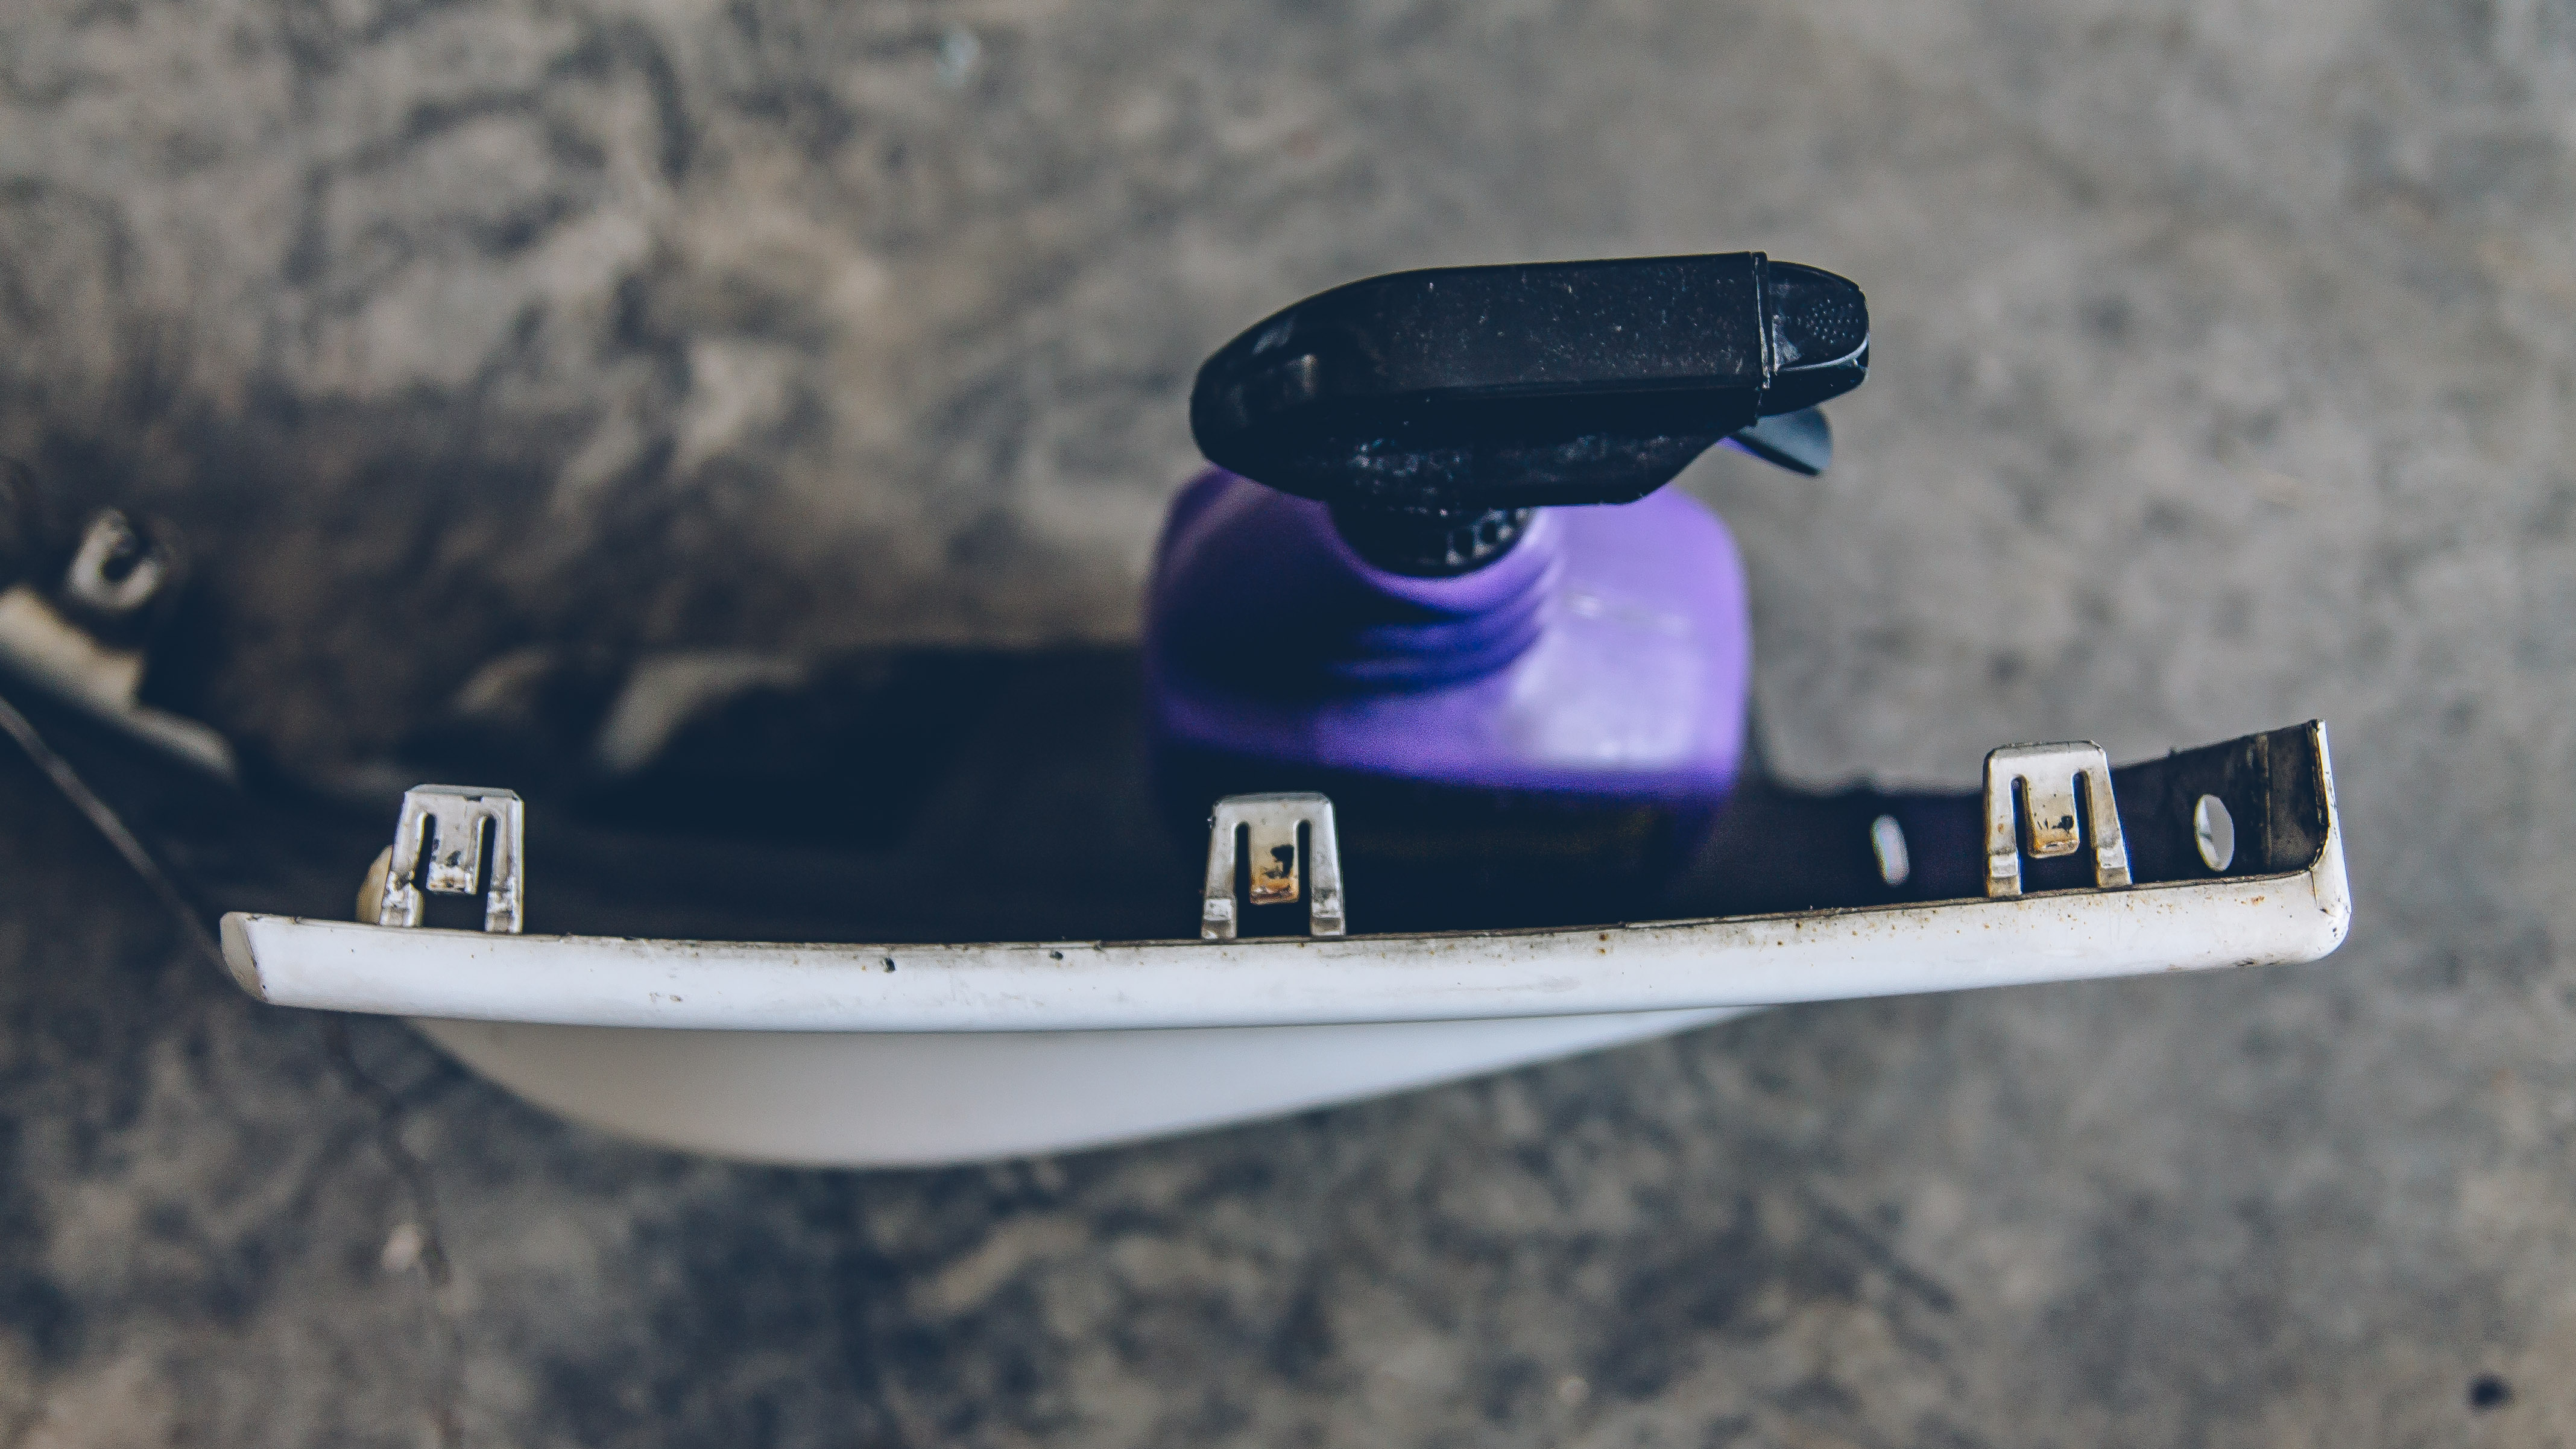

One of the first things that need to be done is removing the integrated clips and attachment pieces from the splitters. I thought about trying to figure out a way to modify the bumper to make them work, but since I wasn’t sure what I was going to keep I went ahead a cut them off.
On the first mockup, I was actually surprised at how well this fit. If I didn’t have the v2 lip to mount up as well, they might have attached with minimal effort; or perhaps with the somewhat popular V-Limited STi style lip.

After cutting off the little strap that runs around the front of the bumper, it was time to figure out what I needed to cut off of the splitters and the v2 lip. At first, I wanted a more layered look like the OEM 2005 STi but since I had to cut the lip anyways I decided to go with a molded splitter/lip setup.

Since I didn’t want to lose any tire clearance at the fender and I wasn’t super confident in how any of this would look or work out I just let the curve of the edge of fender be my guide in placing the splitter.
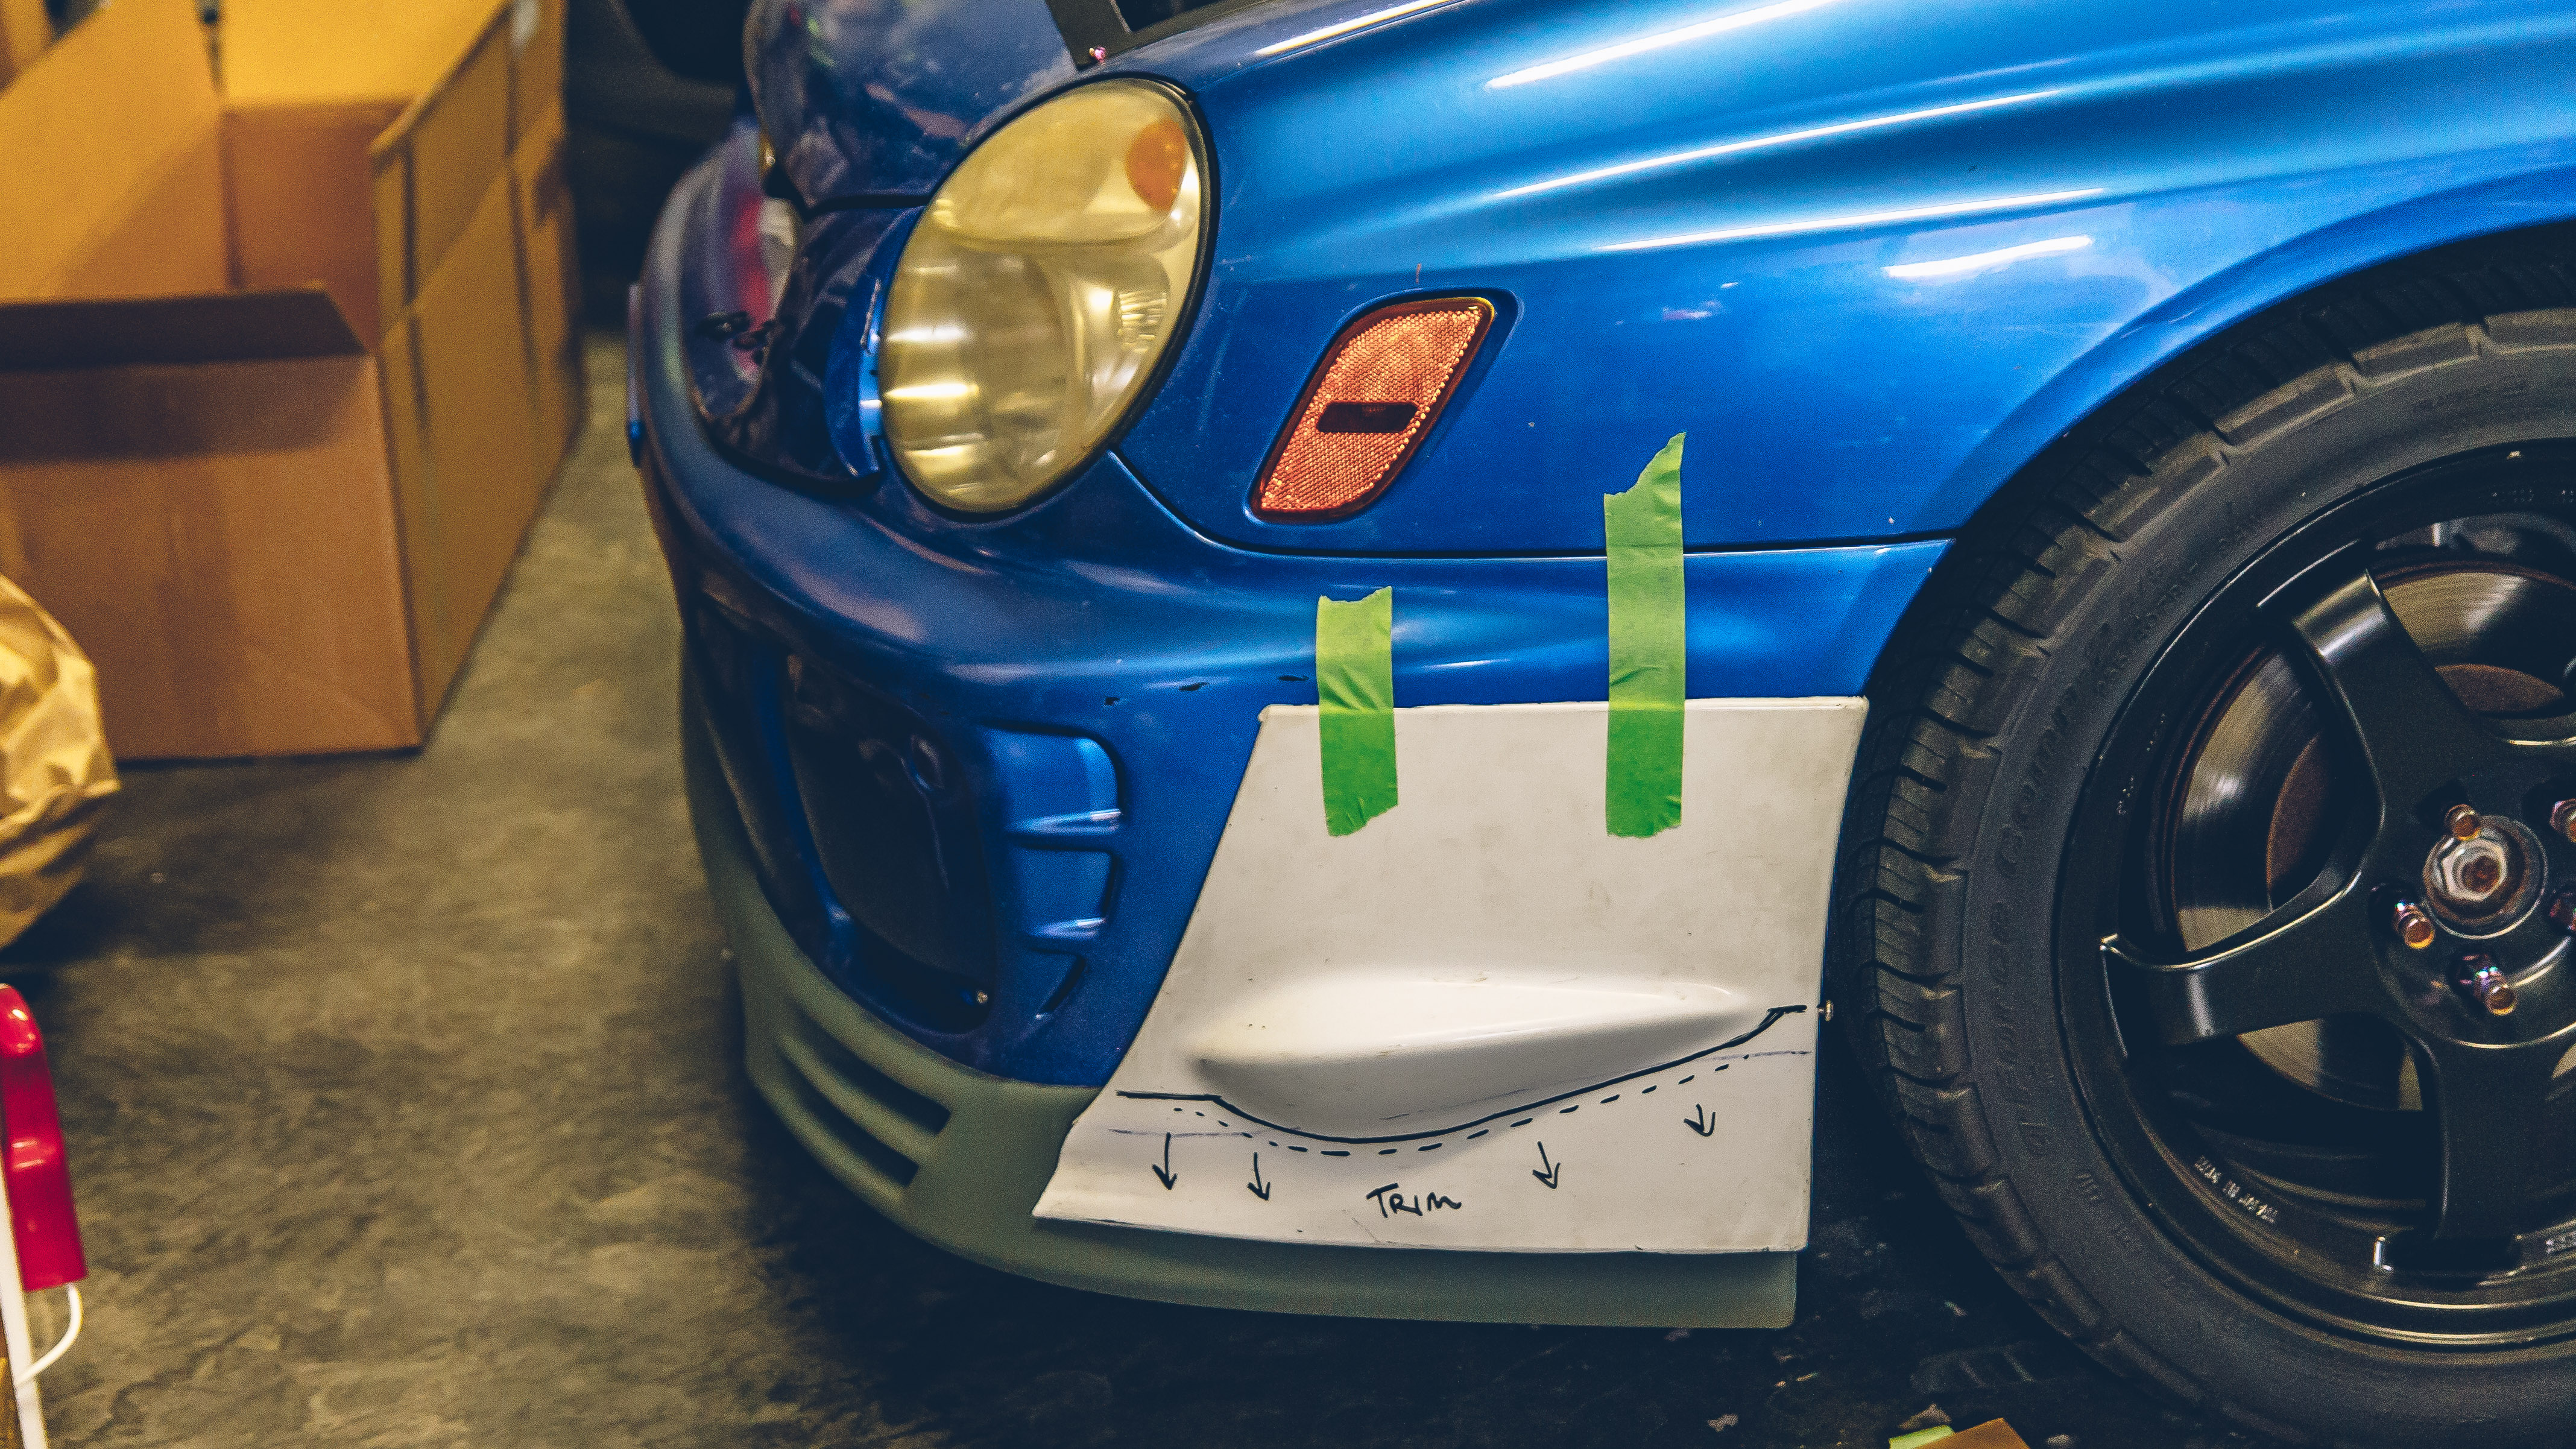
Then I trimmed the splitter down.

Then test fit.
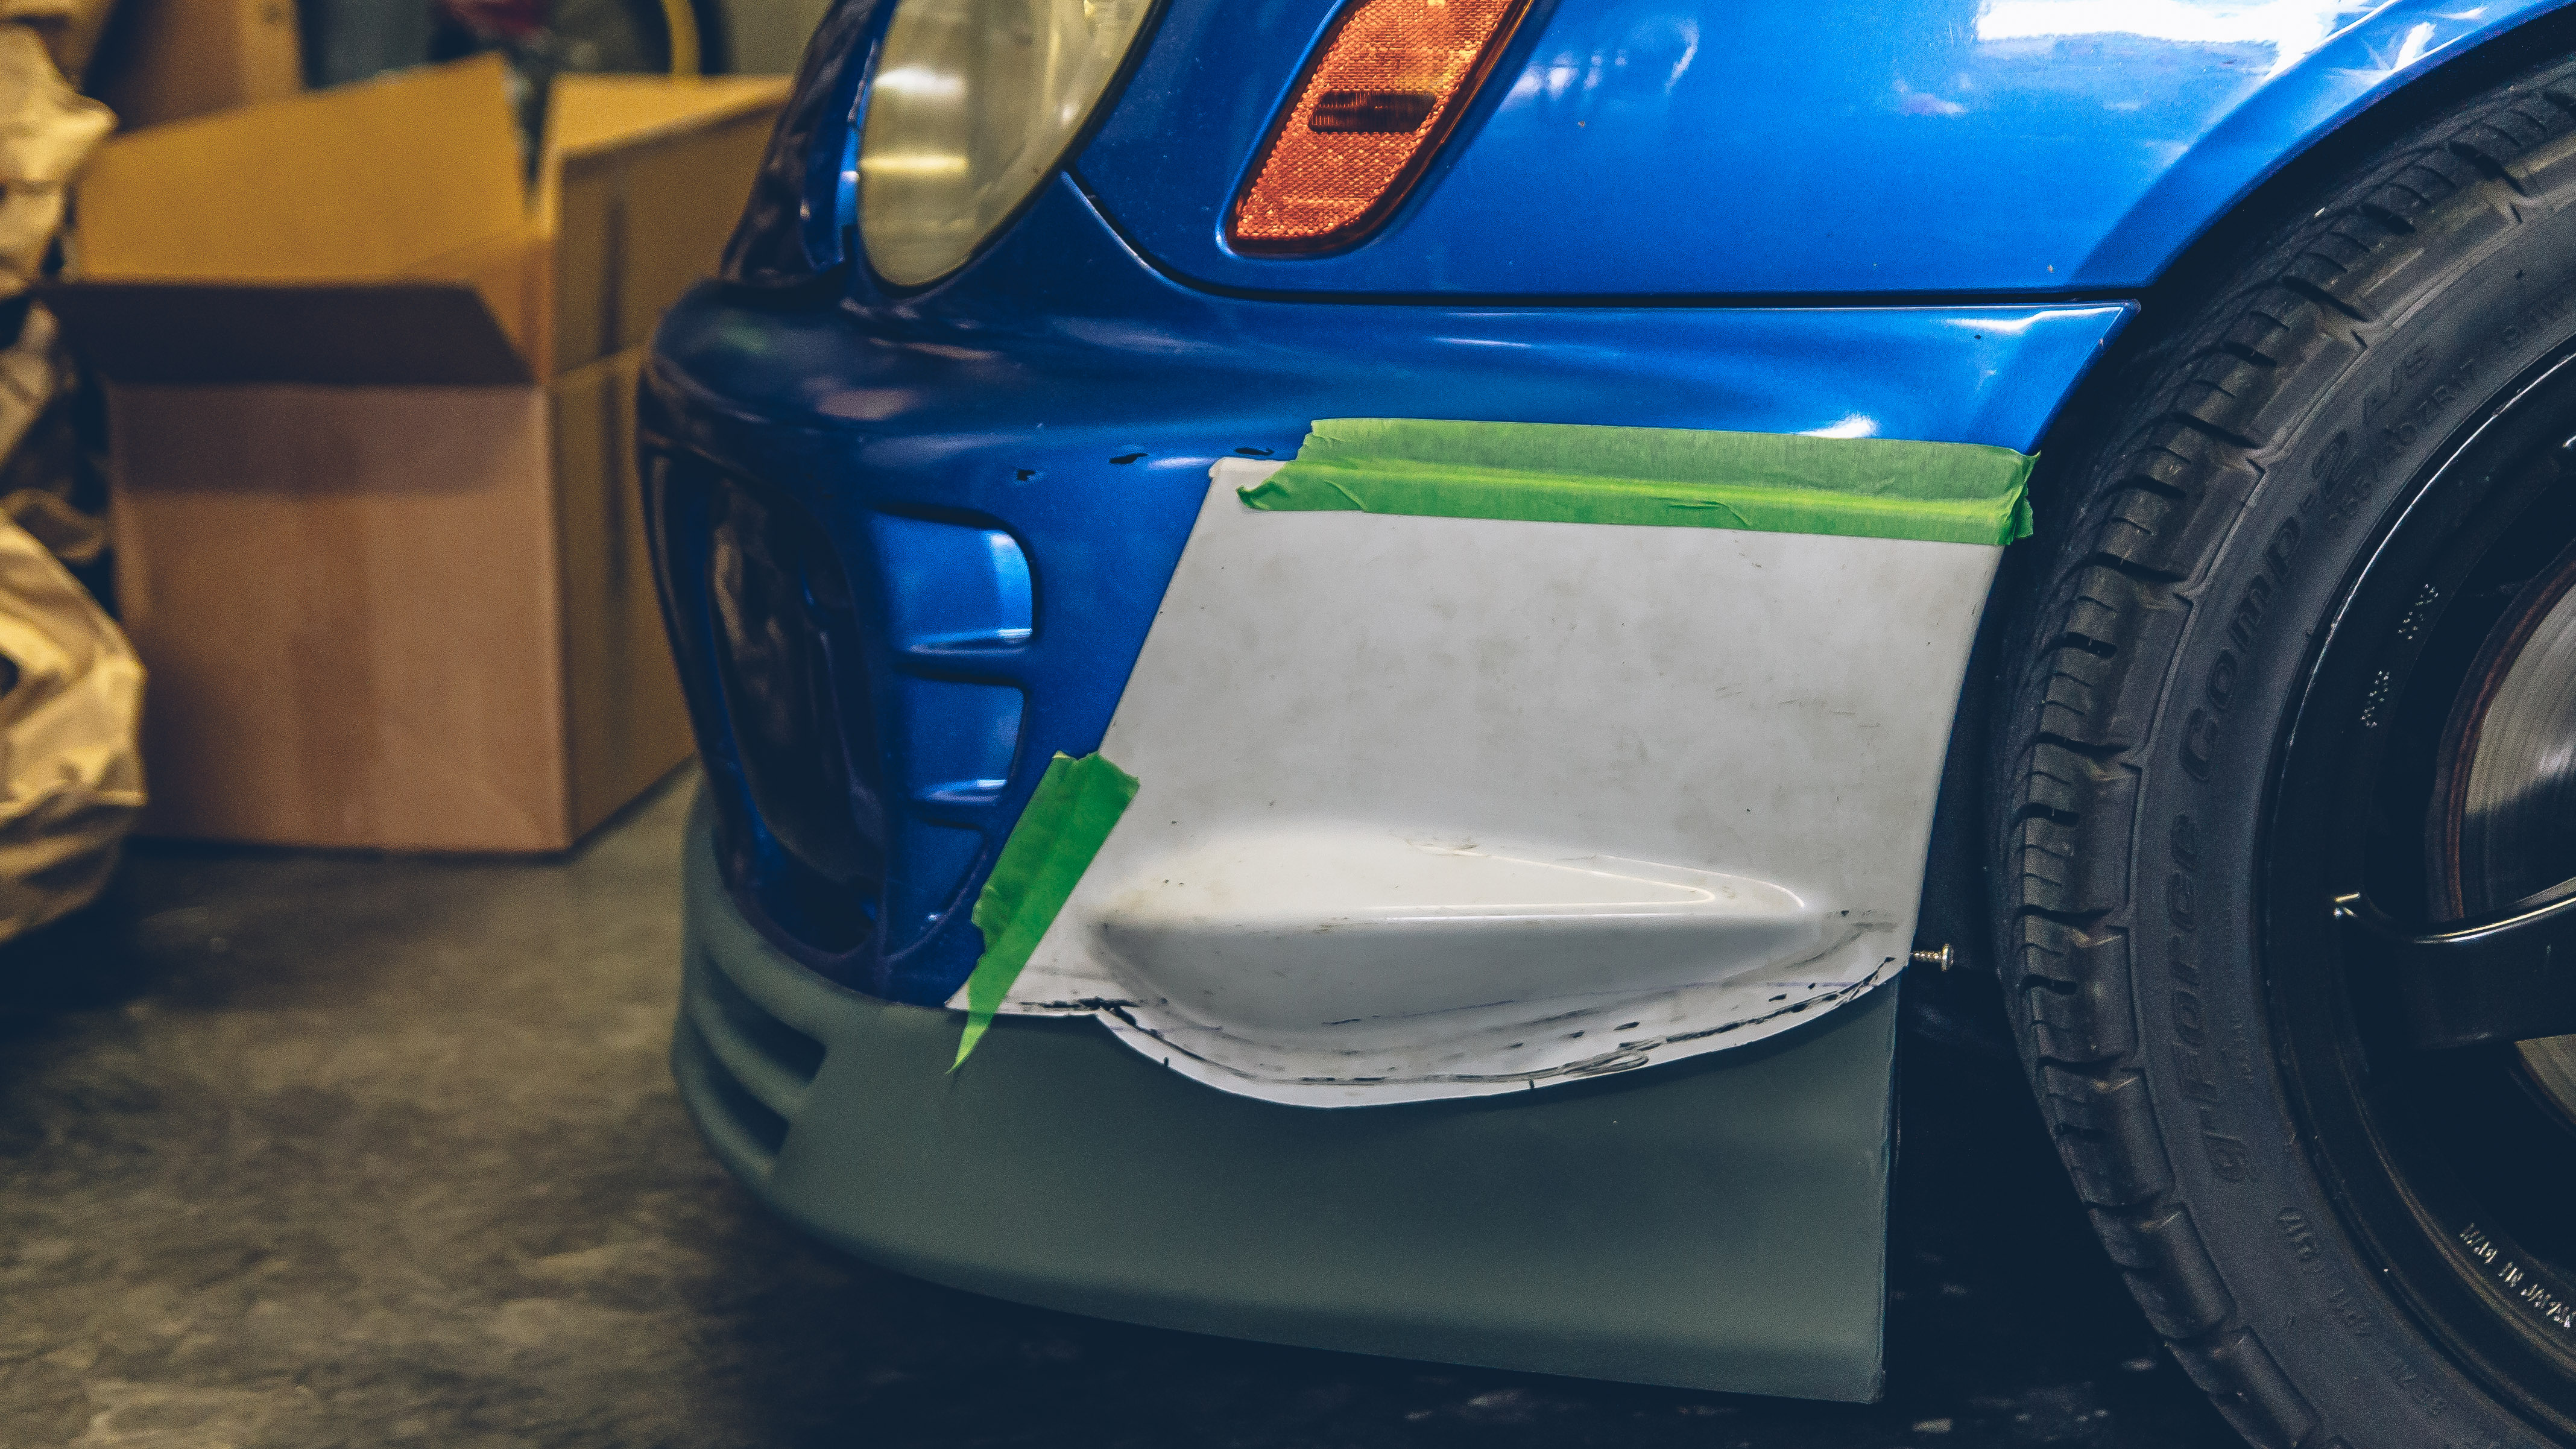
And trim some more.
From this point forward, I didn’t take many pics. I was focused on test fitting, trimming, and cutting the splitter and the lip to match up. The splitter was pretty easy to cut. I used a utility knife. The lip is made of thicker material. I bolted it to my workbench and used a reciprocating saw to cut out large portions and then used my utility knife to trim the edges up to the shape that I needed.
There are some gaps still but I was fine with that. The plastic epoxy would fill those in and help bond the two pieces together. I just wanted the splitter to sit on the lip on its own; without tape or clamps or anything.

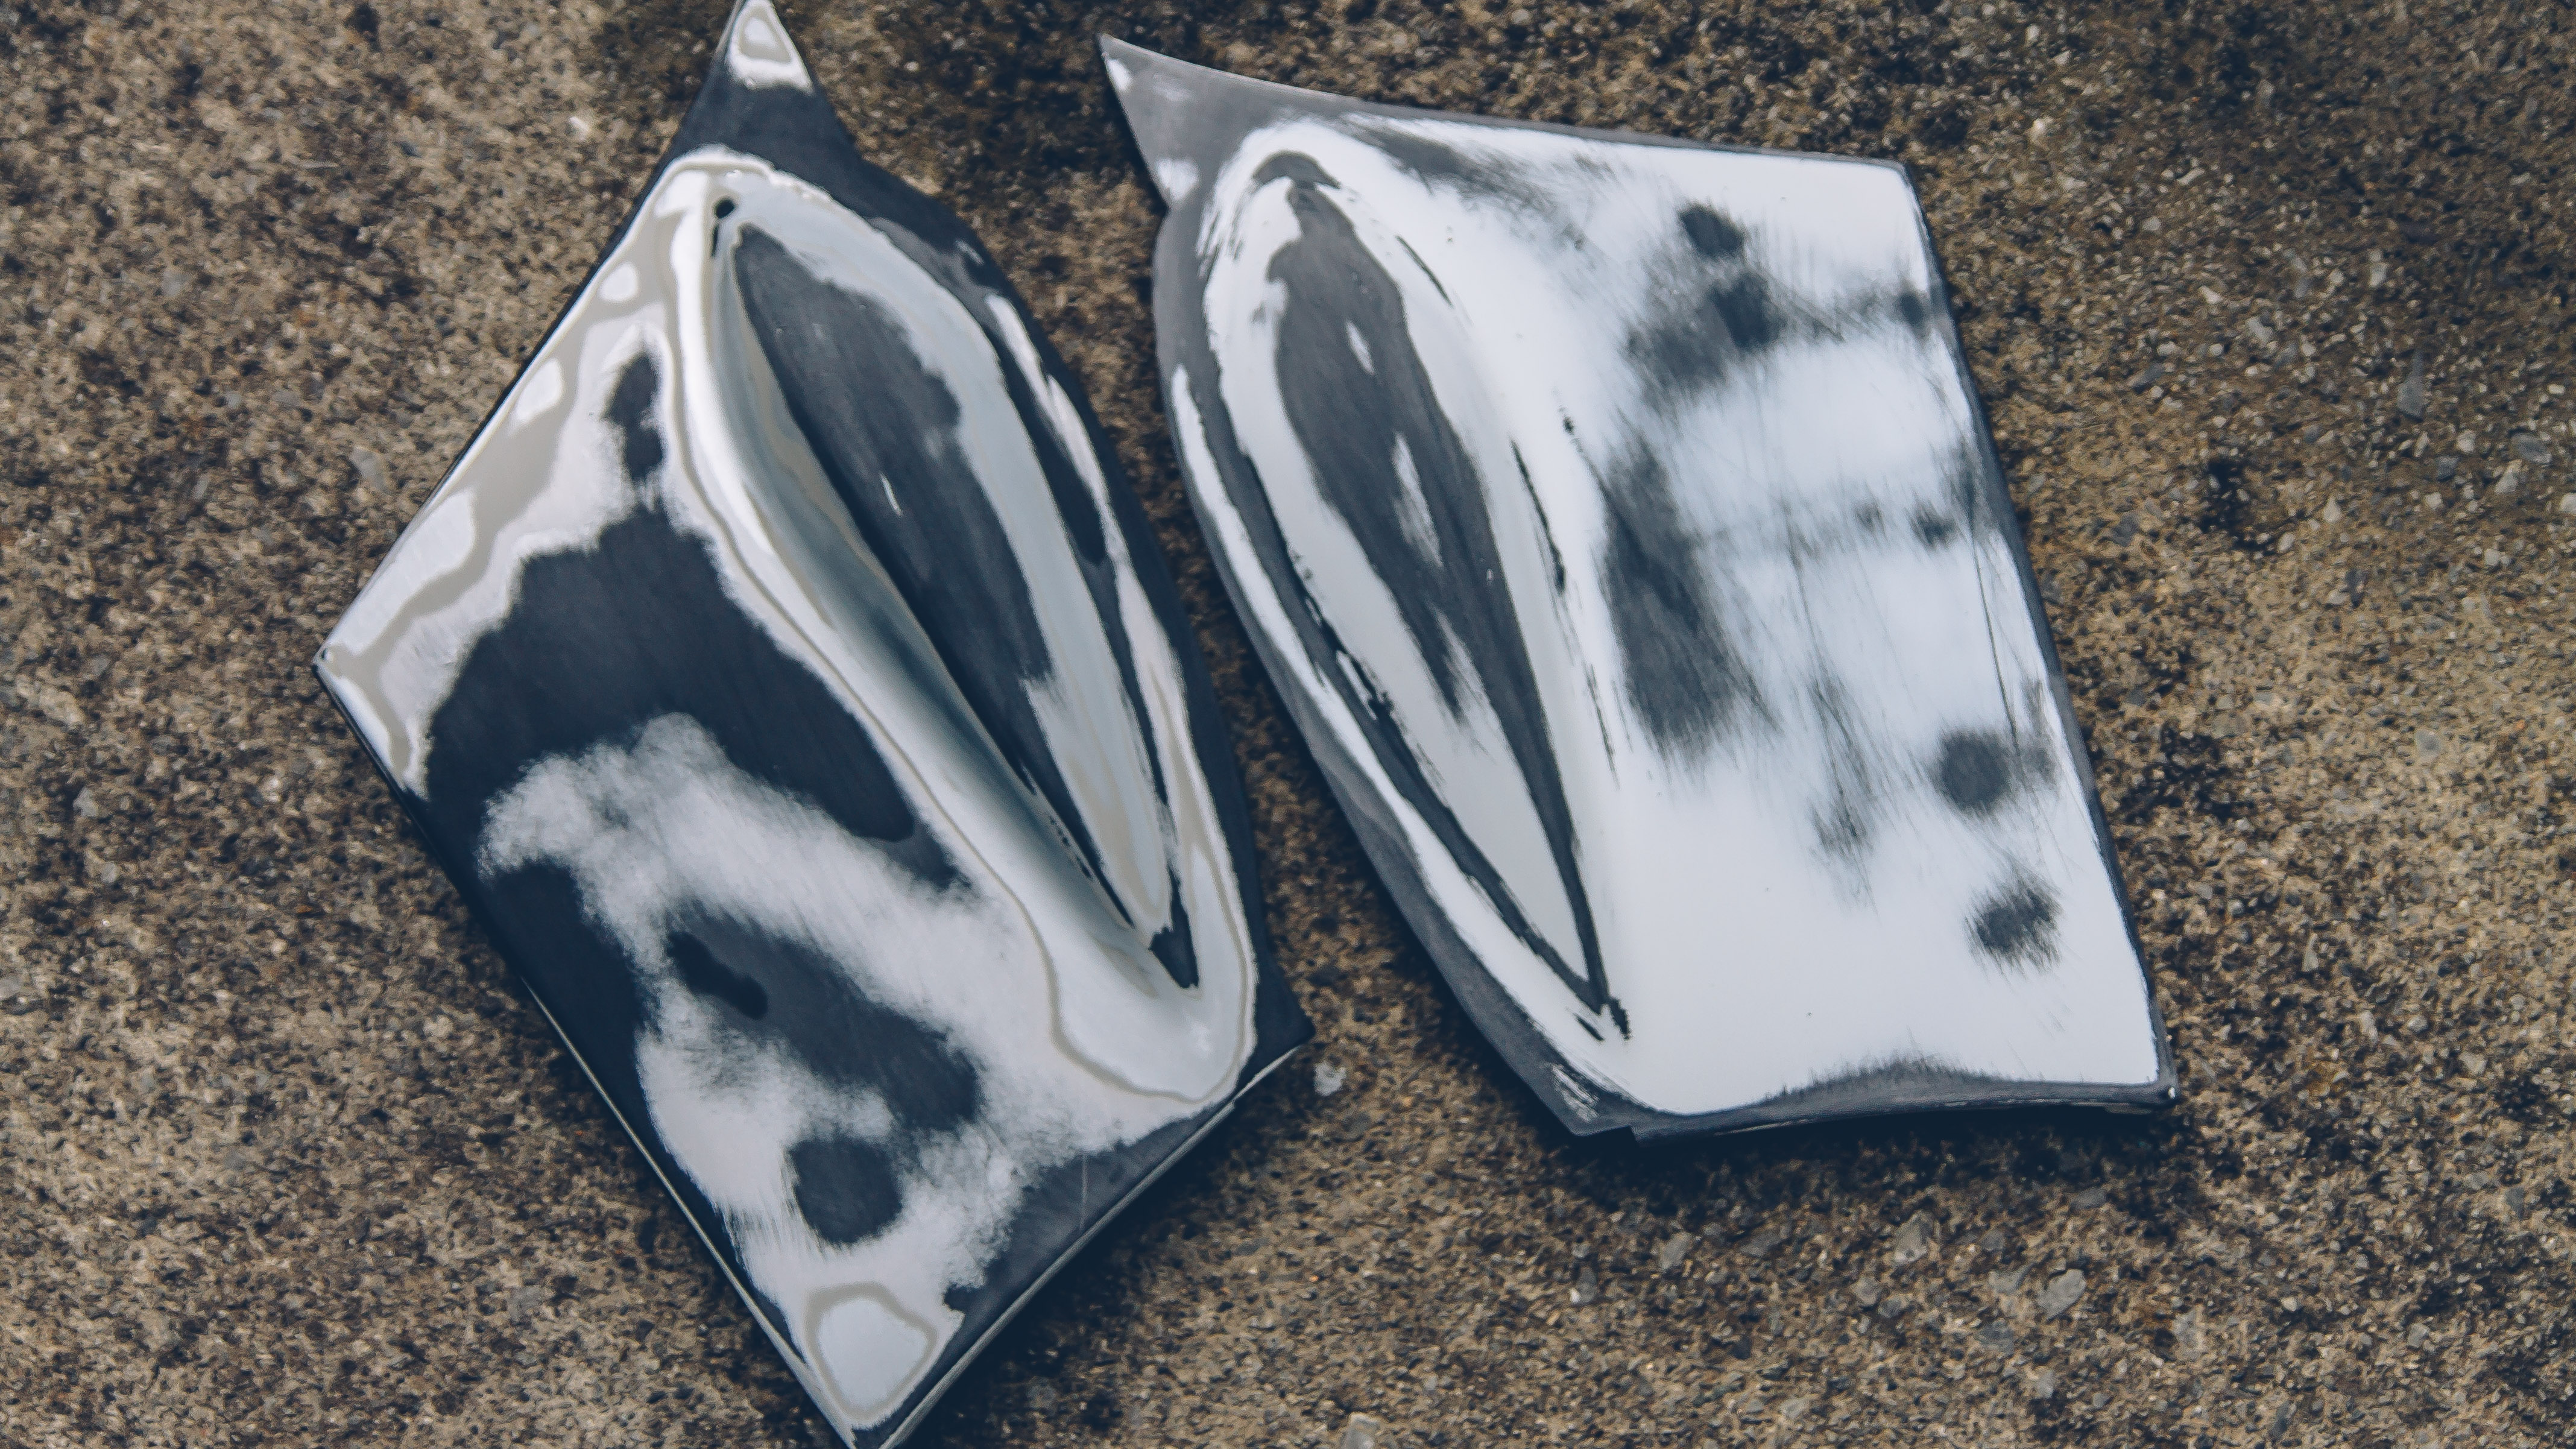
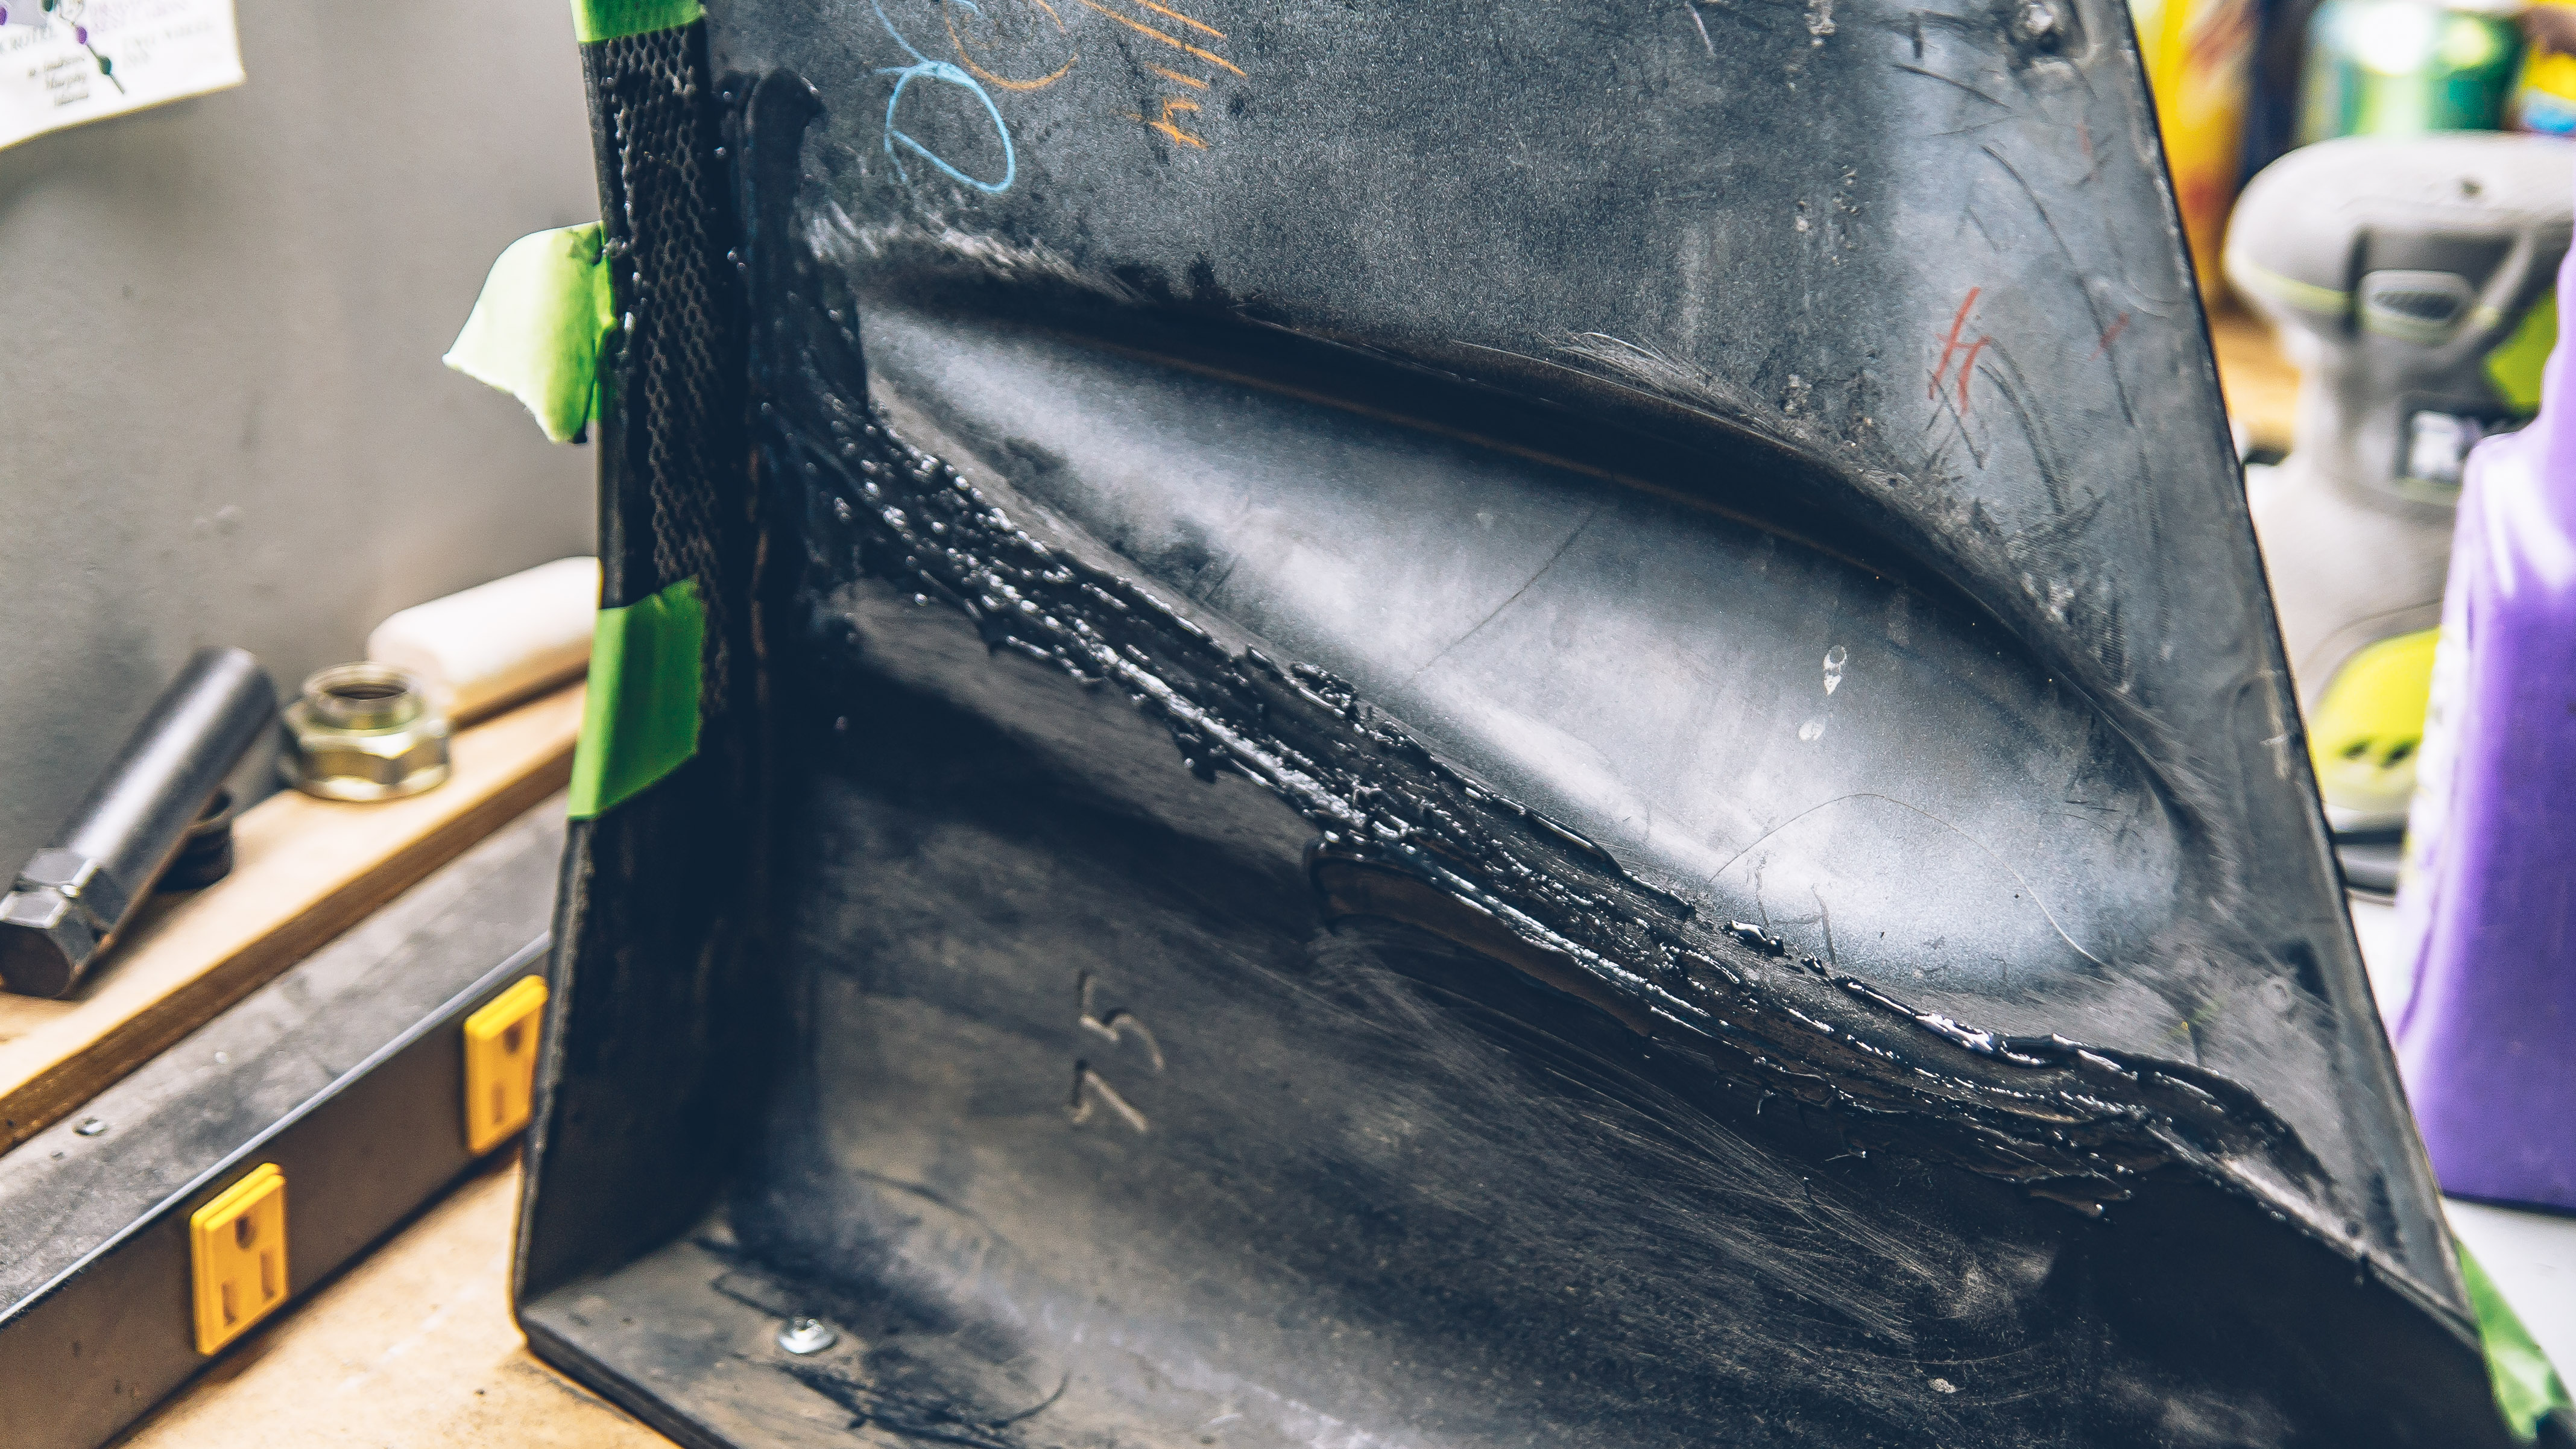
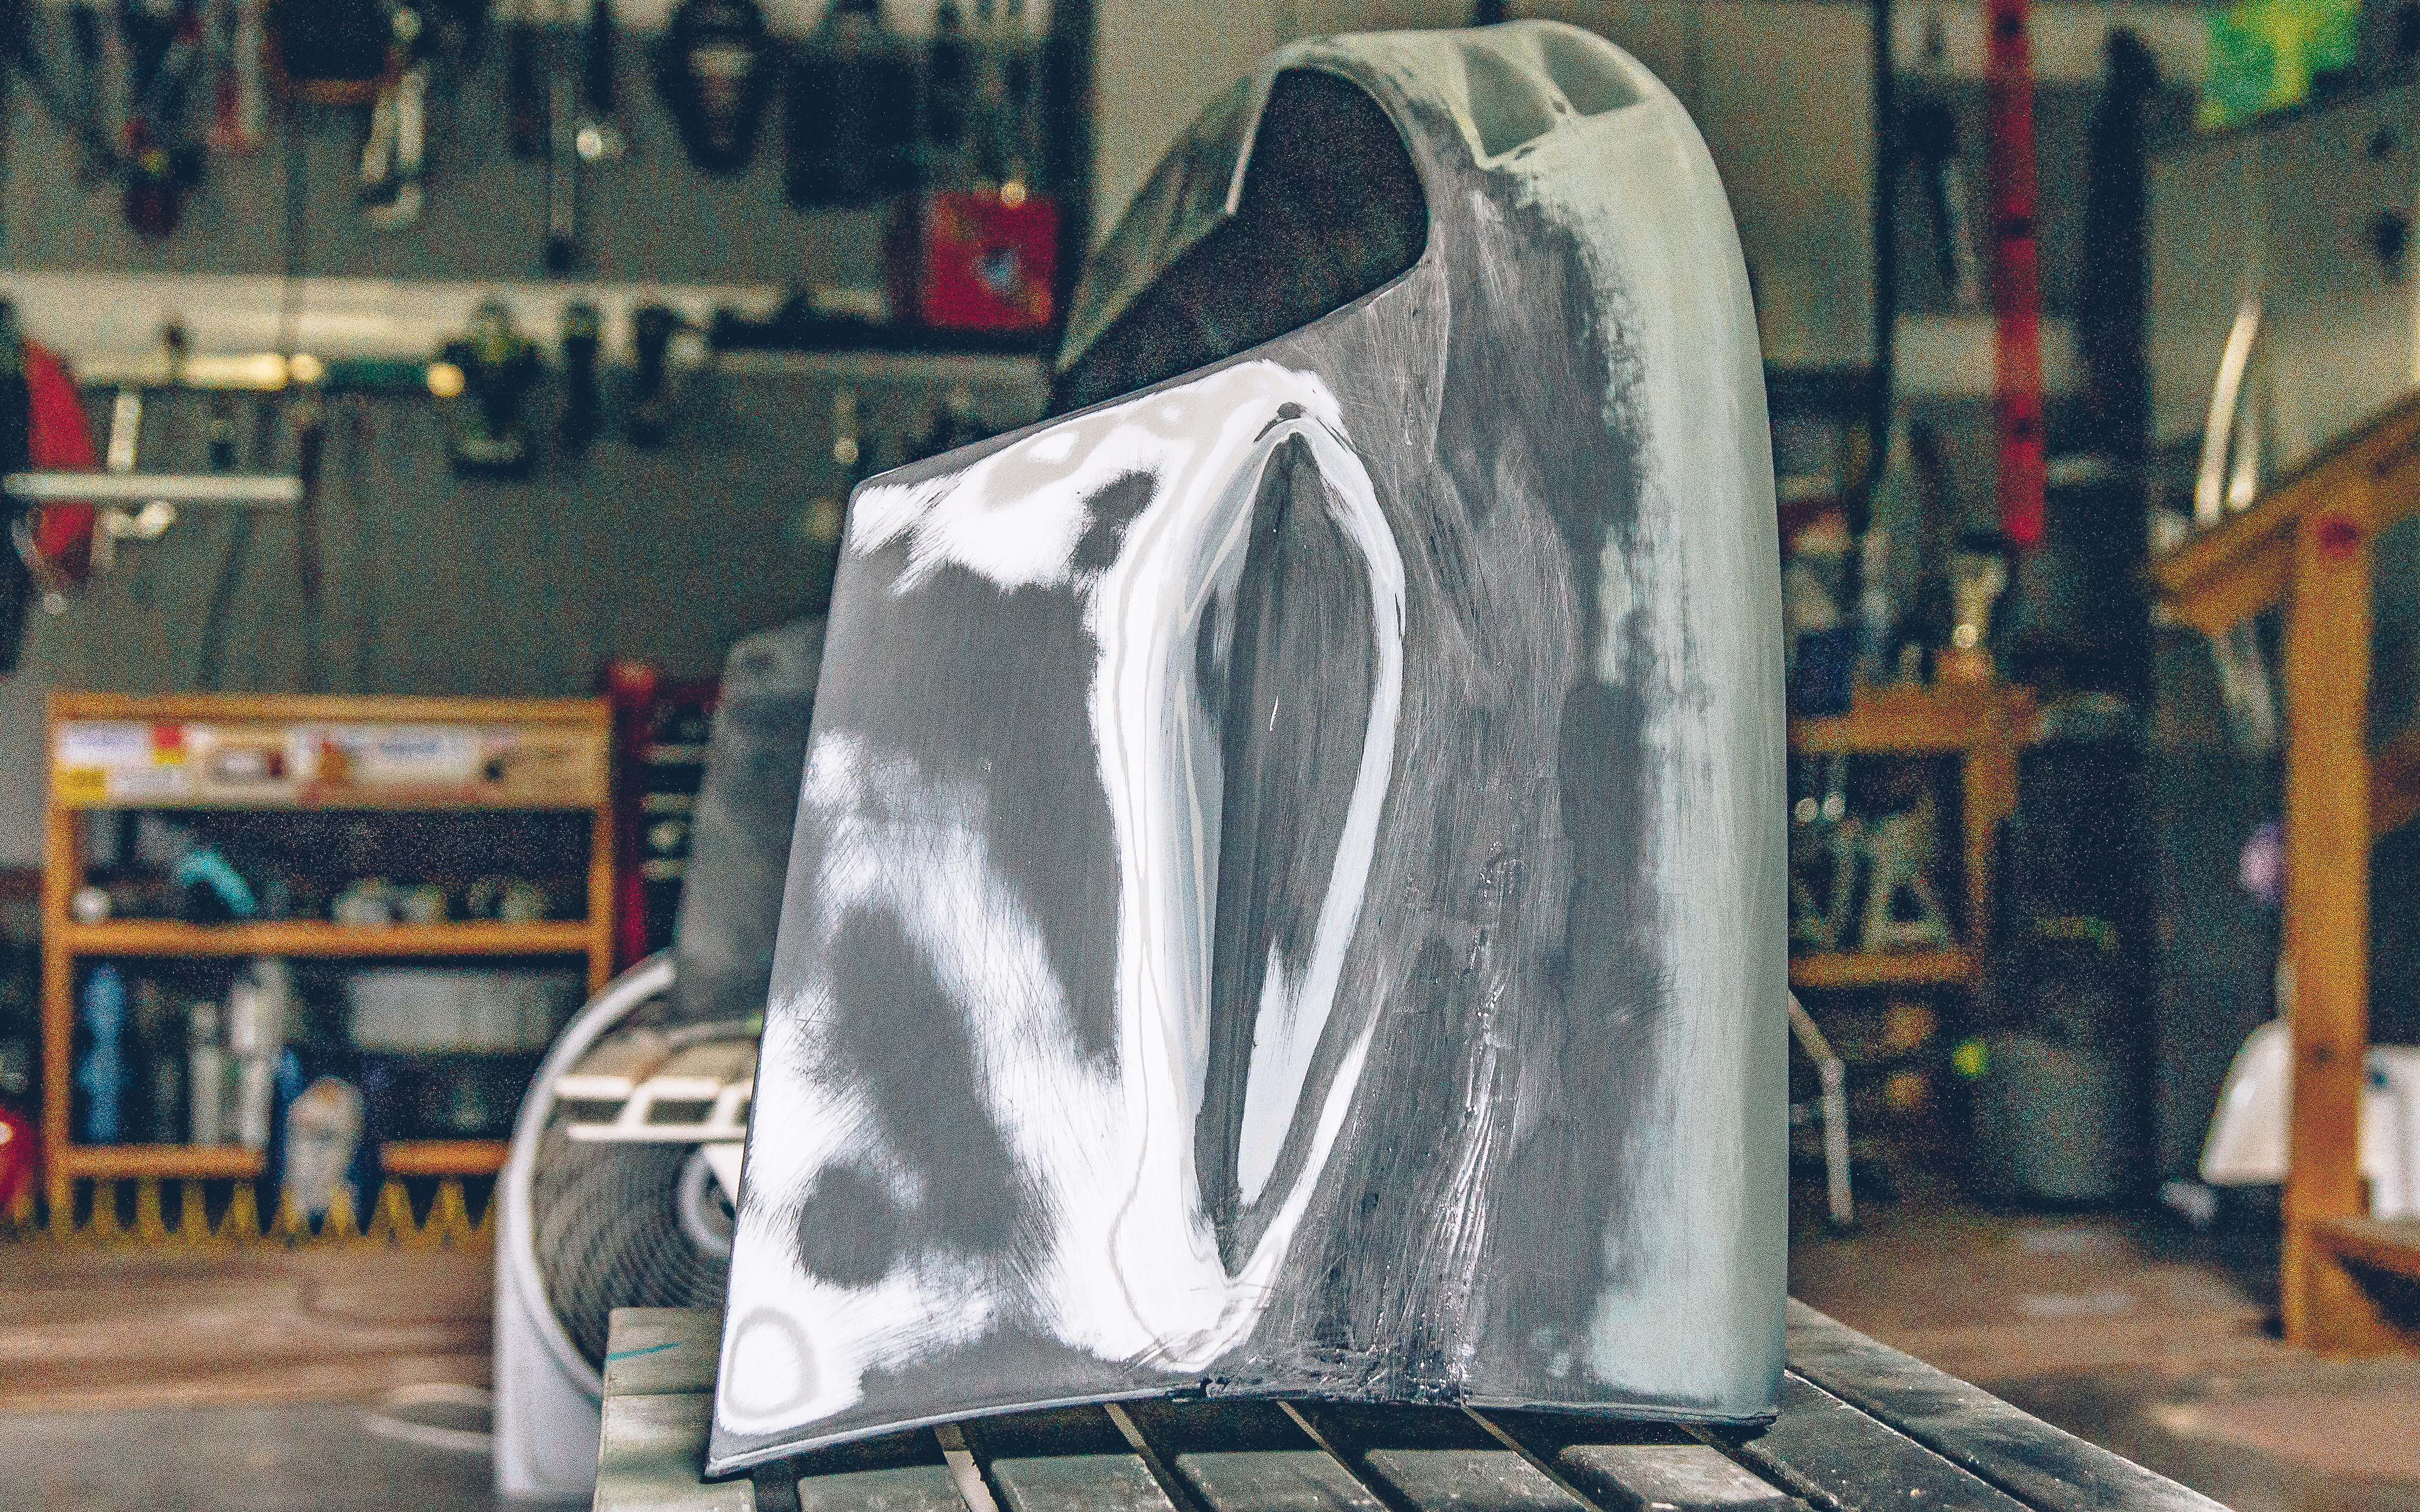
Next up, sanding down the splitters in preparation for epoxy and bonding to the lip.
I put a piece of metal mesh along the side that mounts to the bumper near the tire well to give it some additional structural support. Then I applied the plastic epoxy along the two sections. Any excess can be sanded down as needed.
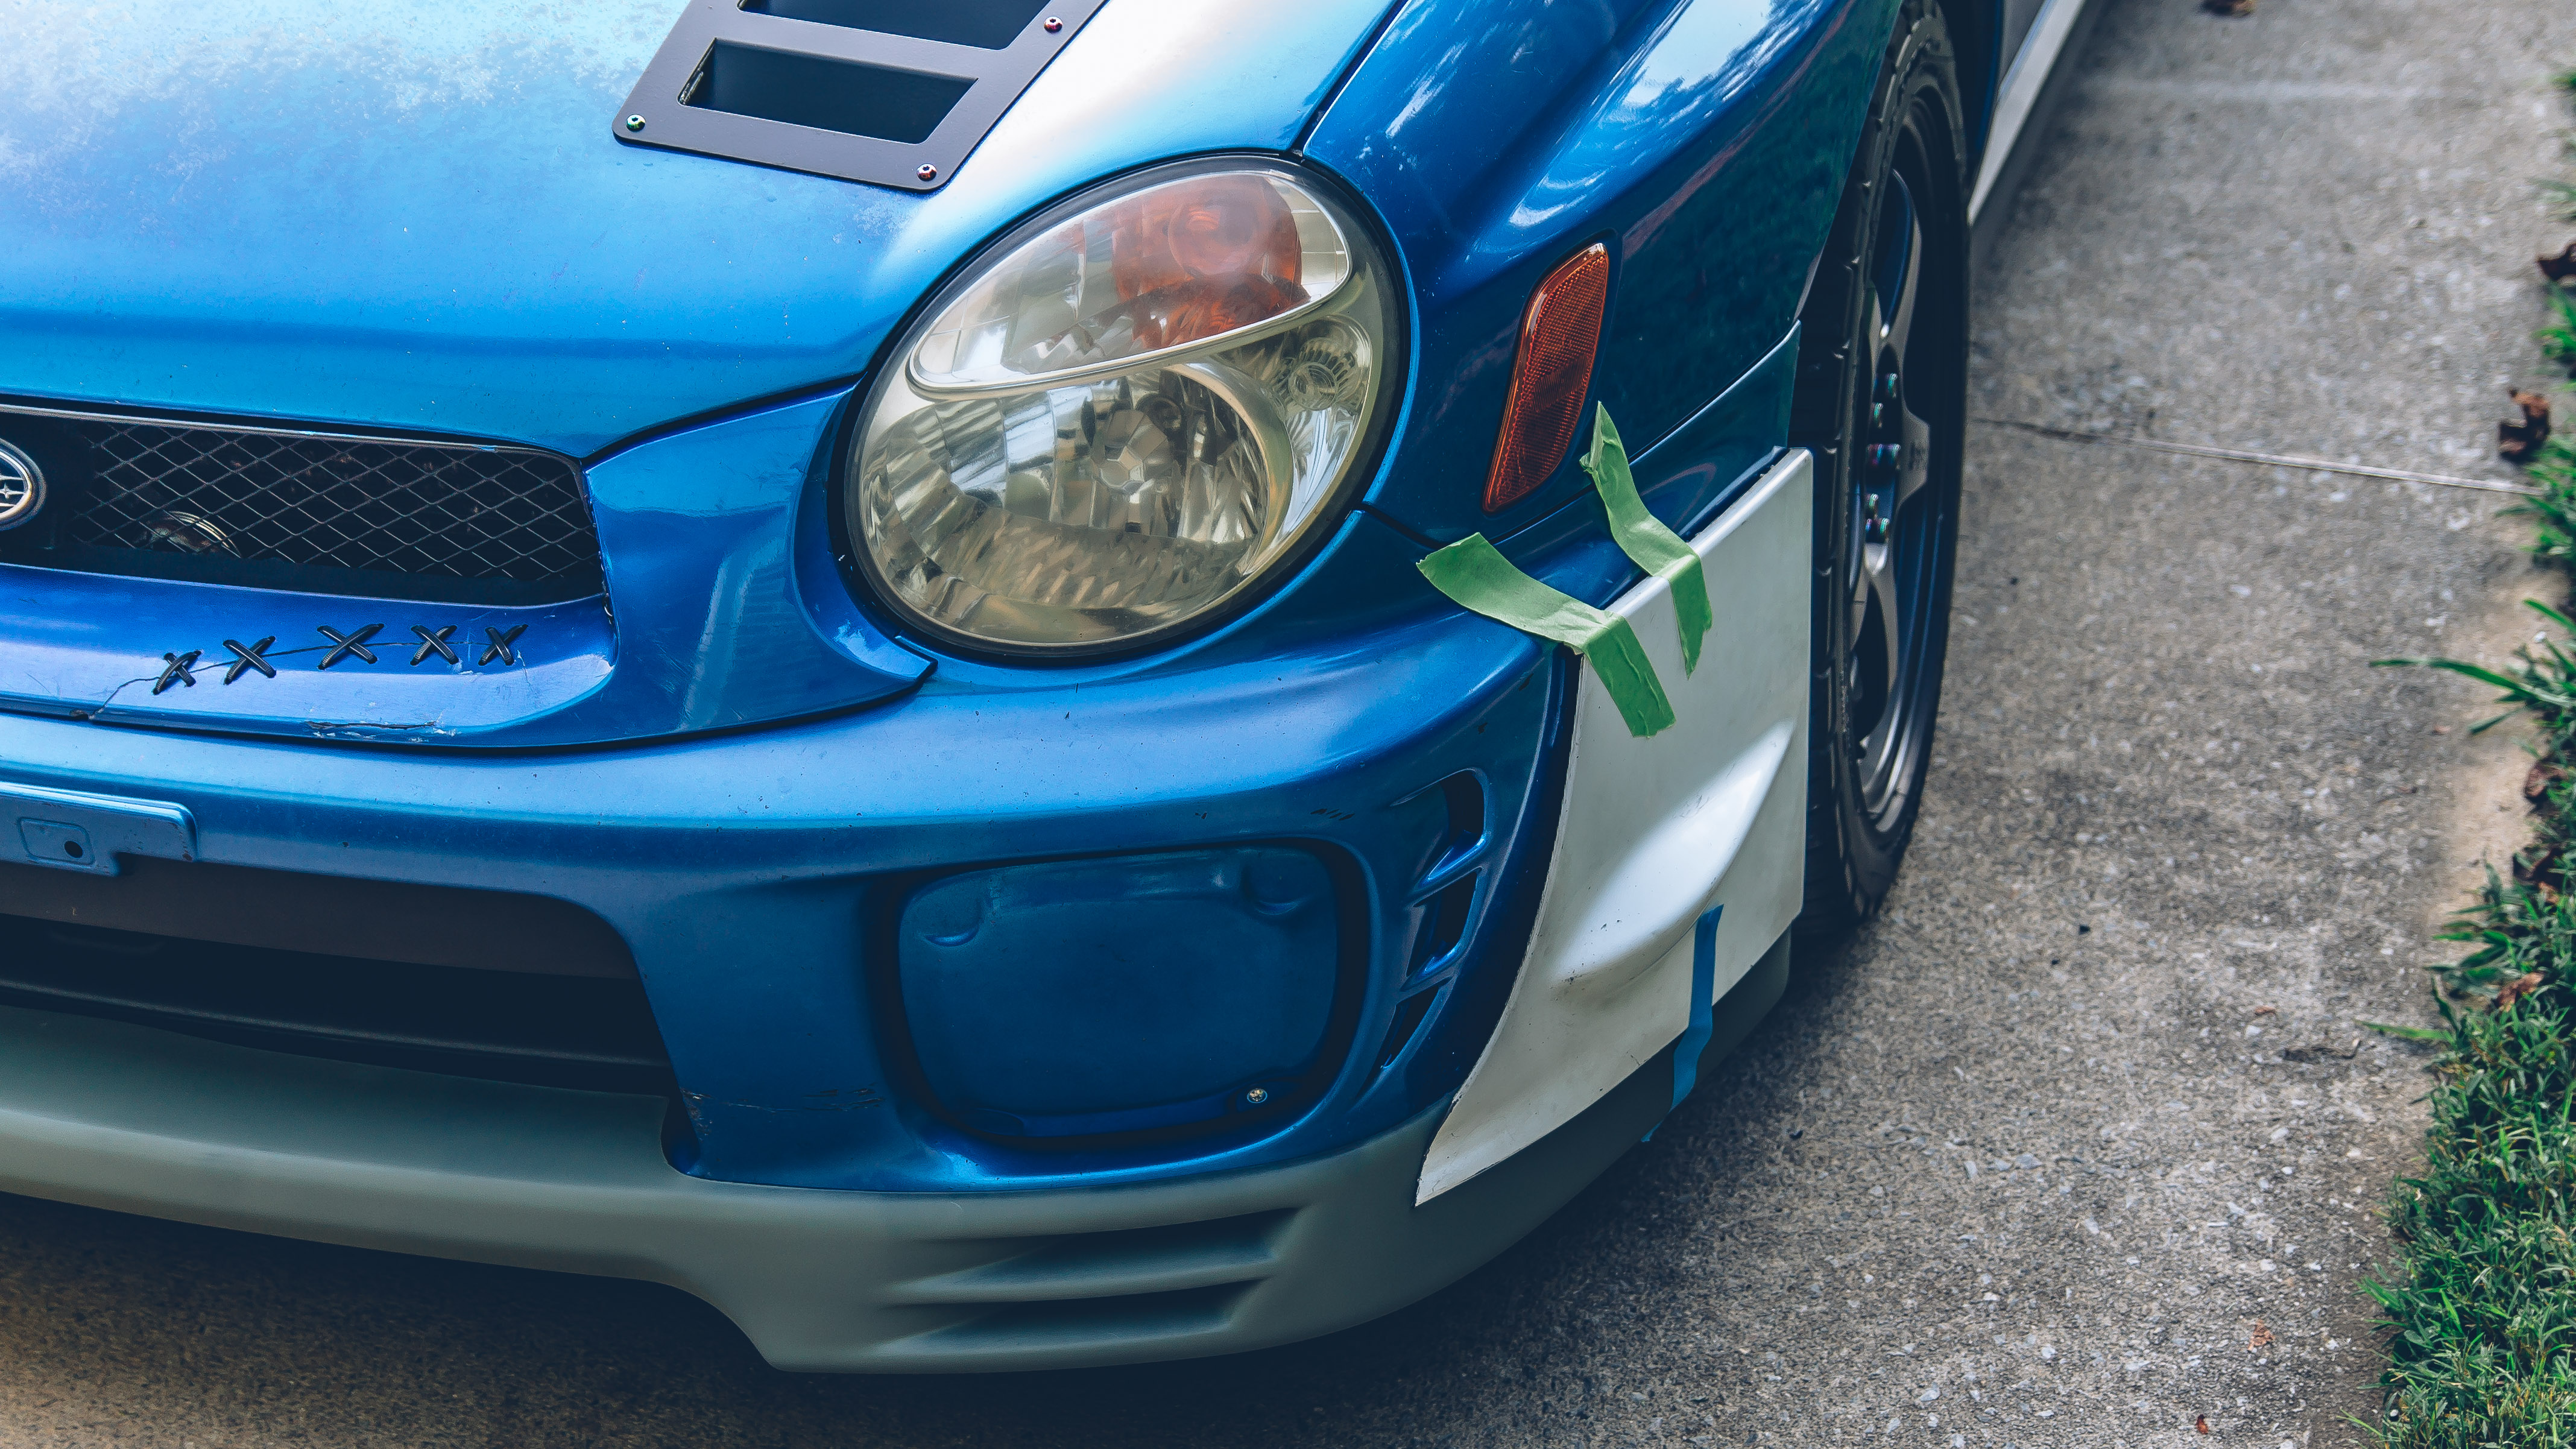
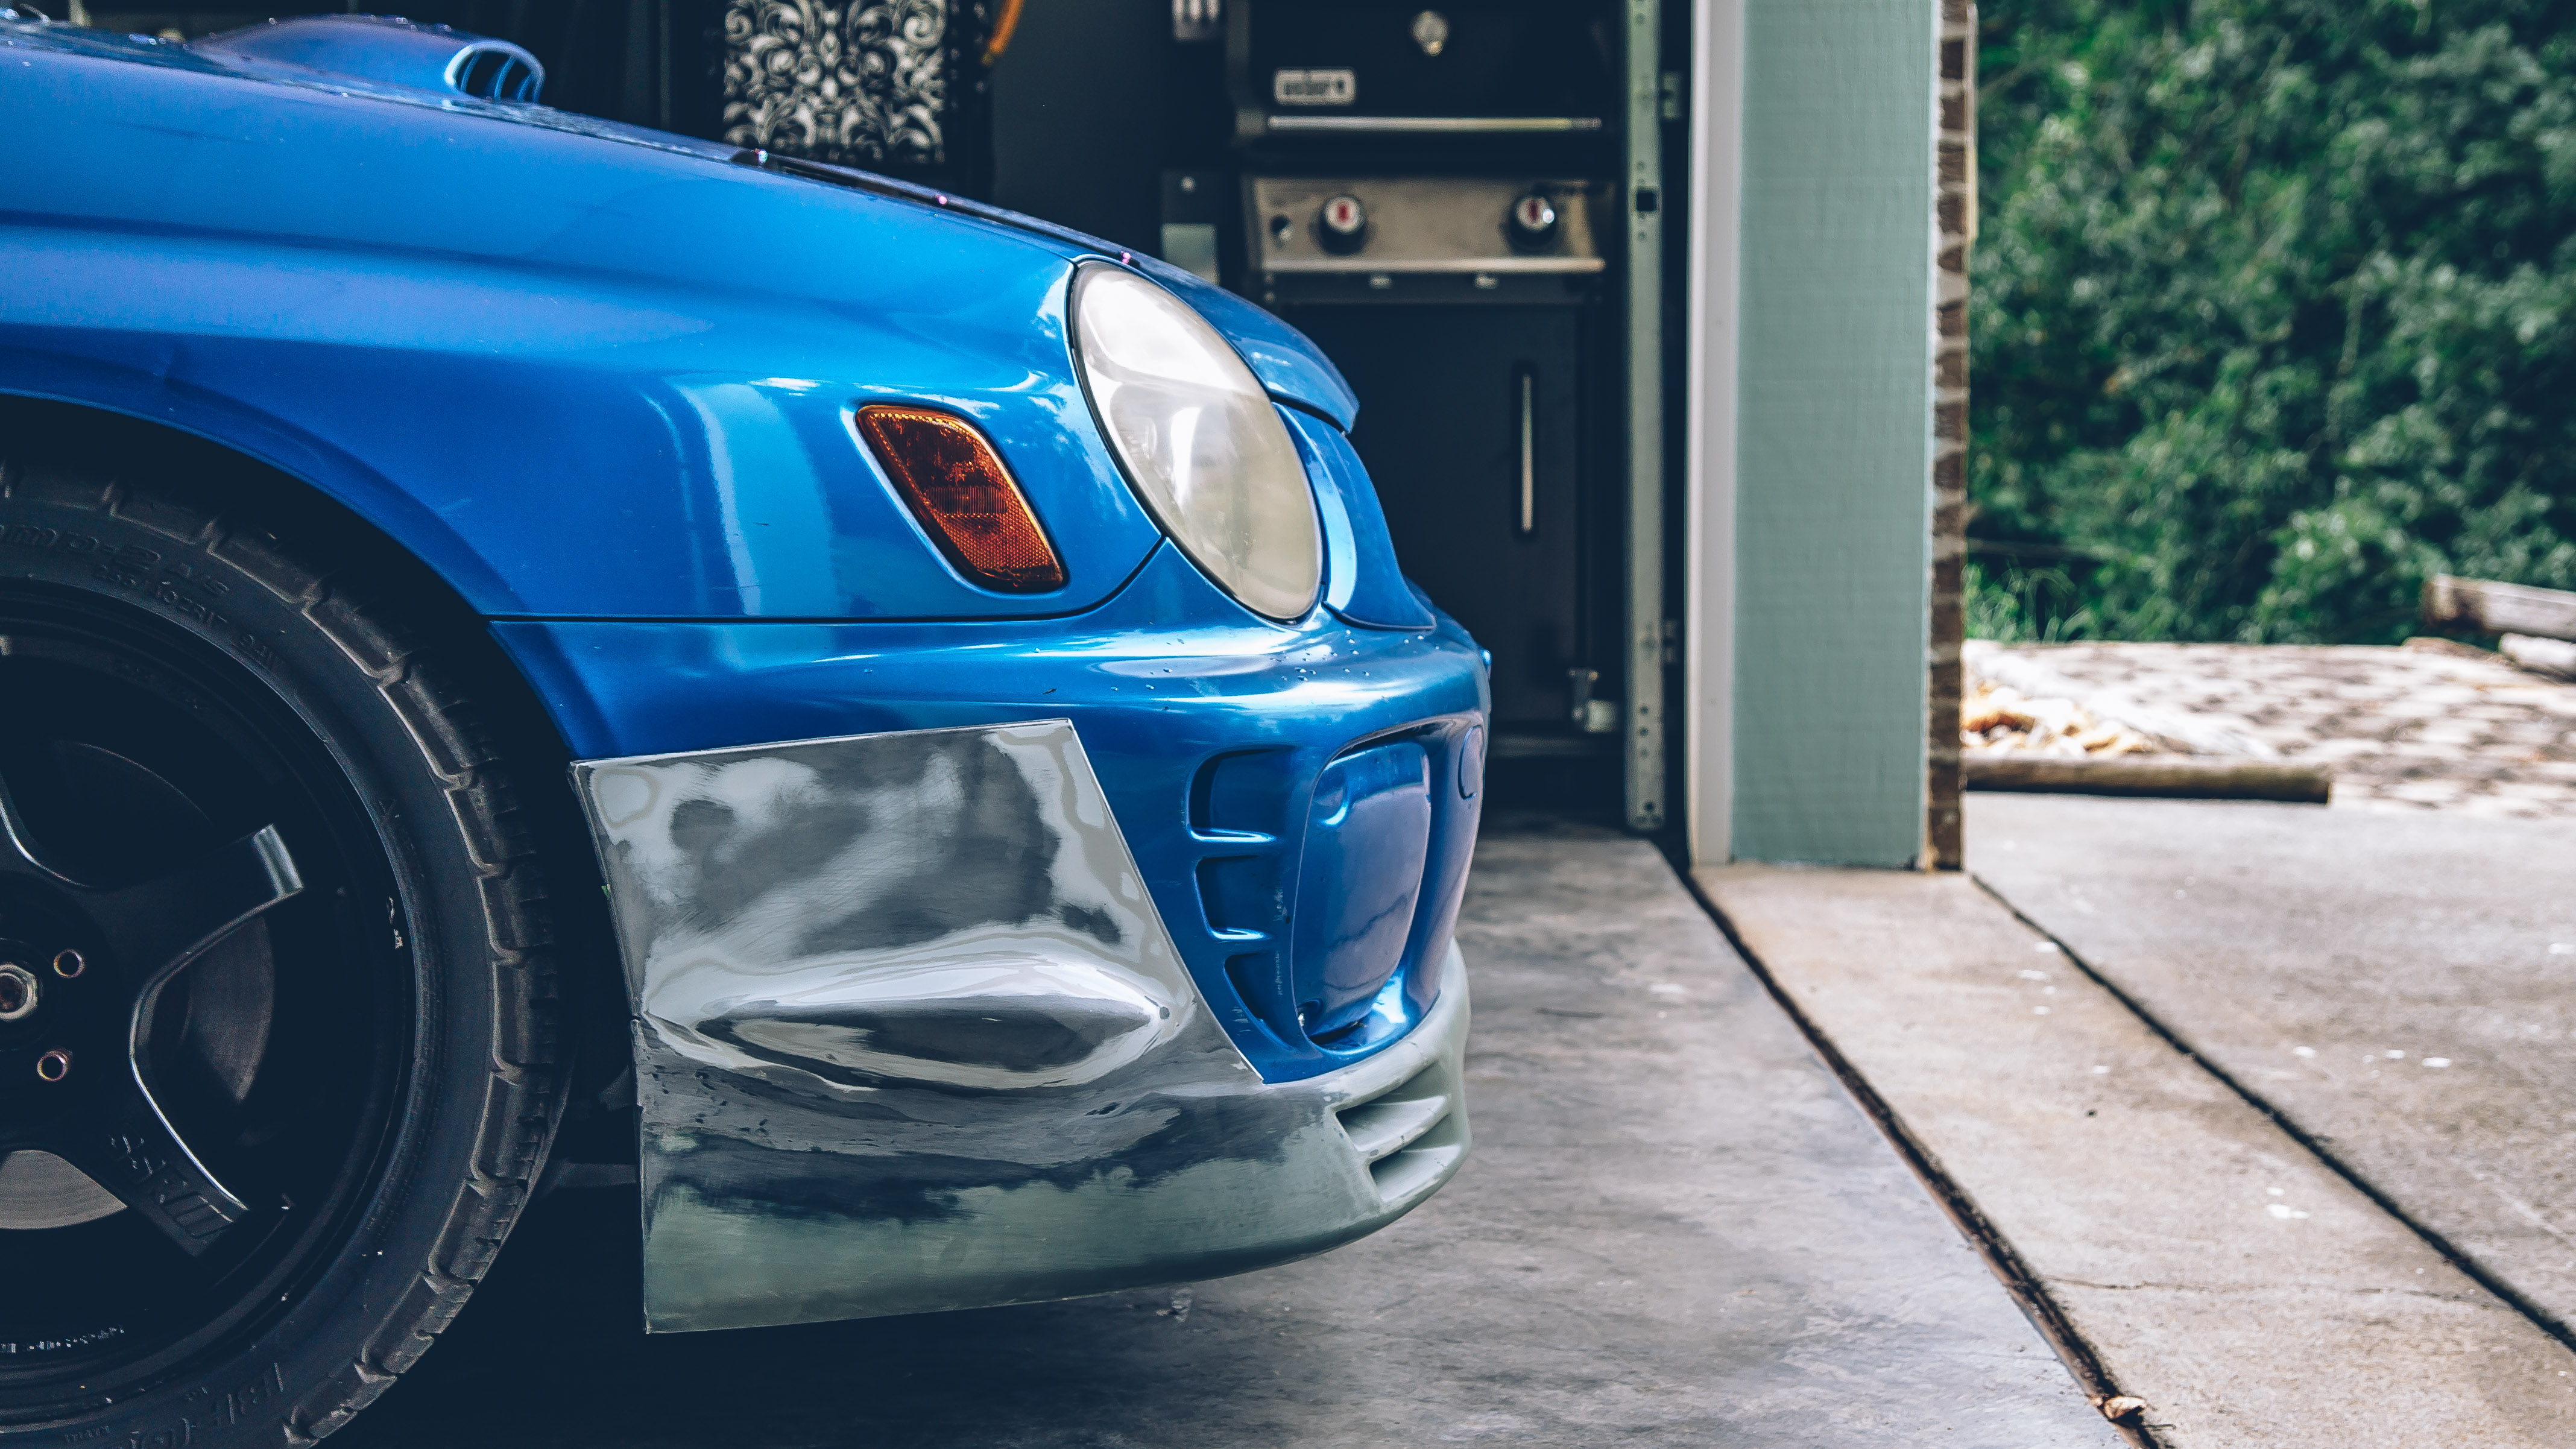
After the epoxy cured, I made another test fit. To my surprise, it was a tight trying to get it installed but eventually it snapped into place. I’m not sure I needed any hardware to hold it in place.

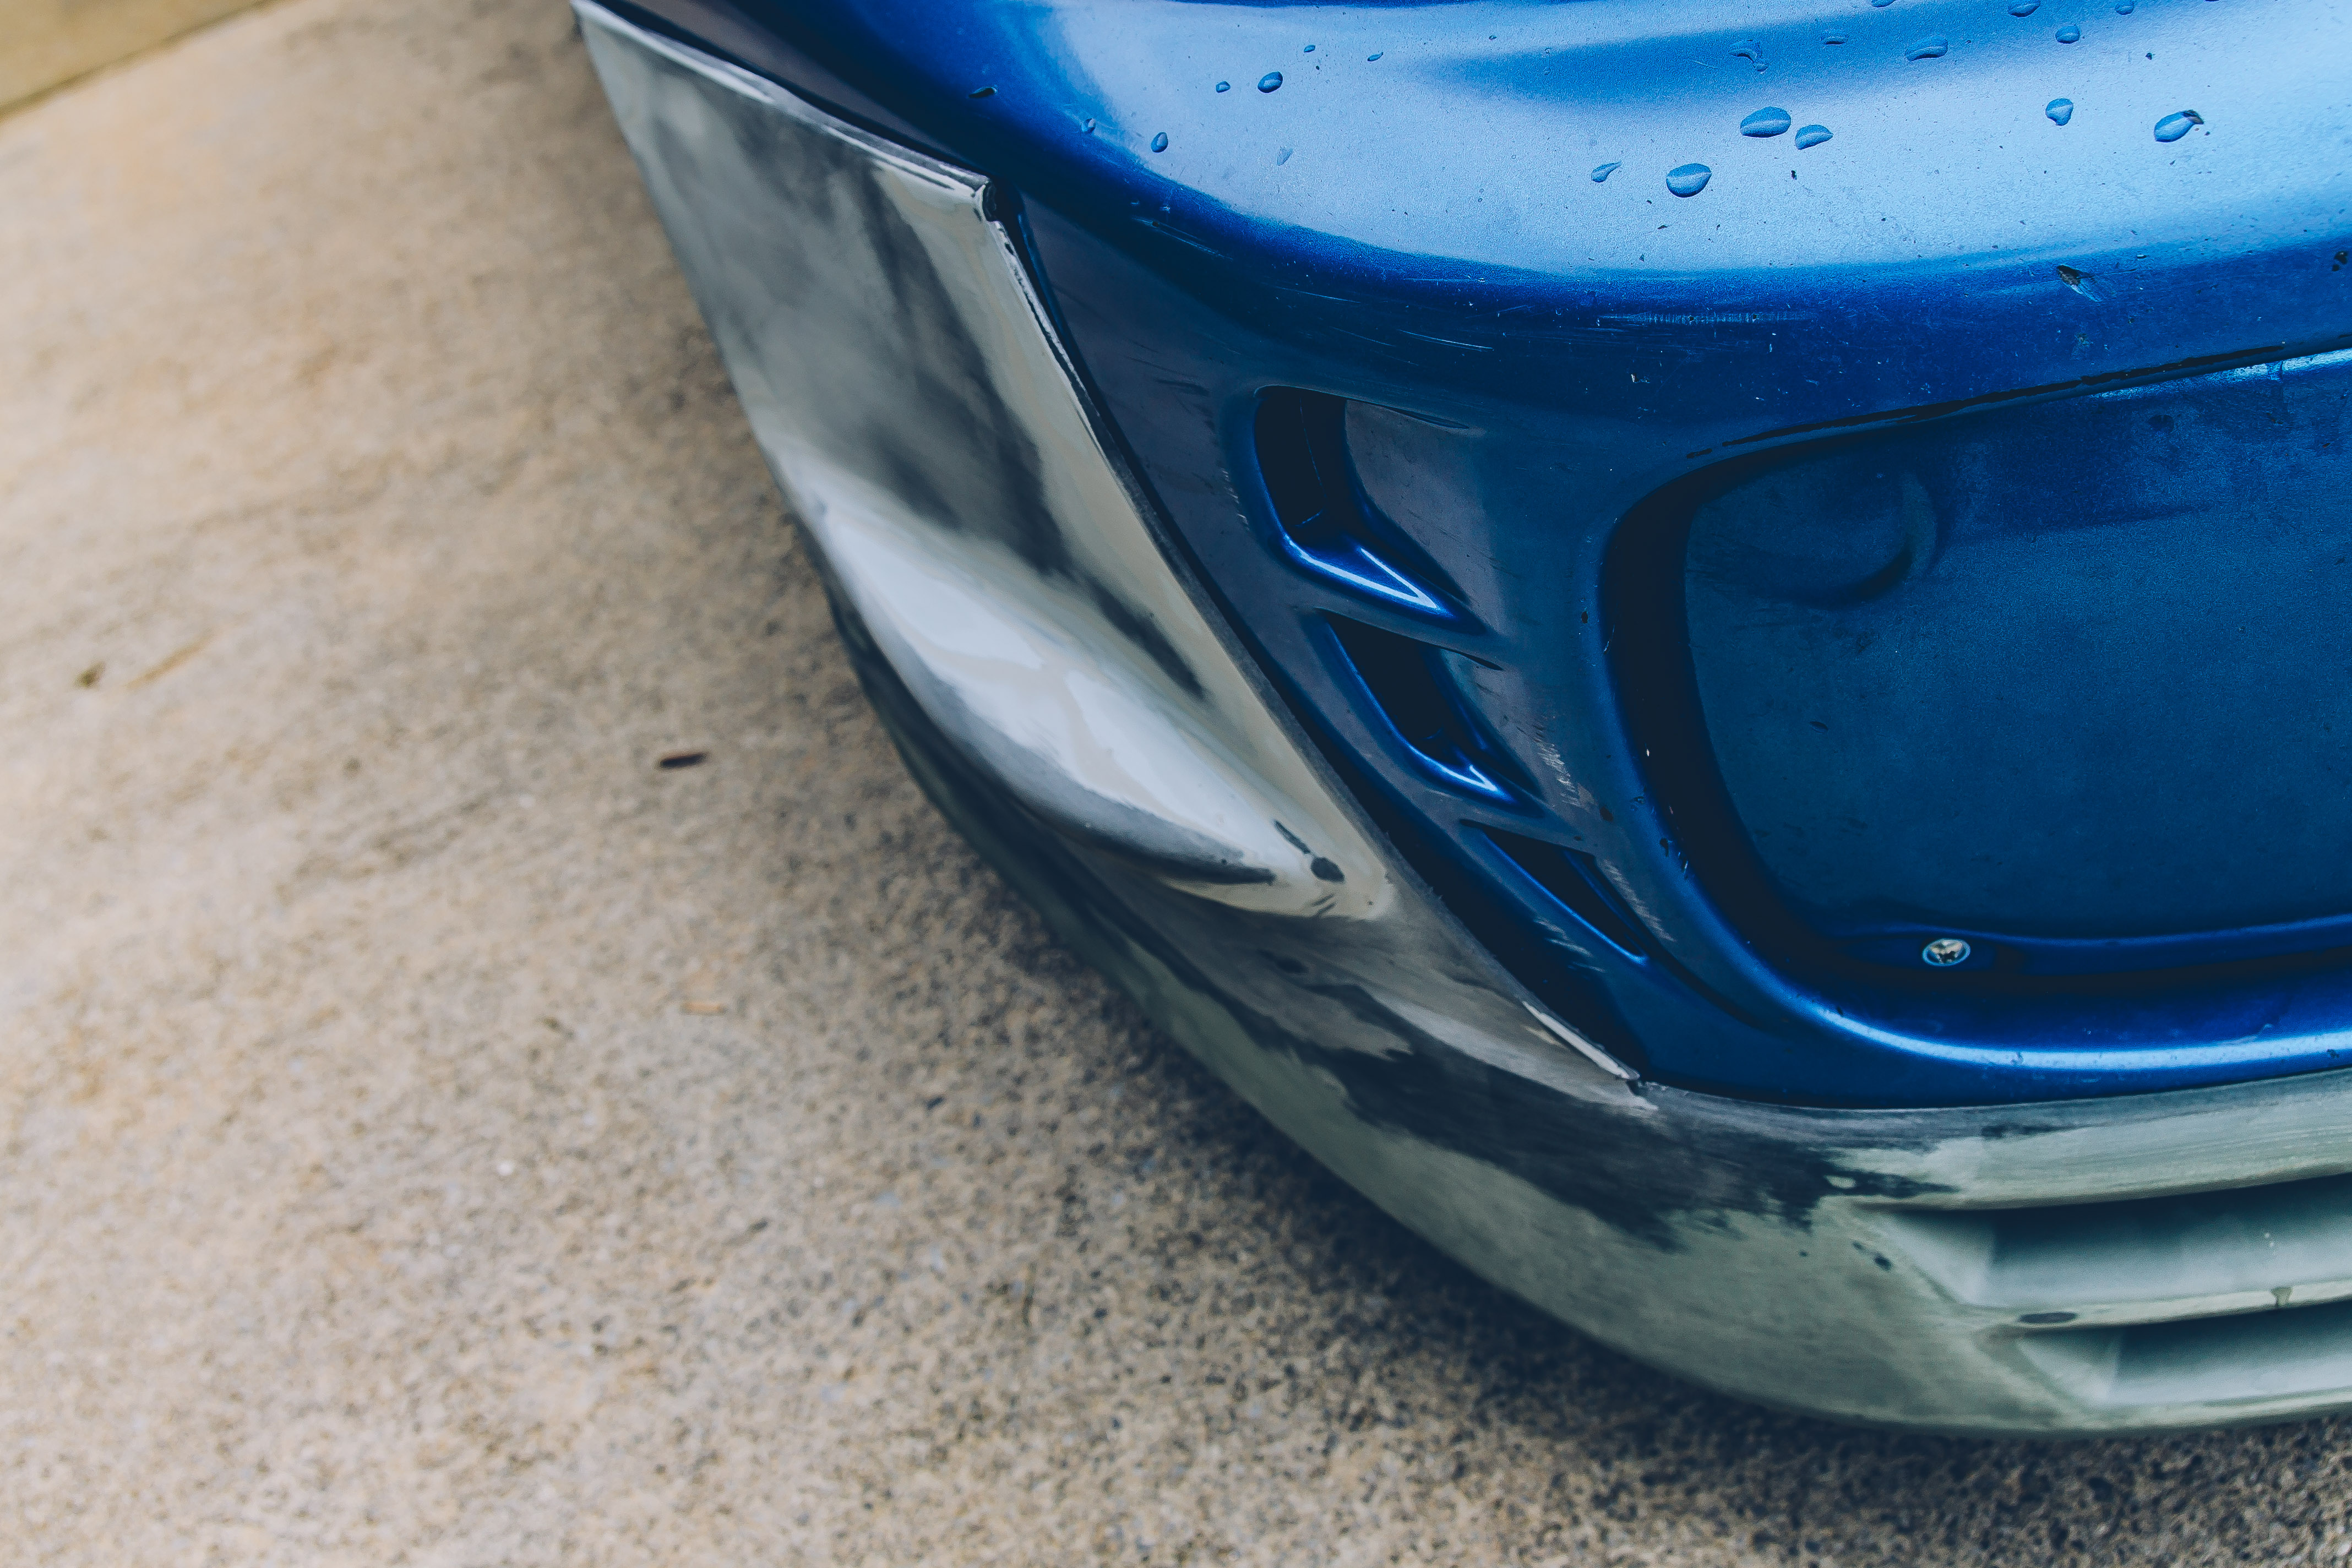
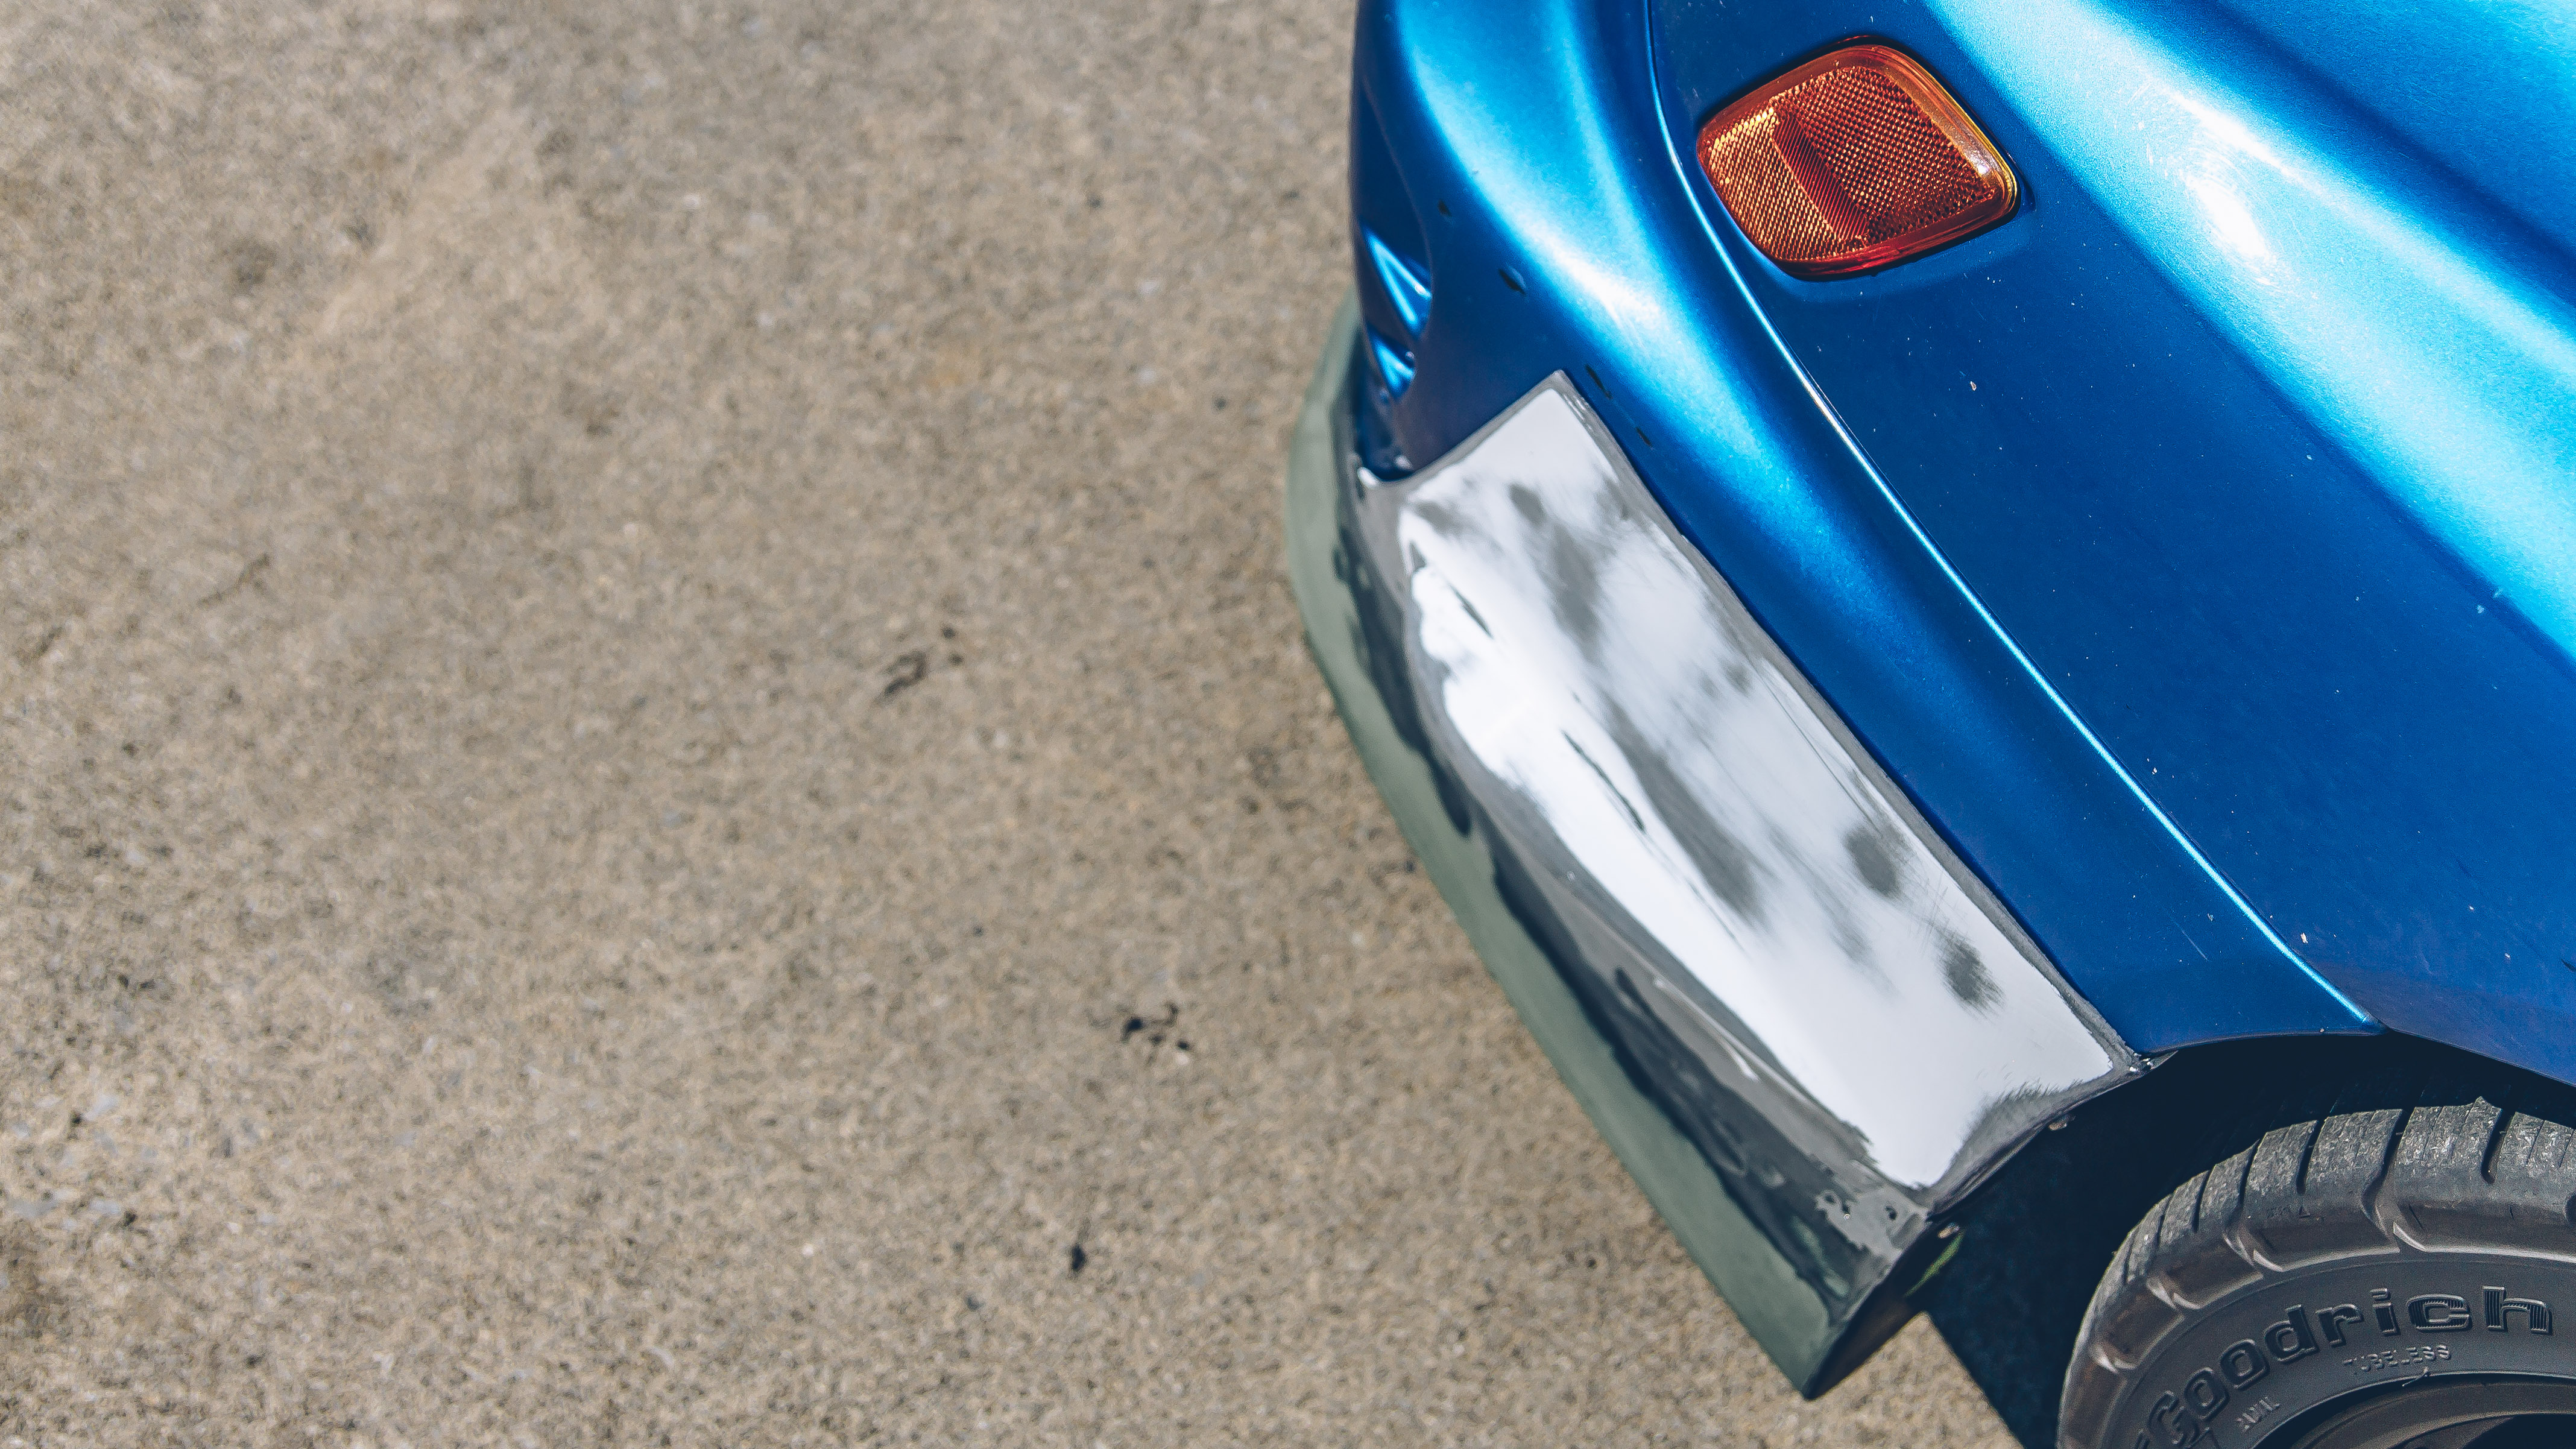
Satisfied with the fitment, I took the lip off to fill in the gaps from the outside and sand down the high spots.
There were gaps near the front edge of the splitter and the bumper. I probably could have mitigated this by test fitting my locations on the car more often but I plan to use adhesive to bond the lip to the bumper cover so it’s not a huge issue. I will just fill those areas in at that time.
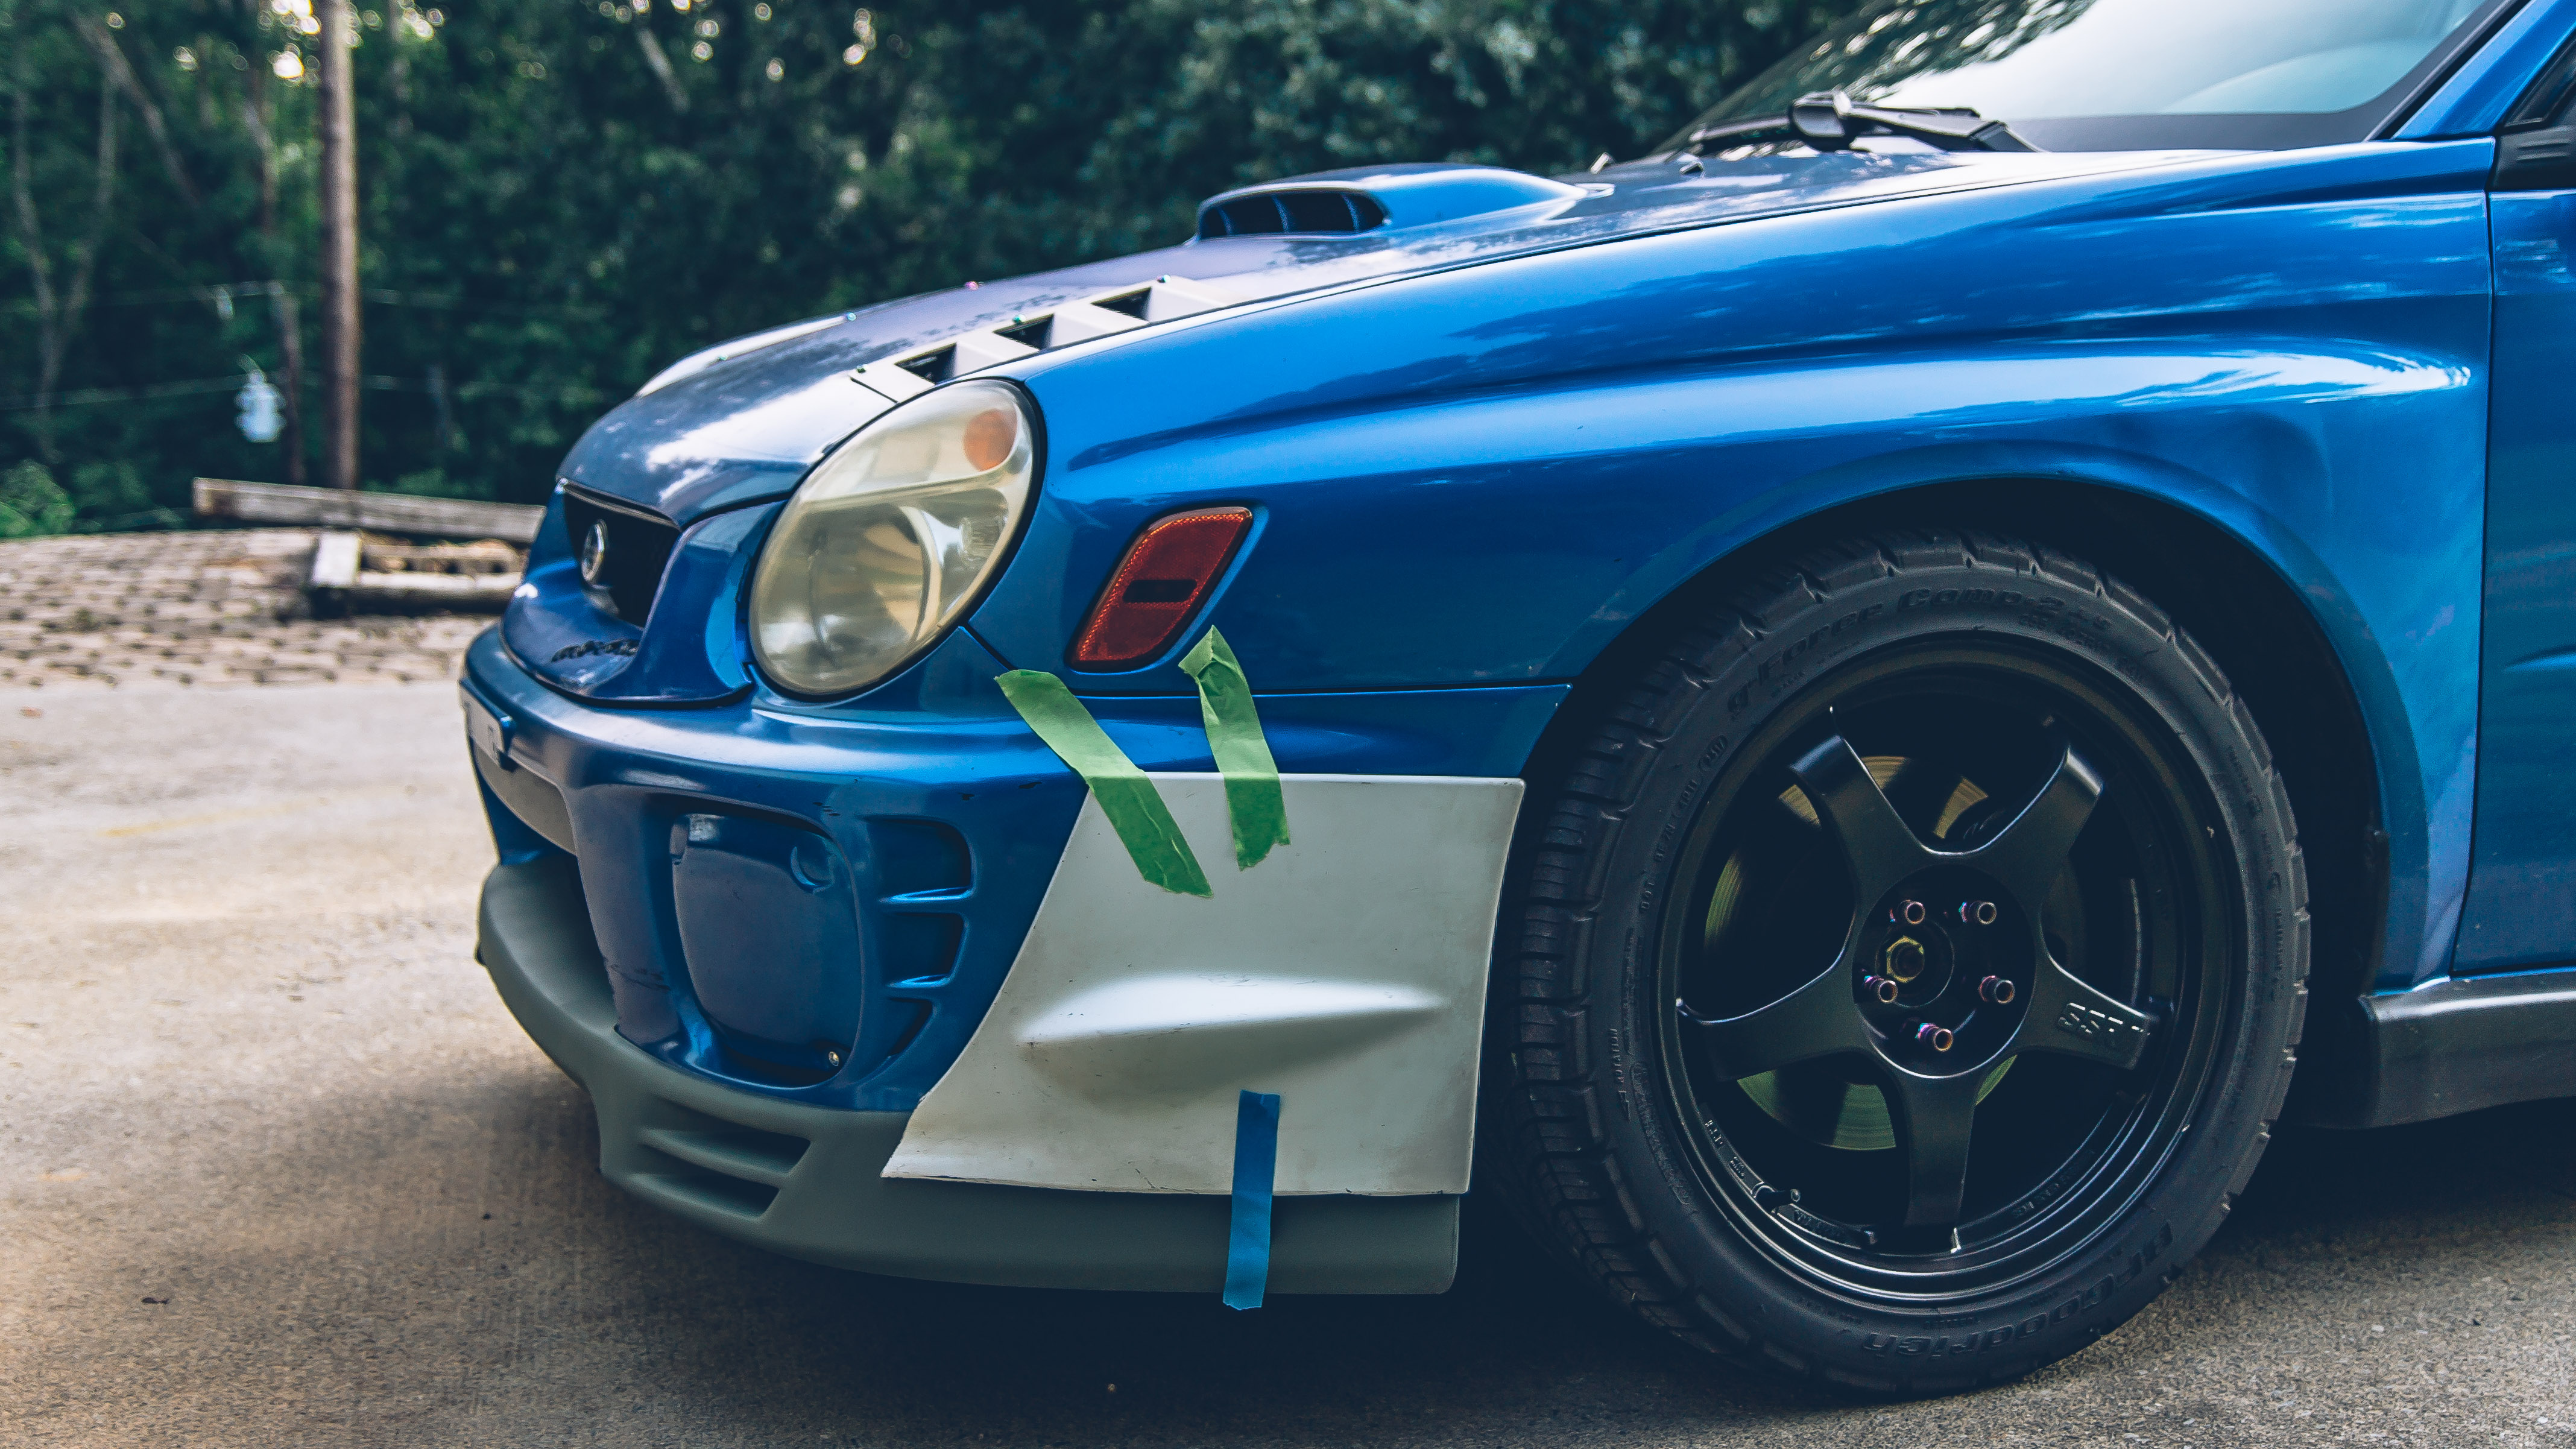
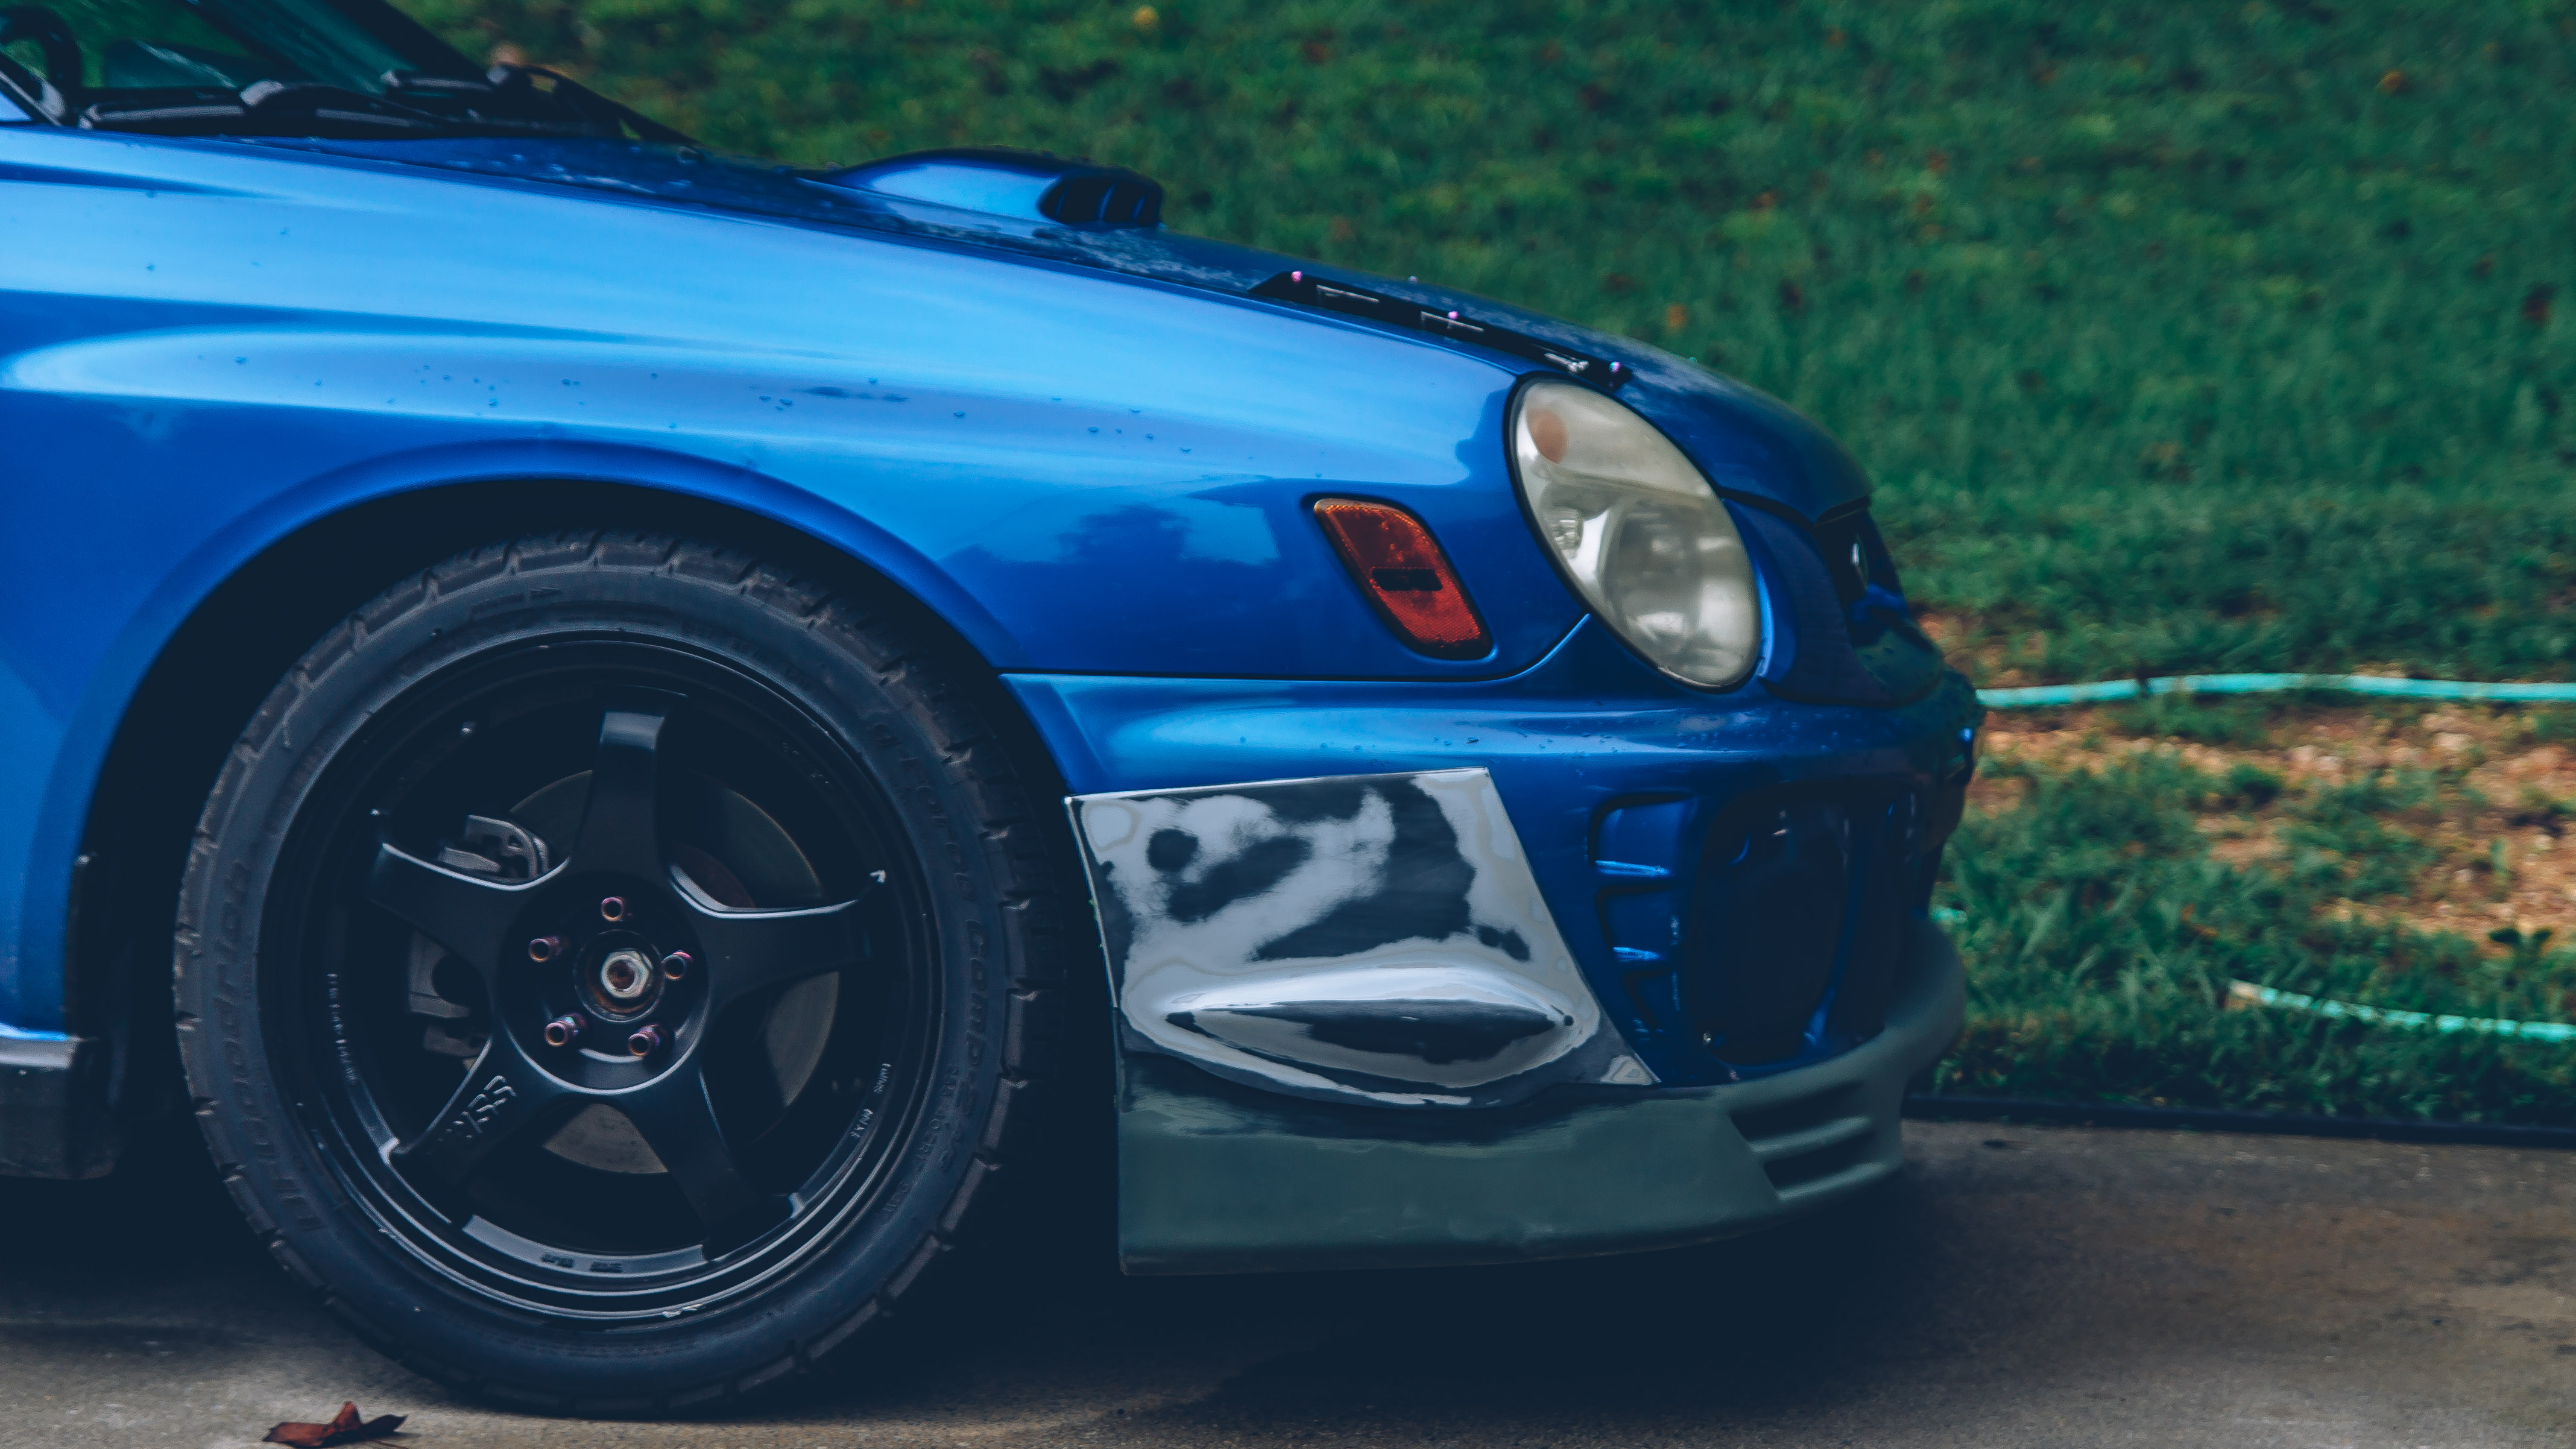
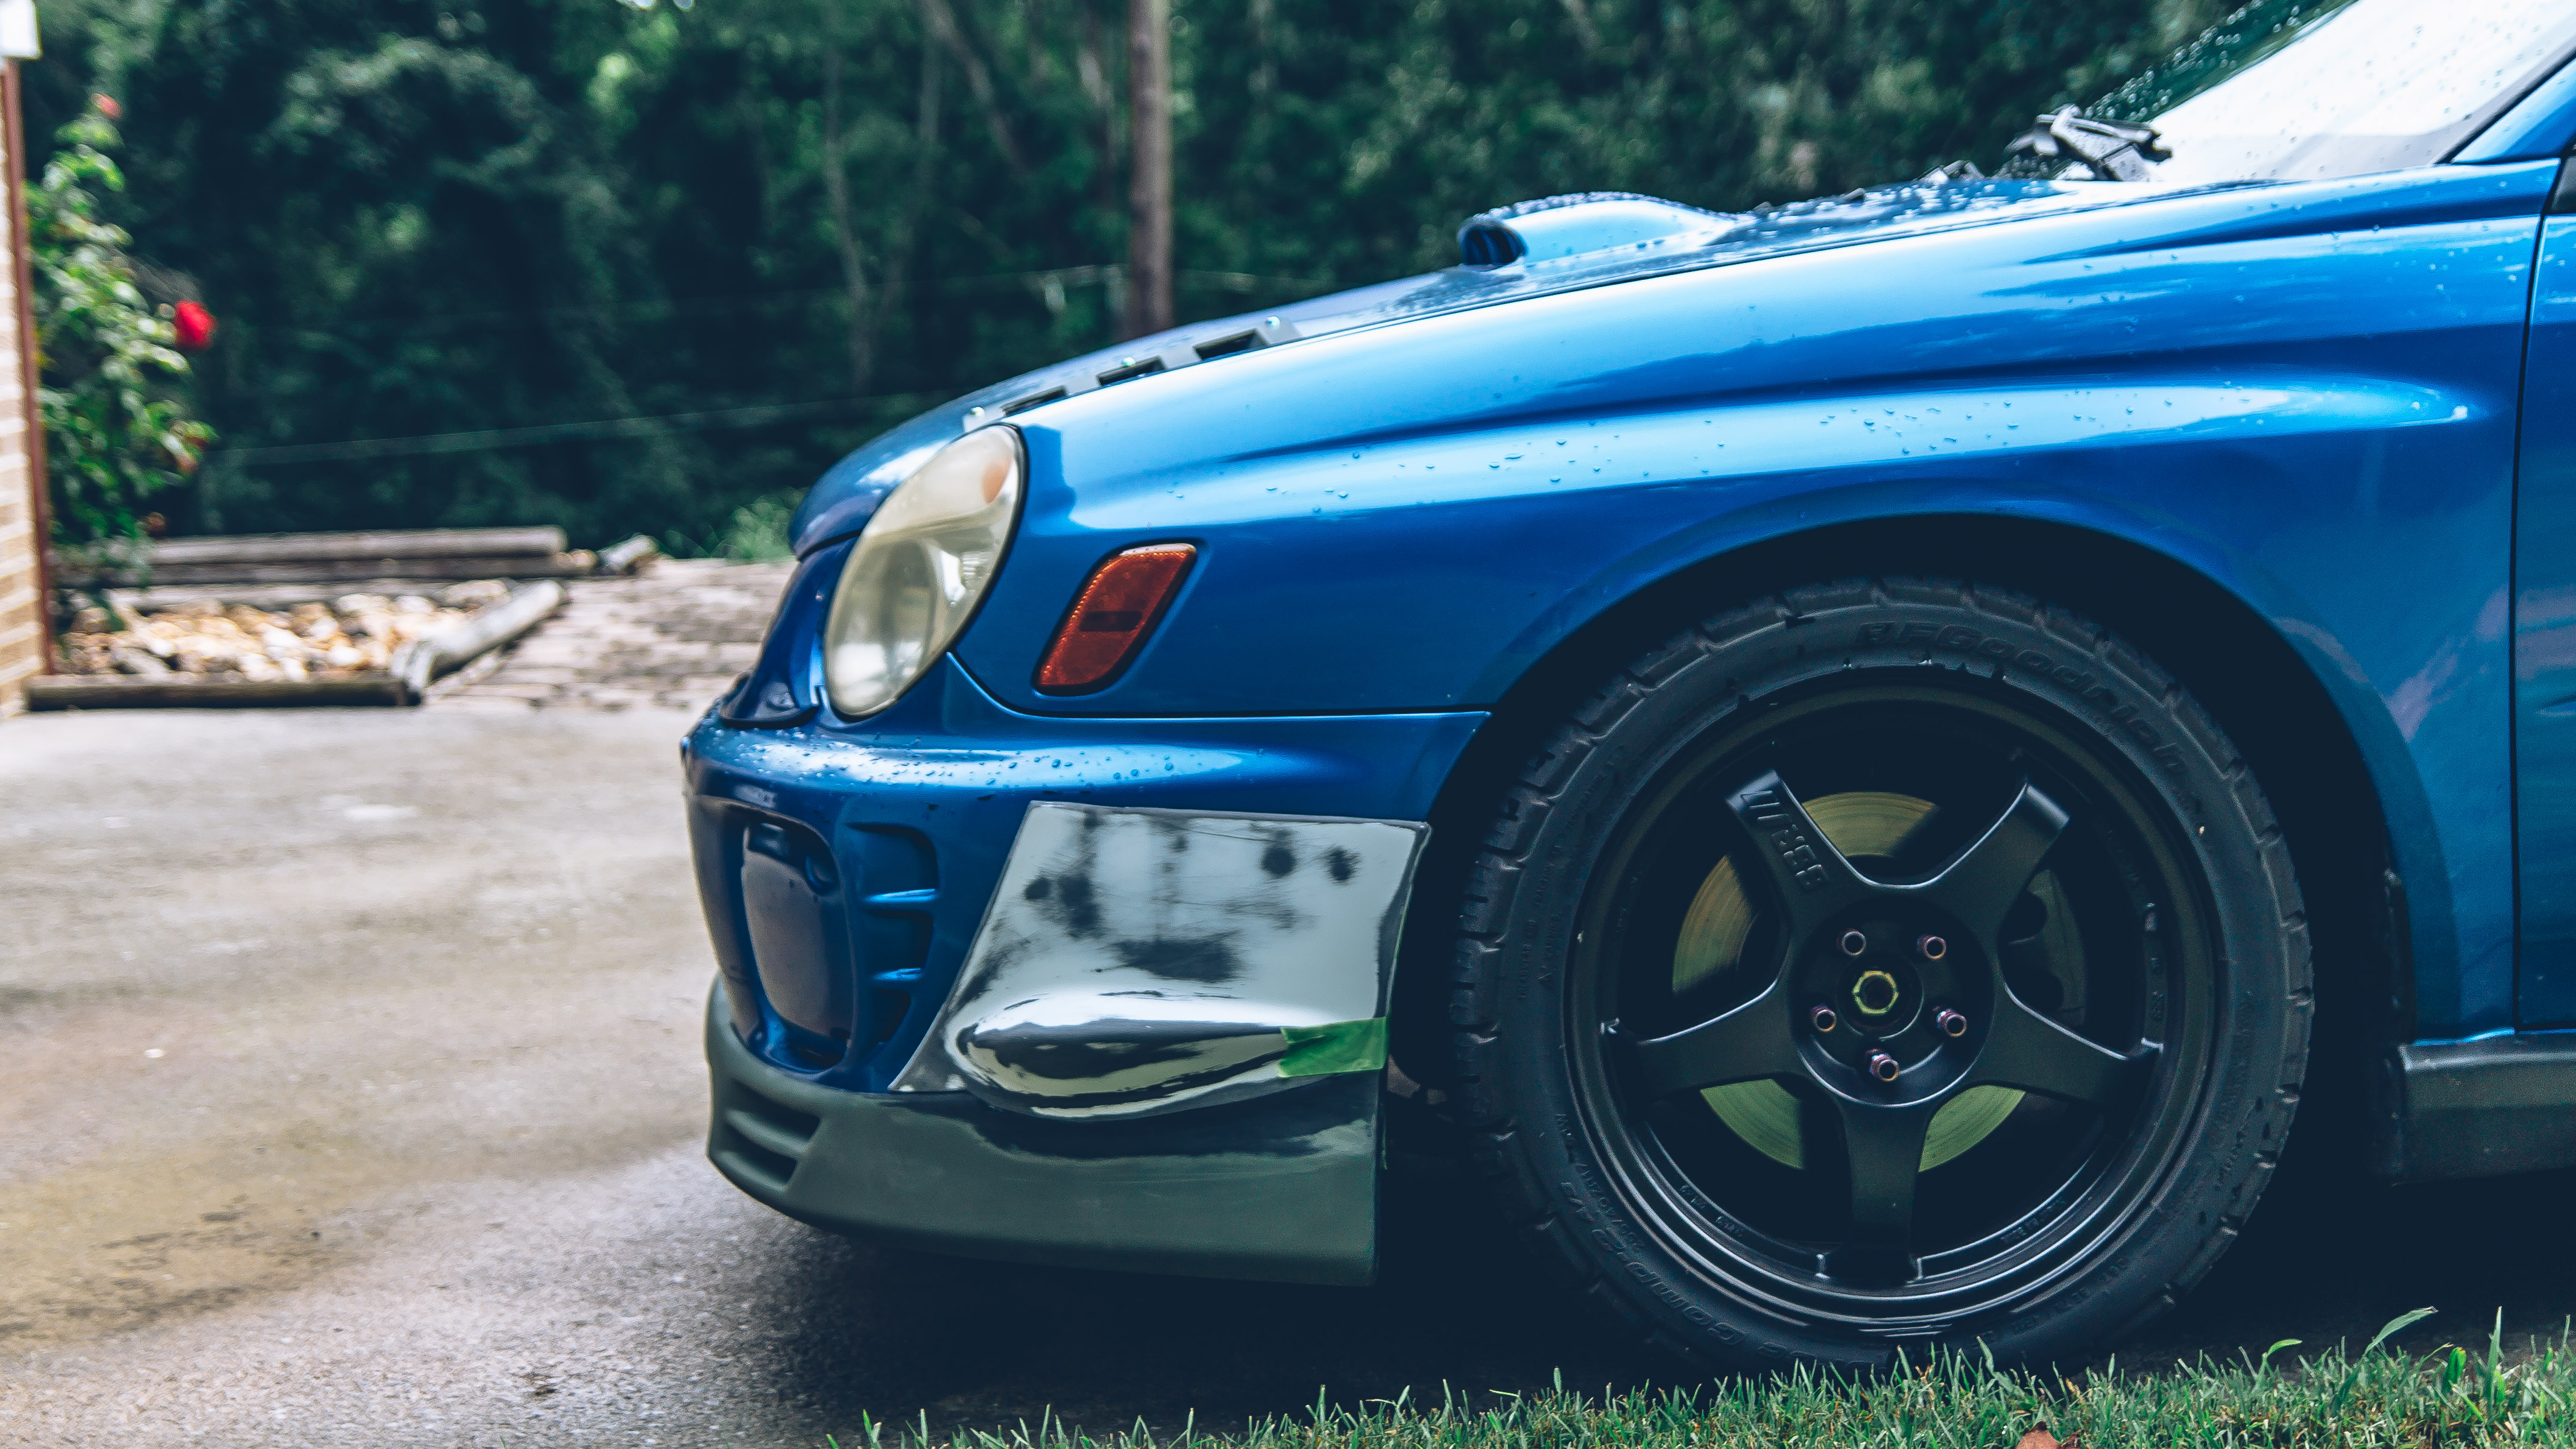
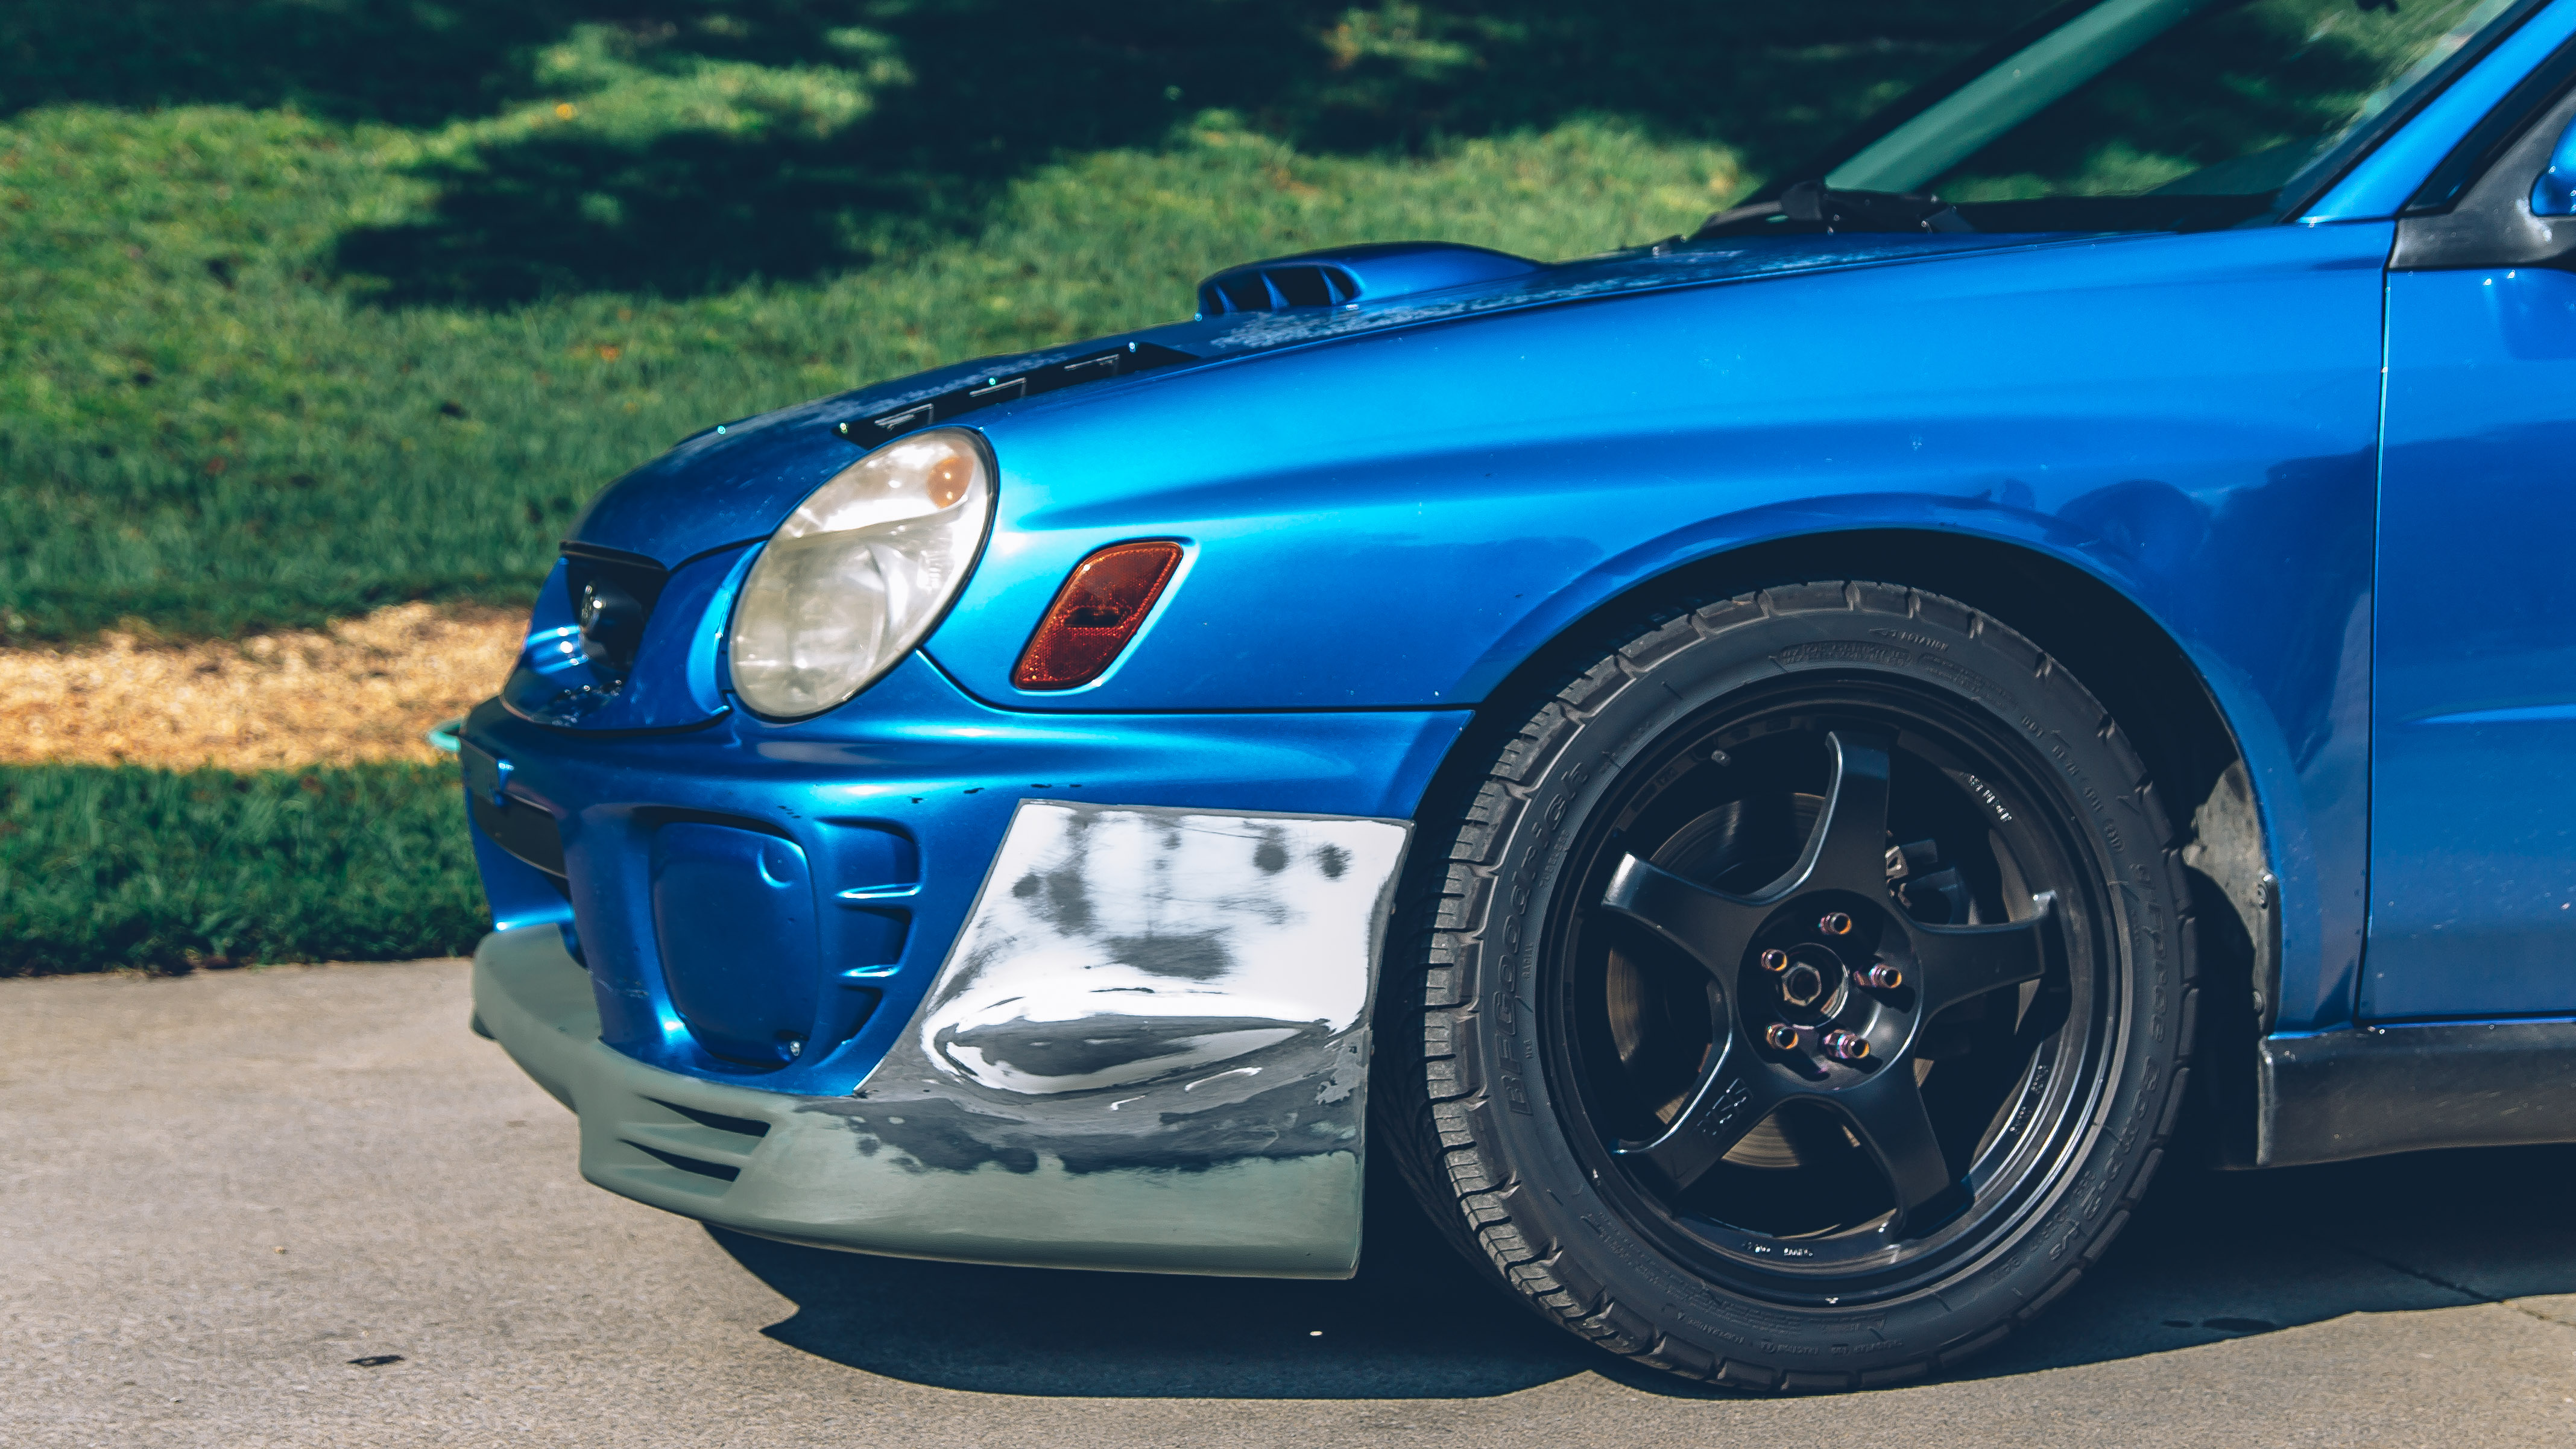
However, at this point, I was satisfied with the overall results. There are still some spots that need a bit of work; there is a high spot in the center of the lip that I need to sand down, but now I wanted to drive around and make sure it wouldn’t crack or anything.


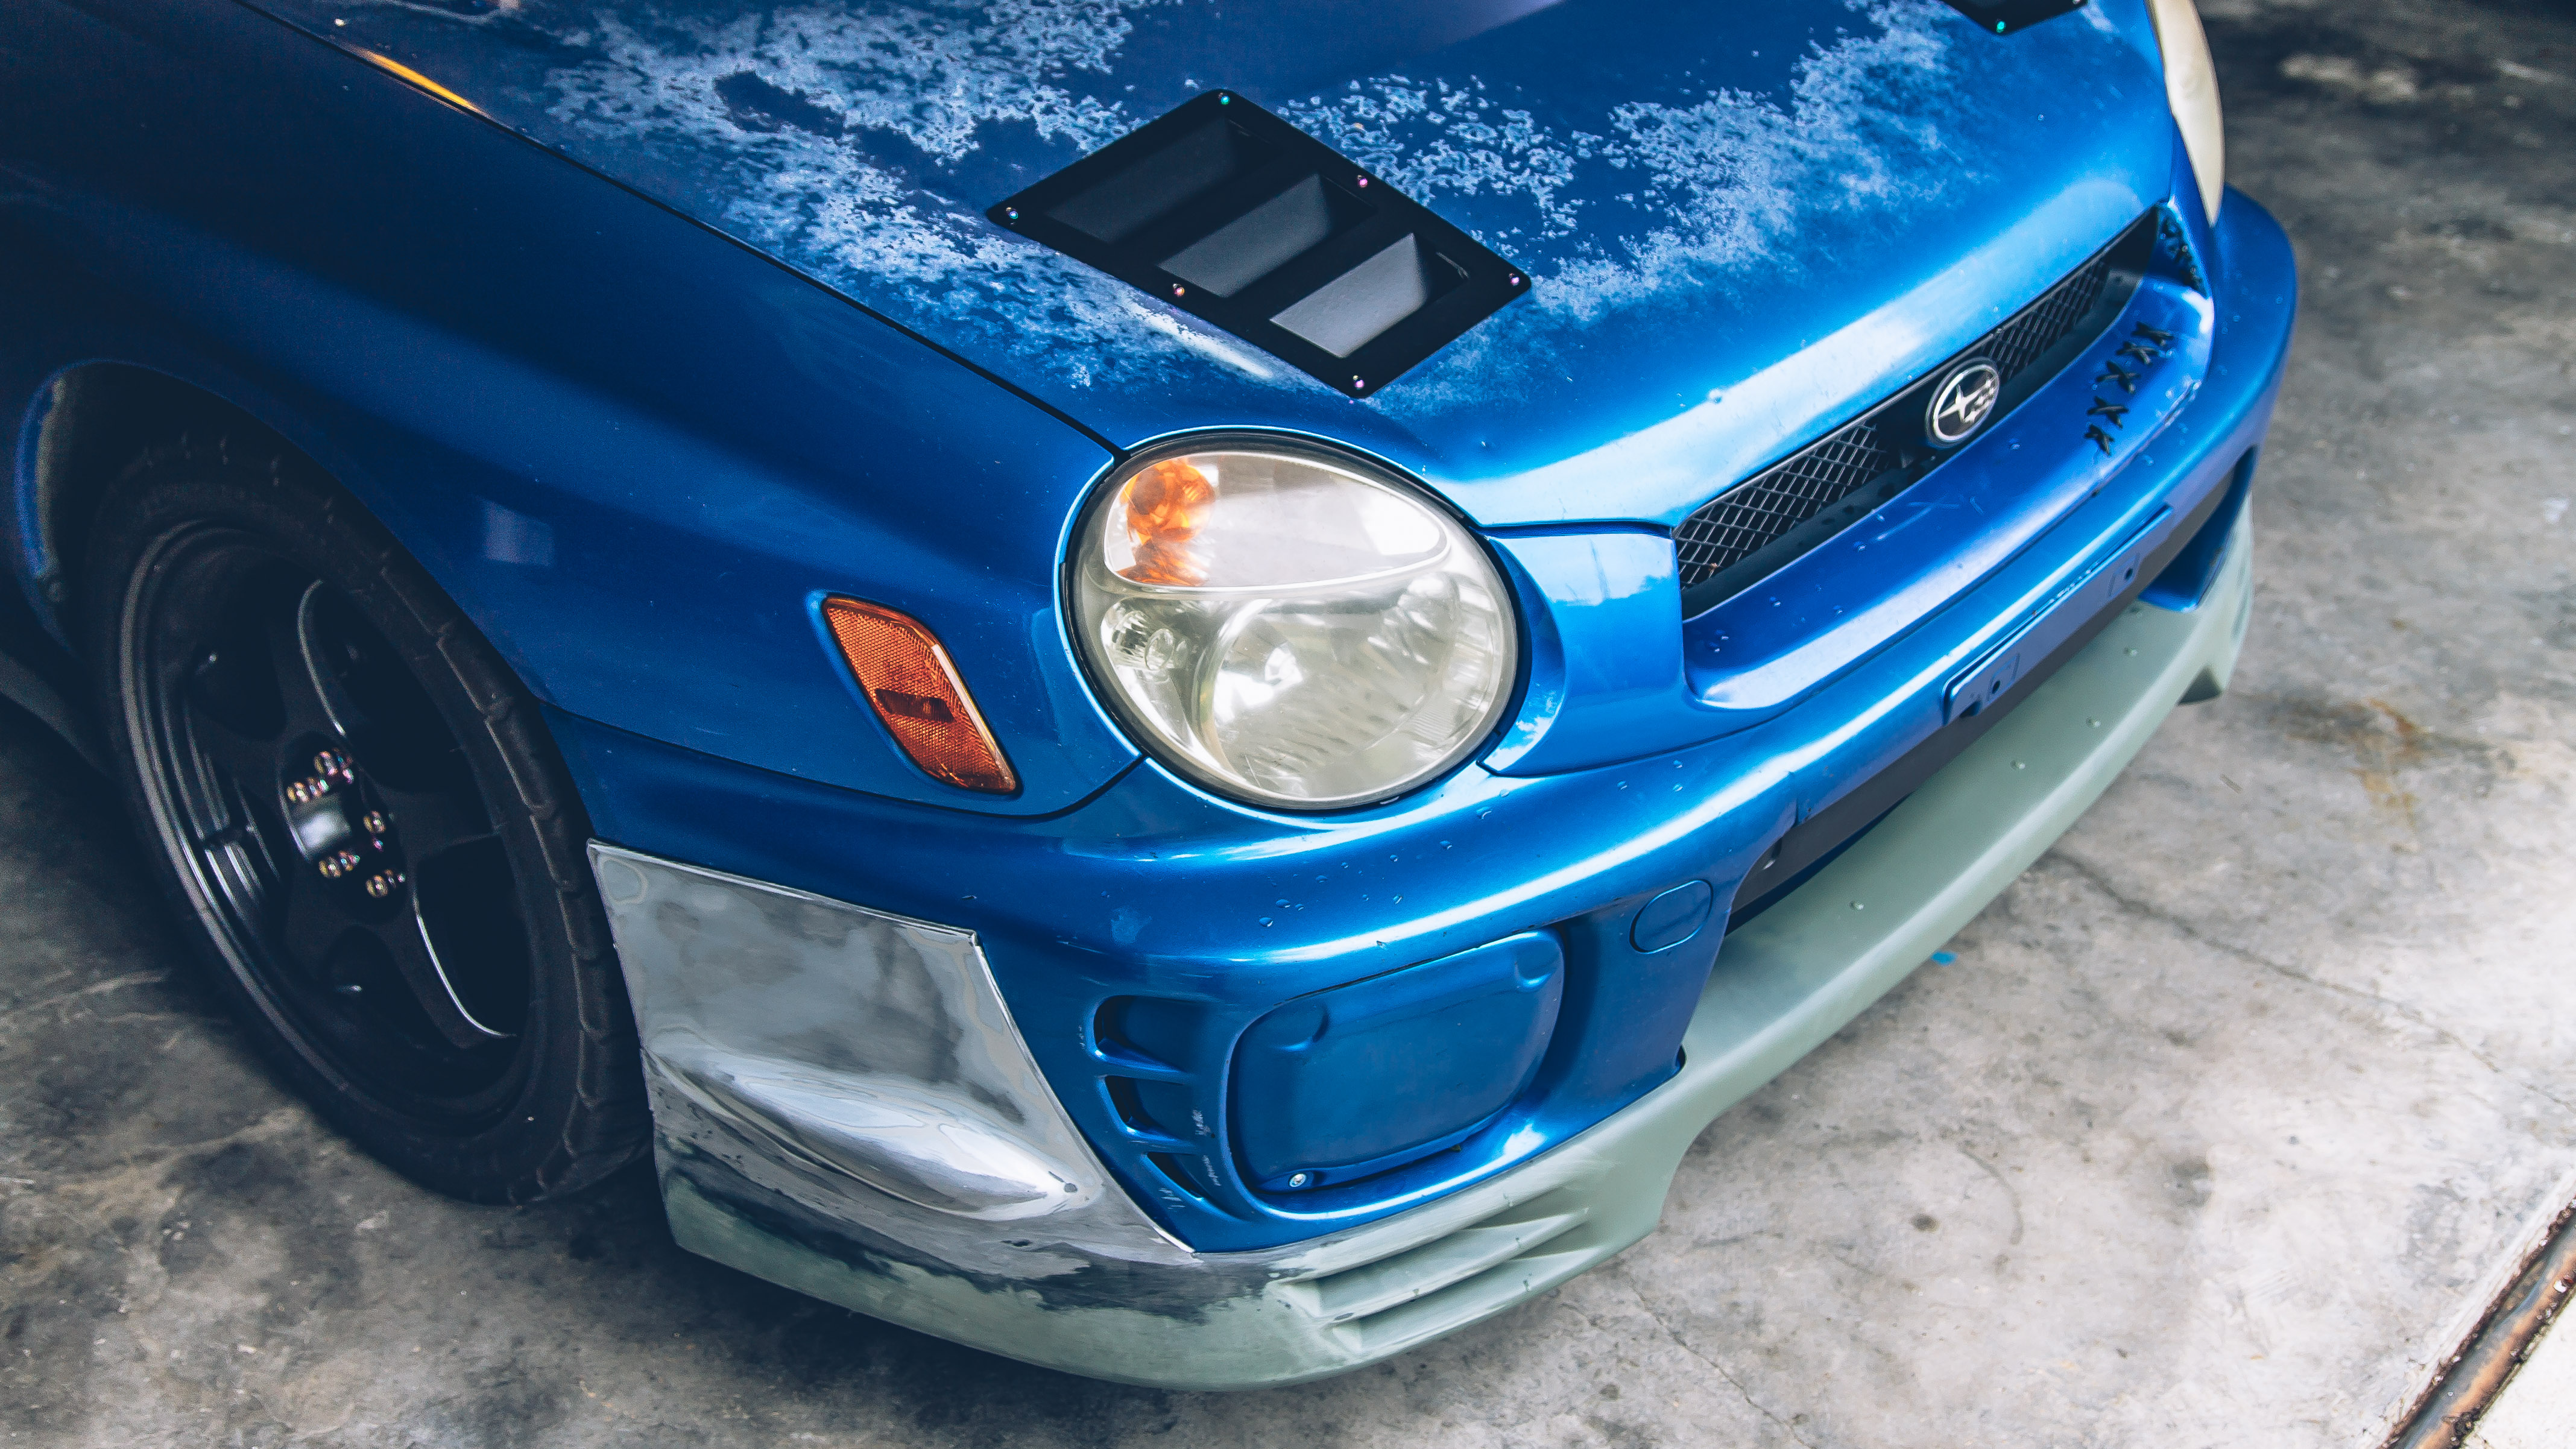
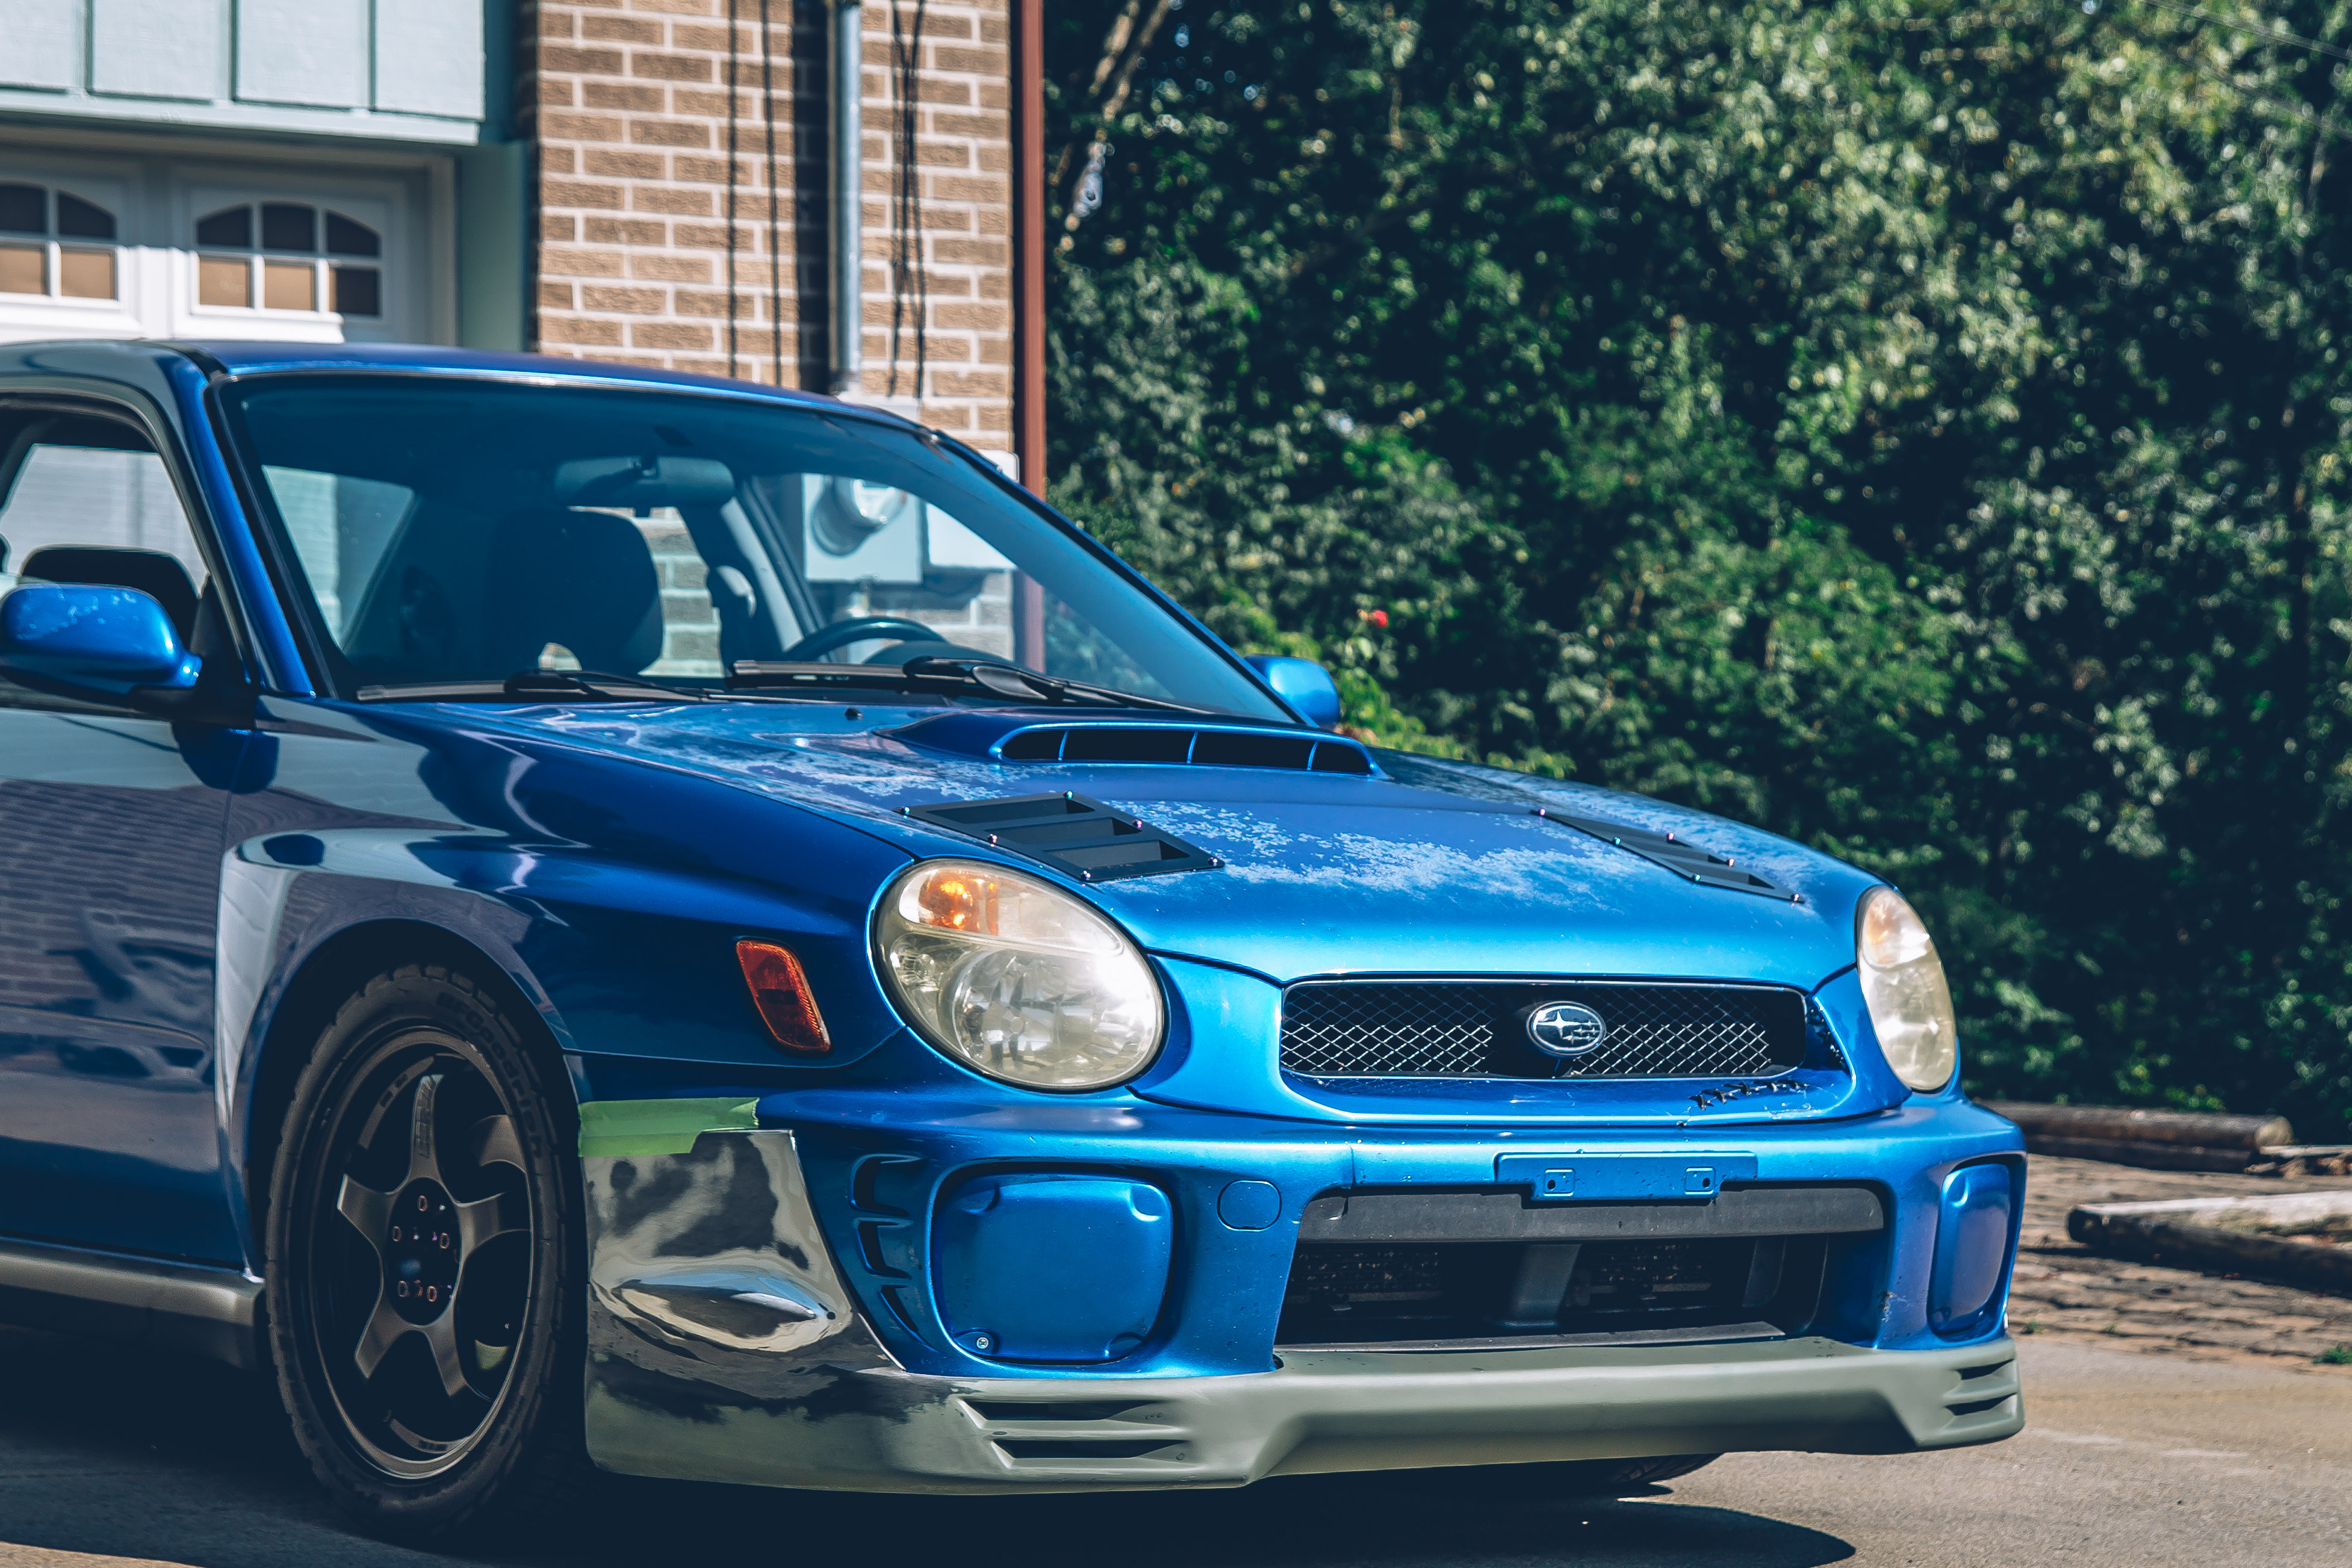
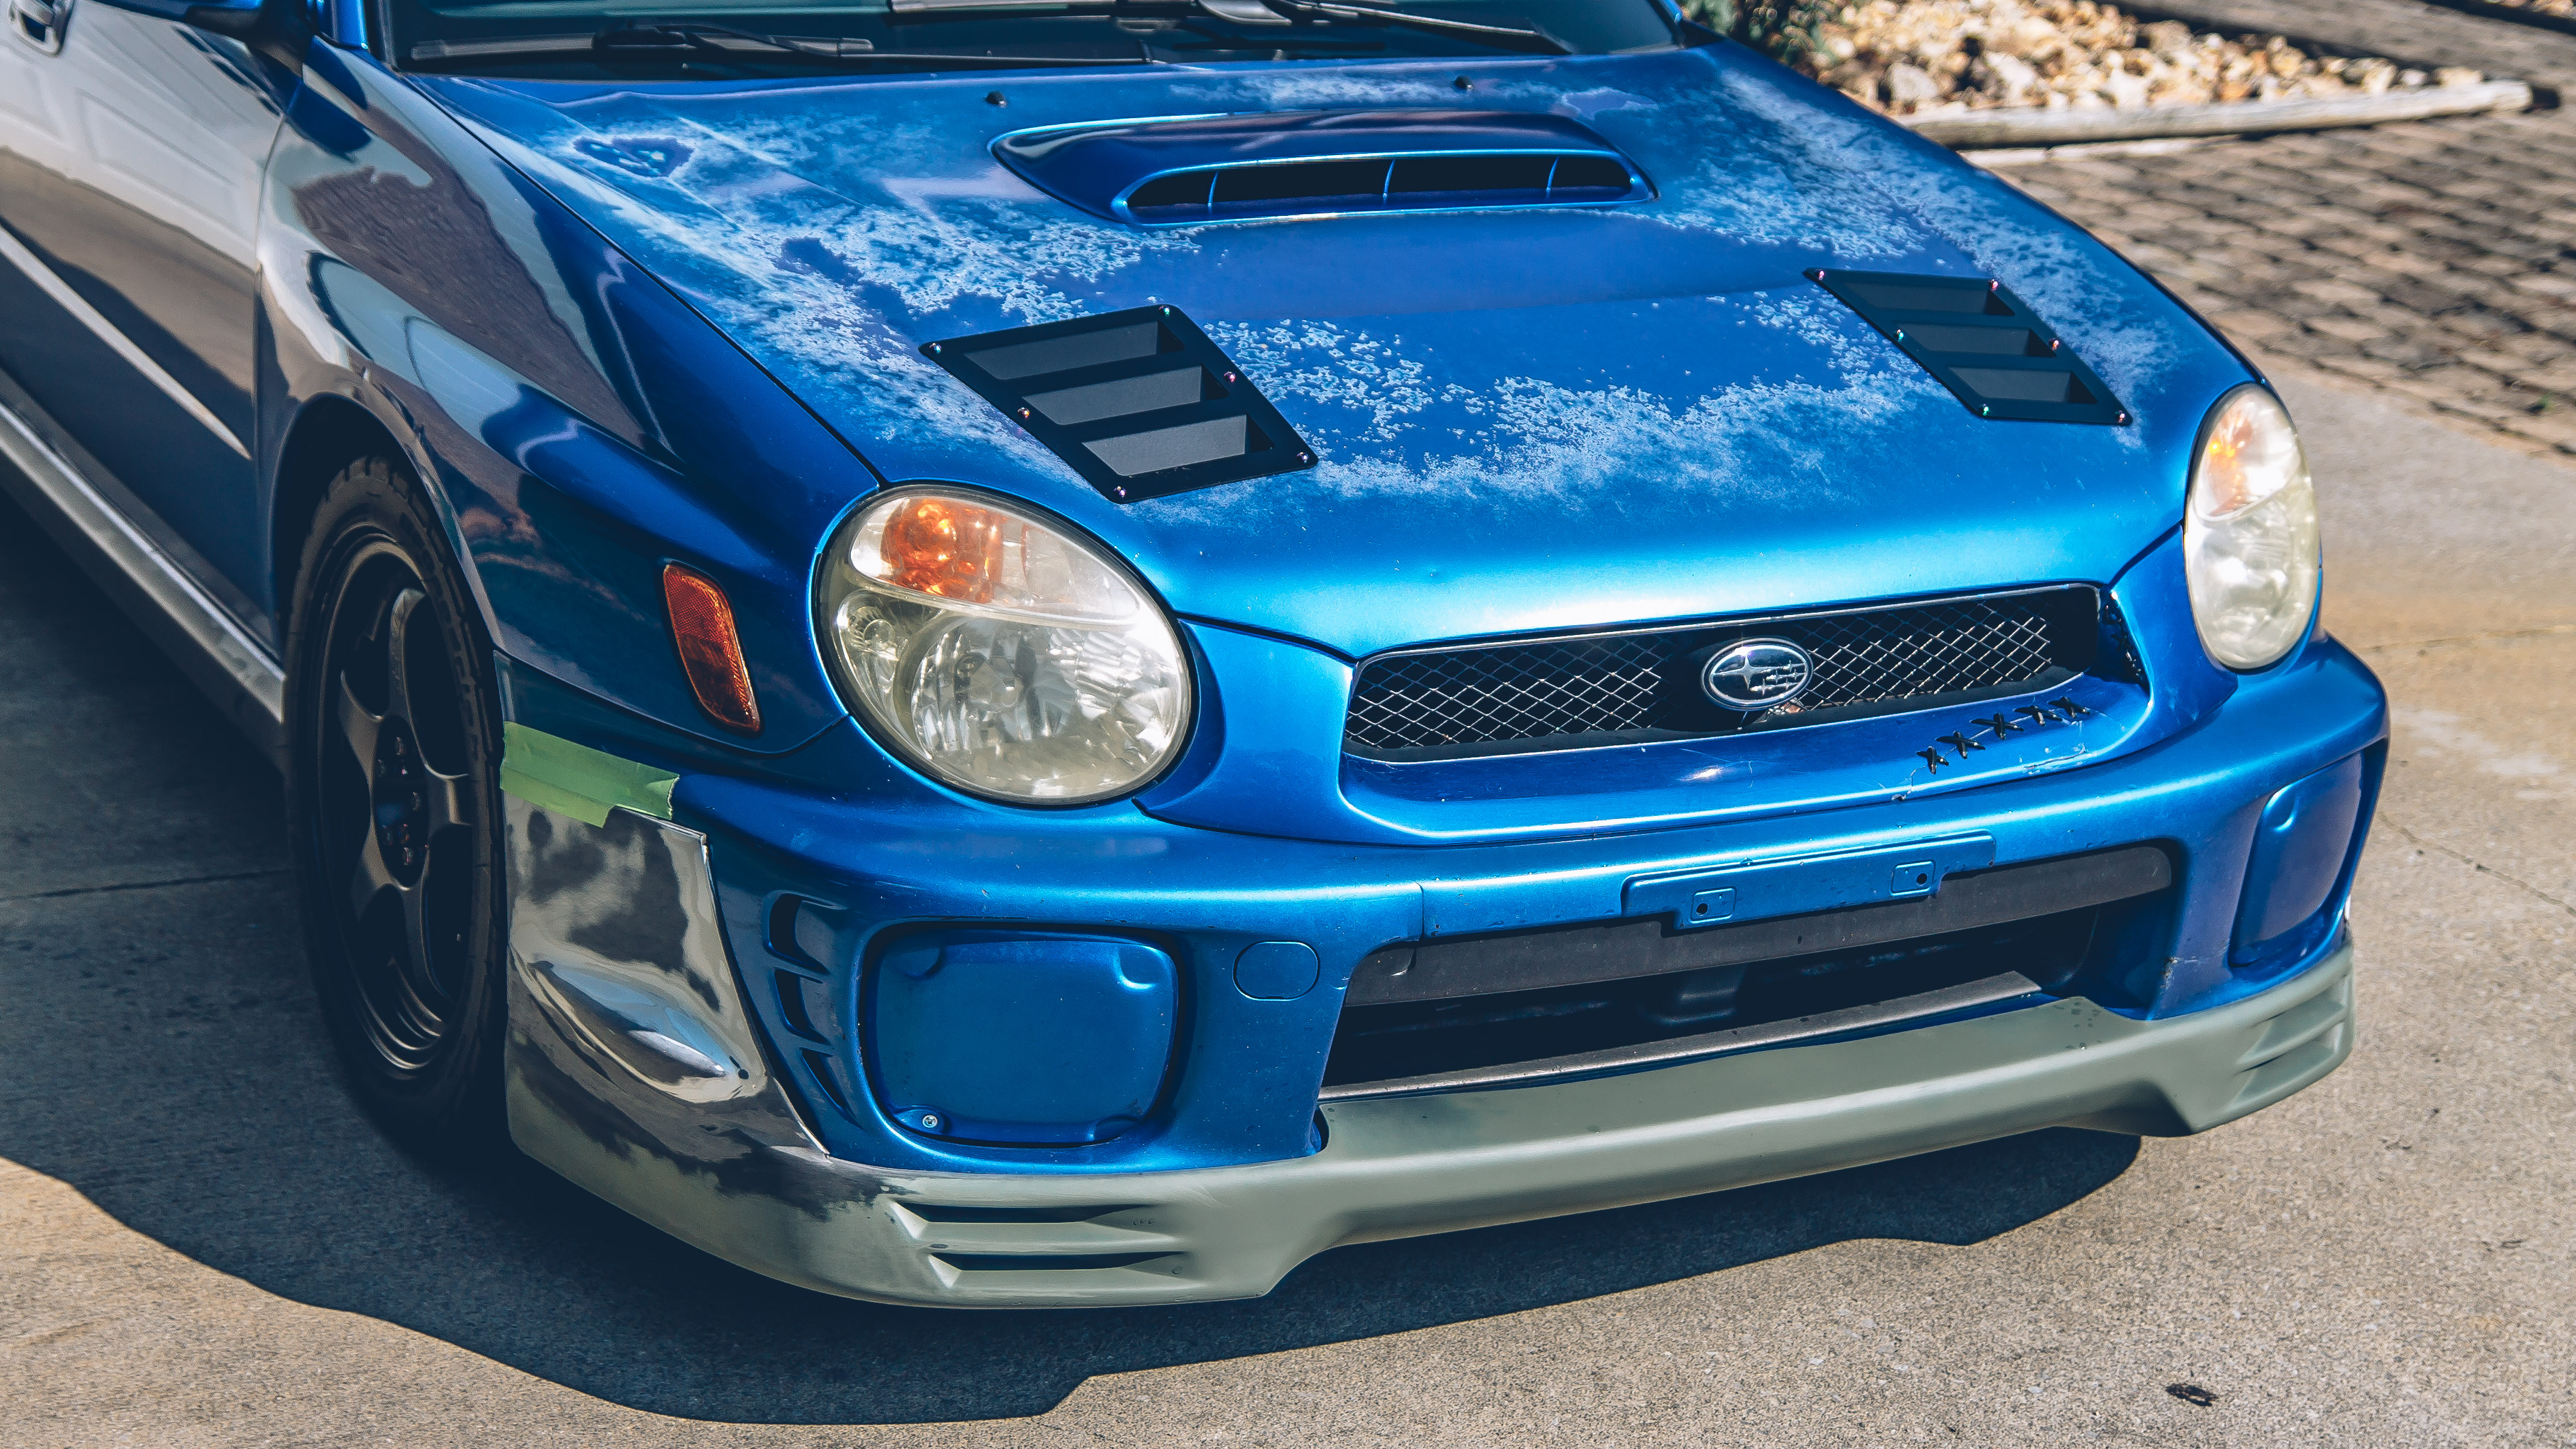
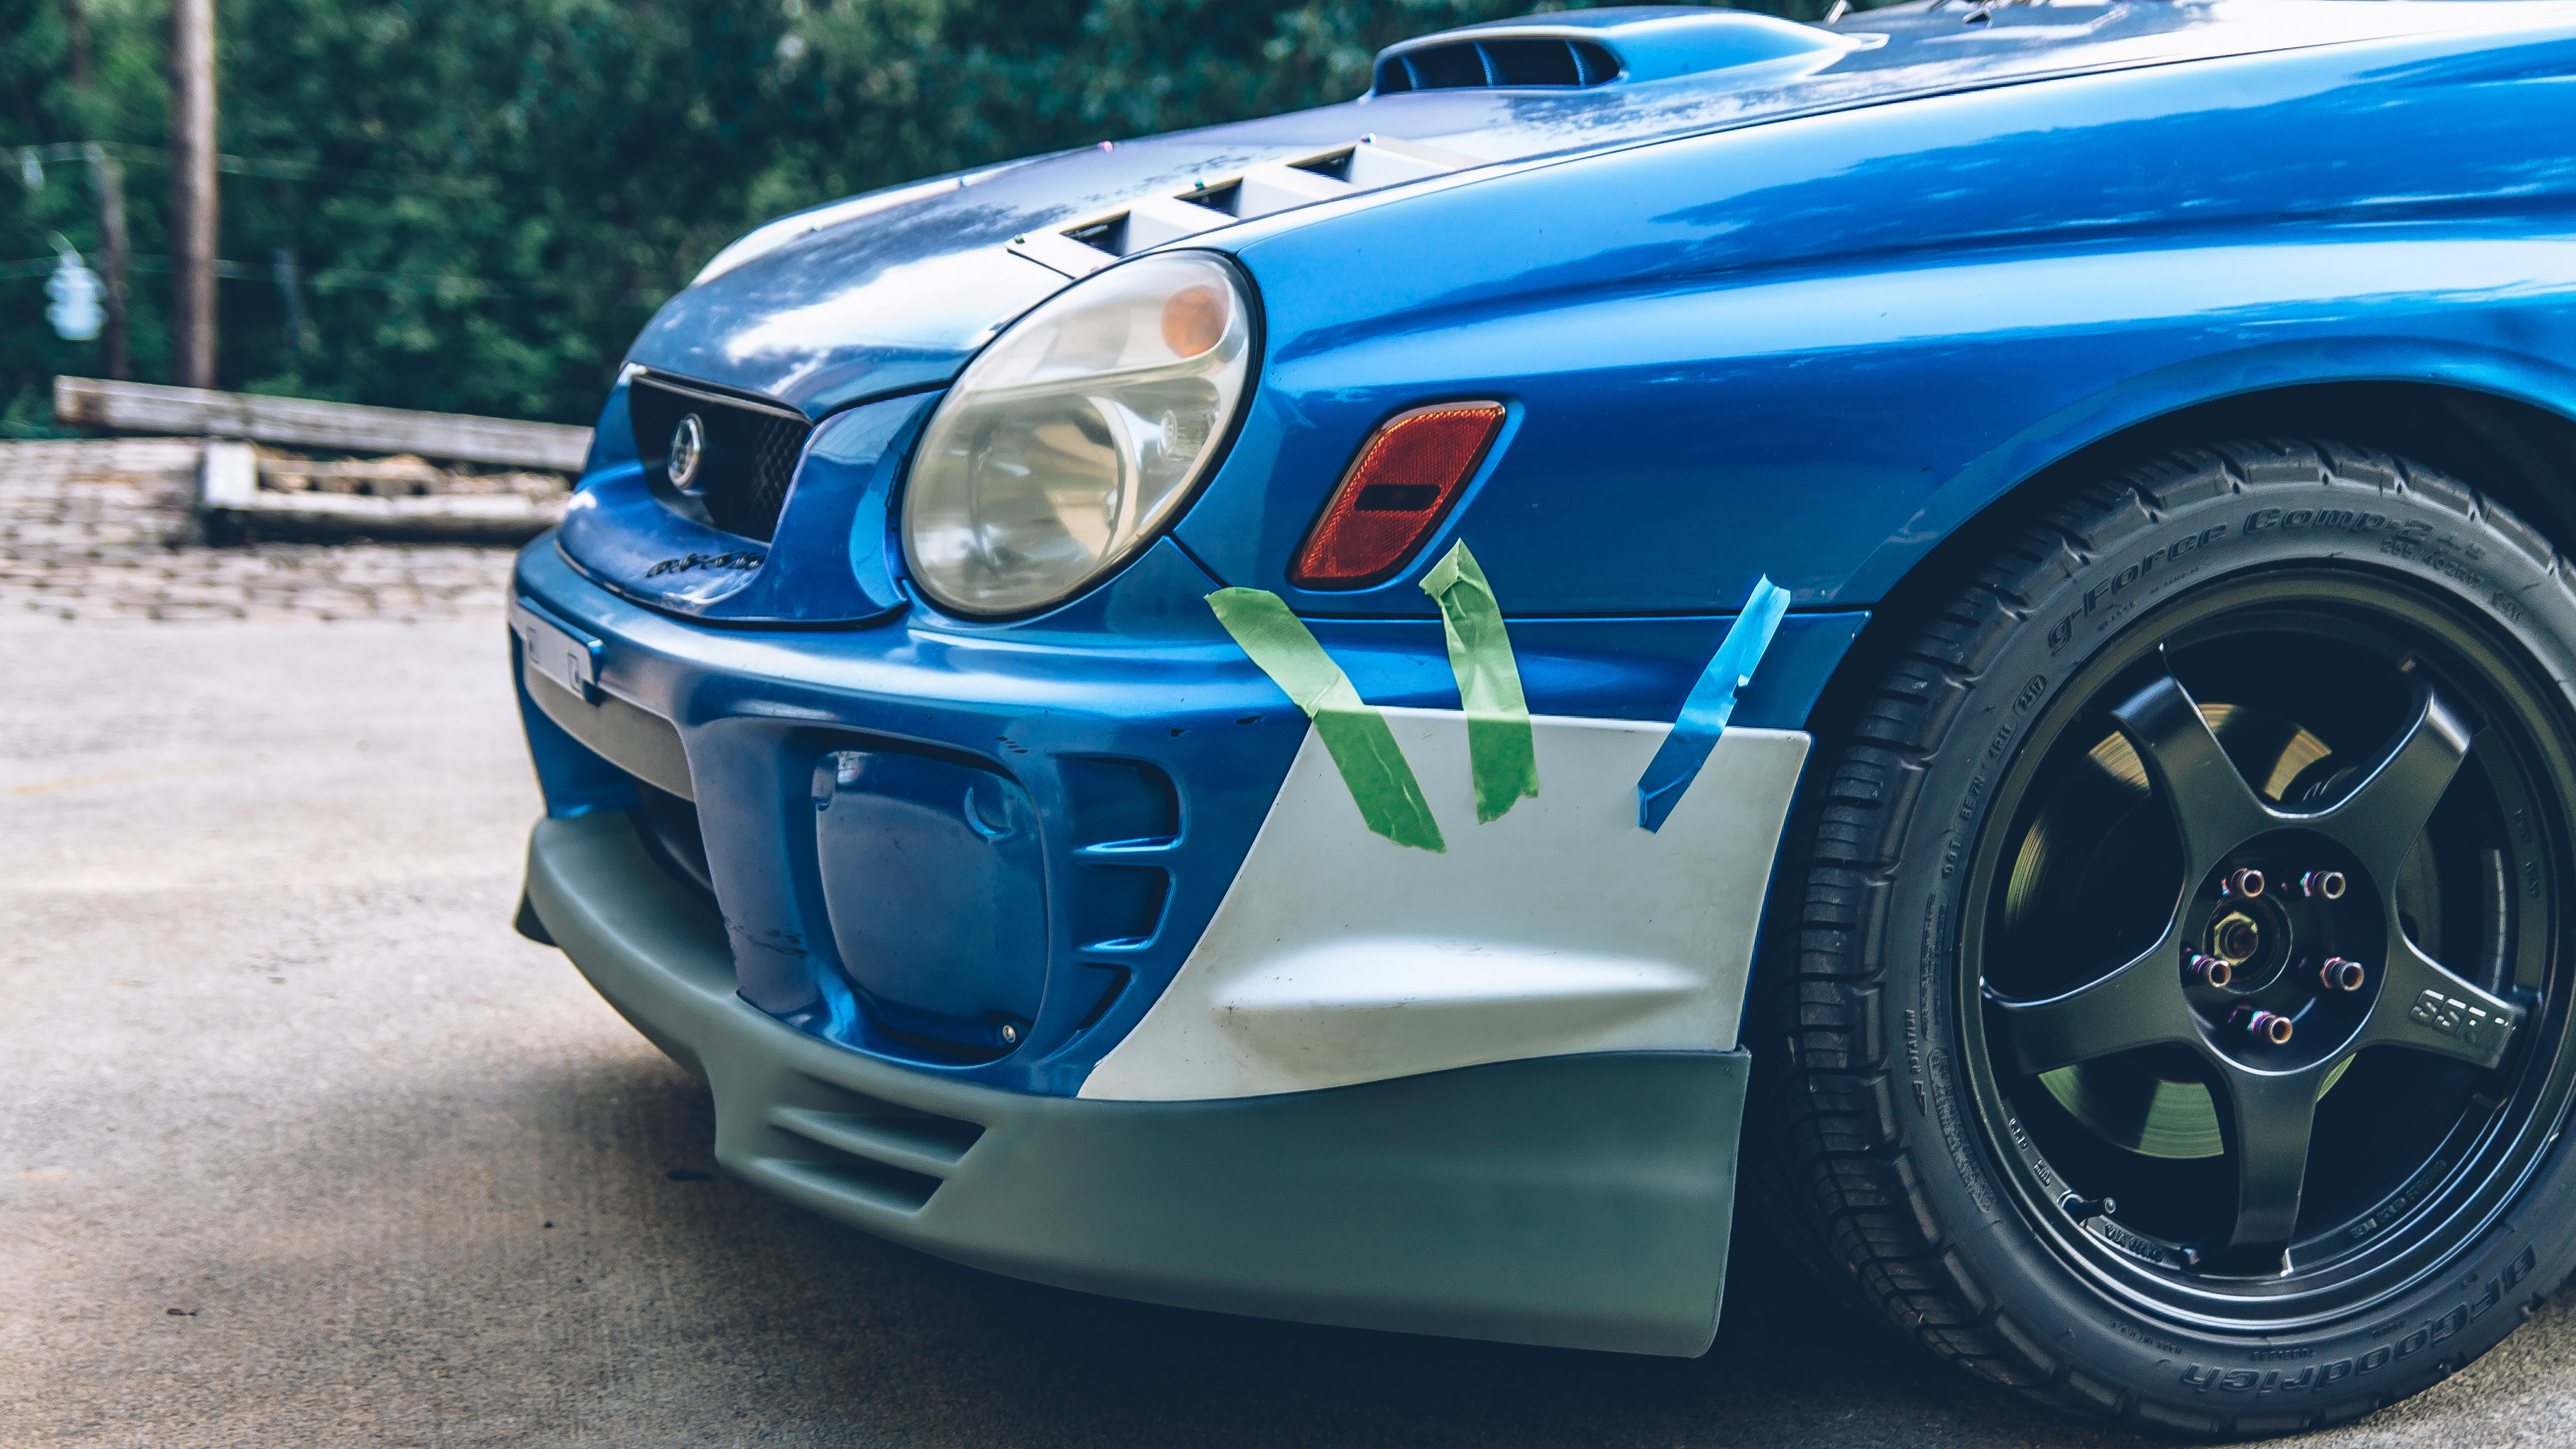
After driving for a week or so with no structural issues, I decided to paint the lip with some trim paint until I am ready to repaint the whole front bumper. The fall semester was starting soon and I wouldn’t have much time or nice weather to paint it any time soon.
And frankly, after painting my wheels last winter and painting my fog light covers in the cold weather, I’m done with painting parts in the cold. It just seems to be when I have the most amount of time to paint.

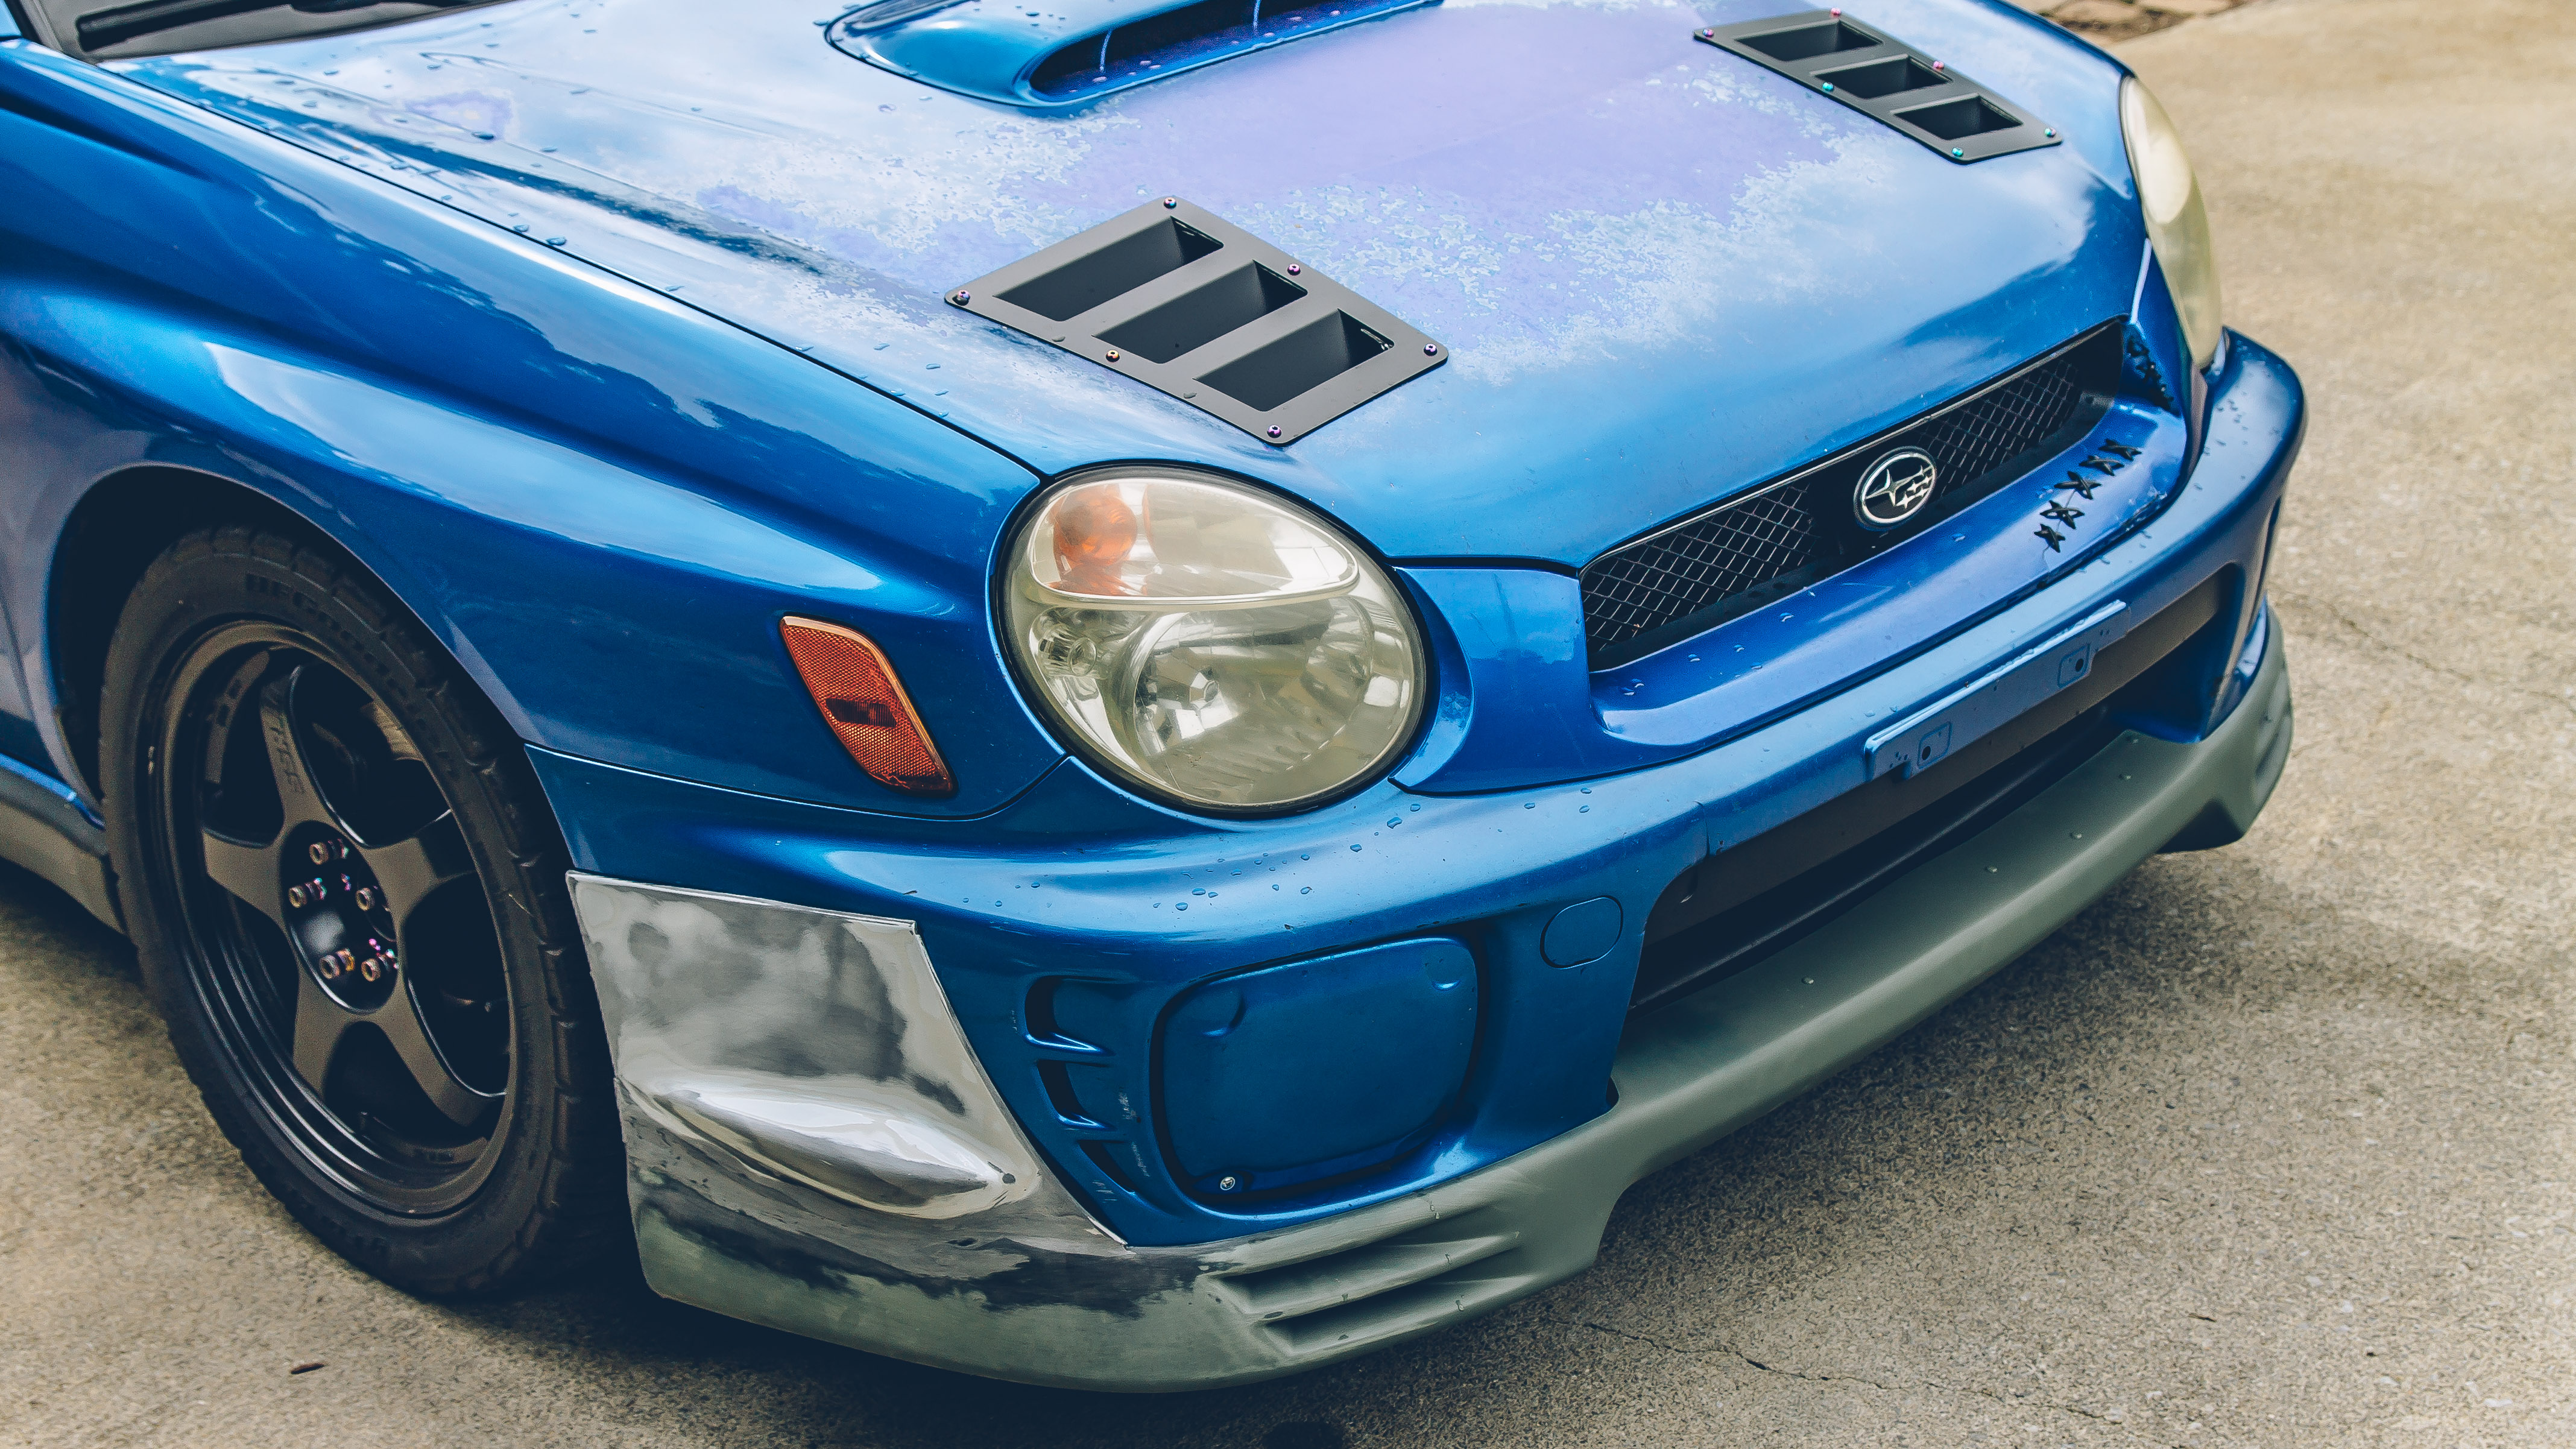
In retrospect, I kinda wish I had left the lip in the raw, work-in-progress finish. I kinda liked the look of it and it would be easier to make adjustments to it. But for now, I am happy with the progress.
Stay tuned for Part 3.
Cheers!
