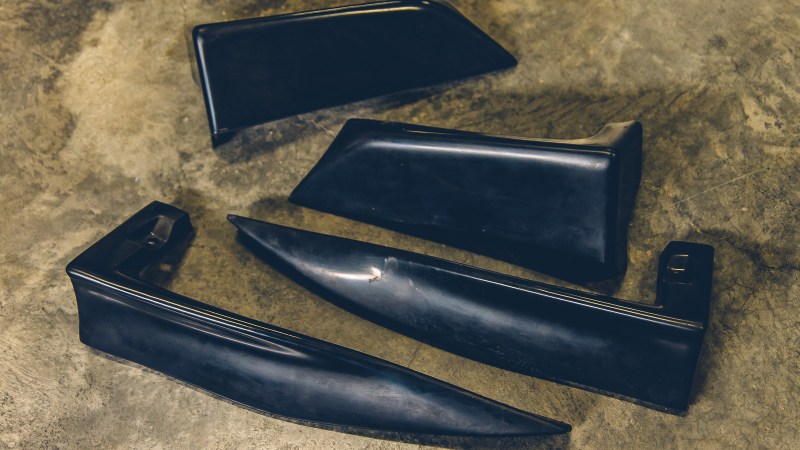
I picked up these WRX sides skirt spats from Amazon, however, they are available on eBay as well [affiliate link]. My goal right now is to get as many of my cosmetic mods installed as I can during the winter; then paint them after the spring semester.
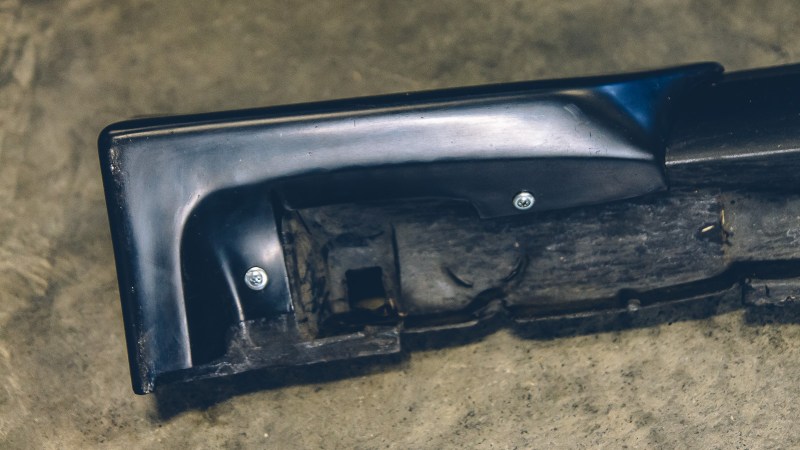
The quality of these pieces is ok. There are some pinholes or bubbles in the material so you will need to fill those in if you want a perfect finish. Considering my wheel/tire setup, I think these will probably take a lot of abuse so I won’t put too much work into cleaning these up prior to paint; however, I do plan on painting them along with the side skirts as WRB.
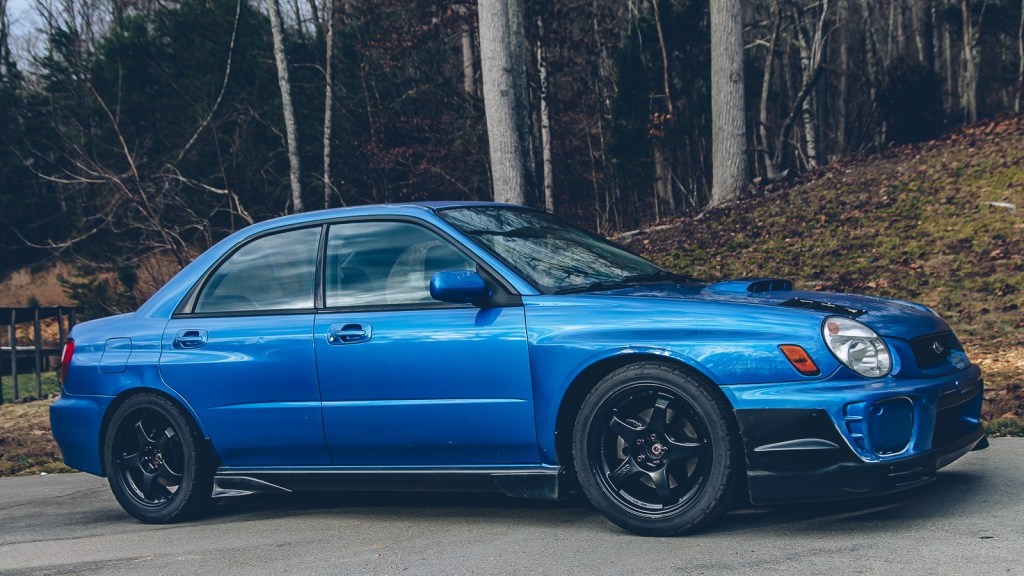
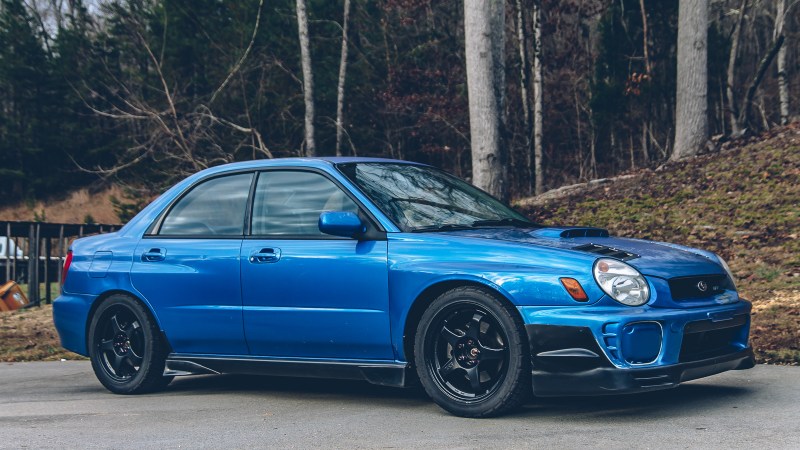
I went with these because I like the way they look on the Bugeye versus say the STi side skirts. I am also thinking about adding side skirt extensions as well, similar to @diybugeye’s WRX. I want mine to kind of fade behind the spats though.
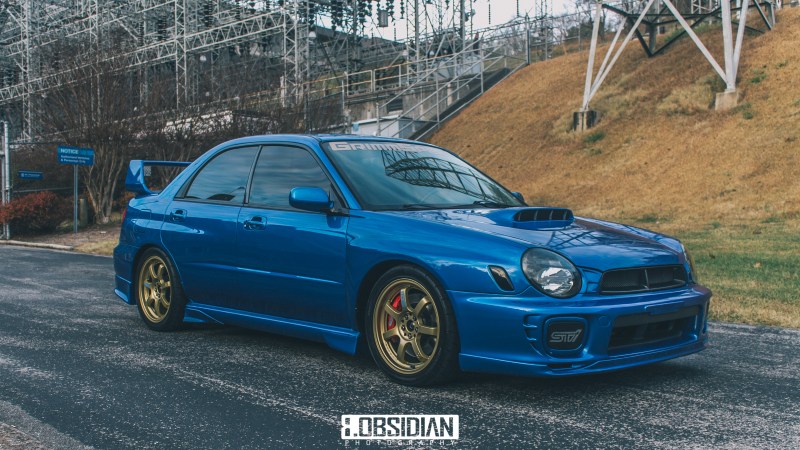
And here’s how the spats should look once they are painted like on the OneBadWRX.
Installation
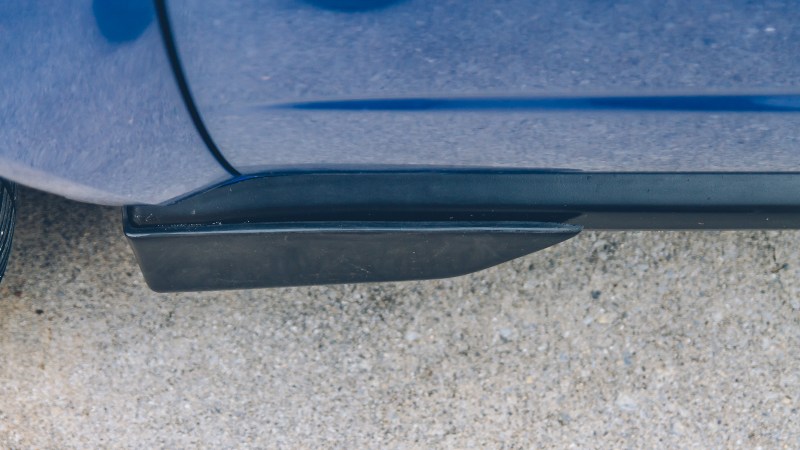
On the initial test fit, the fronts spats needed work, which wasn’t unexpected of a cosmetic piece at this price point. The rears lined up pretty good, I installed those couple of self-tapping screws (you will need to supply your own hardware).
Up front, I needed to use my heat gun to mold the bottom mounting surface to the side skirts. I didn’t get a picture of it, but it needs to be flattened out pretty good. The material is pretty thick so it took some time to get them heated up enough to mold.
Once molded, I used a couple of quick clamps to hold the spats in place while I added some self-tapping screws to mount them in place. Eventually, I may switch over to plastic pop clips; or I will switch over bonding the spats to the side skirts. I’d rather not run over a screw if it backs out for whatever reason.


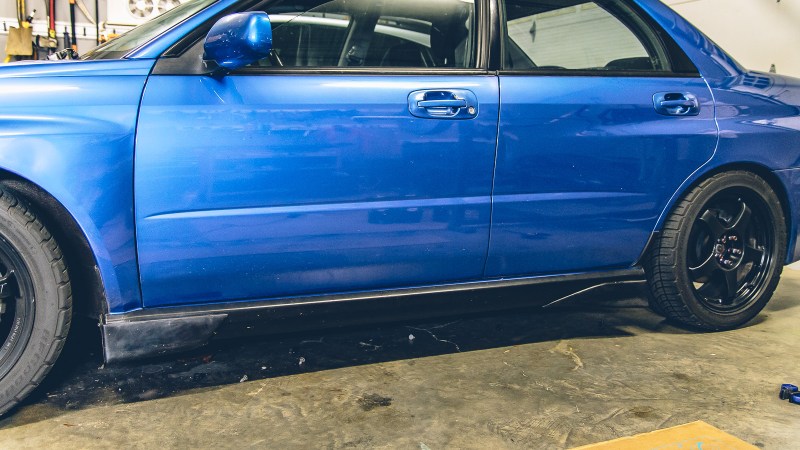
After adding the self-tapping screws it was time to do a test fit…
I replaced the front pop clip that attaches the side skirt to the fender with some leftover Rally Armor hardware. This did require drilling a hole in the spat. It is a tight spot to drill through, I probably should have marked it with a paint pen and drilled it out that way but I didn’t want to remove the self-tapper too many times this early on. The RA mounting hardware added a great deal of rigidity to the front spats.
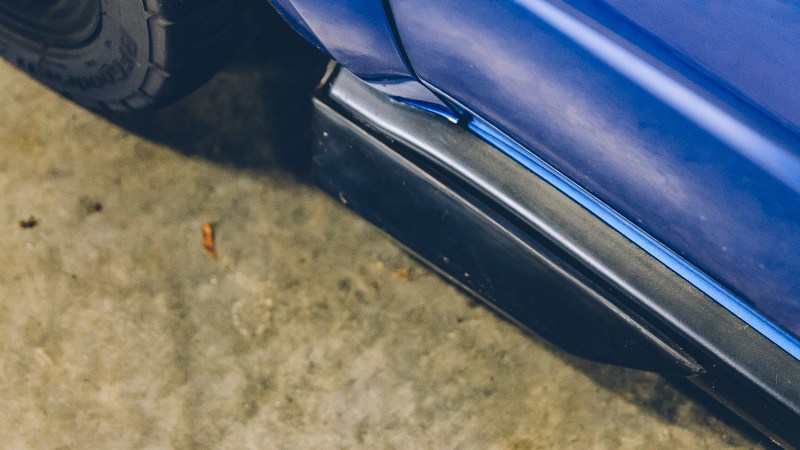
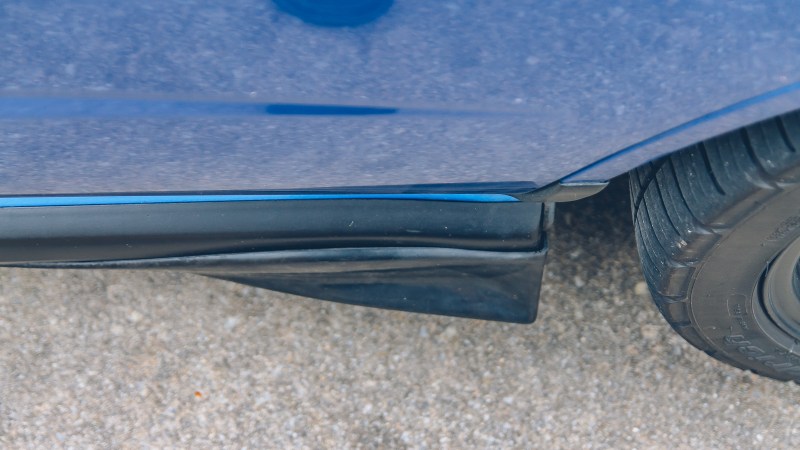
The front needed more work (wasn’t sitting close to flush) but the rear was sitting almost perfectly.

However, at this point, my main concern was would stay put as installed or would I need to bond them to the side skirts. After a couple of shake tests, I drove to class and then to work the next day with the spats mounted up.


And they held up just fine.
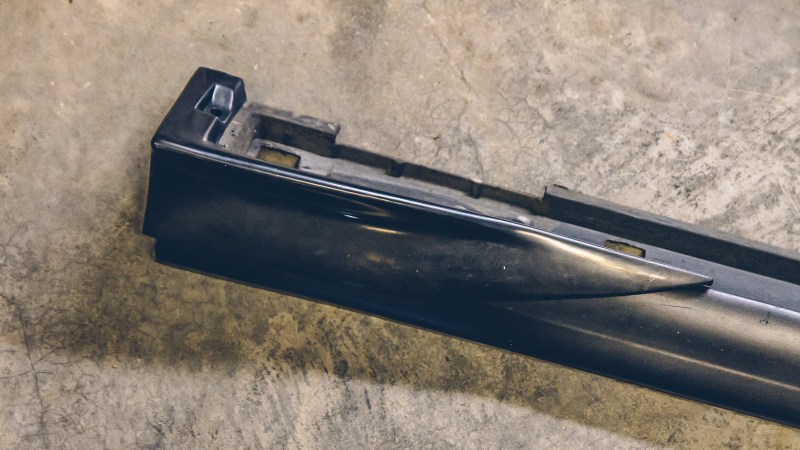
Now I just needed to fix the driver’s side front spat. While the rest fit pretty good, the driver’s side front one was “peeling” away from the skirt.
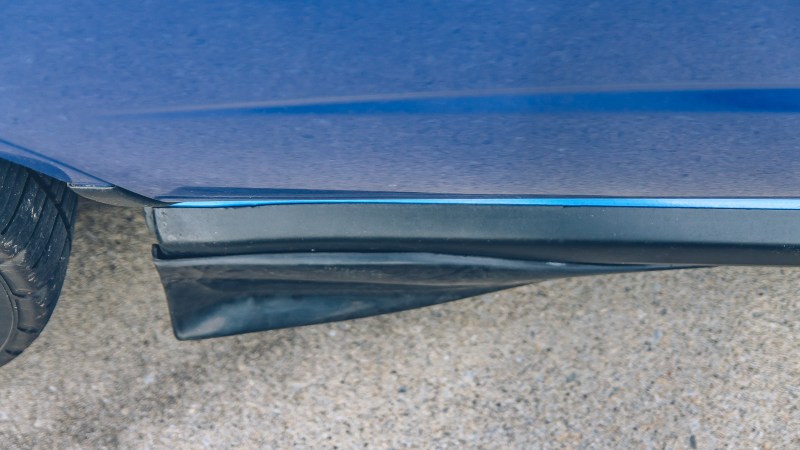
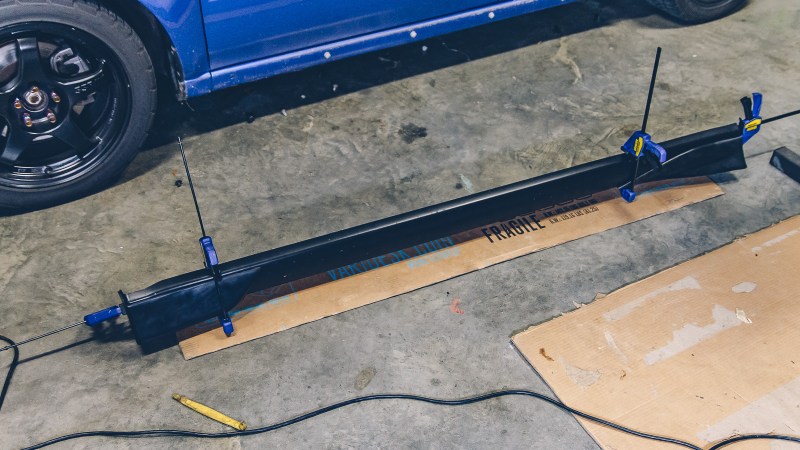
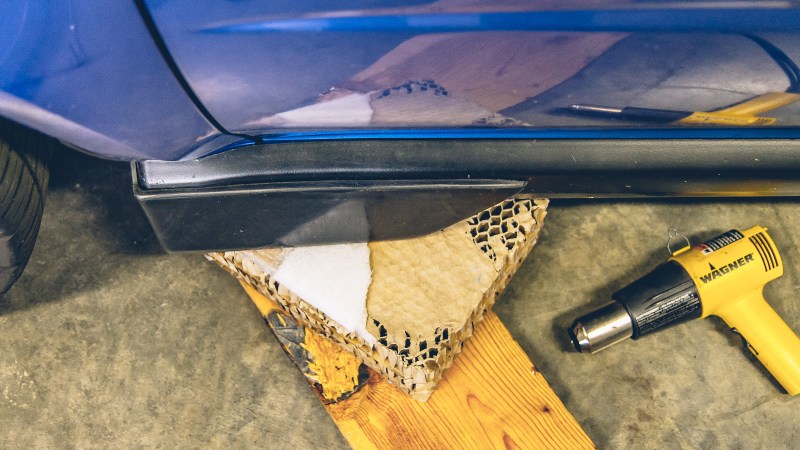
So, I pulled the spat off and used the heat gun to reform the lower mounting point where it meets the corner edge of the side skirt. When holding it onto the skirt by hand it sits fine, however, once the screw is fully seated, the spat begins to pull away from the side skirt.
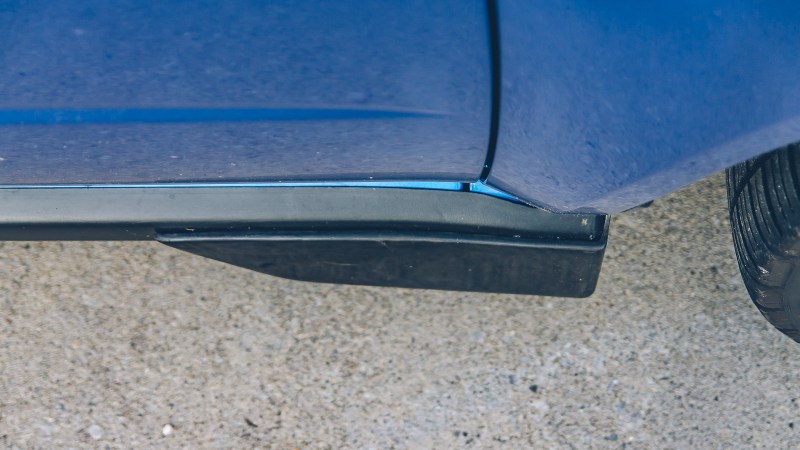
Once heated up, I used a piece of wood along with a weight to help hold the lower mounting surface that the angle I wanted. Unfortunately, it was probably too much weight and I bent it too far. So, I reheated the spat and used a chunk of cardboard along with the wood to hold it in place on the car.

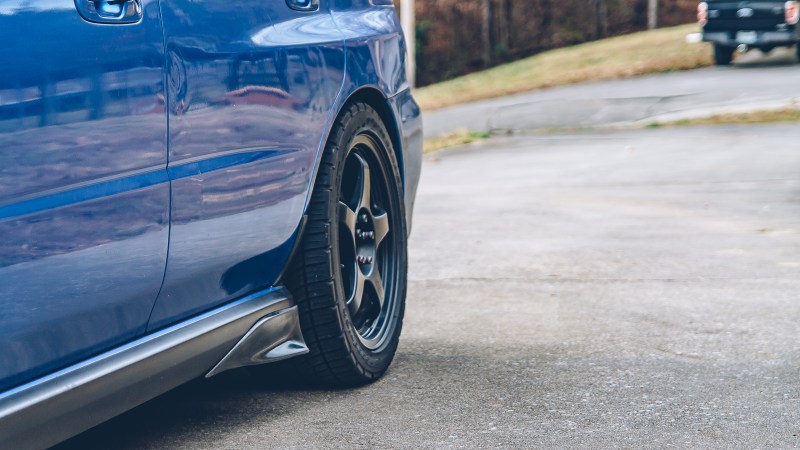
Now, it isn’t 100% perfect, but I am satisfied with the results. I am also pretty impressed that two little pieces can have a pretty big impact on the looks of the Bug WRX.

Next up, I will be figuring out what side skirt extensions to get.
Cheers!
