According to Nasioc, EJ207s have a 62,000-mile timing belt change interval. I say according to Nasioc because I have never seen a JDM owner’s manual, but I will take their word for it. I crossed that threshold many months ago, and because of the drop in quality of the Gates Timing Belt kit, I decided to find another solution.
I did check the timing belt from time to time to make sure there weren’t any cracks or anything forming. The bearings were pretty quiet and the belt had good tension so I wasn’t really worried about it failing anytime soon.
I knew I wanted OEM bearings, and most likely an OEM water pump with an aftermarket timing belt, and maybe another Gates blue belt like I already had, or maybe something else.
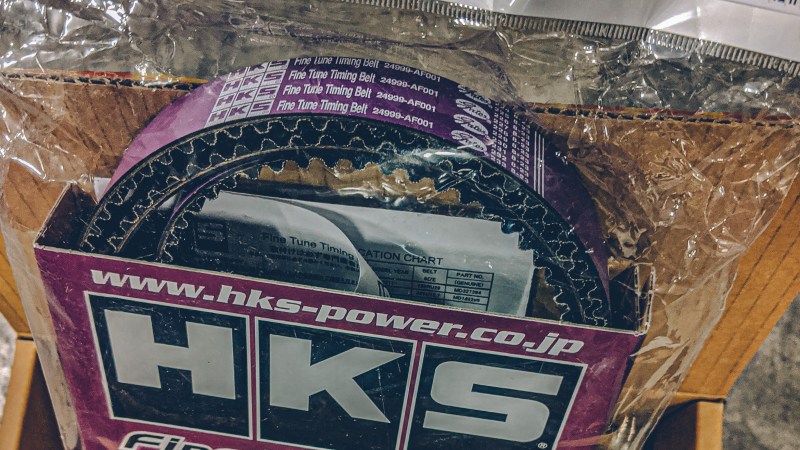
At some point, I stumbled across the RCM kit at Flatirons Tuning. It included OEM bearings and tensioner; plus your choice of a belt. I went back and forth over the STi Kevlar belt vs the HKS belt. I eventually settled on the HKS belt because it was purple and cheaper.
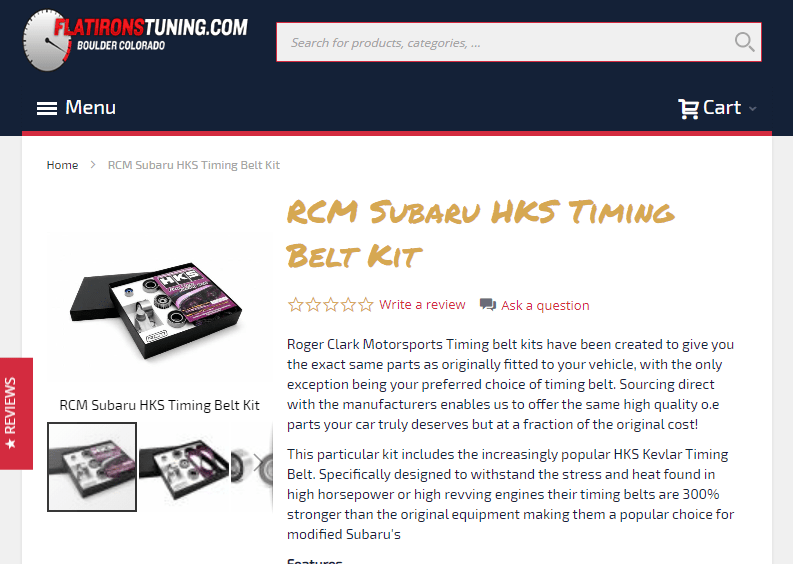
It turns out the HKS belt is made by Gates. I have no idea if they have different specifications for this belt or if it is just a purple version of the blue belt. Since this belt needs to be changed about twice as often as the USDM EJs I will probably get the blue belt next time.
For the install, I referred to this video by Speed Academy. It’s based on the EJ255, but all the important bits are there for most EJ205/257s. The torque specs are mentioned in the video as well.
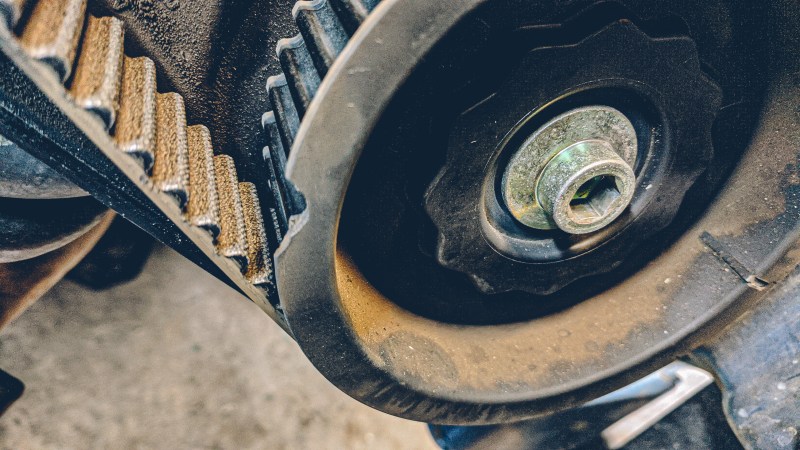
If you don’t need to remove the cam bolts, the hardest part of this install is probably removing the crank pulley bolt. The most time-consuming part is waiting for the coolant to drain out of the drain plug; especially if it refuses to drain out without assistance. Popping the lower radiator hose would have been faster but I am not a fan of taking a bath in coolant.
The Grimmspeed Crank Pulley tool makes taking the crank pulley off pretty easy. It works with OEM and the GS Crank Pulley. I bought this tool years ago, probably with my first Subaru in 2008, and it paid for itself many times over.

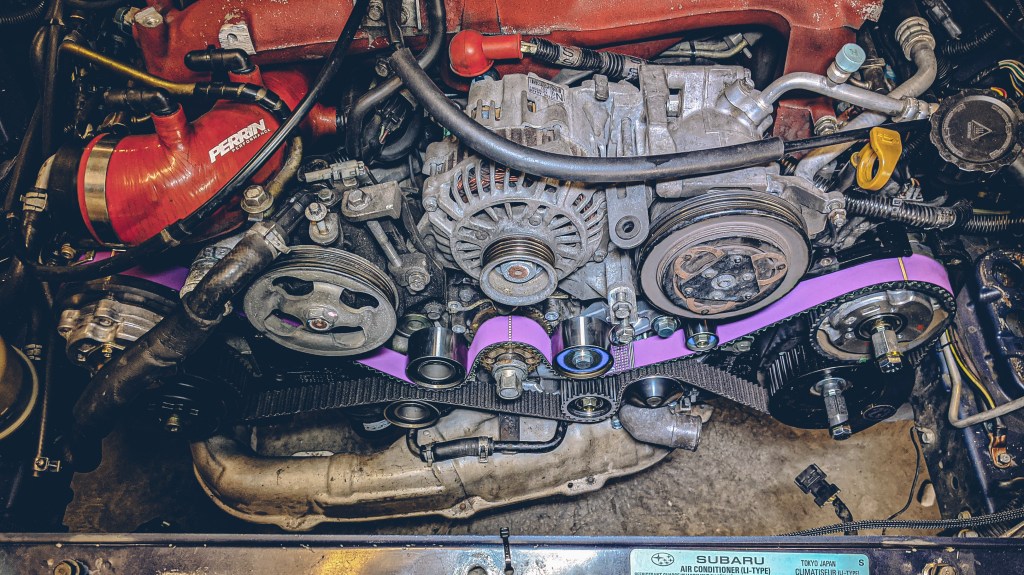
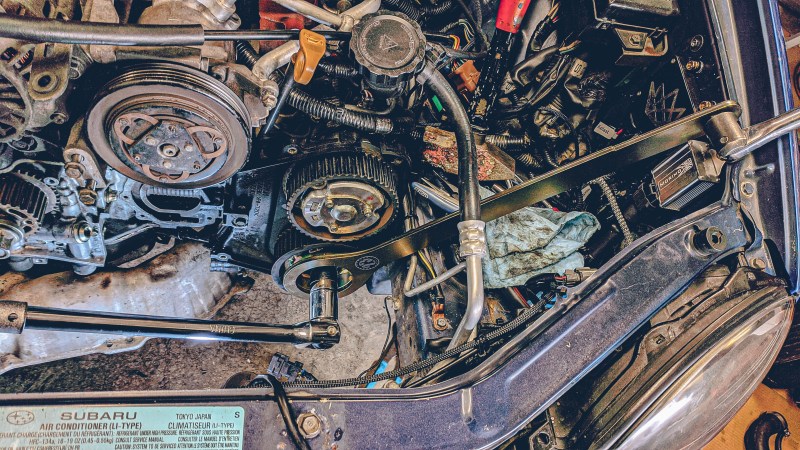
Once the timing covers are removed, we have access to the timing components.
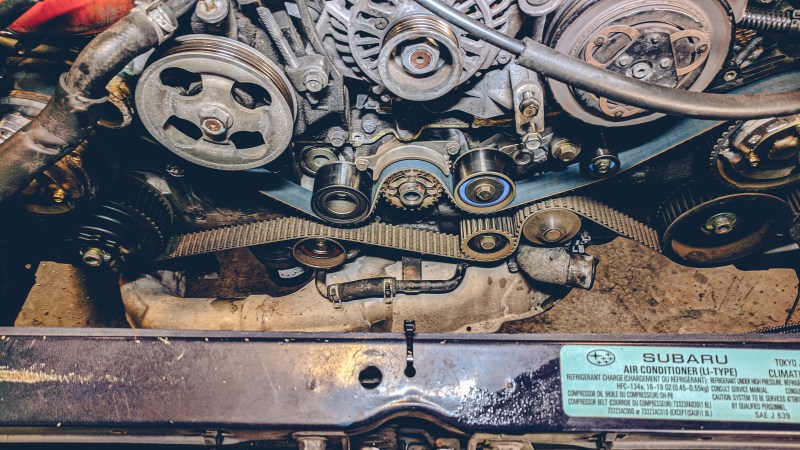
Everything actually looked like it was in decent shape even if it was technically overdue for replacement.

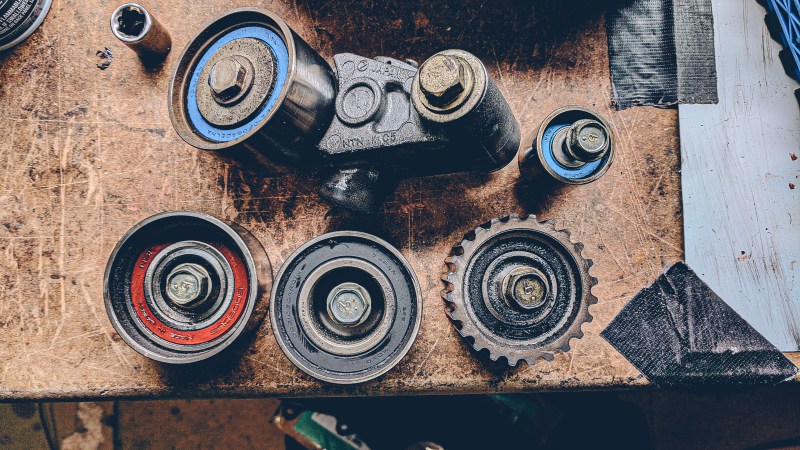
The idlers all appear to be the high quality versions, I think the water pump is the only aftermarket part. Which was leaking.


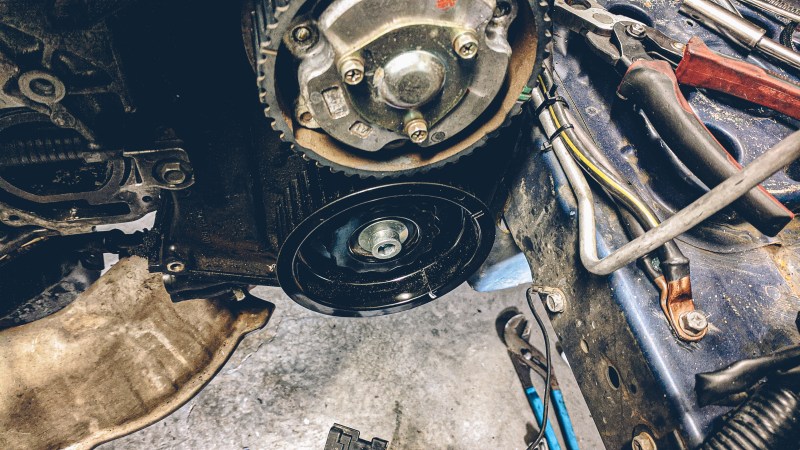
Unfortunately for me, I wanted to replace my exhaust cam gear since it had a chip in it. I didn’t want this thing failing on me during at 8,000-rpm rip. However, what they say about this bolt is true. It is an absolute PITA to remove! I almost gave up on it.
Thankfully, I found Blingstrom’s blog about removing the cam bolt.
All I needed was an extractor set… at 11 pm on a Sunday. After a couple of hours of wondering how quickly I could get tools shipped to me, I eventually remember I had a set of extractors buried in a drawer somewhere.
After using the Company 23 exhaust cam gear tool plus a 3-foot 1/2-drive breaker bar attached to the end of it; along with a 1-inch socket on a 3/4-drive breaker bar and my floor jack handle as an extension, we were able to crack the bolt loose. My god.
With the cam gear replaced, I bailed on replacing the passenger side exhaust cam gear out of shear fear of that cam bolt and started the reassembly process.
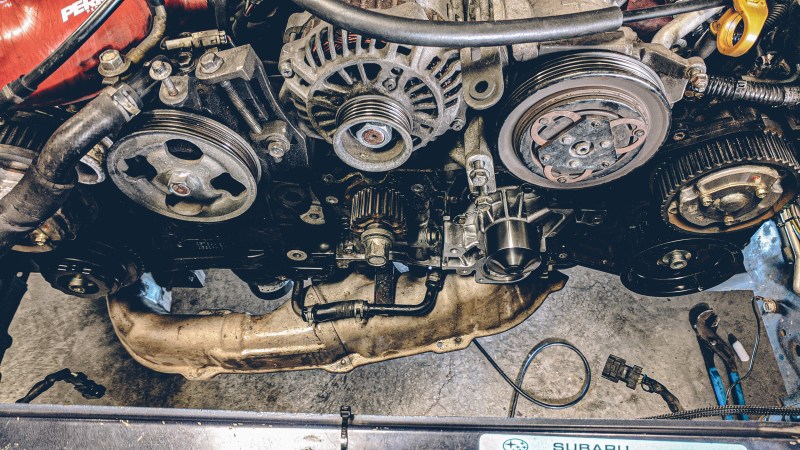
I chose a cast impeller water pump in hopes that my heater would work a little bit better after doing the GDT Coolant Mod; but it didn’t. The heater core is either partially clogged or something else is going on. So far we have had a mild winter so it’s not too big of a deal.

Water pump installed.
Timing components and belt. While the cam gear lock tool isn’t needed, they don’t even use it in the Speed Academy video, it helped me focus on other aspects of the timing belt without worrying about the cam gears moving. And they allow you to make incremental changes to the cam gears and get everything lined up just right. Highly recommended.

I made a couple of other changes as well – new radiator, radiator hoses, heater hoses, clamps and etc. And overall, the car is running great.
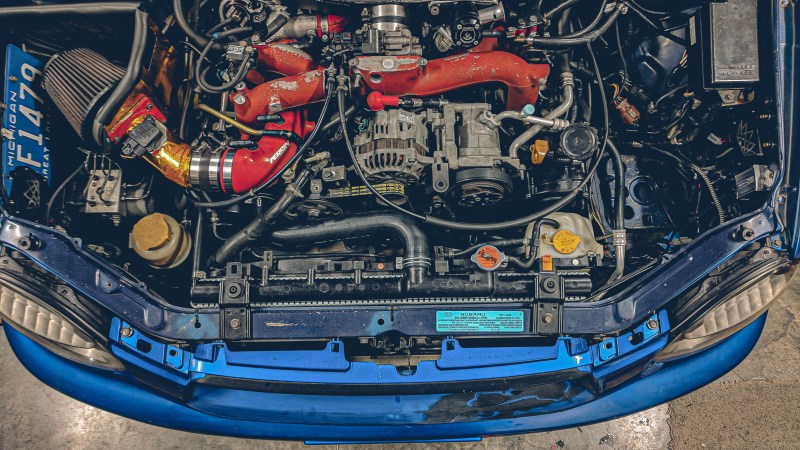

Cheers!

Leave a comment