
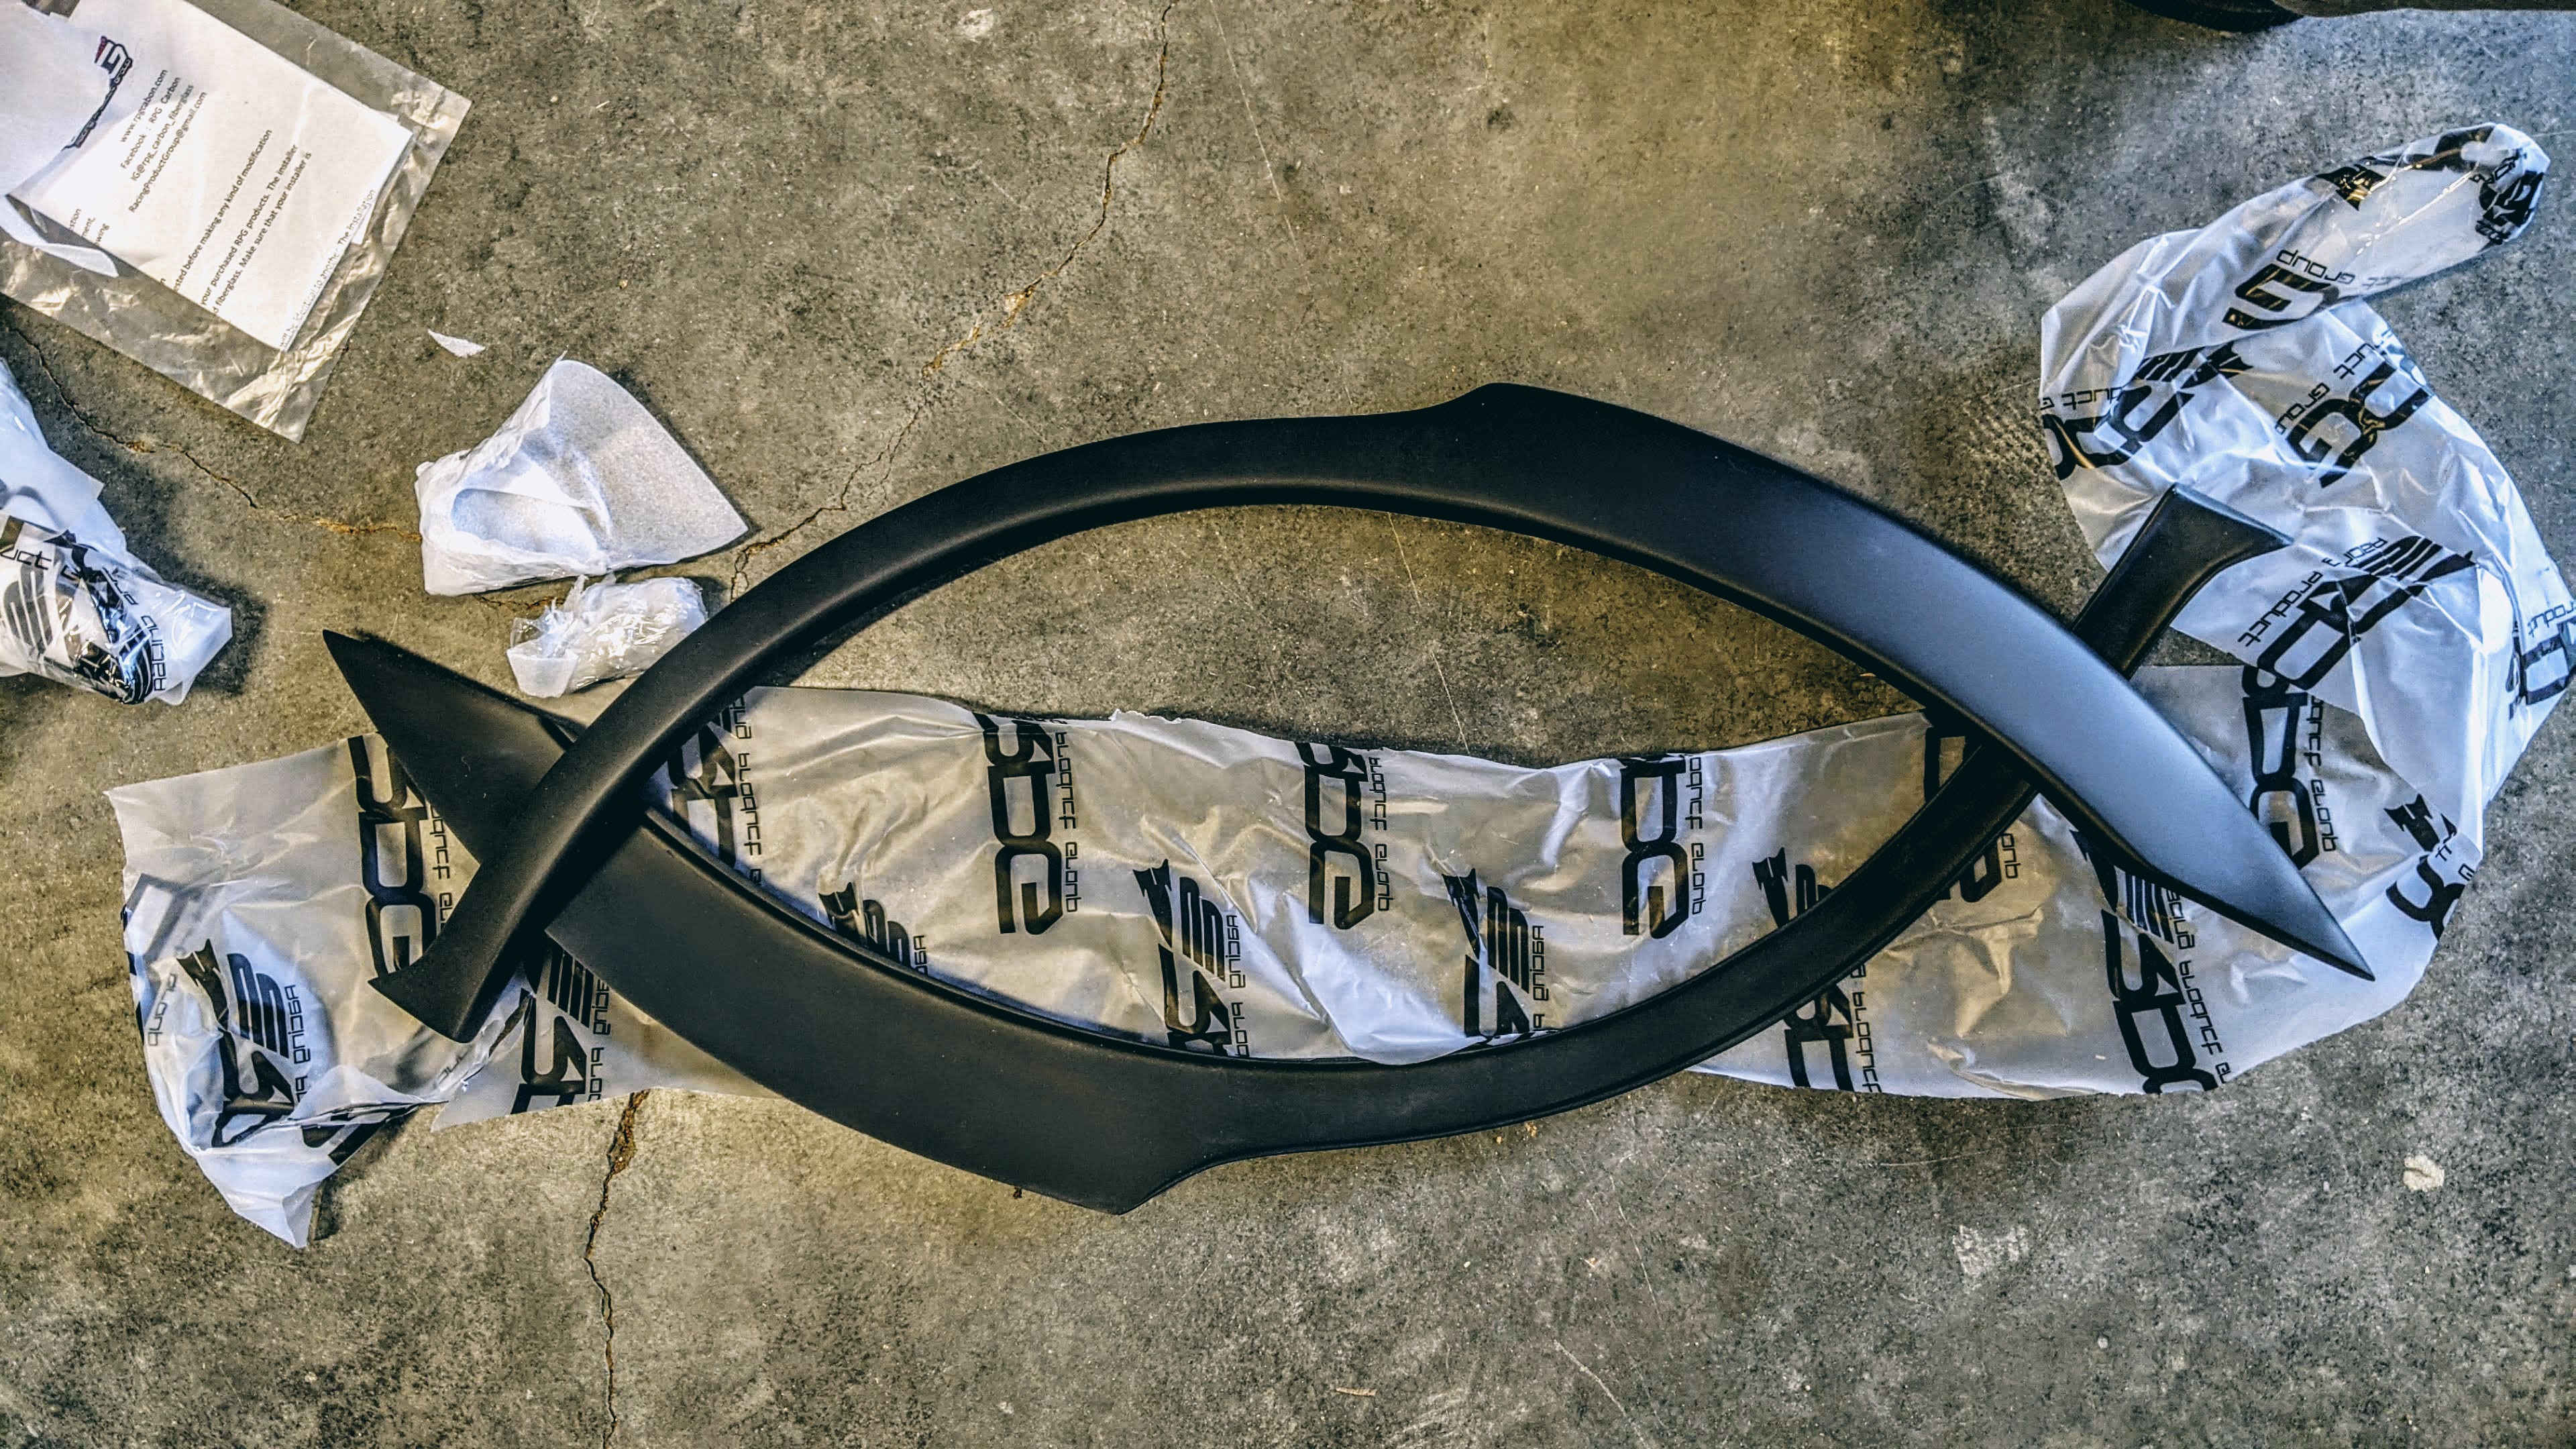
I picked up a set of RPG Carbon Rear Flares (fiberglass) that are similar to the STi rear flare as a design but a little bit wider. RPG Carbon is based in Taiwan and the parts are made to order, however they arrived after a week and a half; which is about on par with buying parts from California and waiting for them to arrive on the east coast.

They give you are couple of options on primer and I requested black primer for my flares.
Overall, the fitment was really good, if I didn’t have the dent in my rear quarter panel the fitment probably would have been perfect on the passenger side.


There is a little trim piece right above the side skirt that needs to be removed. It is held in place with clips and they are pretty brittle and will probably break.

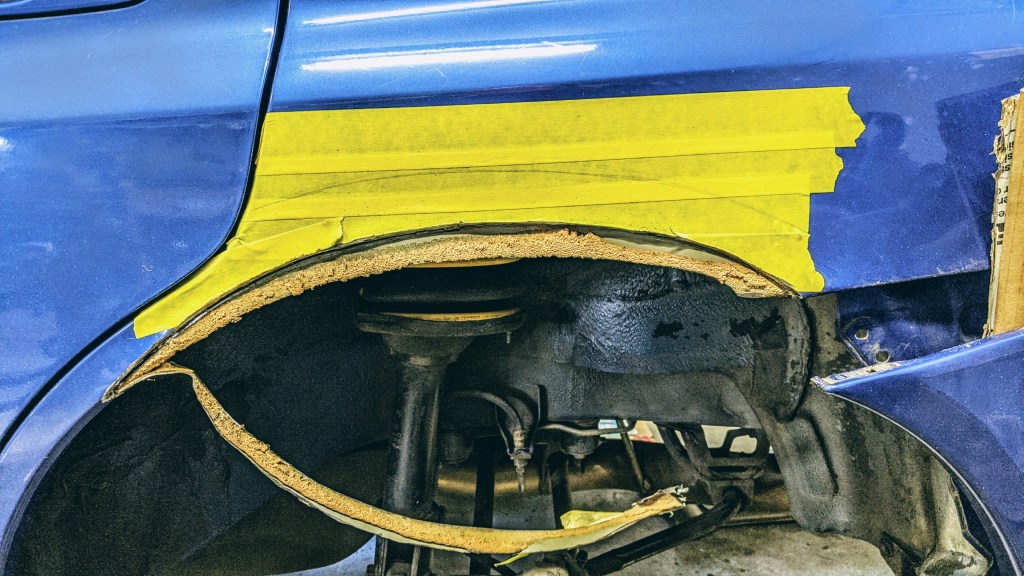
However, before the flares arrived, before I even ordered them actually, I removed the lip from the two layers in the quarter panel. With a rolled lip, we basically have four layers of sheet metal interfering with our wider setup. I was hoping that two pieces would be easier to roll than four once they were separated.

I chose to grind down the edge until I could pull the lip out and see what I was working with. You can skip this step if you already have the flares in hand. I didn’t know how much I could cut so I wanted to do a pull in the meantime.

The fender roller wasn’t working as well as I would have liked so I did a pretty gnarly pull just so I could do some test driving with the GR/BRZ steering column mod, while I waited for the flares to arrive.

With the flares in hand we can mark the outline of the flare so we know how much we can cut.
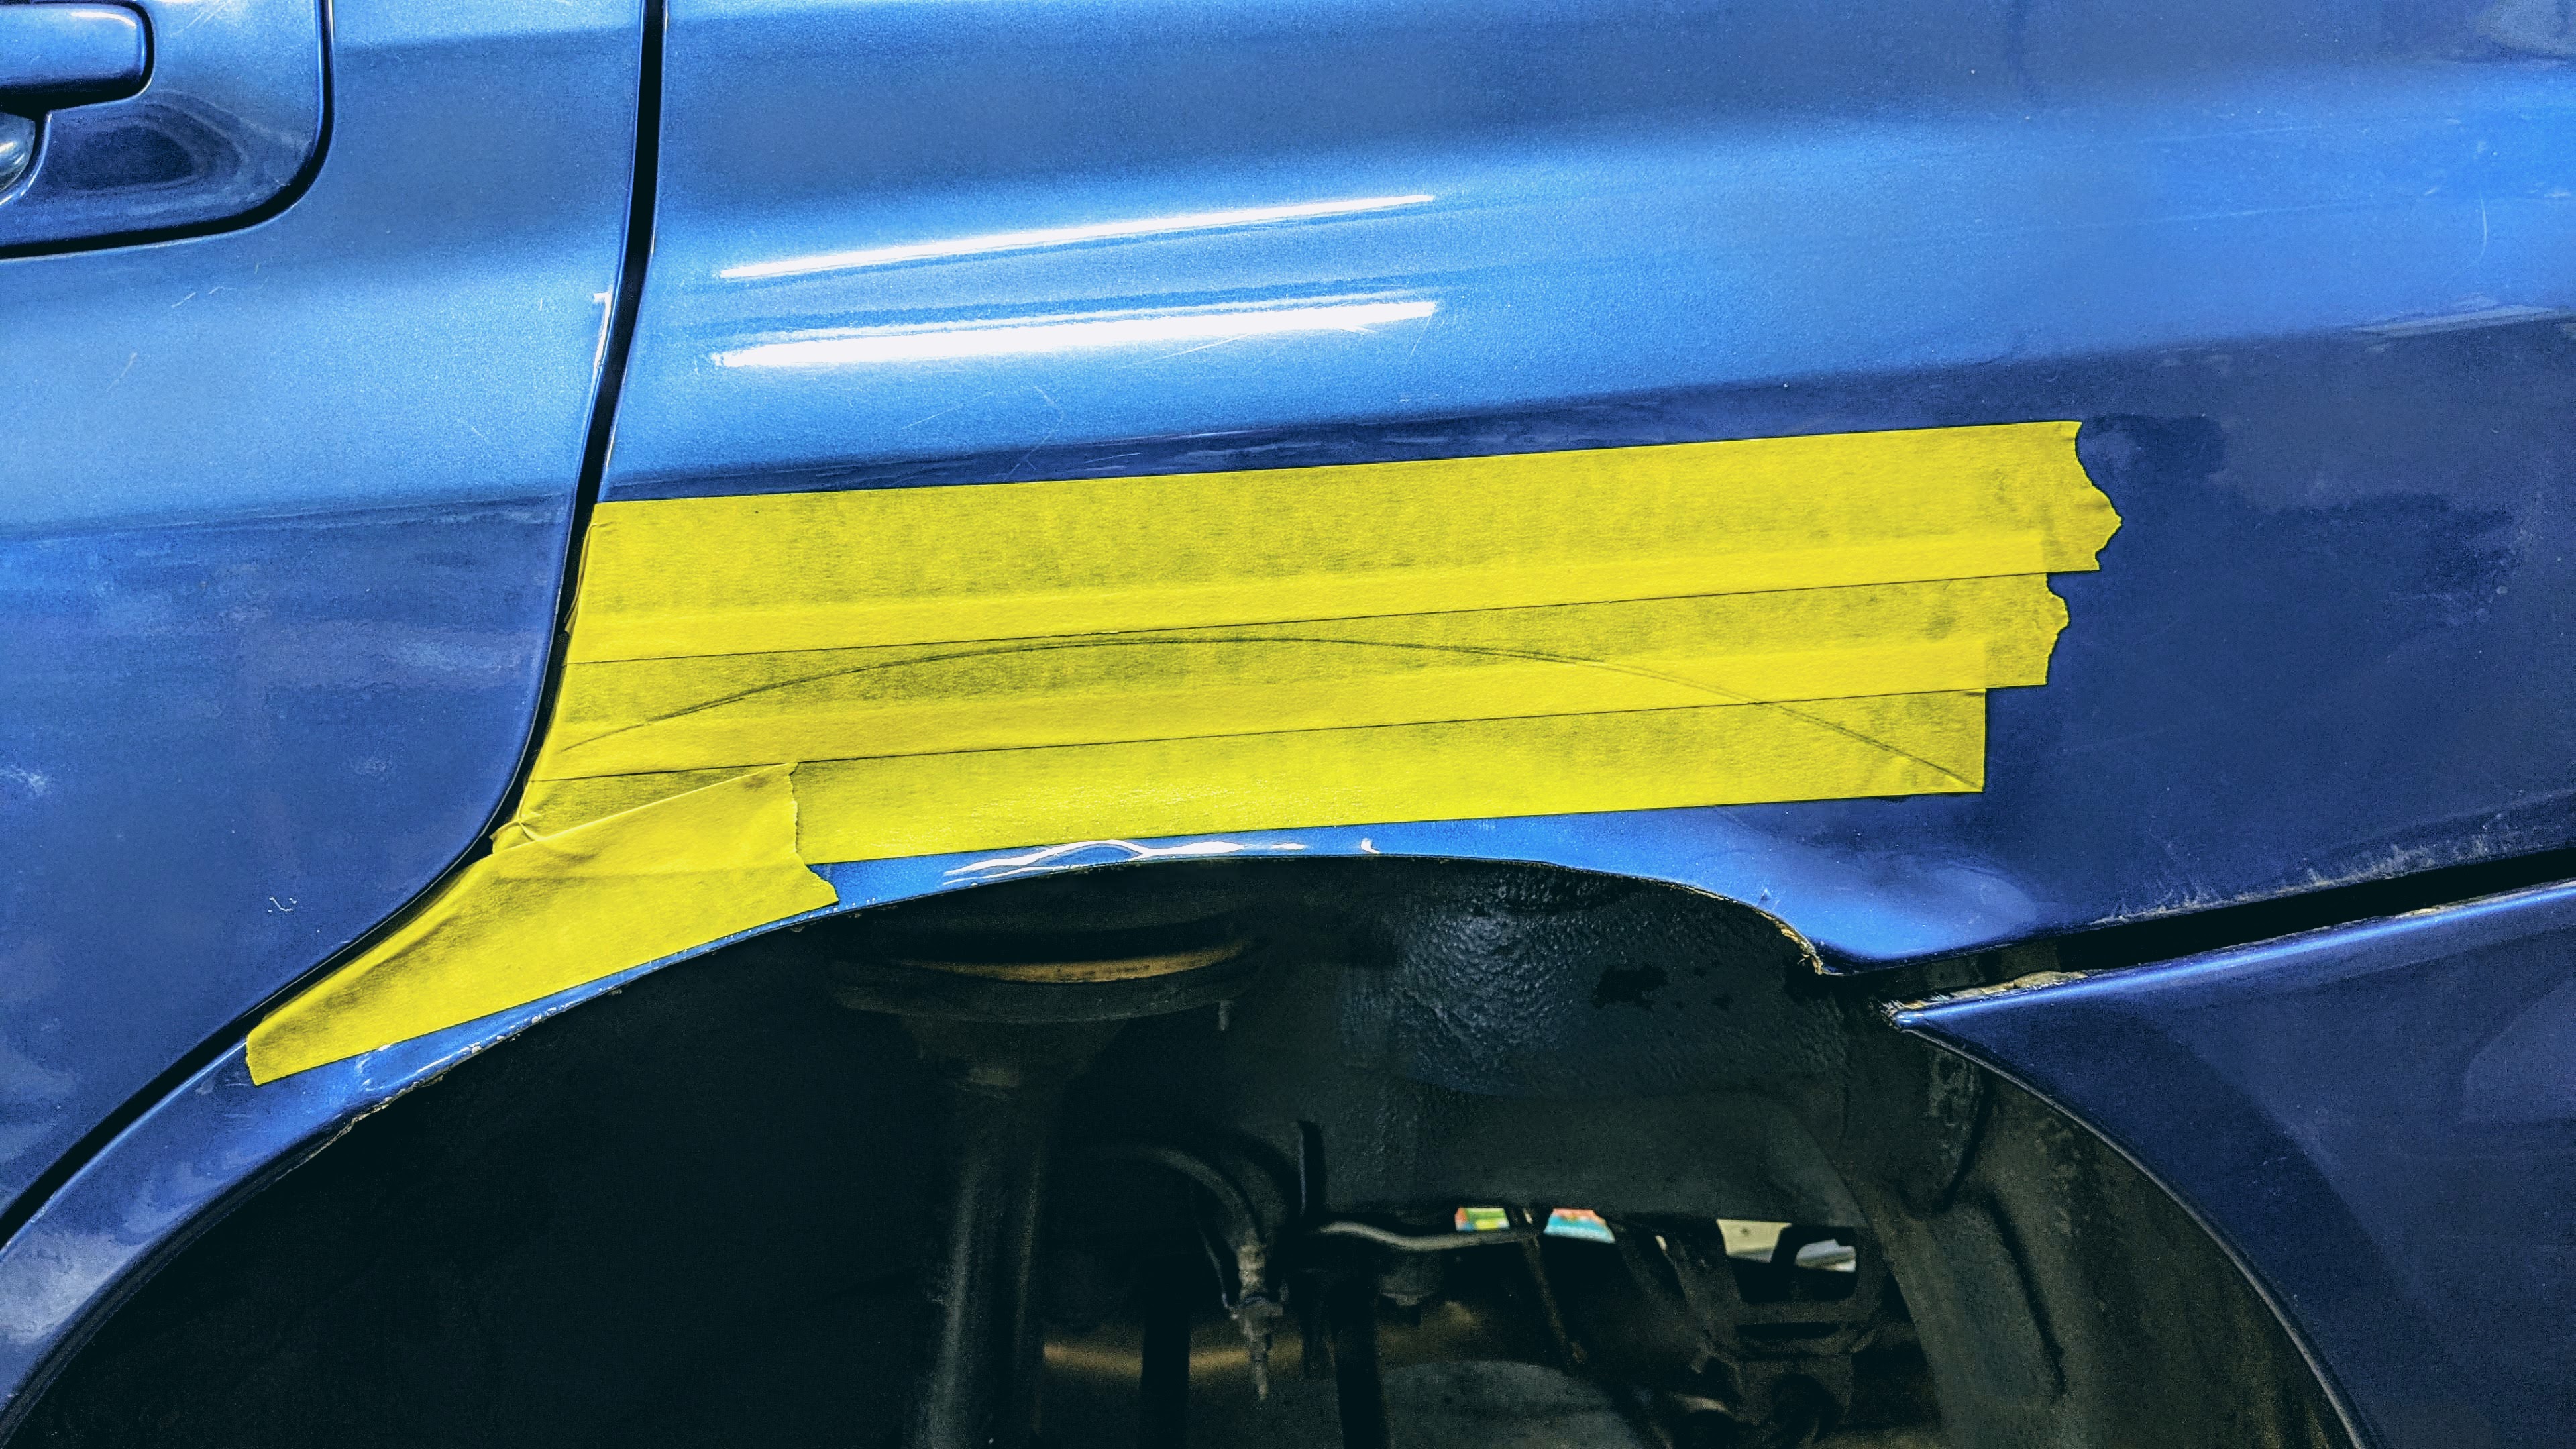
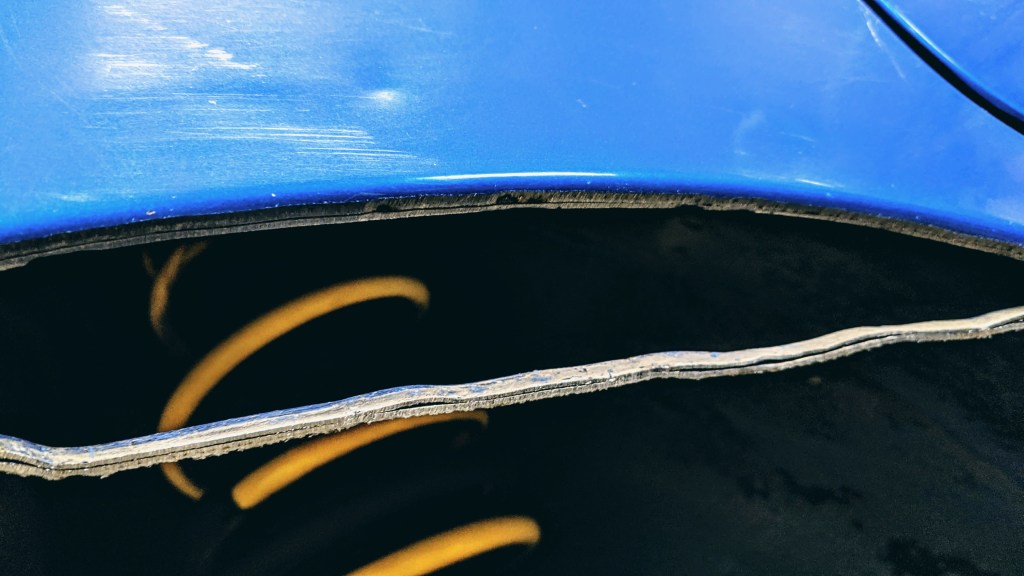
I recommend a conservative first cut as you can always cut more later. We can see the seam sealer in between the two panels.

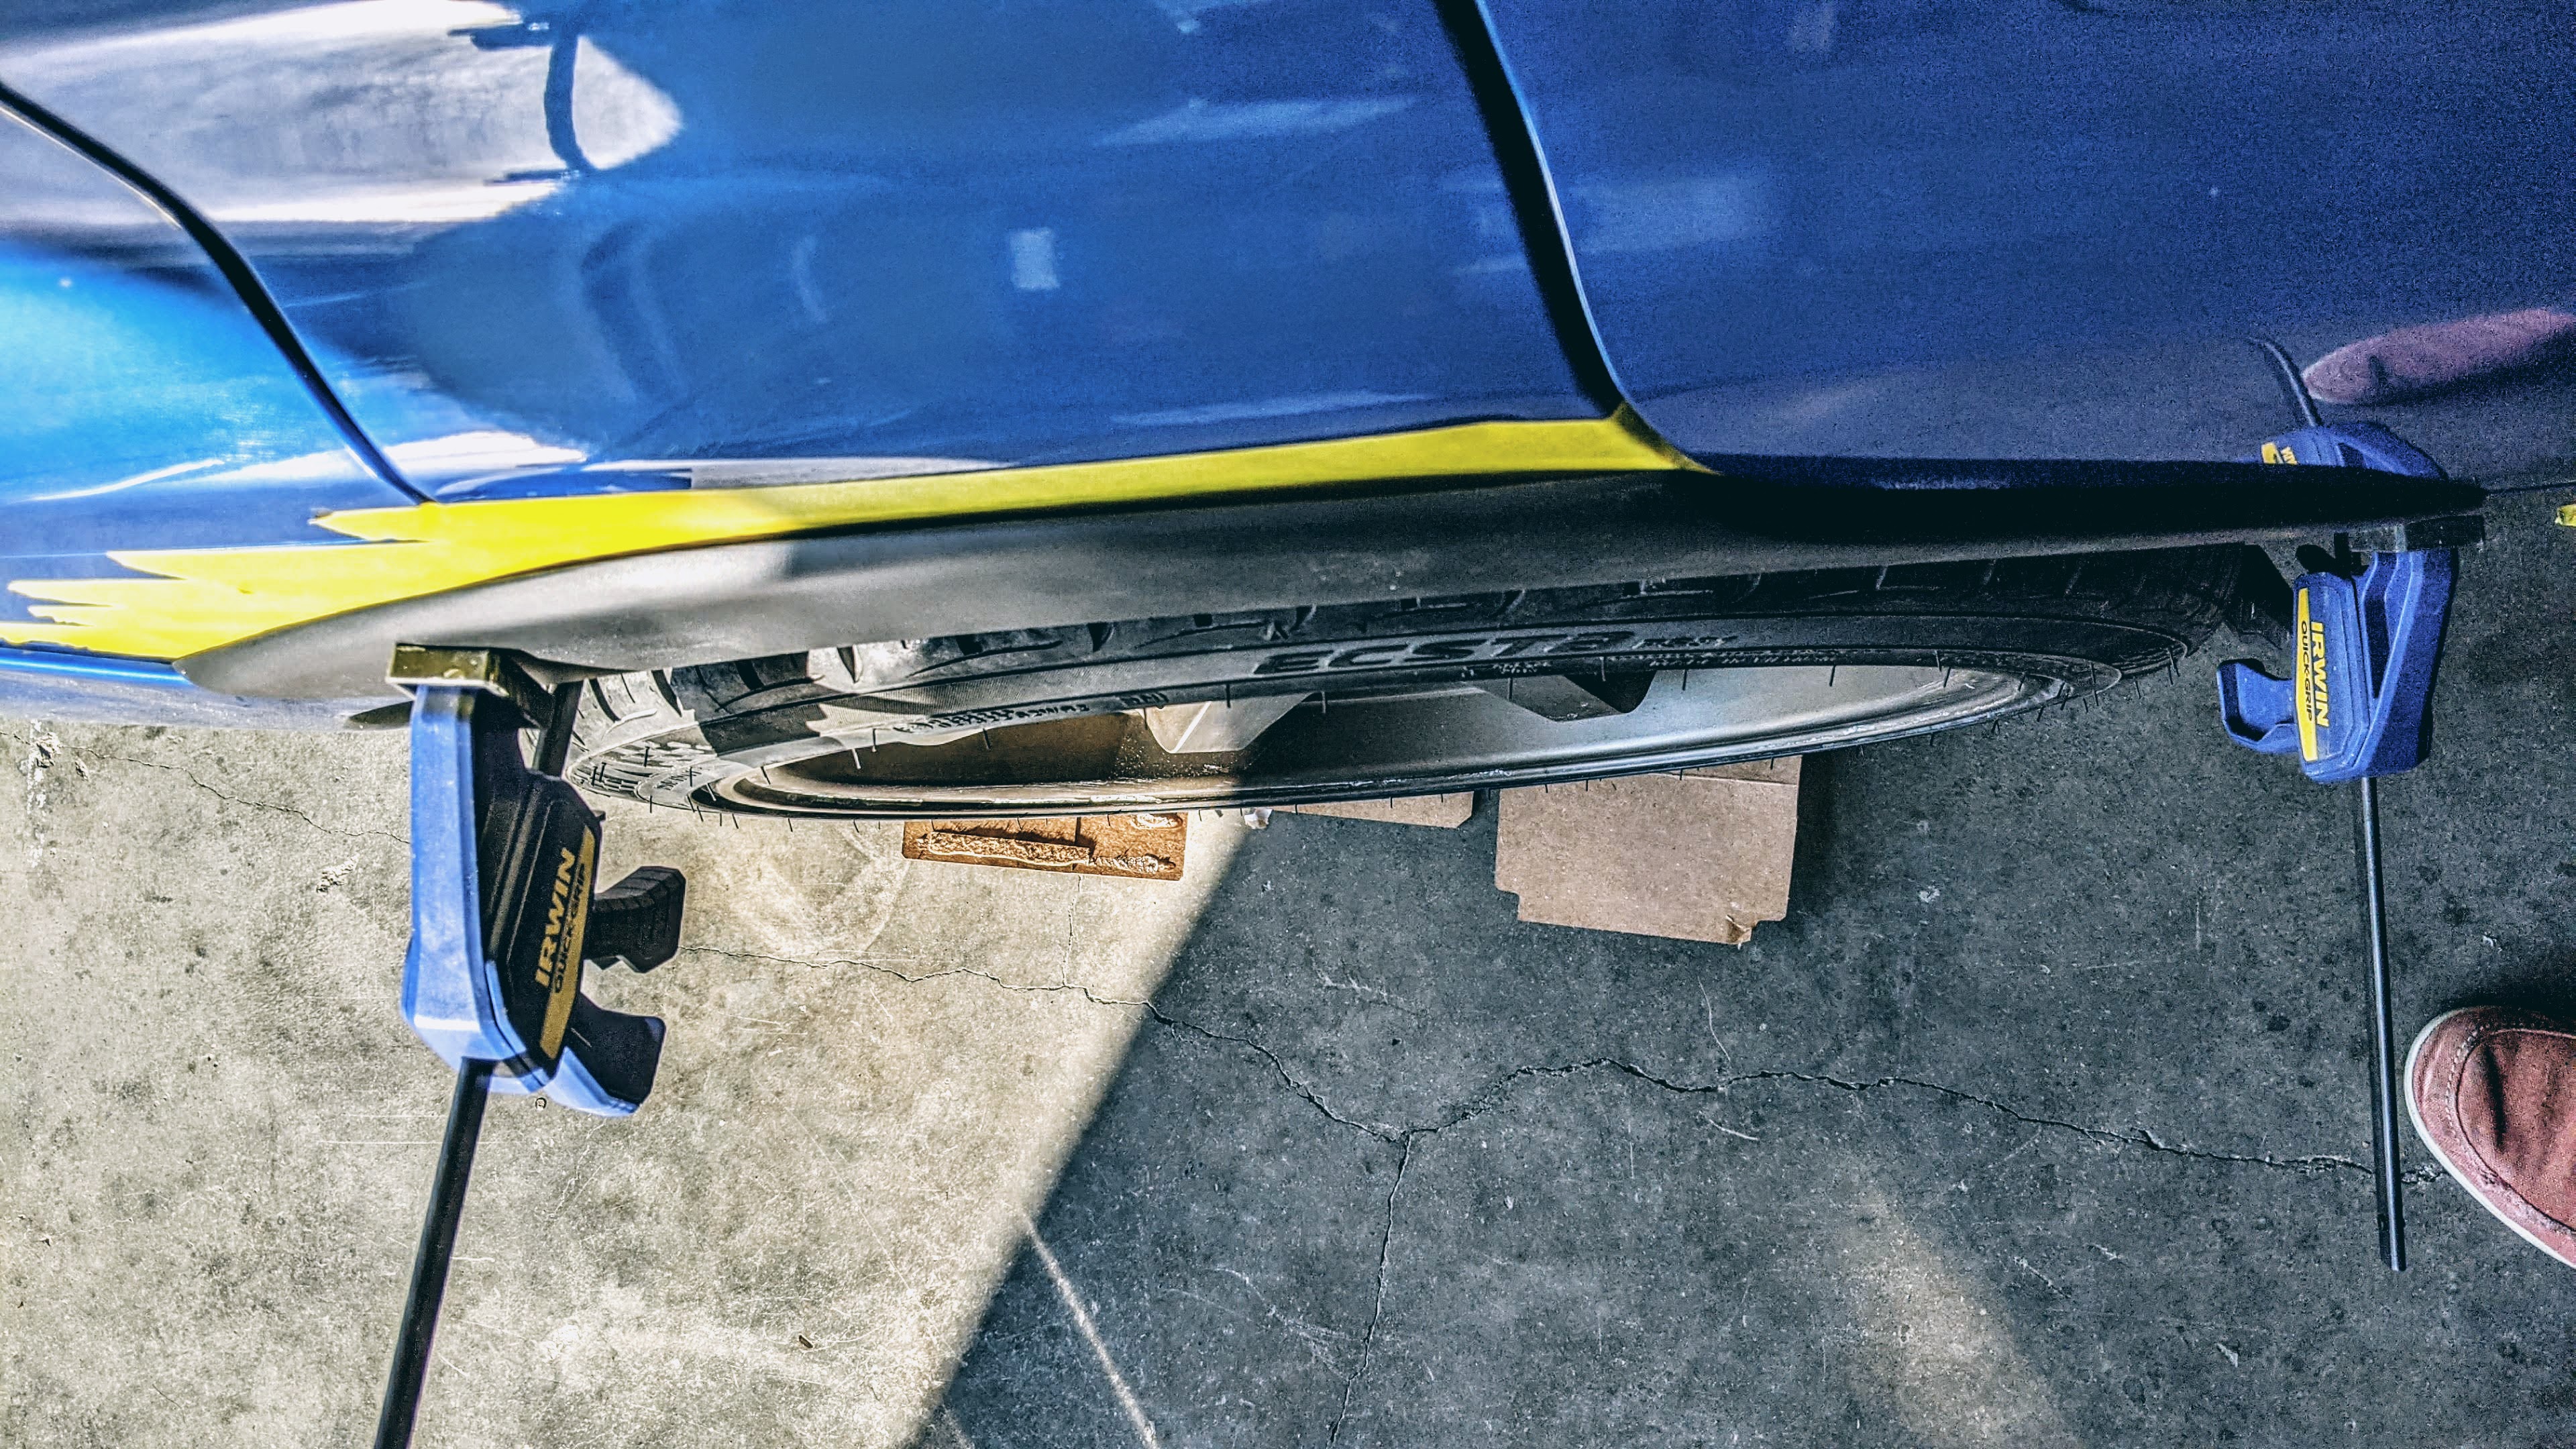
Another test fit shows how well the RPG flares fit.
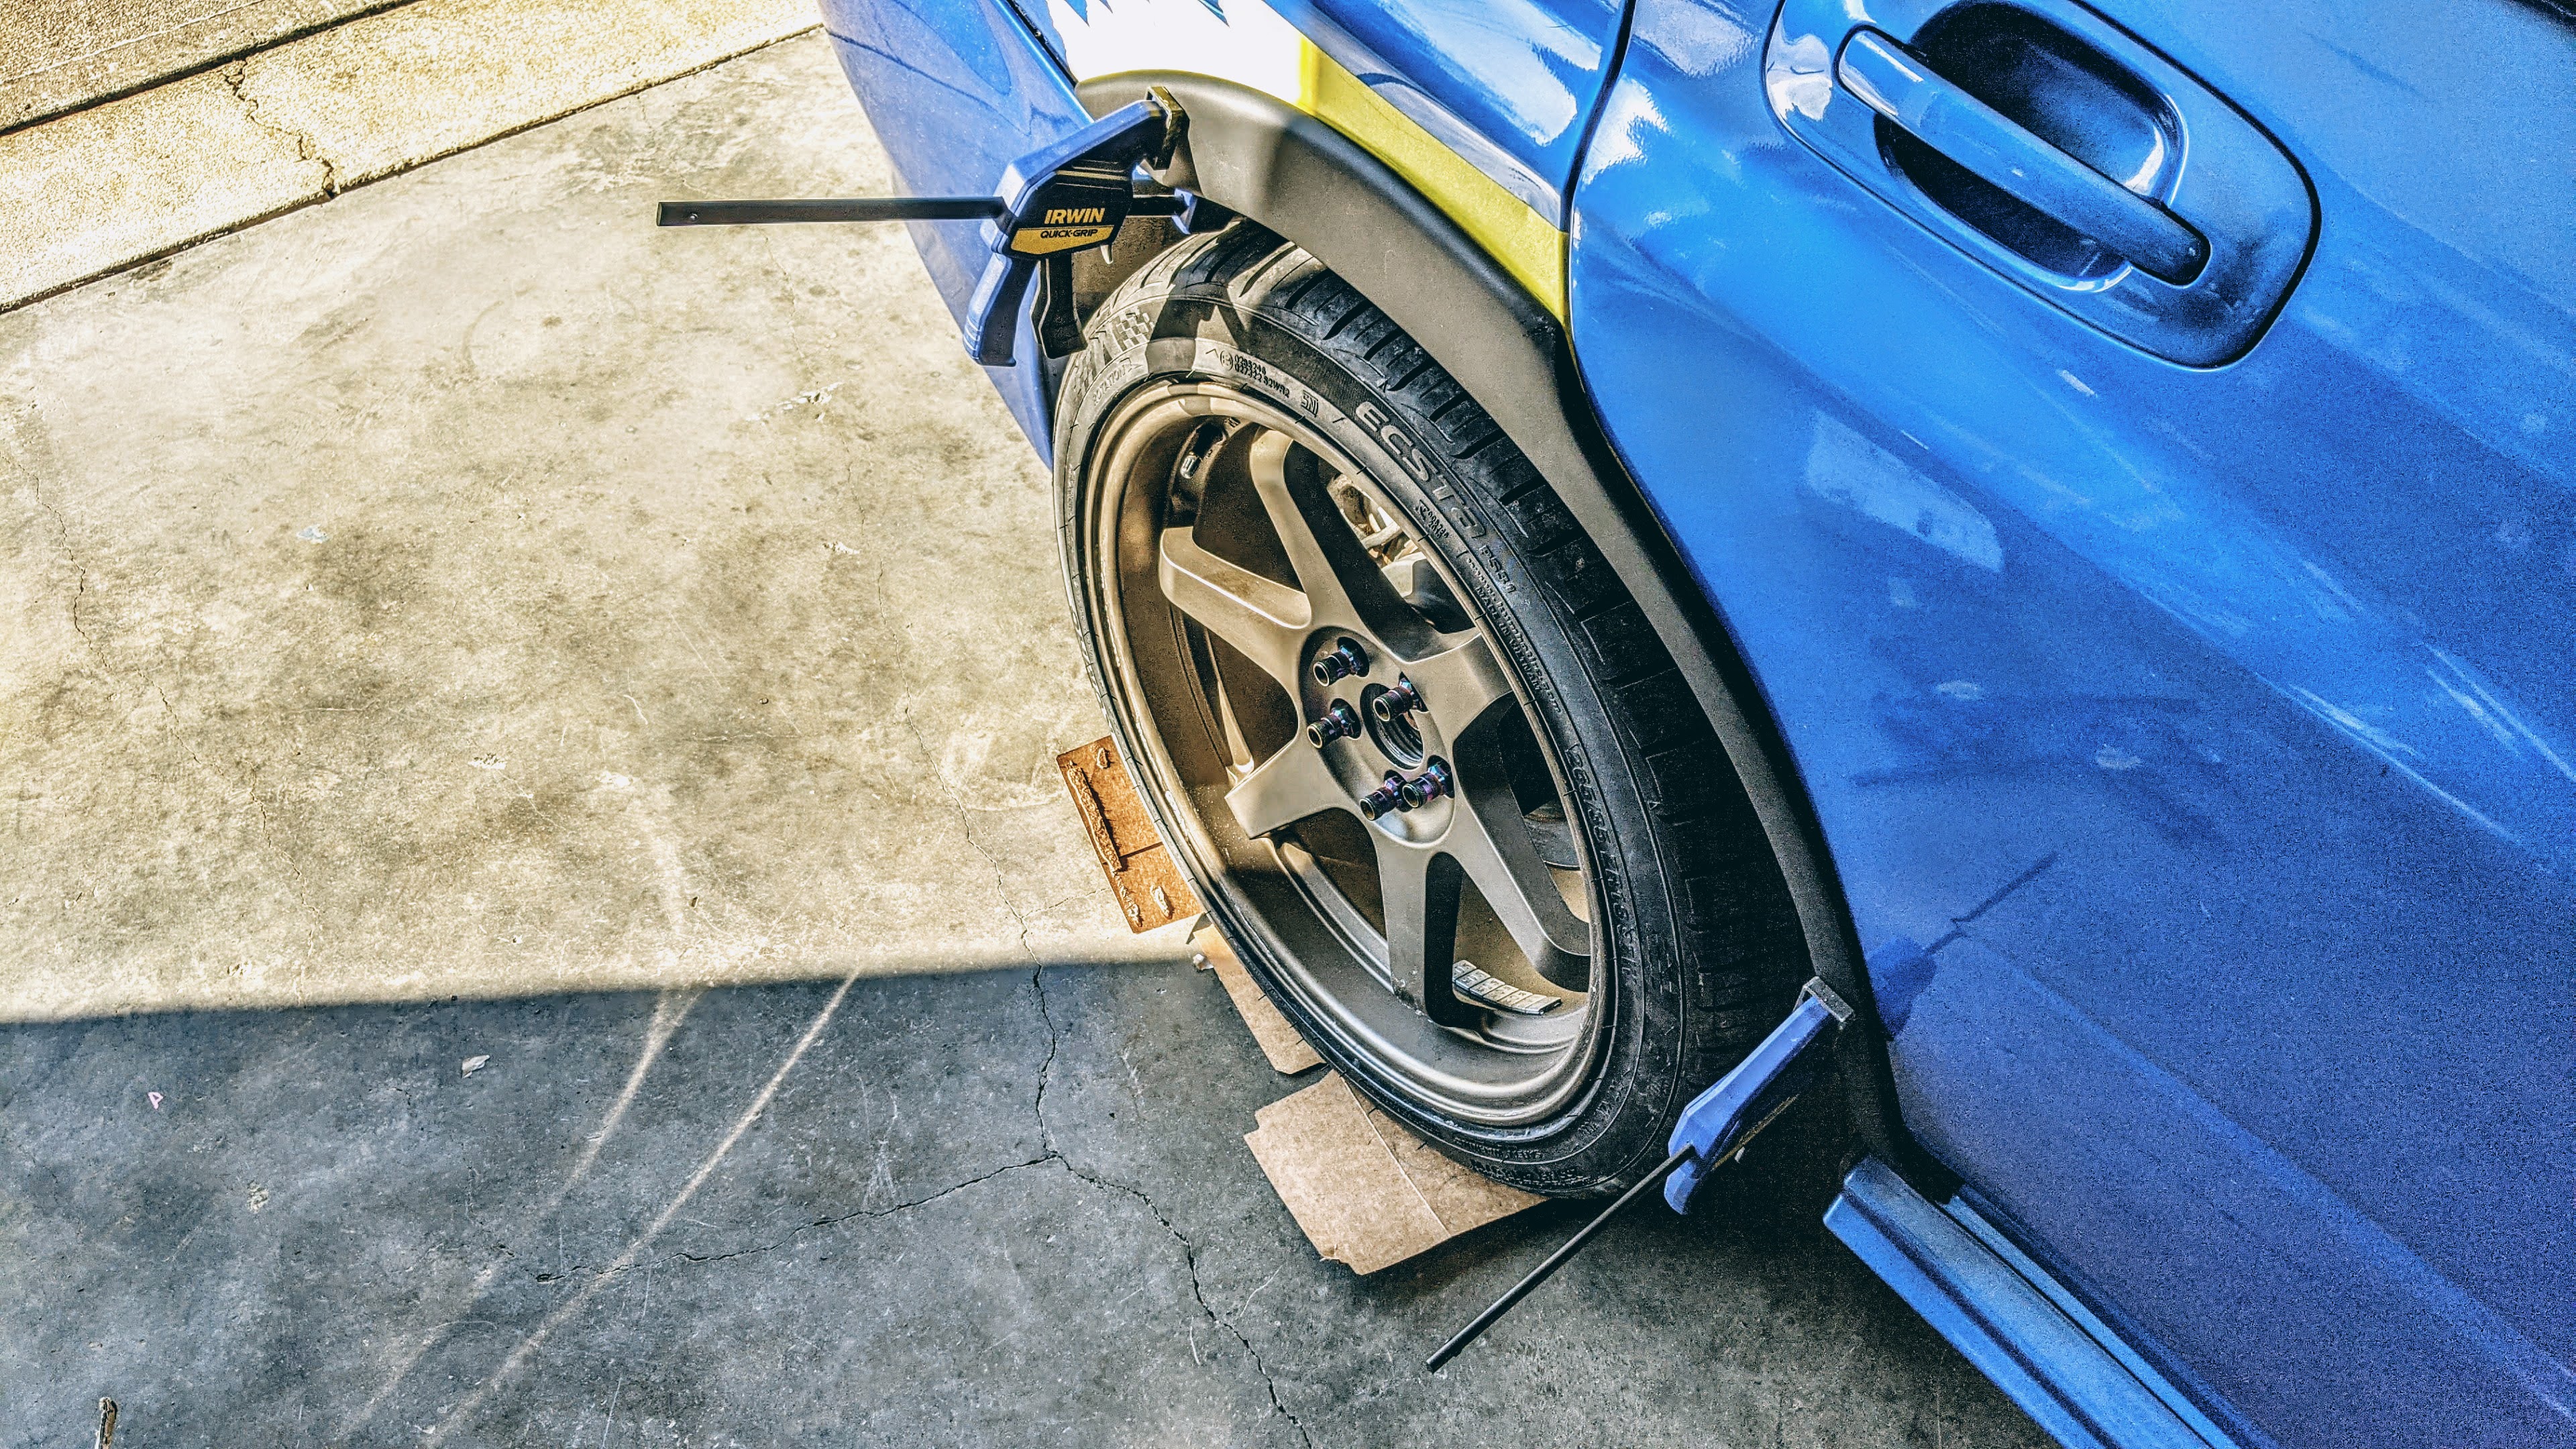
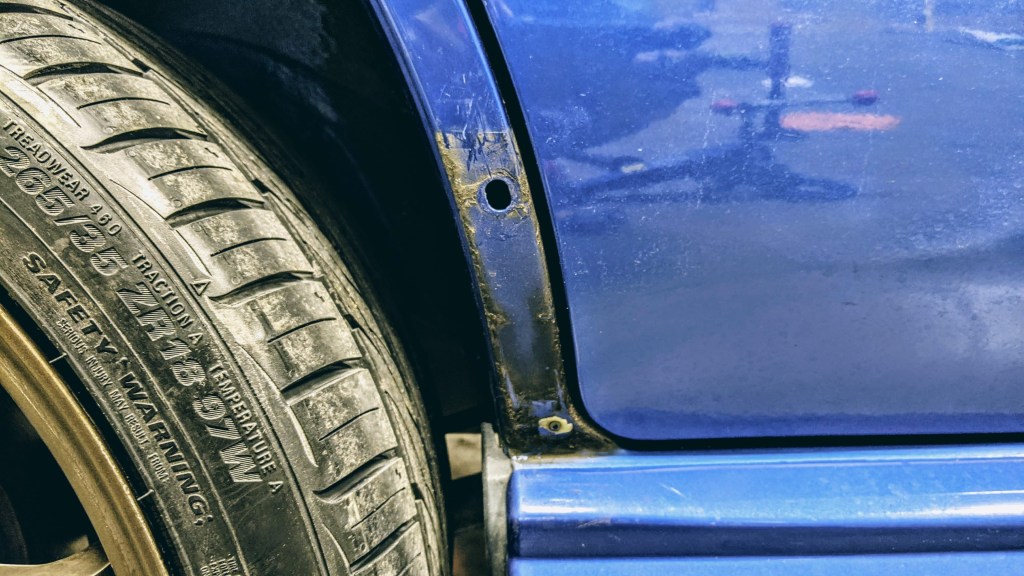
Tire clearance (265/35/r18) was still looking a little tight though.
I made a slightly more aggressive cut and notched the second layer so it would be easier to pinch together.


Also, there is a lip on the inside of the flare that I removed. I’m not sure why that it is there but it lessens our tire clearance so I cut it off.


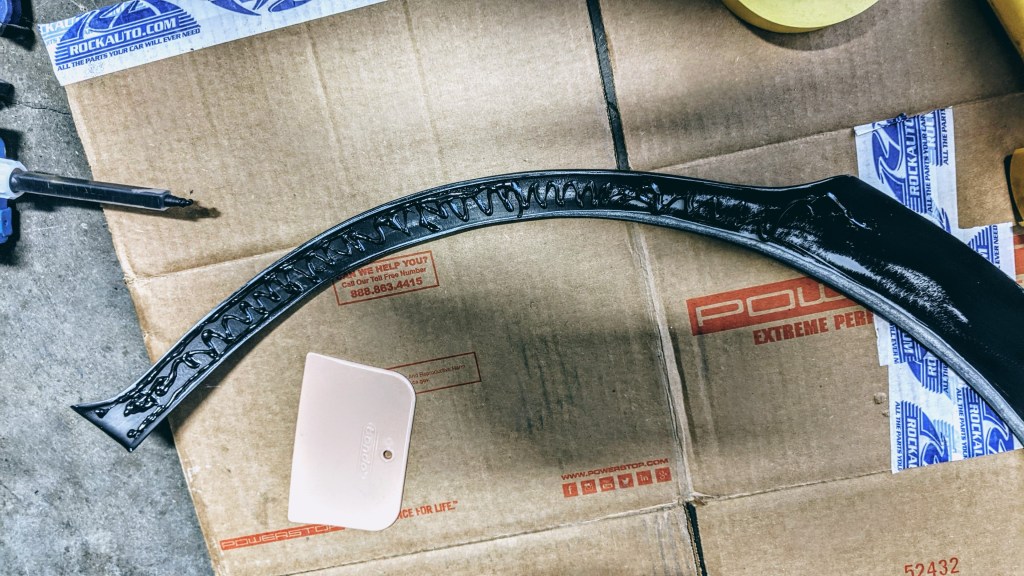
Then it was time to bond the panels together. Most people weld them together. I’m decided to try panel bond. T3h_Clap did a write-up on this method a few years ago and as far as I can tell, it worked for him. I debated over whether I should bond the flare, and the panels all at once or do the panels first then the flares.
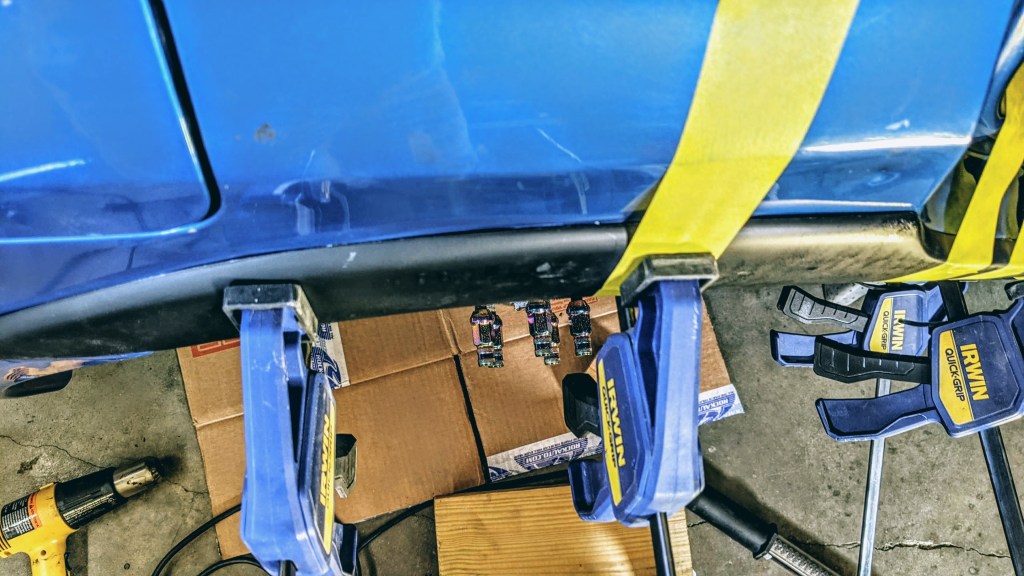
I did the panels first, and that was not a great decision. The 3M panel bond (p/n 08116) has a 90m work time which was great for setup. Clamping together slippery panels was another matter altogether.

The adhesive takes around 24hrs to cure. Unfortunately, the inner panel pulled the outer quarter in a lot, and the flares no longer sat flush. I ended up hitting the quarter panels with a 5lbs mini sledge to break the bond and cut out as much of the adhesive as I could.

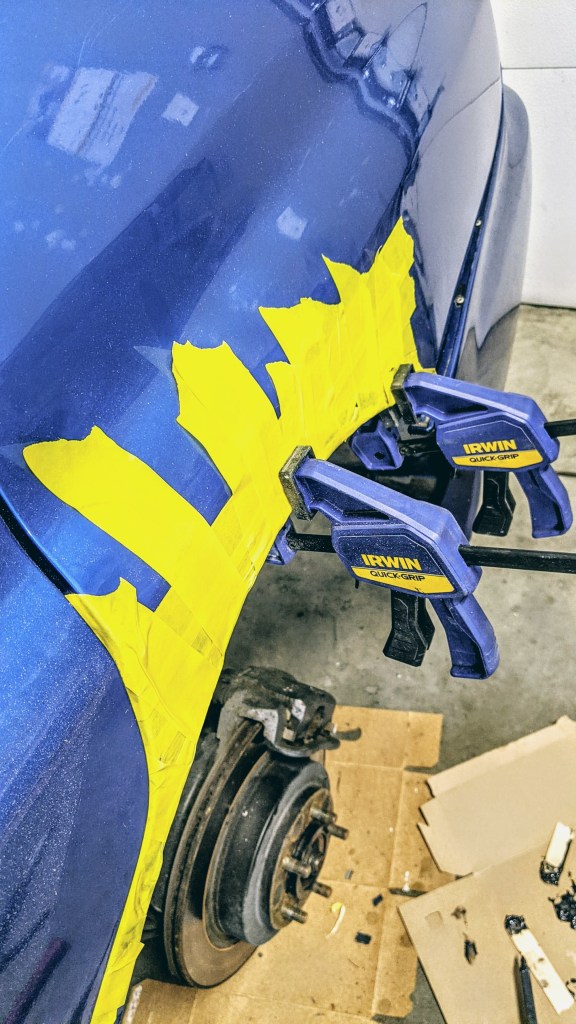
For the next attempt, I decided to bond the flare to the outer quarter panel and then bond the inner layer to the outer layer. This will maintain my flare and quarter panel gap and prevent the inner layer from pulling everything in. I think the worst part about this process was waiting 24 hrs to see if you messed up or not.

Fortunately, things went much better this time around.

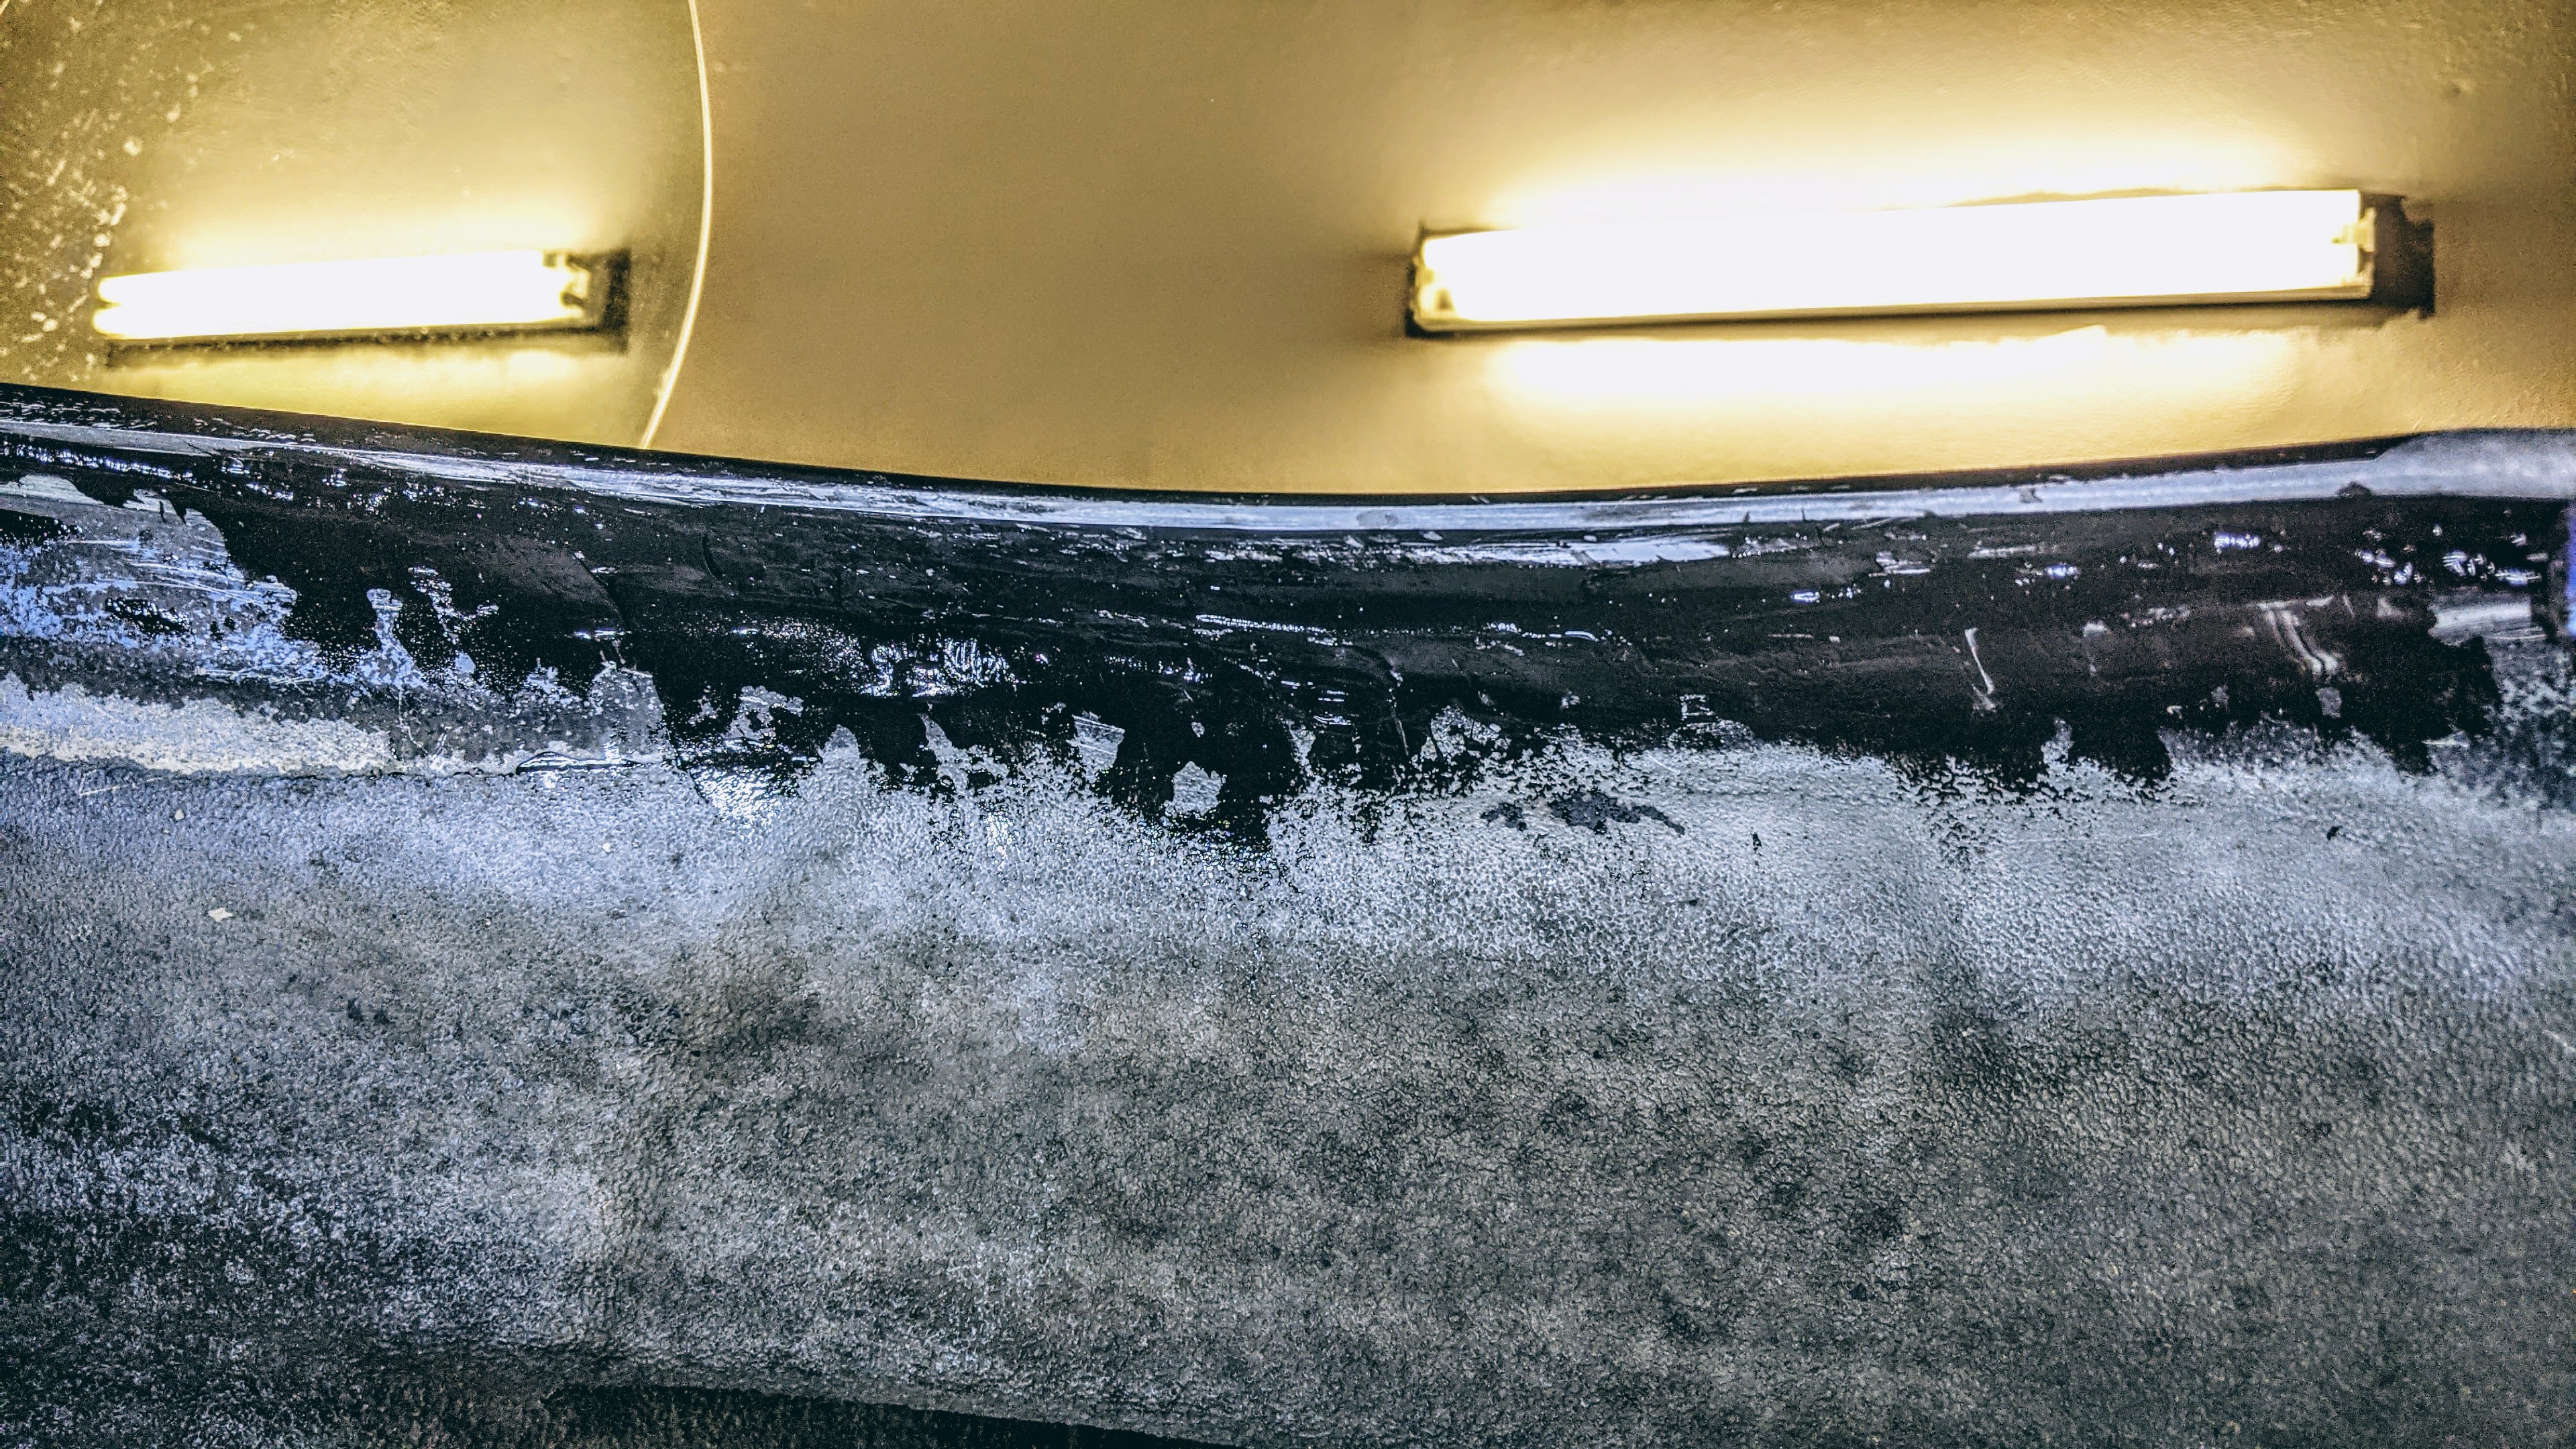
Next, we can bond the inner quarter to the outer panel. I used Gorilla Tape as a barrier between the clamps (the wood blocks) and the adhesive.

And then we can seam seal (p/n 08367) any remaining gaps. I will probably spray underliner in here as well, but that will be a job for another day.
On the initial test drive, there wasn’t any rubbing. But after I loaded up the back seat with groceries, it rubbed pretty good.

And instead of chasing this clearance issue for the rest of my life, I went ahead and did what I should have done in the first place and pulled the rear springs out.


With the springs pulled, we can check the entire suspension travel for clearance issues; figure out where we are hitting the fender and make modifications as needed.


Fiberglass is so much easier to work with that I was able to cut and sand the flares to gain some more clearance. Ultimately, we may just need to raise the rear up with some Saggy Butt spacers until I can pick up a set of coilovers.


The one downside to this method is remembering your camber settings after you pull the springs out. The rear STi struts have a slight slot in them that allows a little bit of camber adjustment. I would err on the side of caution and use the least amount of camber.
I also noticed that my passenger rear strut might be blown. It sticks at full compression and sounds like a bicycle tire pump. So, I will probably need coilovers sooner than later.


In the meantime, I picked up some 1/4-inch Saggy Butt spacers to raise the rear up some. Unfortunately, I bought the wrong ones. These are for a GC8 and the GD chassis top hat is different.
Instead of ordering replacements, I just cut them up. FYI, with the 3/8-inch spacers you will probably need the extended hardware.

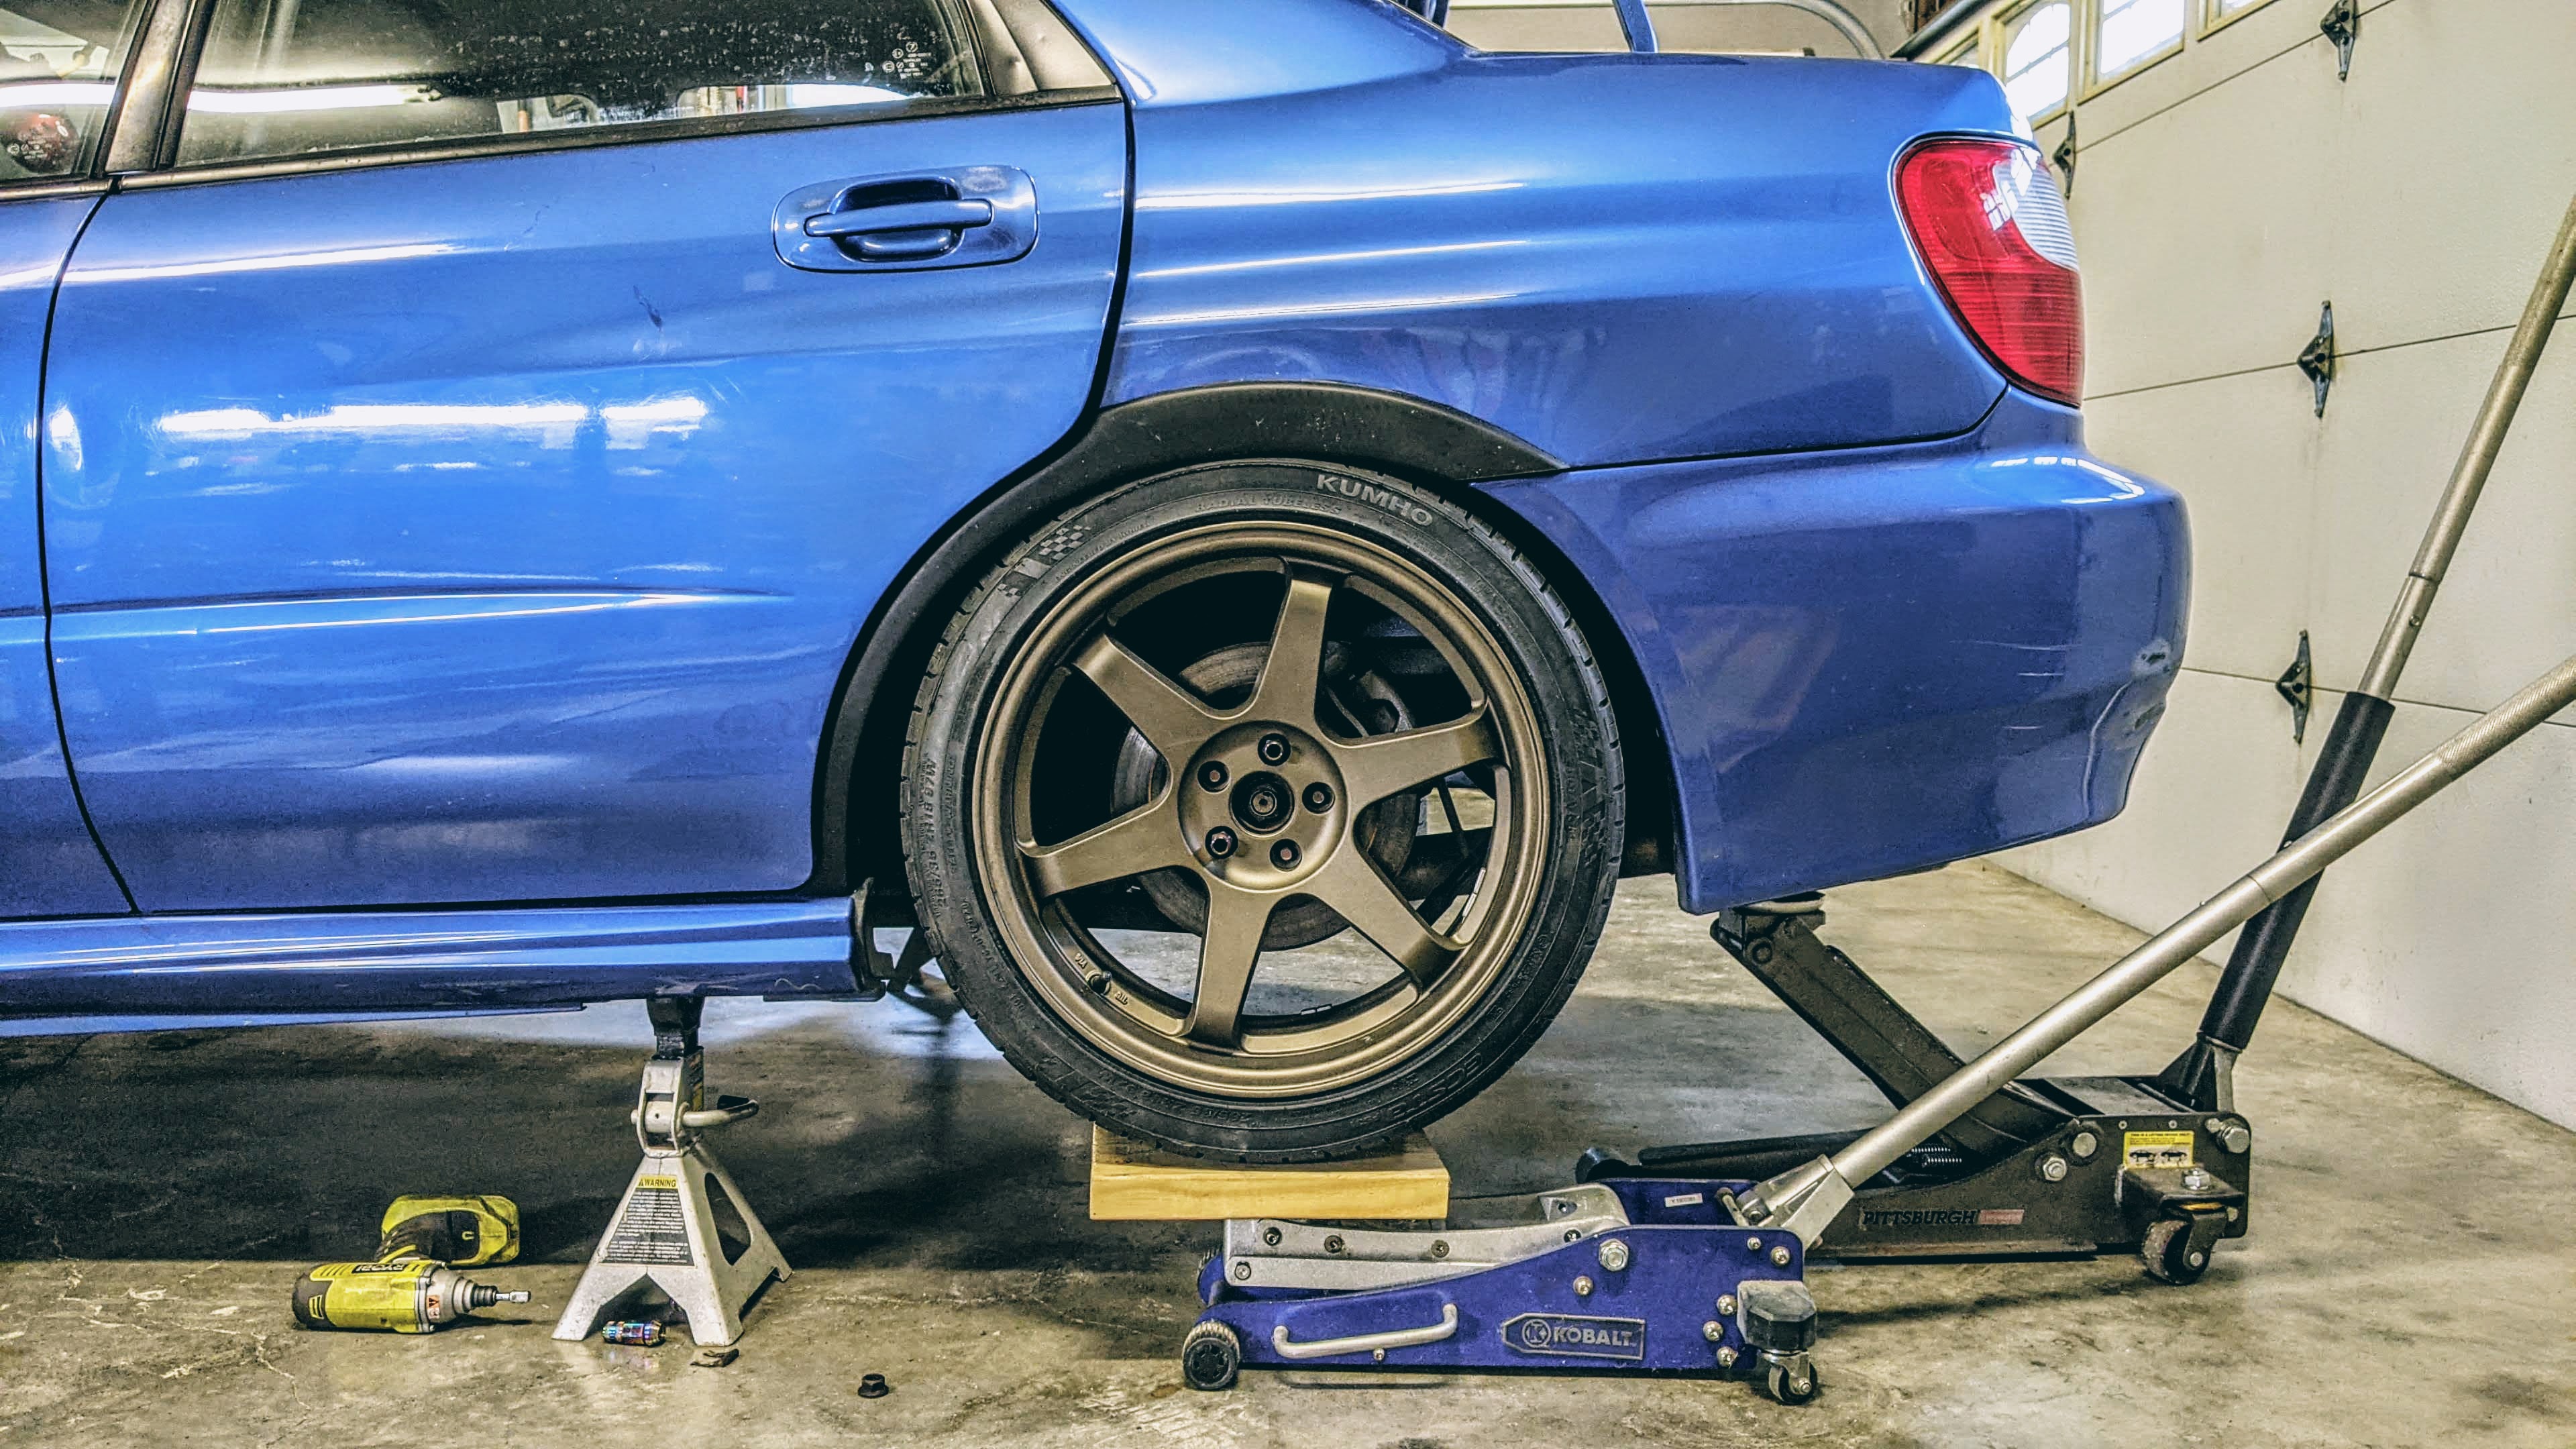
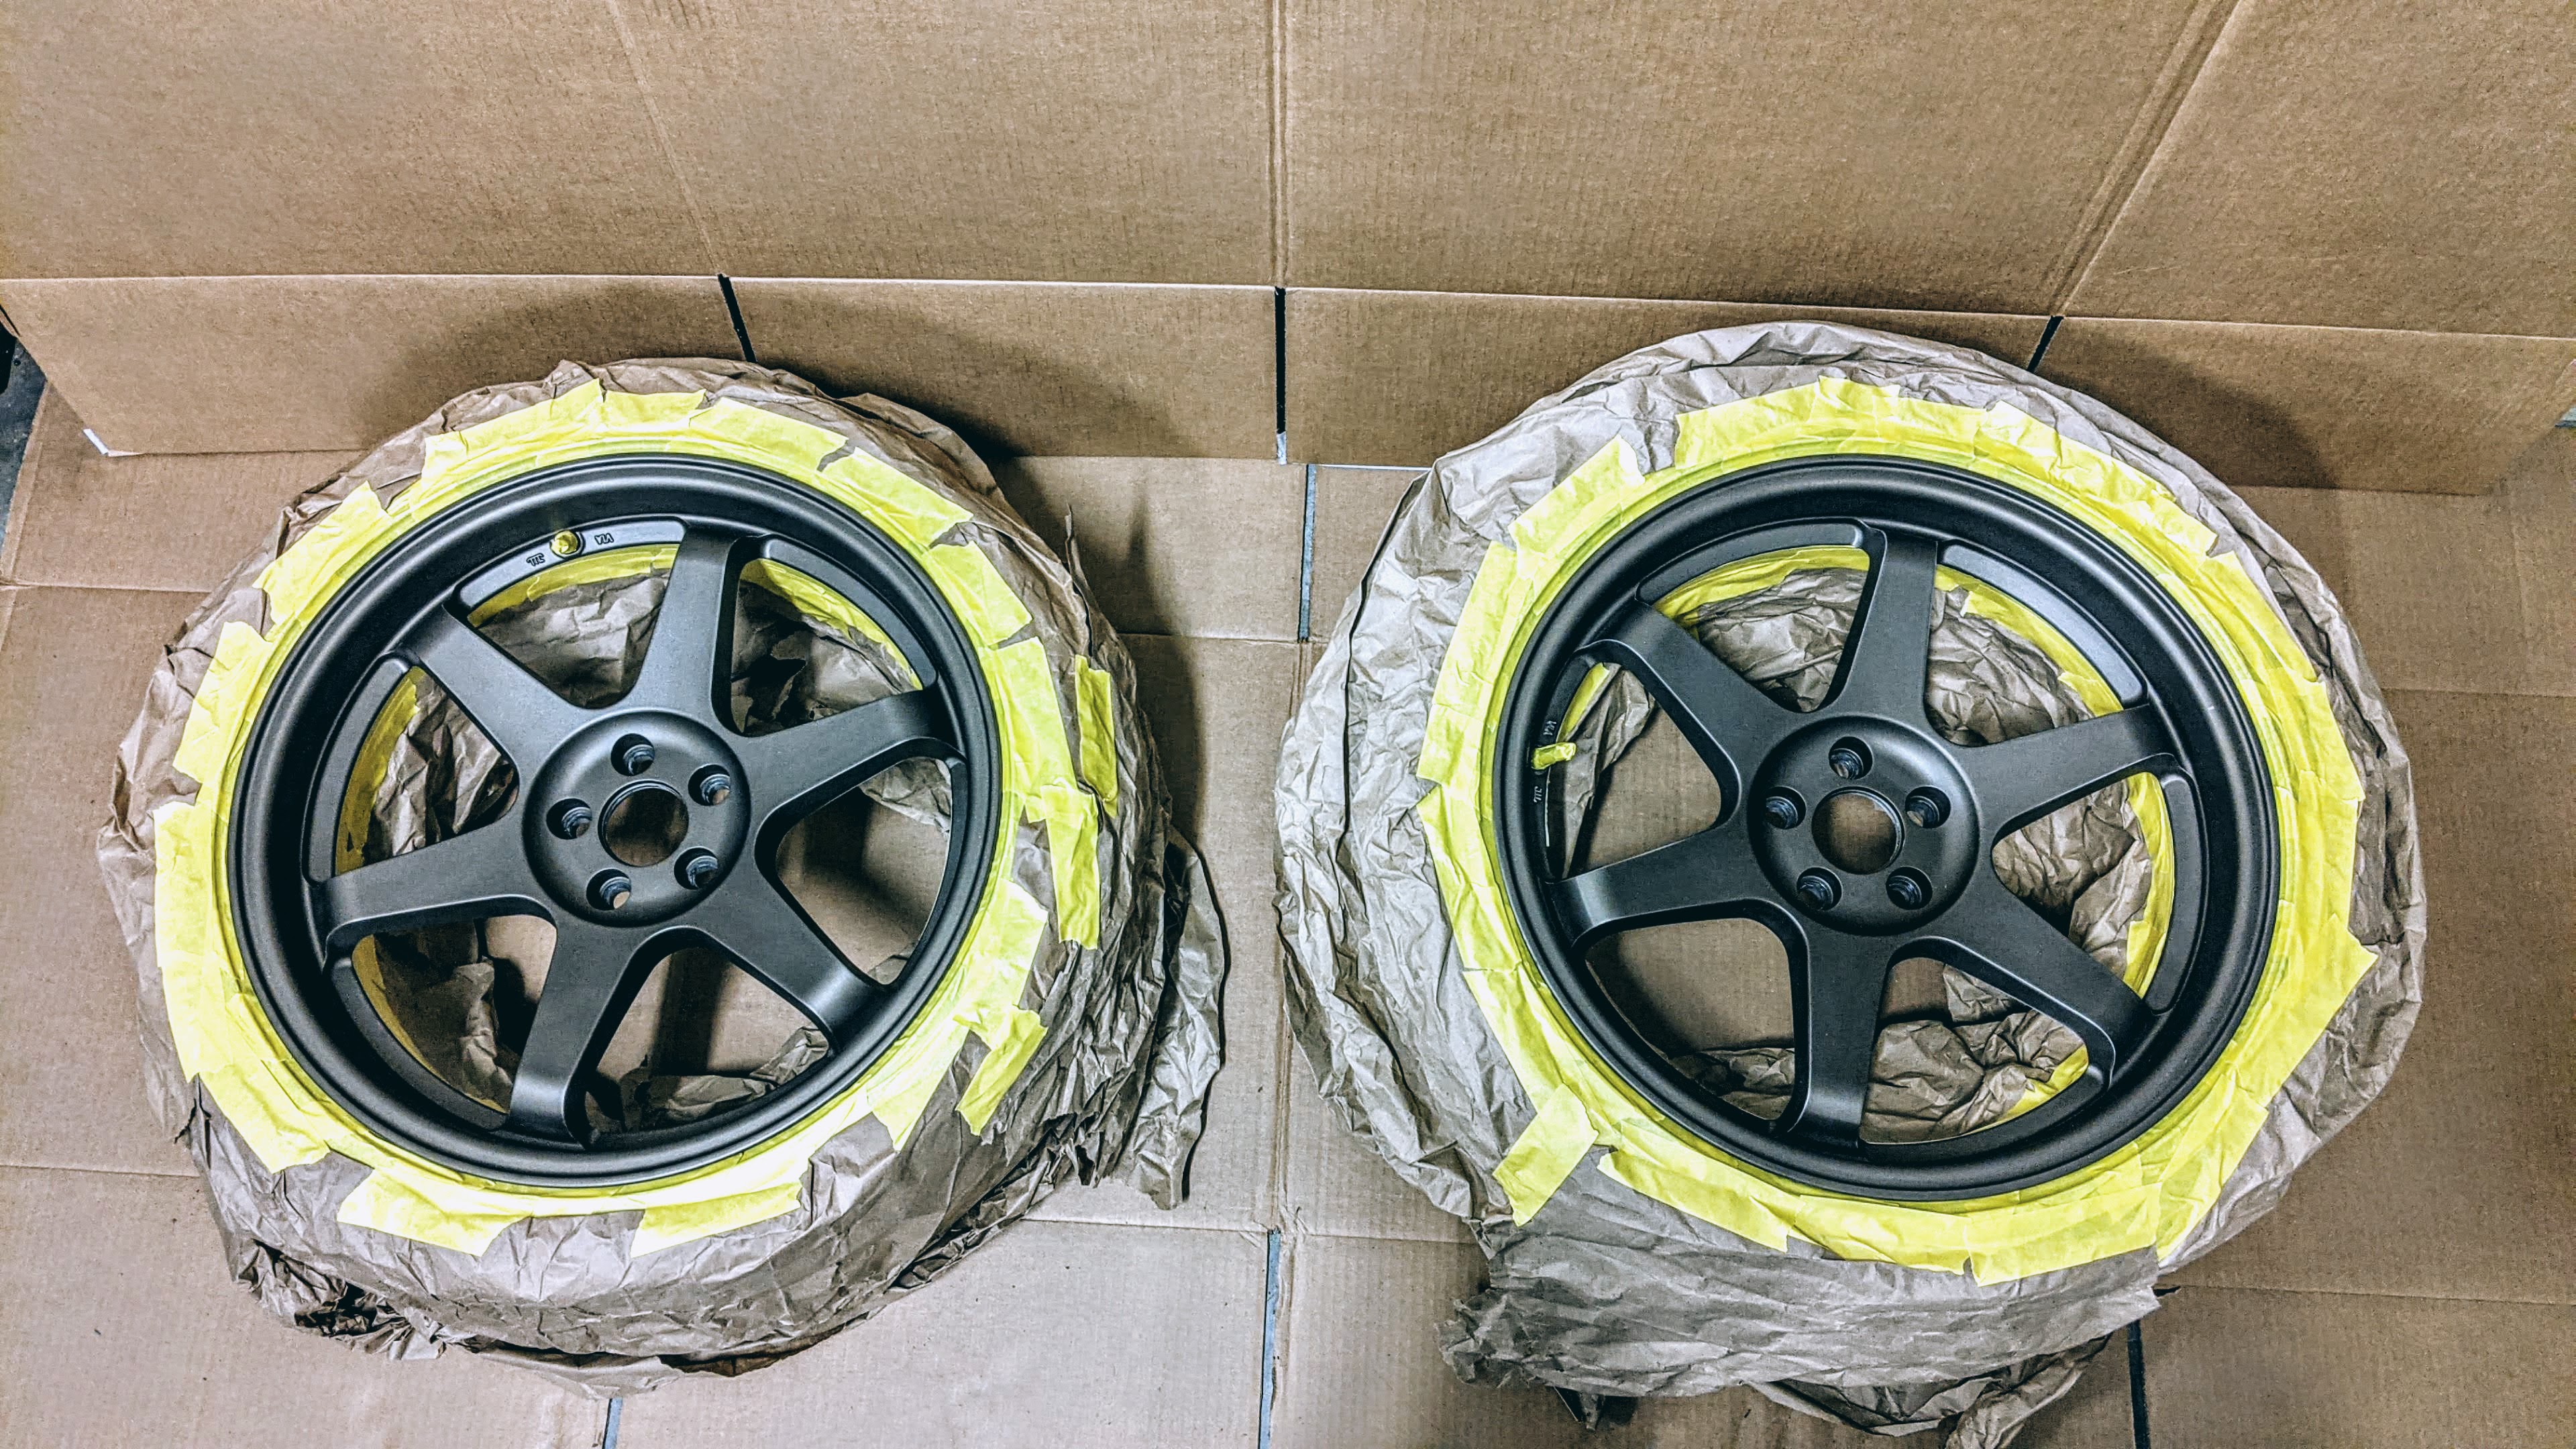
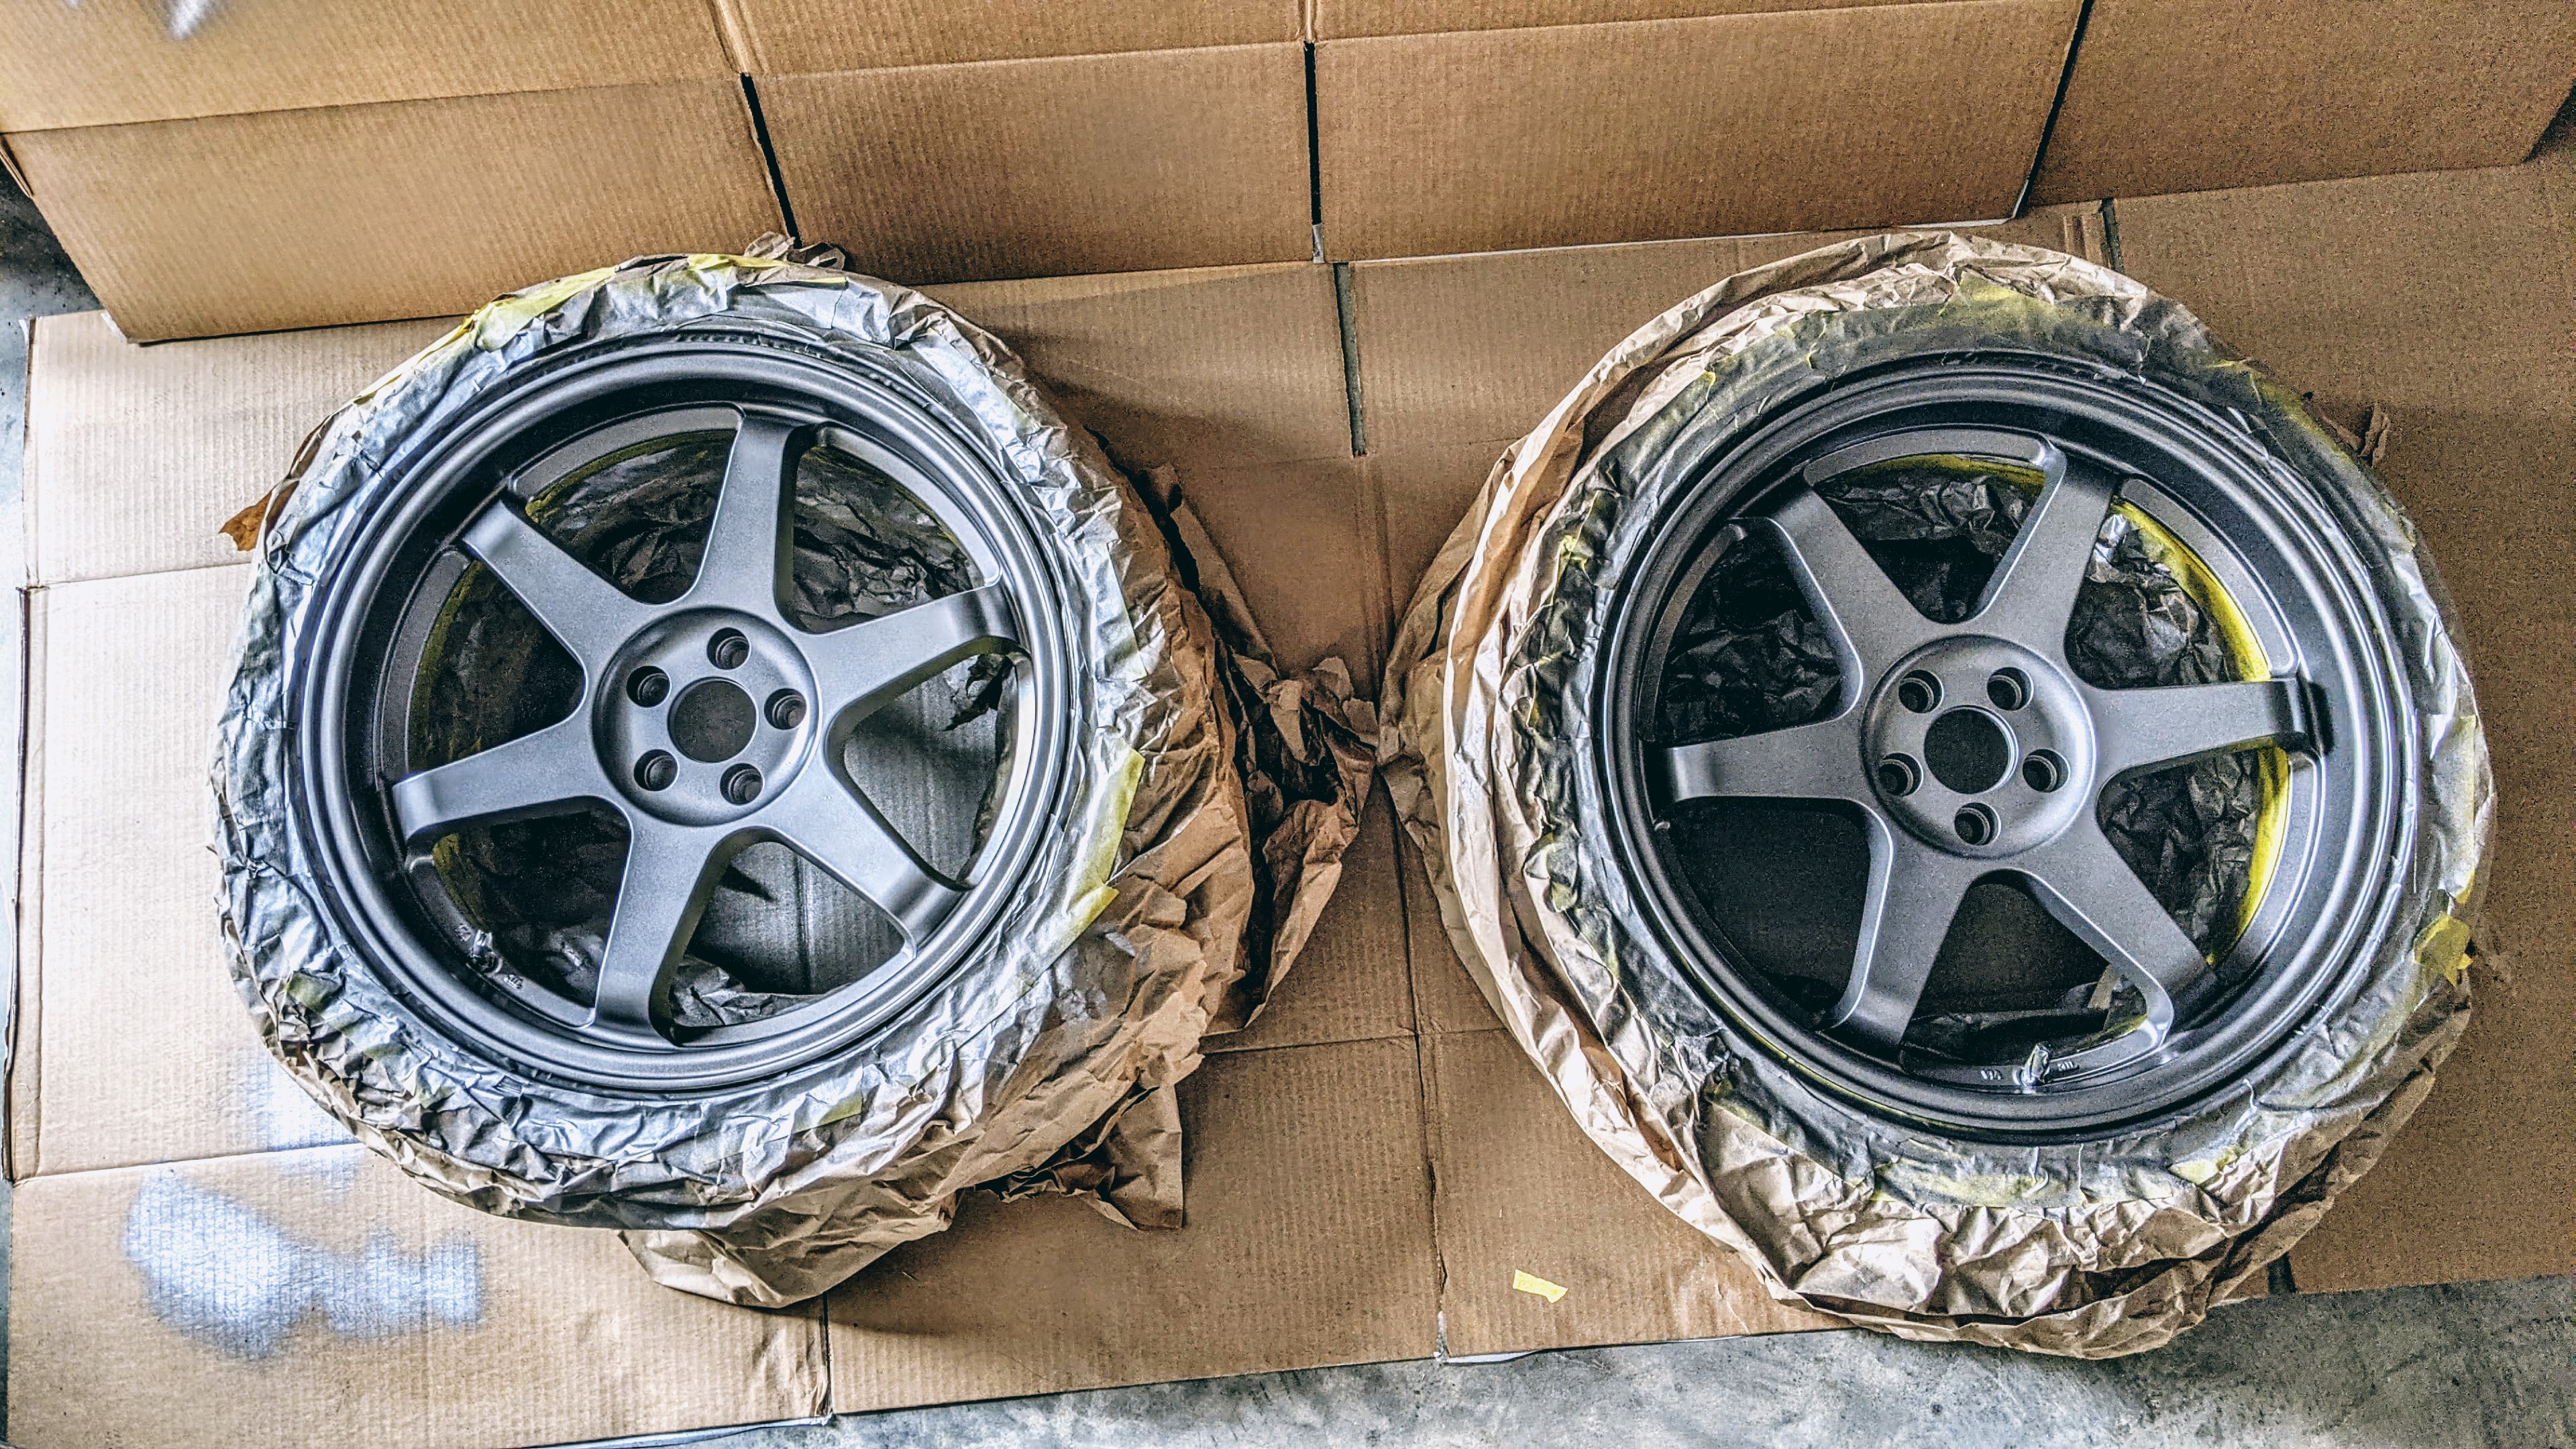
I also painted the ESR SR07 wheels graphite to better match the gunmetal Avid.1 AV-20.
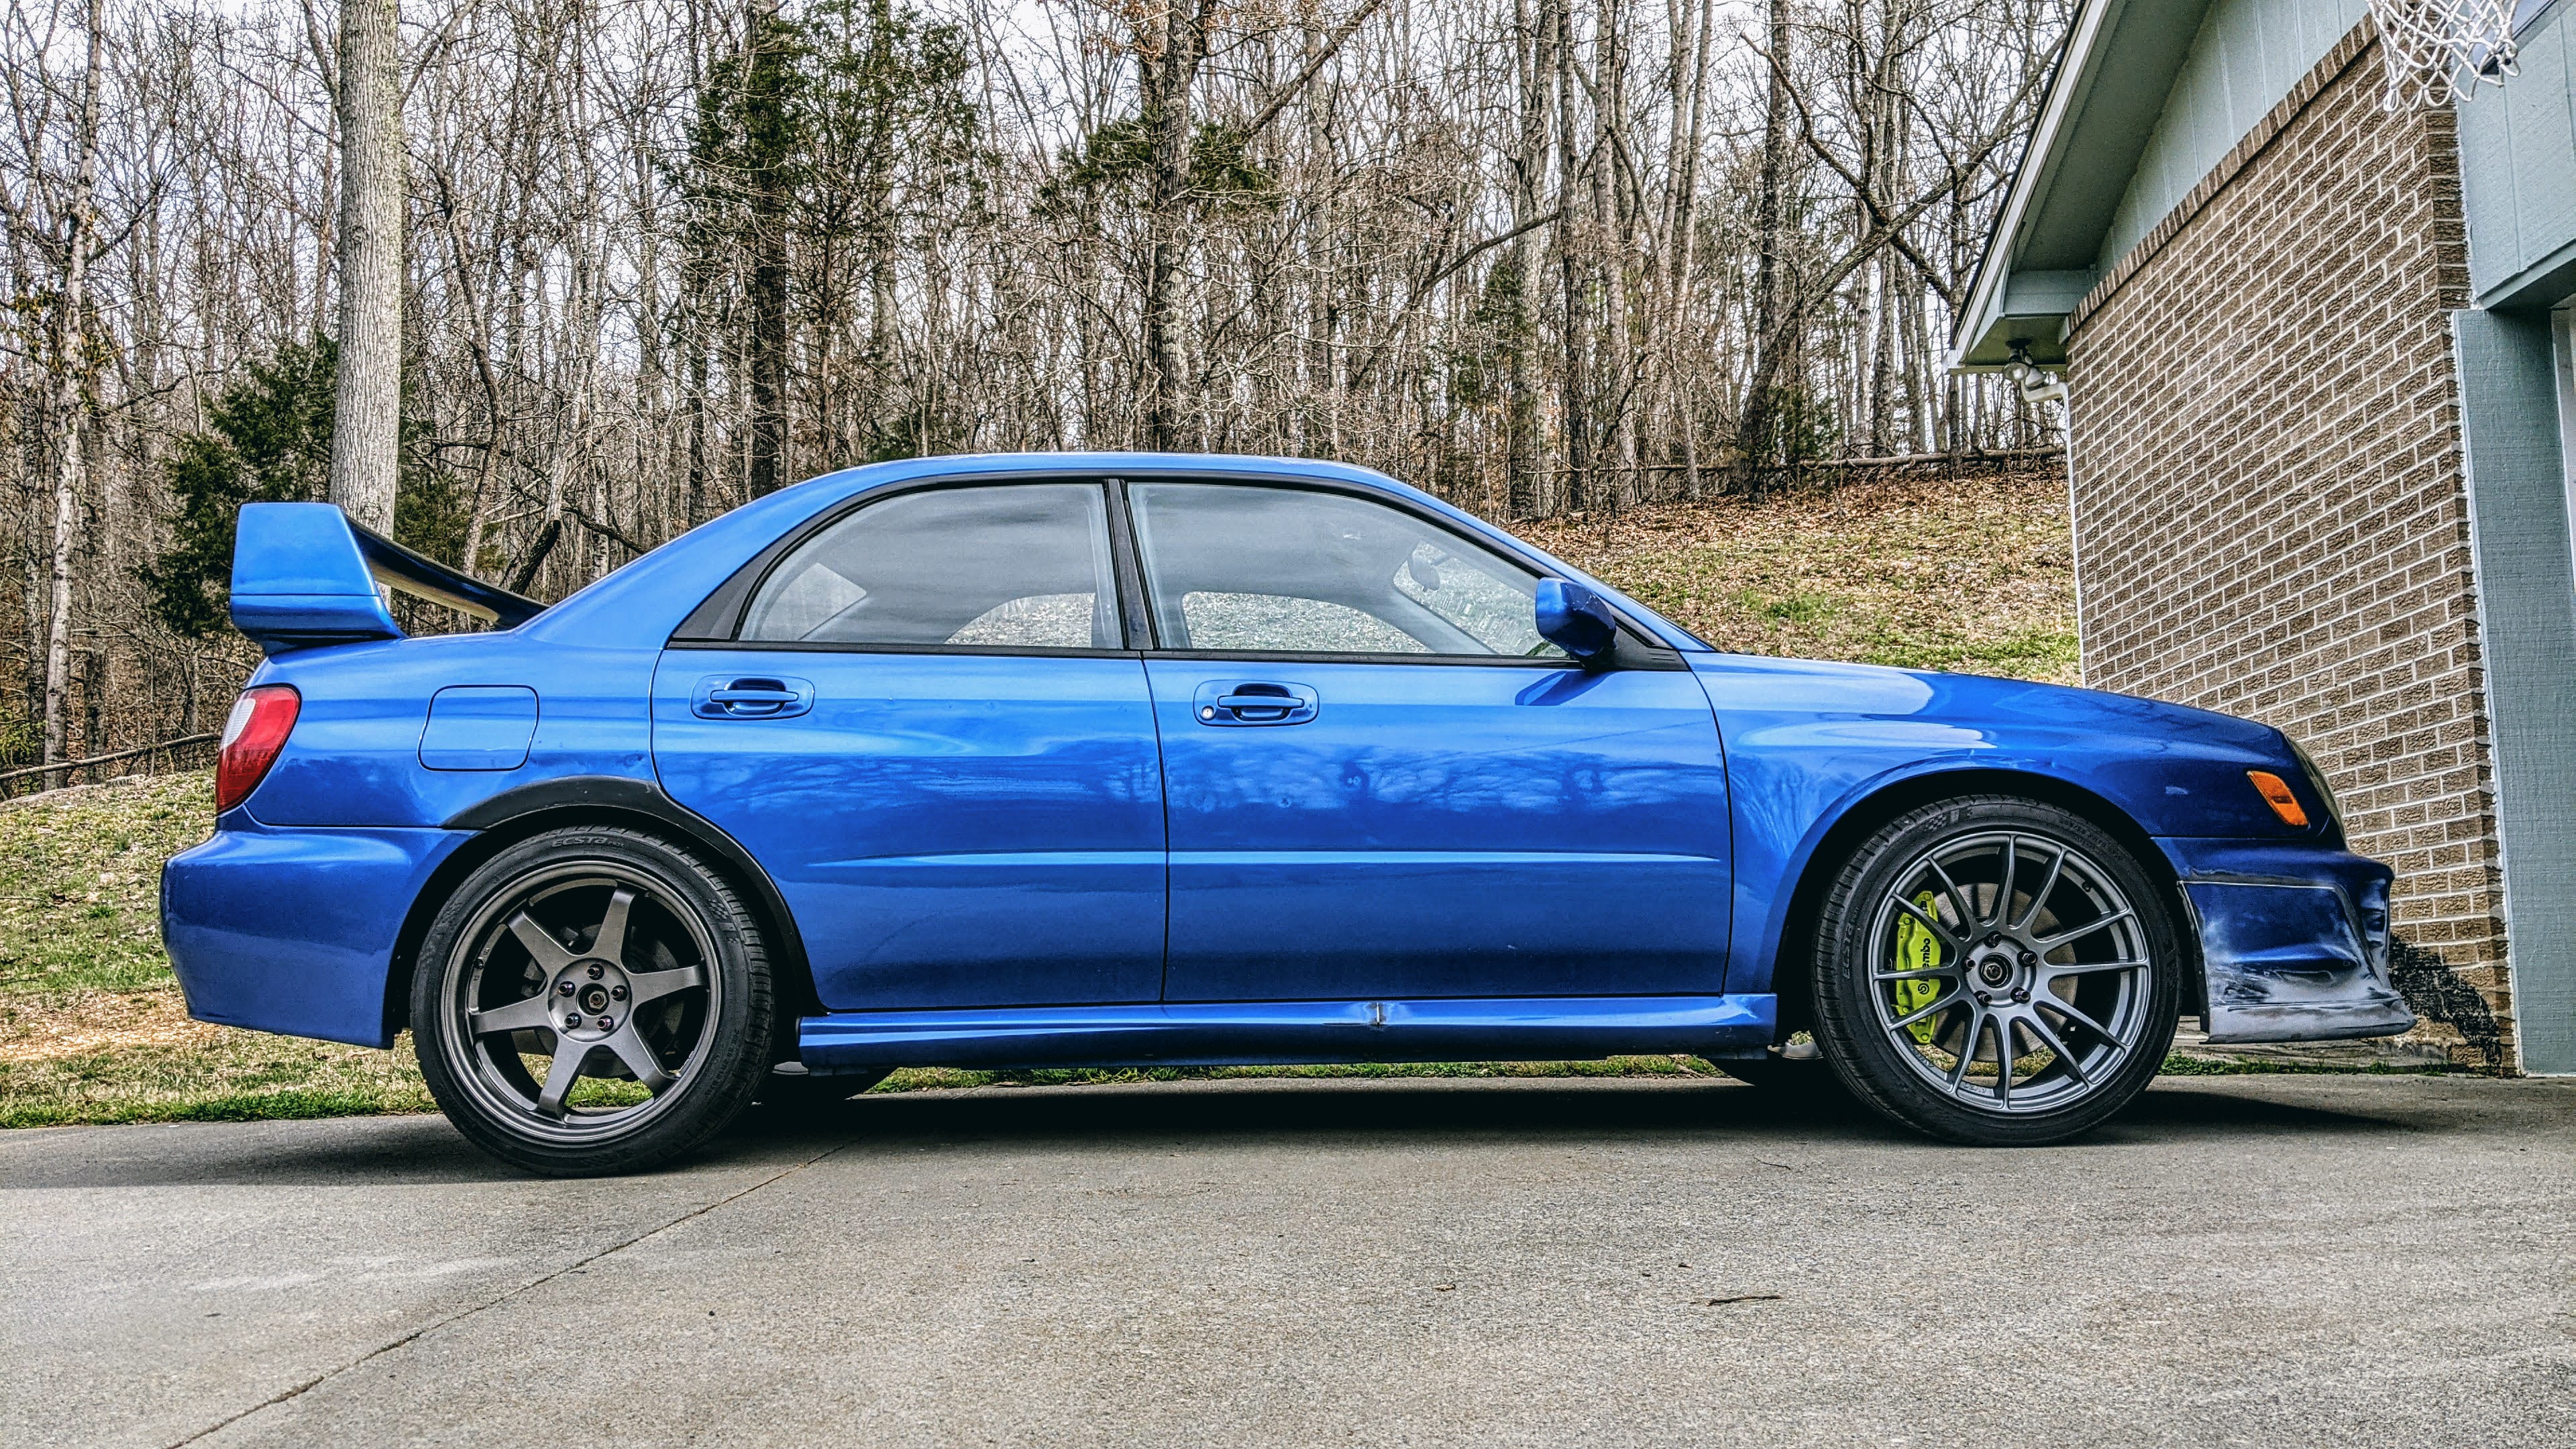
This ride height is just about perfect in relation to the front. Obviously, I would like to be lower but goal is to keep the car as functional as possible until it becomes a full project car.
I haven’t decided if I am going to paint the flares or not. Eventually, I plan to do a WRC like widebody in the rear.
Cheers!

Leave a comment