
I have been thinking about picking up a lip for some time now. Since my bumper already has two modded lips on it already, it was unlikely that an off-the-shelf lip would bolt right up. One of my favorite designs for the GD chassis is the Blobeye Cusco front bumper.
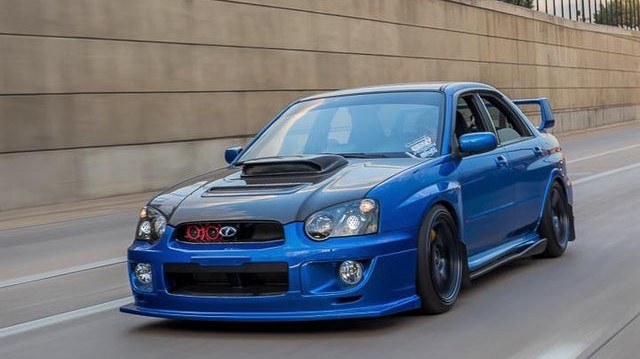
I thought about picking a Cusco bumper up one day and modifying it to fit my Bugeye. However, even the rep ones are a few hundred dollars. So, I bought a “CS Style” (ChargeSpeed rep) lip from eBay. This would give me a decent base to start with.

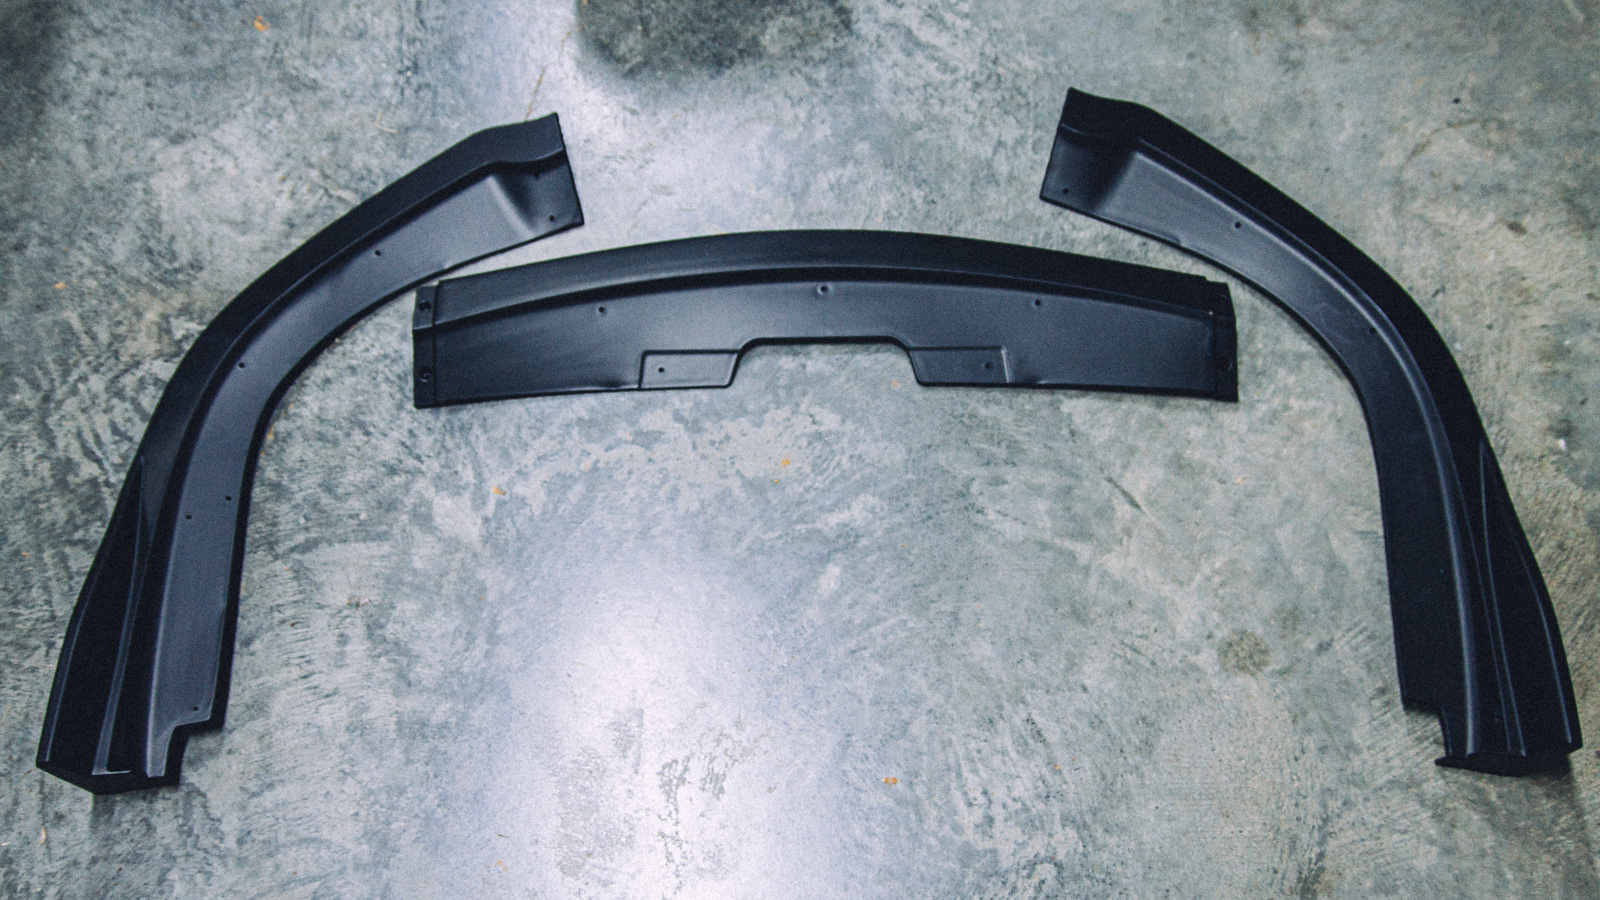
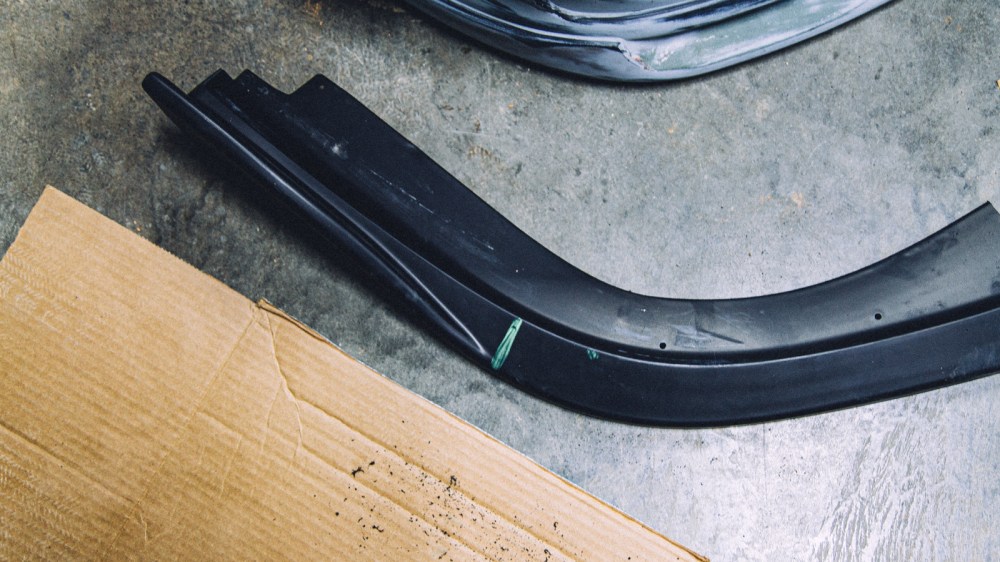
The eBay lip is a three-piece design, probably to help with shipping costs.


The initial test fit was decent, all things considered.
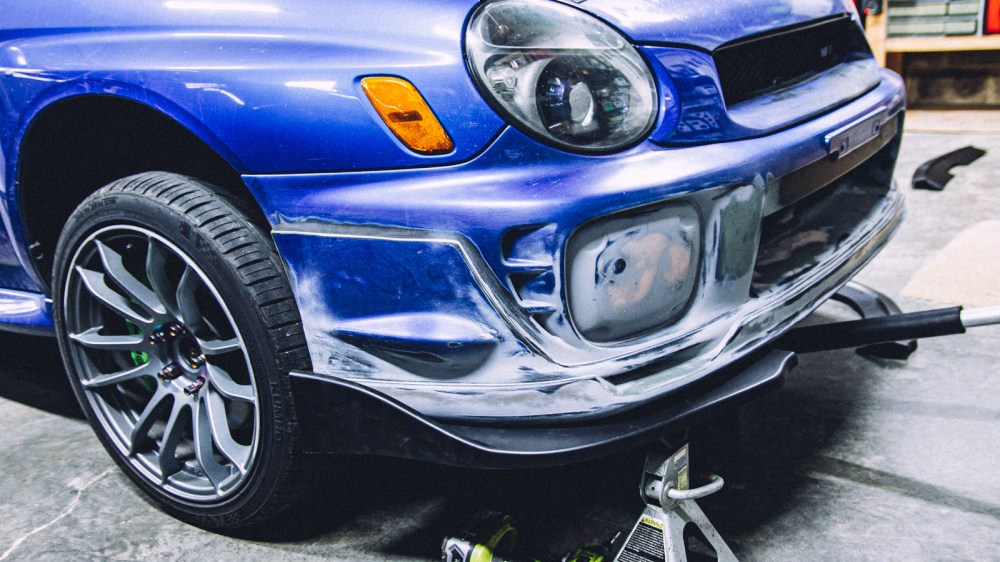
Obviously, the curve in the lip does not match the bumper with the molded Prodrive lip. We will have to extend this part by about 3-4 inches to make it work.
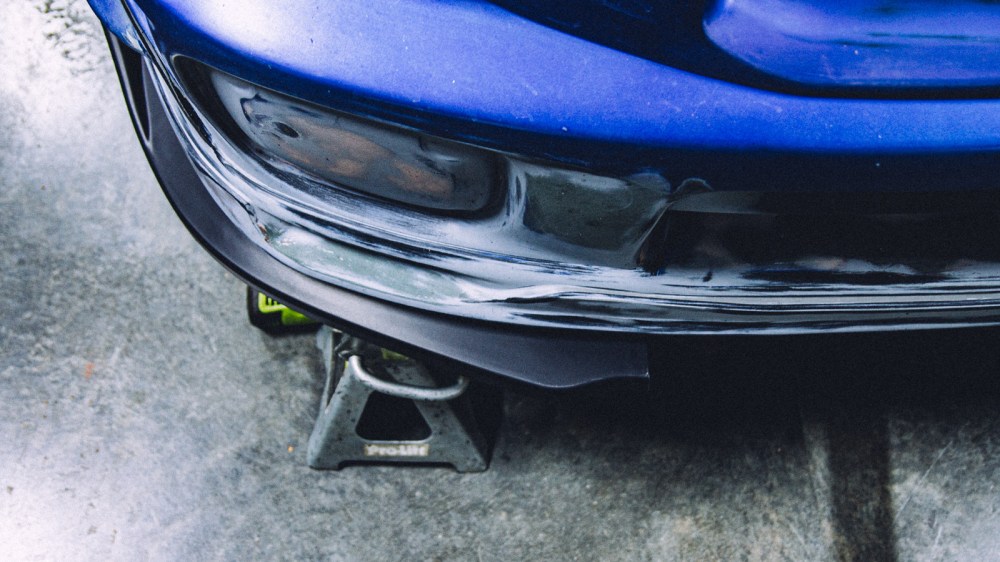
The rear of the lip has a little flange to locate it on the bumper.

The center will also need to be extended by a couple of inches as well. And since the Hawkeye bumper comes to a point in the center, we will need to flatten that part out to match the Bugeye.

The first step is to cut off the little bend from the end pieces. This will help the lip sit flush with the Bugeye bumper. This pulls the lip away from the bumper on the sides, however.

Next, we can mark and cut the sides pieces to be extended.
And then test fit again. This is looking good so far but we have a long way to go.

I cut a slit in the center lip to test the idea of making a bunch of small cuts to flatten out the curve of the lip. Then I dropped it, and it split in two. This was probably for the best. It made the lip easier to work with, and I needed to extend the center portion anyways.

I made one cut about every 2.5 inches.

And it actually worked! The lip is attached with some self-tapping screws.

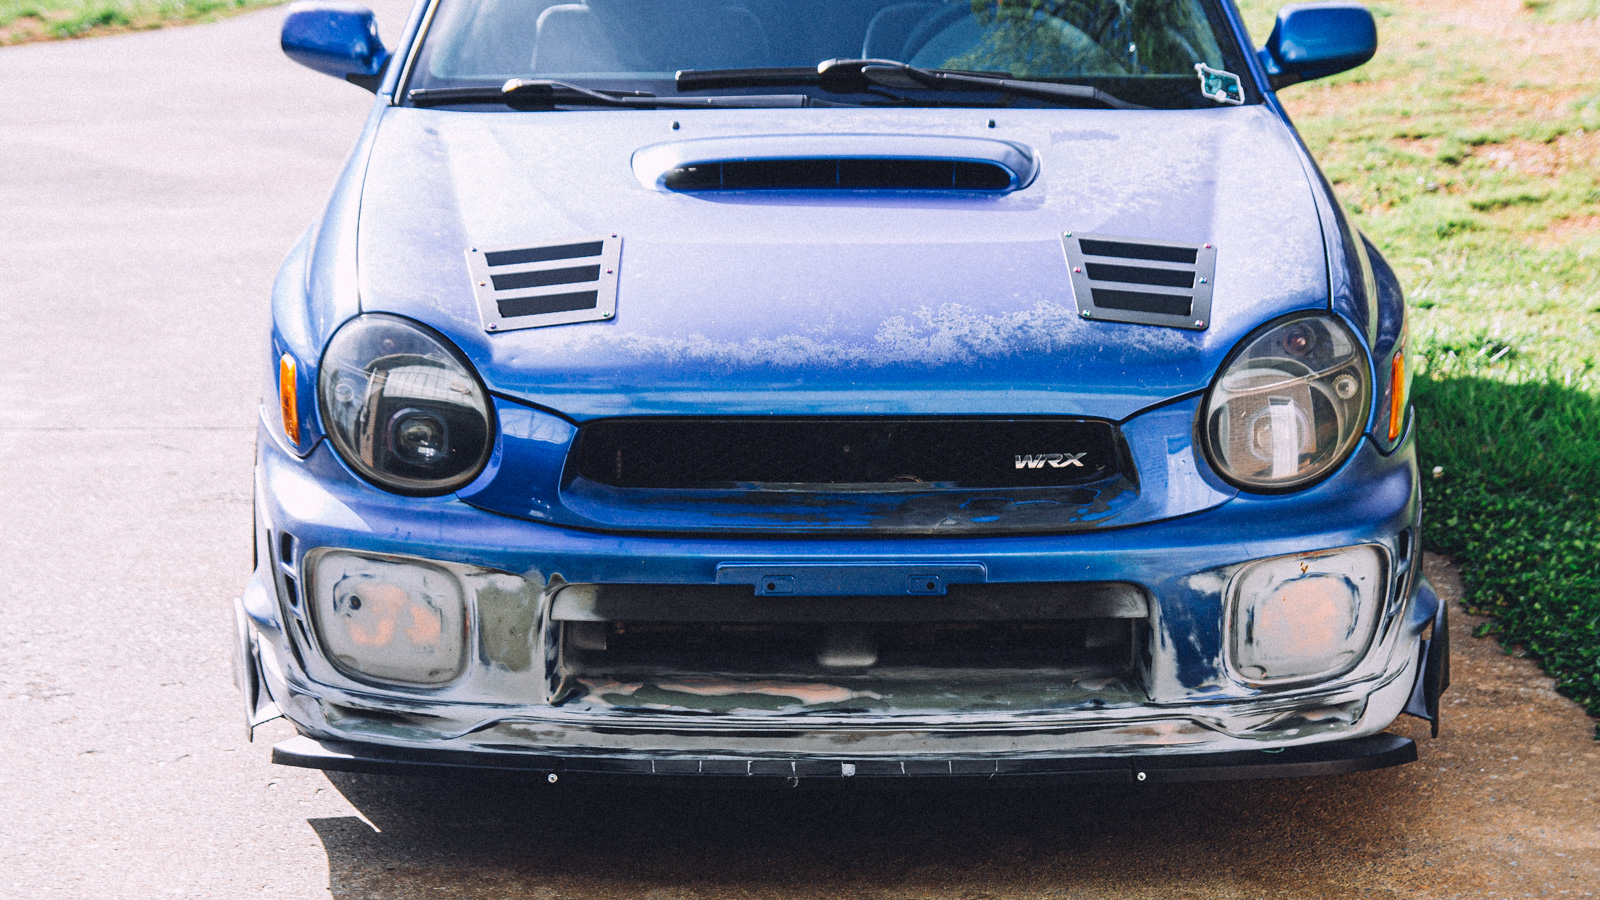
After repeating the same steps on the other side, we can see that the overall design of the lip is coming together.


To bridge the gap on the ends, we will need some fiberglass. In the meantime, we can make our other mods a bit more permanent. I had a piece of another lip lying around, so I cut a strip off of it to epoxy it to our new lip to hold the center section together.
There is some waviness still, but I think we can fix that later on.

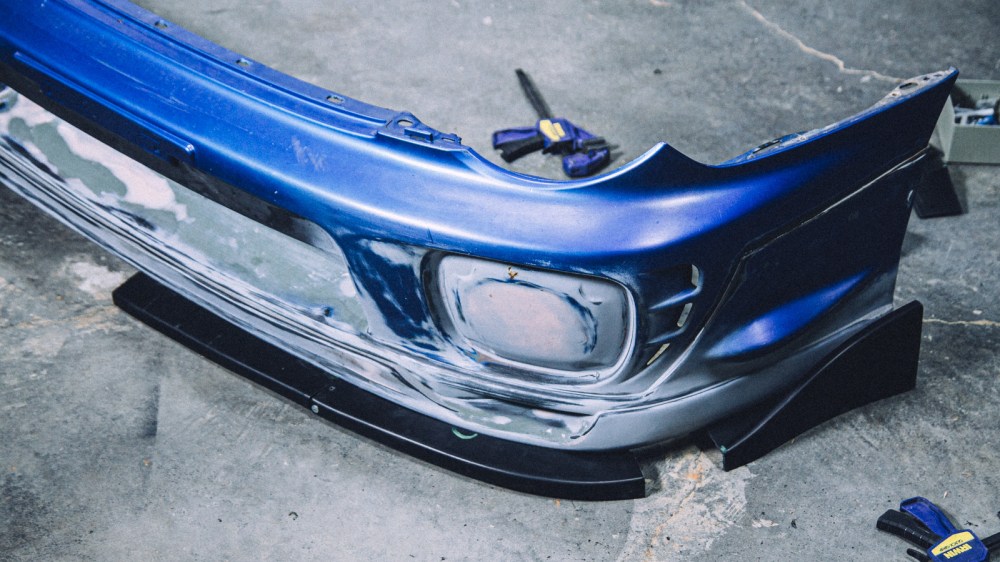
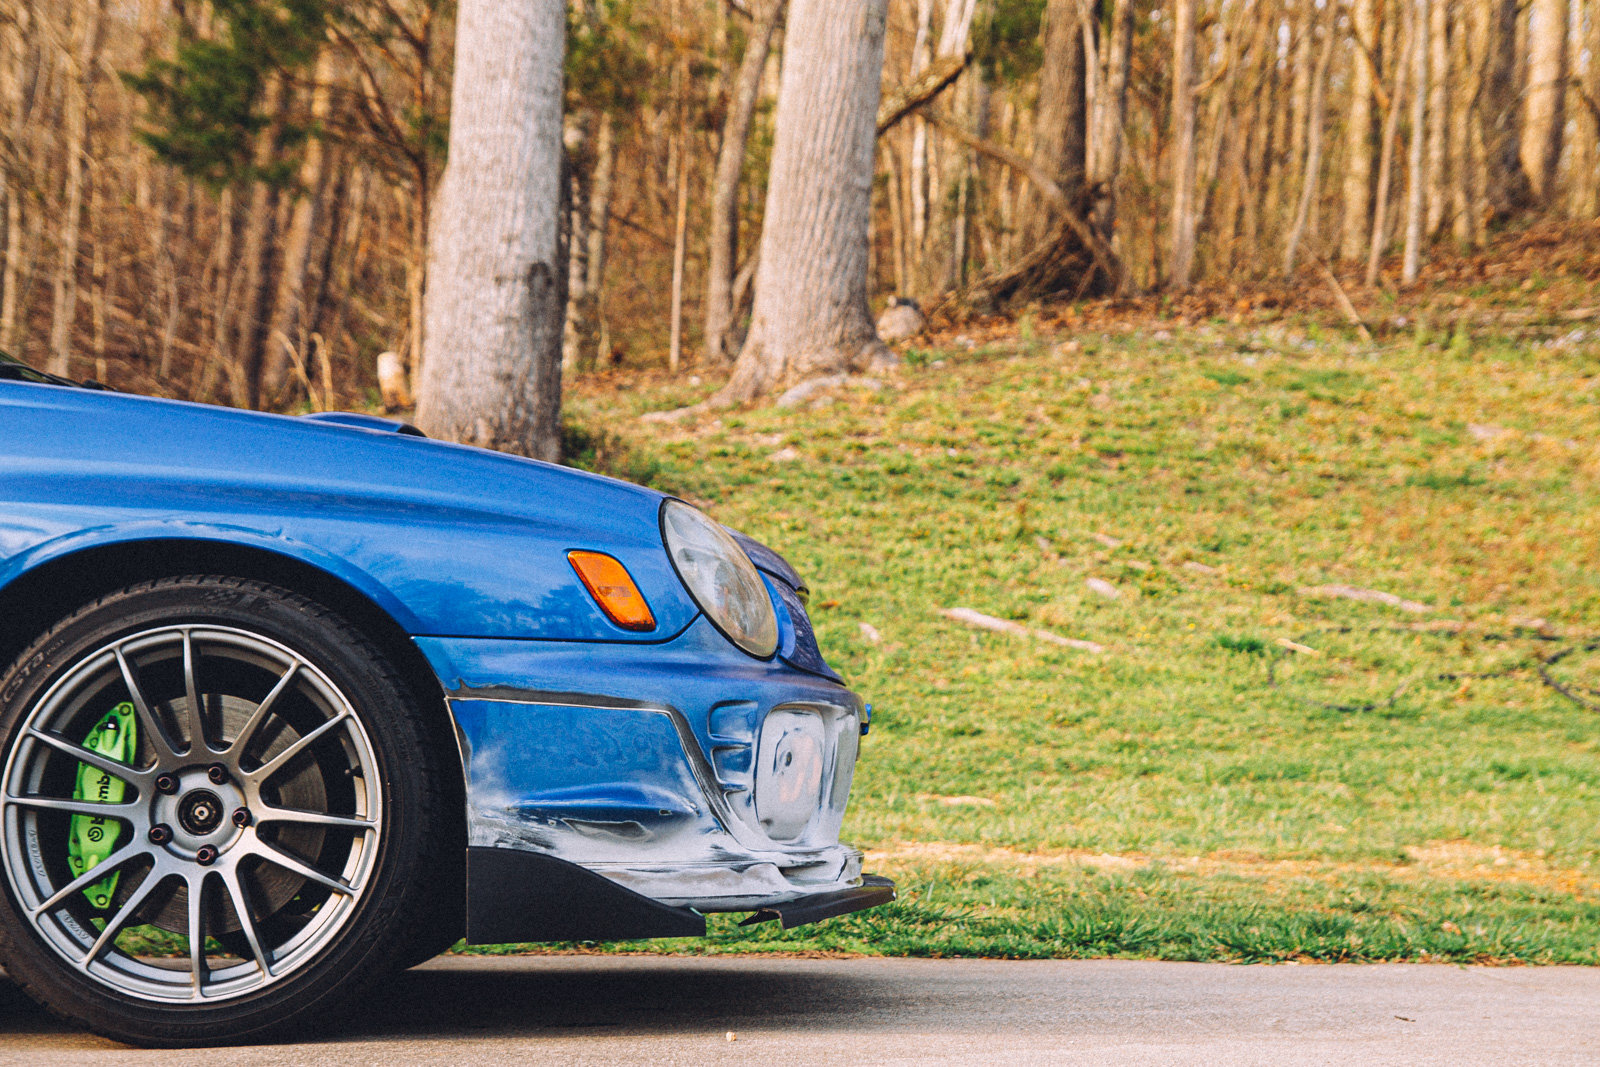
Here you can see how I attached the lip to the bumper. I also sanded it down to prep it for epoxy.

When in doubt, use a liberal amount of epoxy.

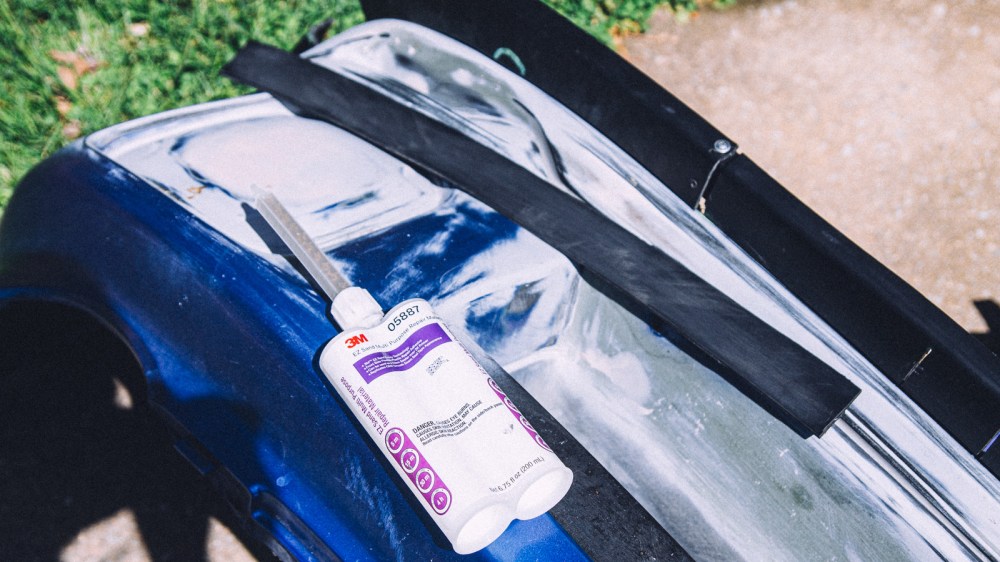
I didn’t plan to fill the voids in the lip right away, but since I had epoxy ready, I decided we shouldn’t let this mixing nozzle go to waste. I didn’t have a spreader handy, so the epoxy kind of went everywhere.


This stuff is sandable in about 15 mins.

I have a piece of the lip that I can probably use to fill in that void in the middle. I am running low on epoxy though.

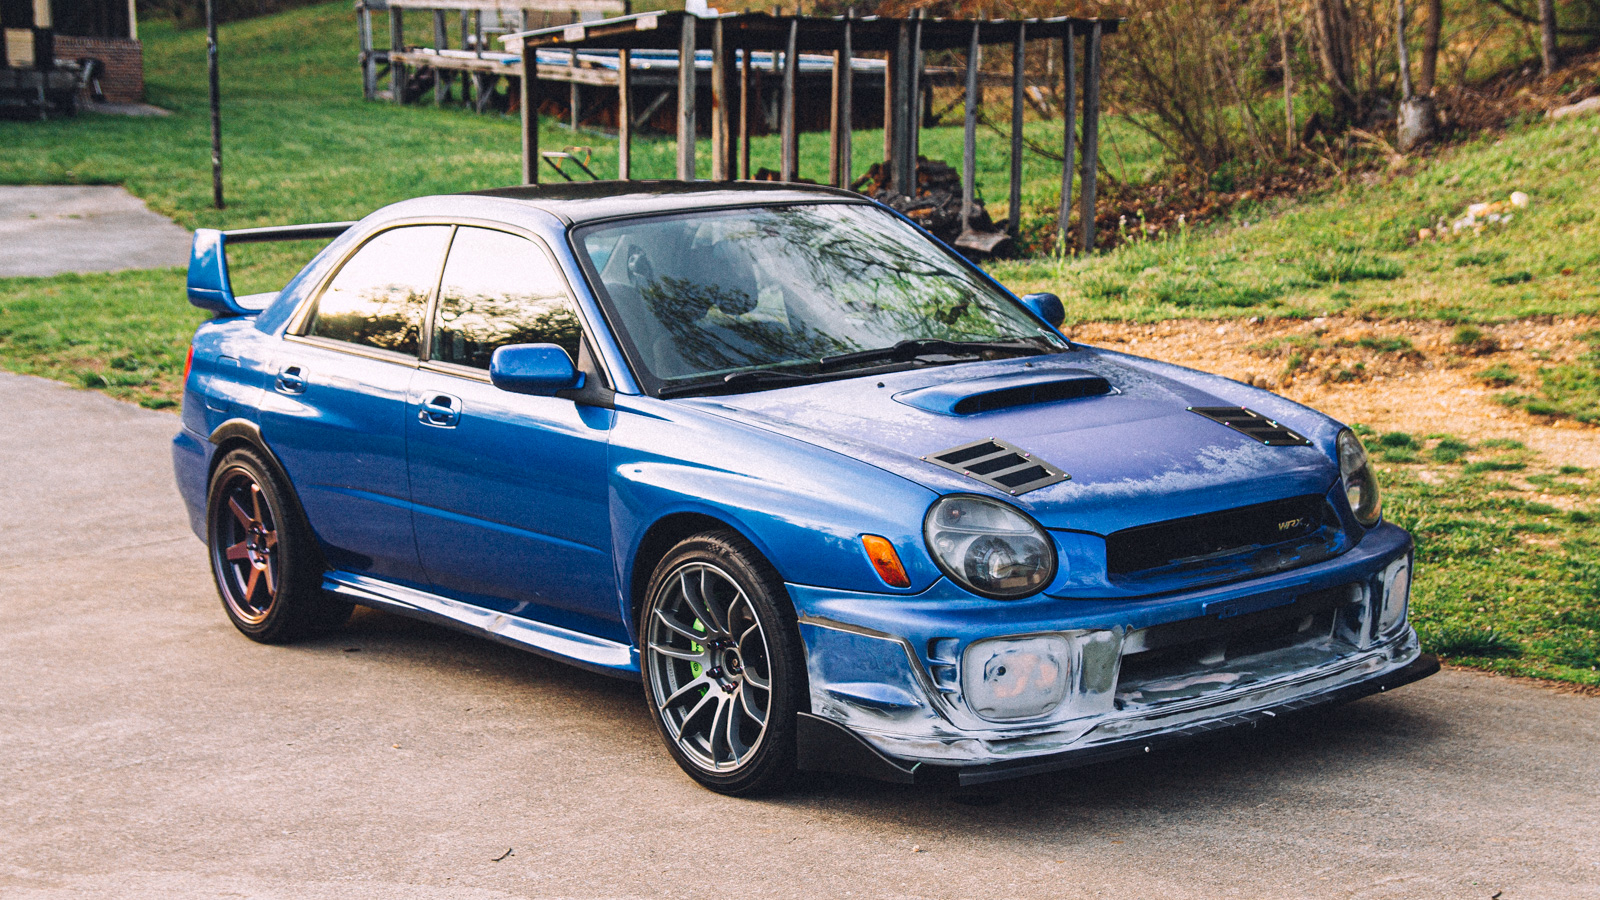
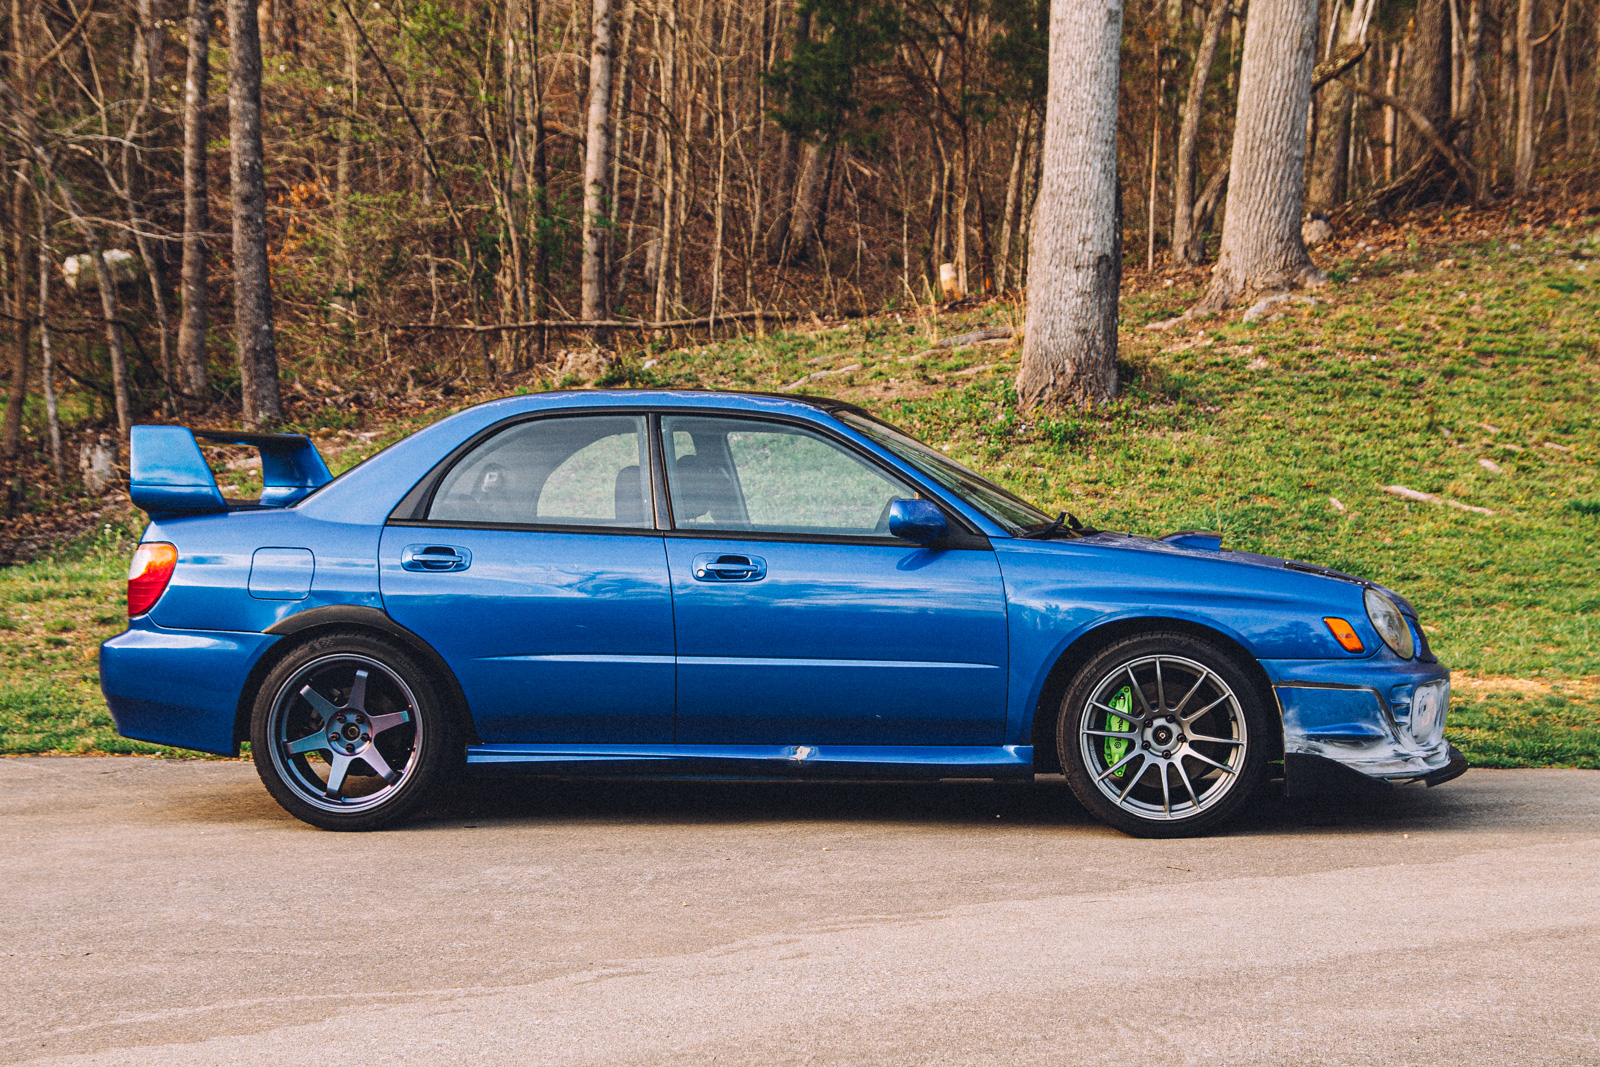
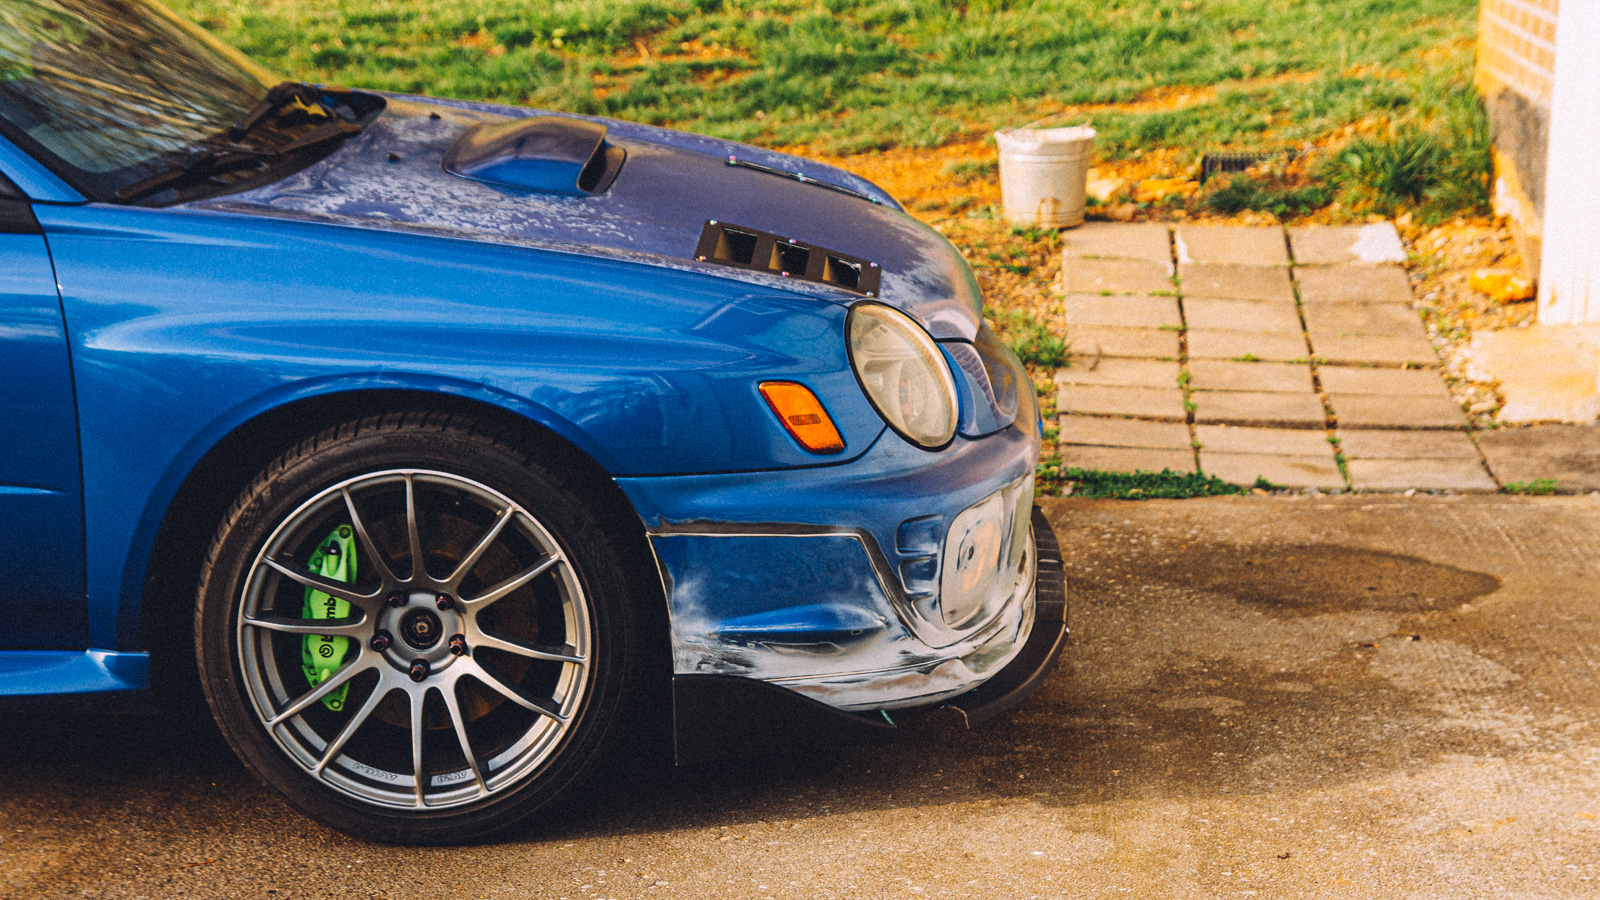
But so far, I am pretty happy with the results.
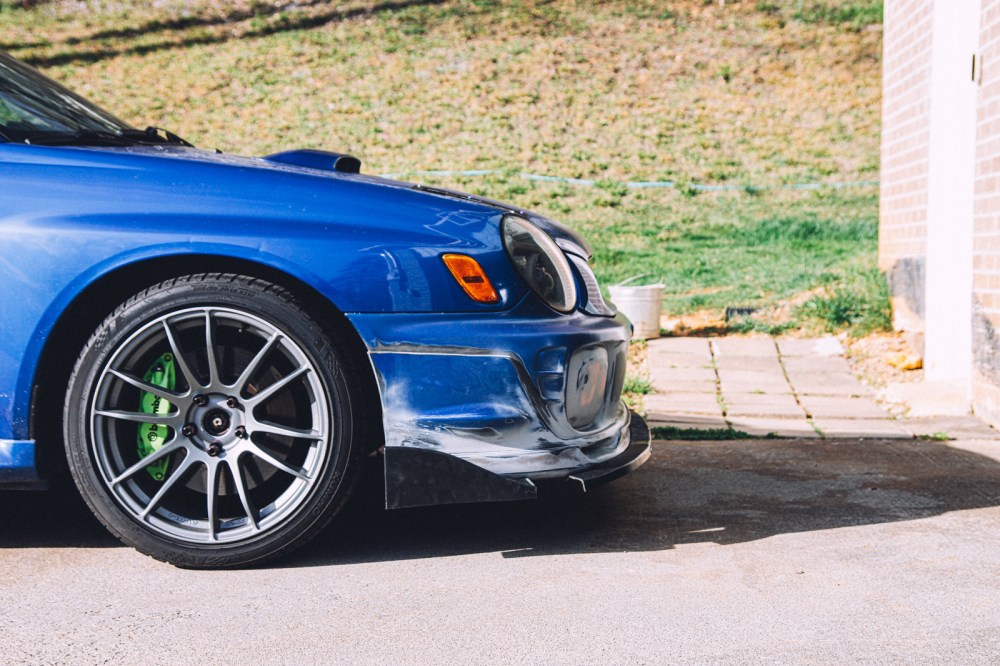
I think this lip balances out the car more.

I would like to pick up some side skirt extensions as well. I’m just not sure which ones to go with. Currently, my top choices are HTAutos and Forcewerkz. It is hard to find photos of FW side skirt extensions installed.
Here are a couple of pics of the HTAutos extensions on an STI.


They don’t seem all that aggressive until you see them from an angle.

Next up, I think we will make some pieces to bridge more of the lip together.

Photo Gallery


Cheers!

Leave a comment