
Every once and a while, we make an impulse buy for something that doesn’t really serve a functional purpose. I saw a post on Instagram from senseless_co for a custom JDM front plate. I don’t know why but I had to have one.

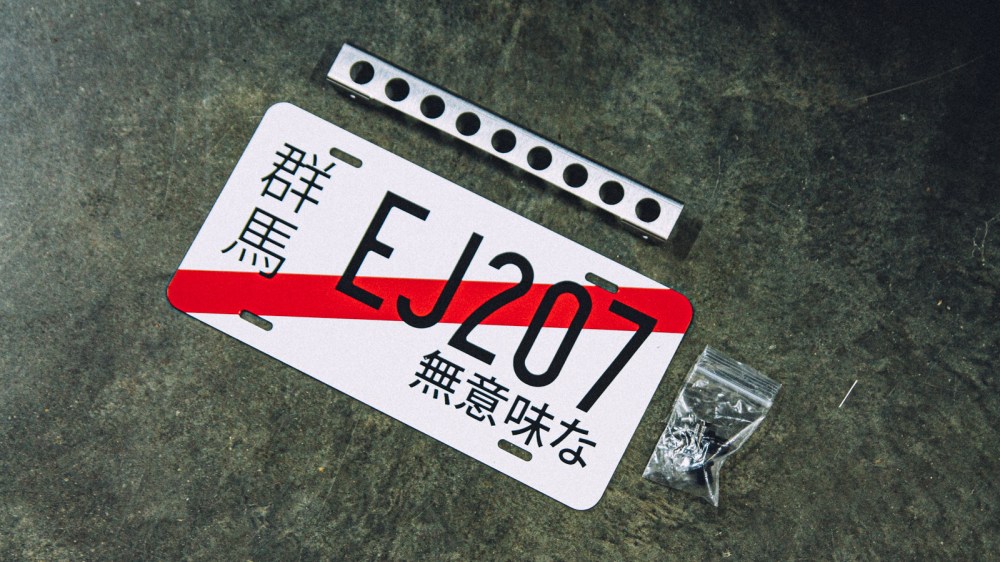
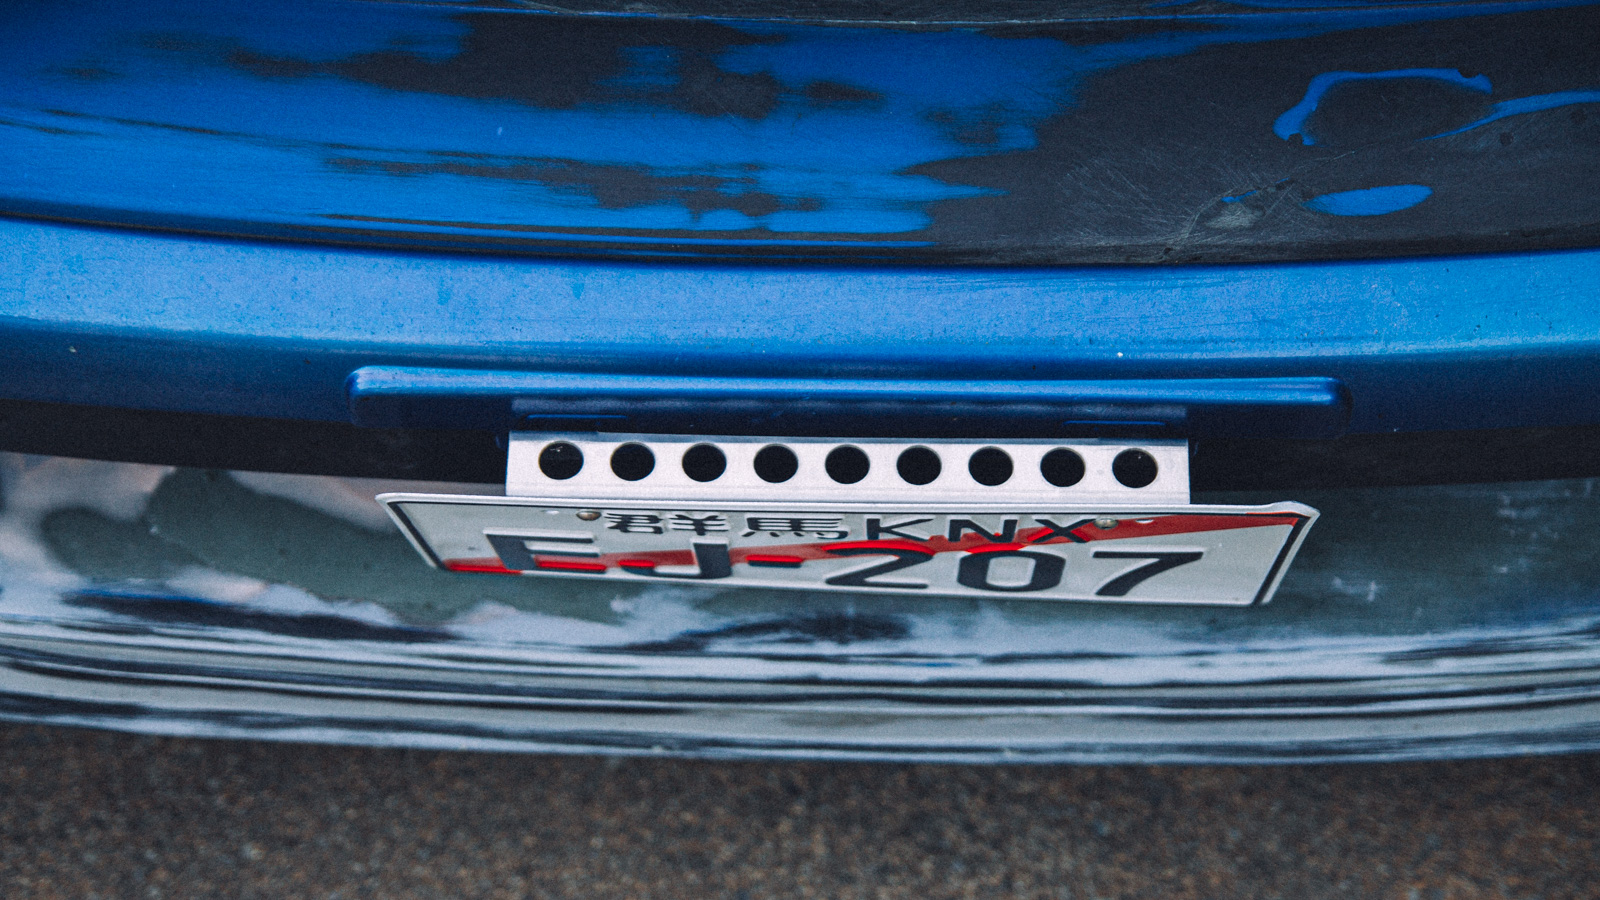
So I placed an order for an EJ207 plate, and it arrived within a week or so.
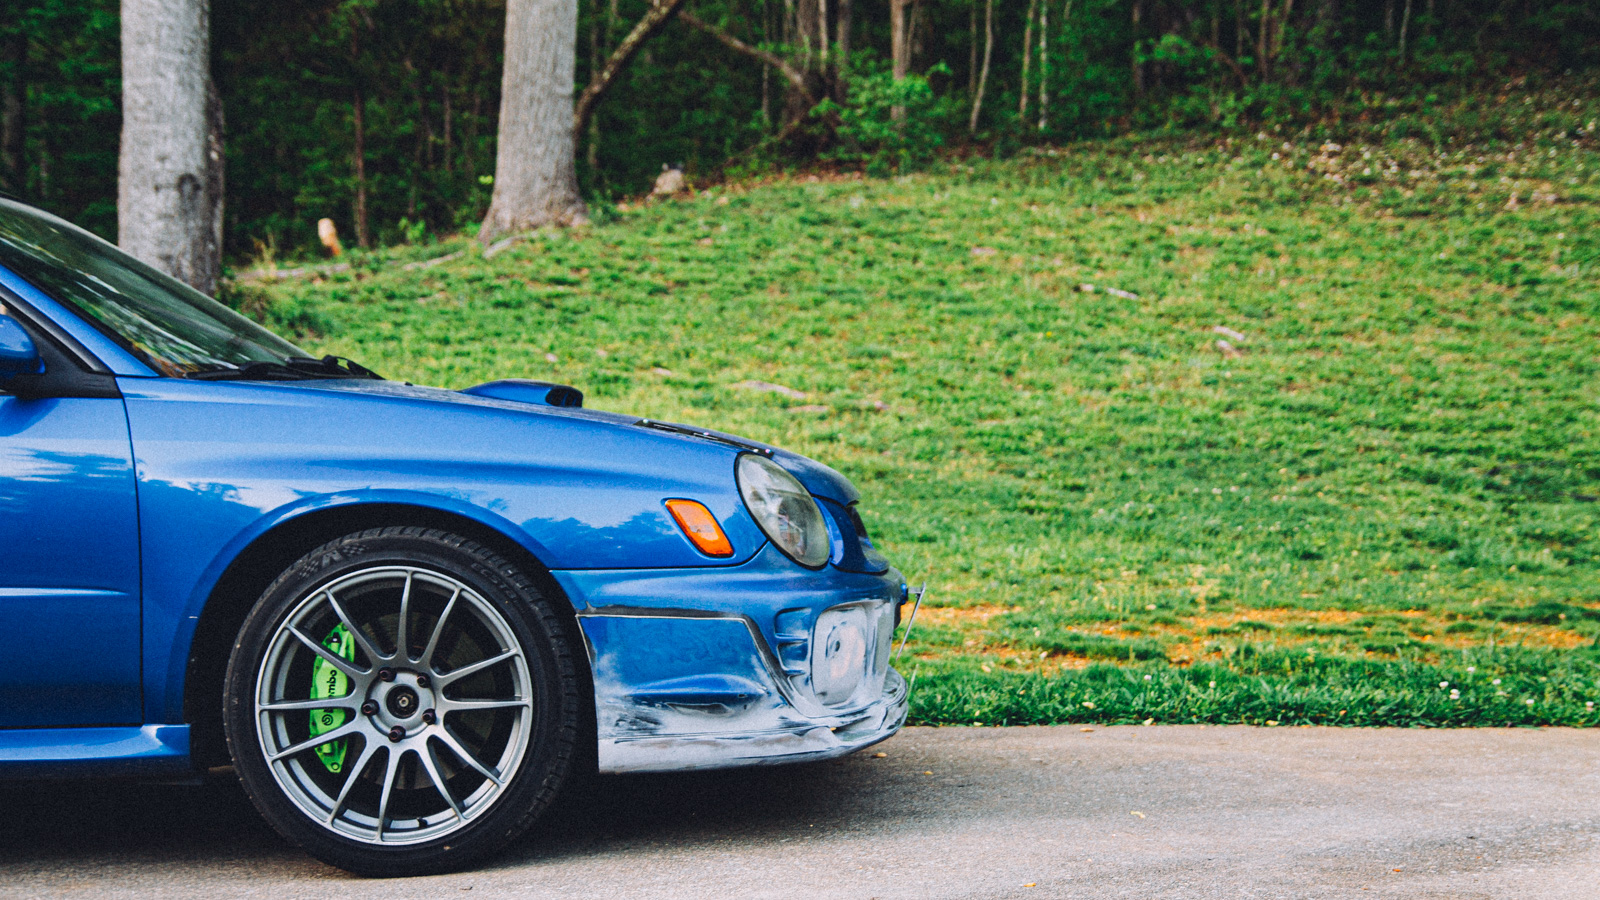
While waiting for the plate to arrive, I thought about how to mount it. And this is when things started to go off the rails. I like the angled mount, but I was pretty sure this plate was for the USDM style mounts, and the Bugeye uses the JDM style. After some research, I found a mount idea from Bugeye Garage with the “Rick’s” bracket. The only problem was that it cost more than the license plate.
So, of course, I ordered it. I also ordered a front plate hardware kit from FastWRX. Within a week or so I had everything.
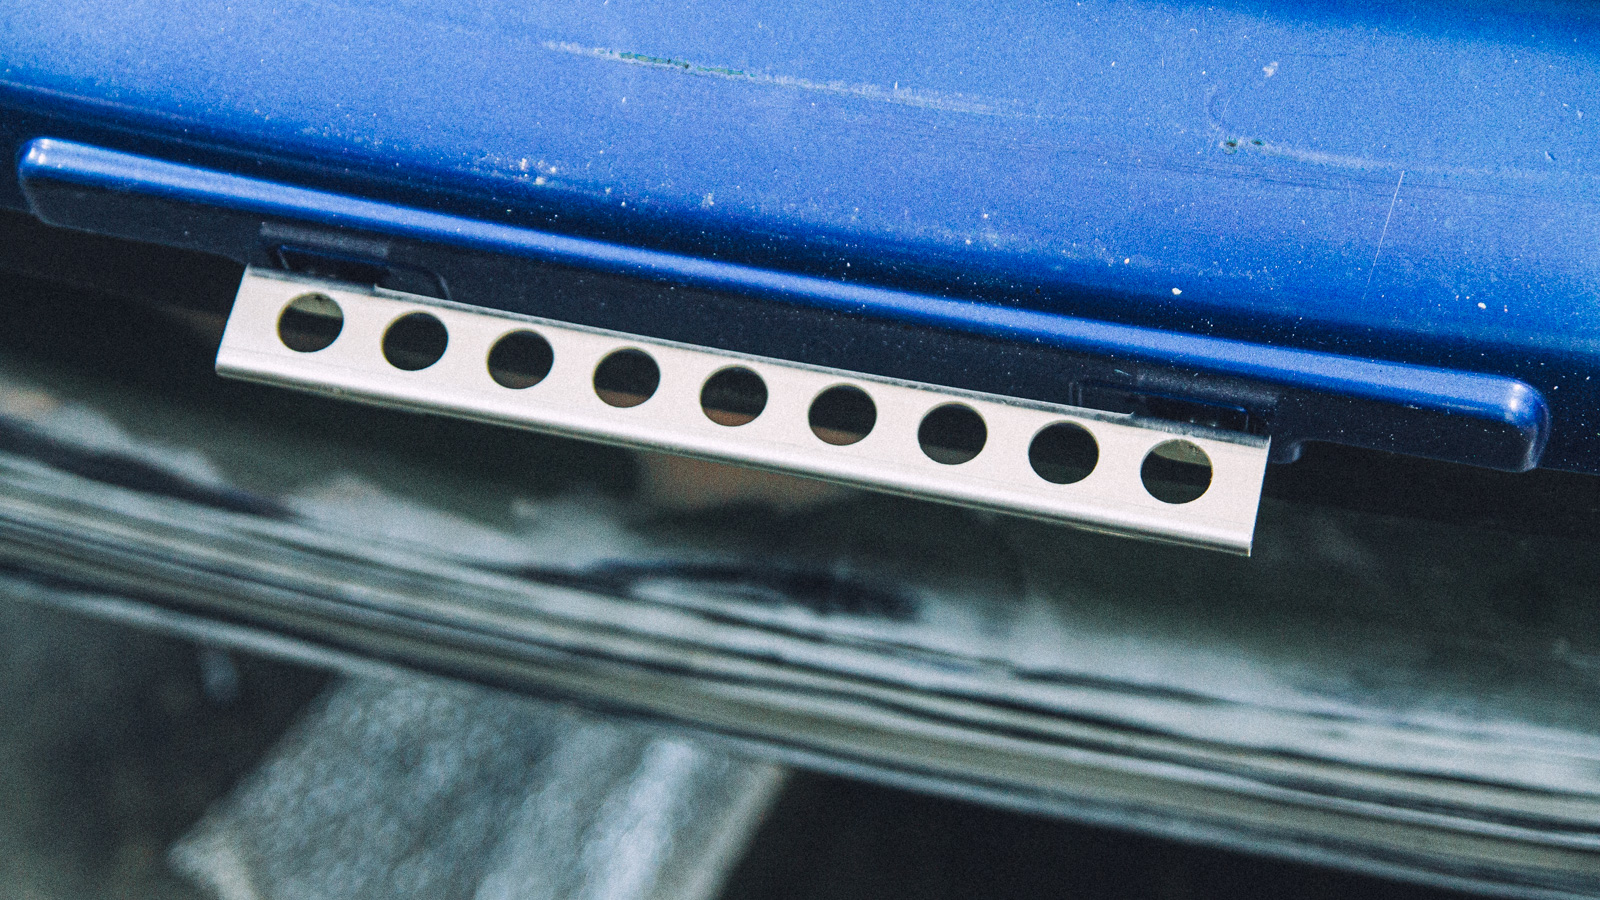
The FastWRX hardware kit comes with these rubber threaded inserts that fit perfectly in the OEM Bugeye bumper.

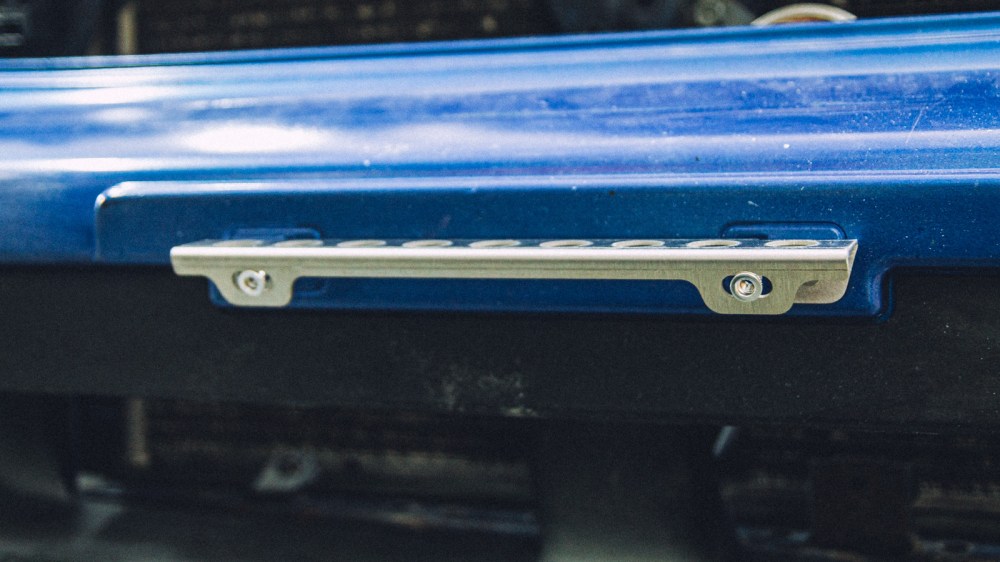
And the license plate bracket worked great.


I threw in a couple of rivnuts into the bracket to make removing the plate easier.
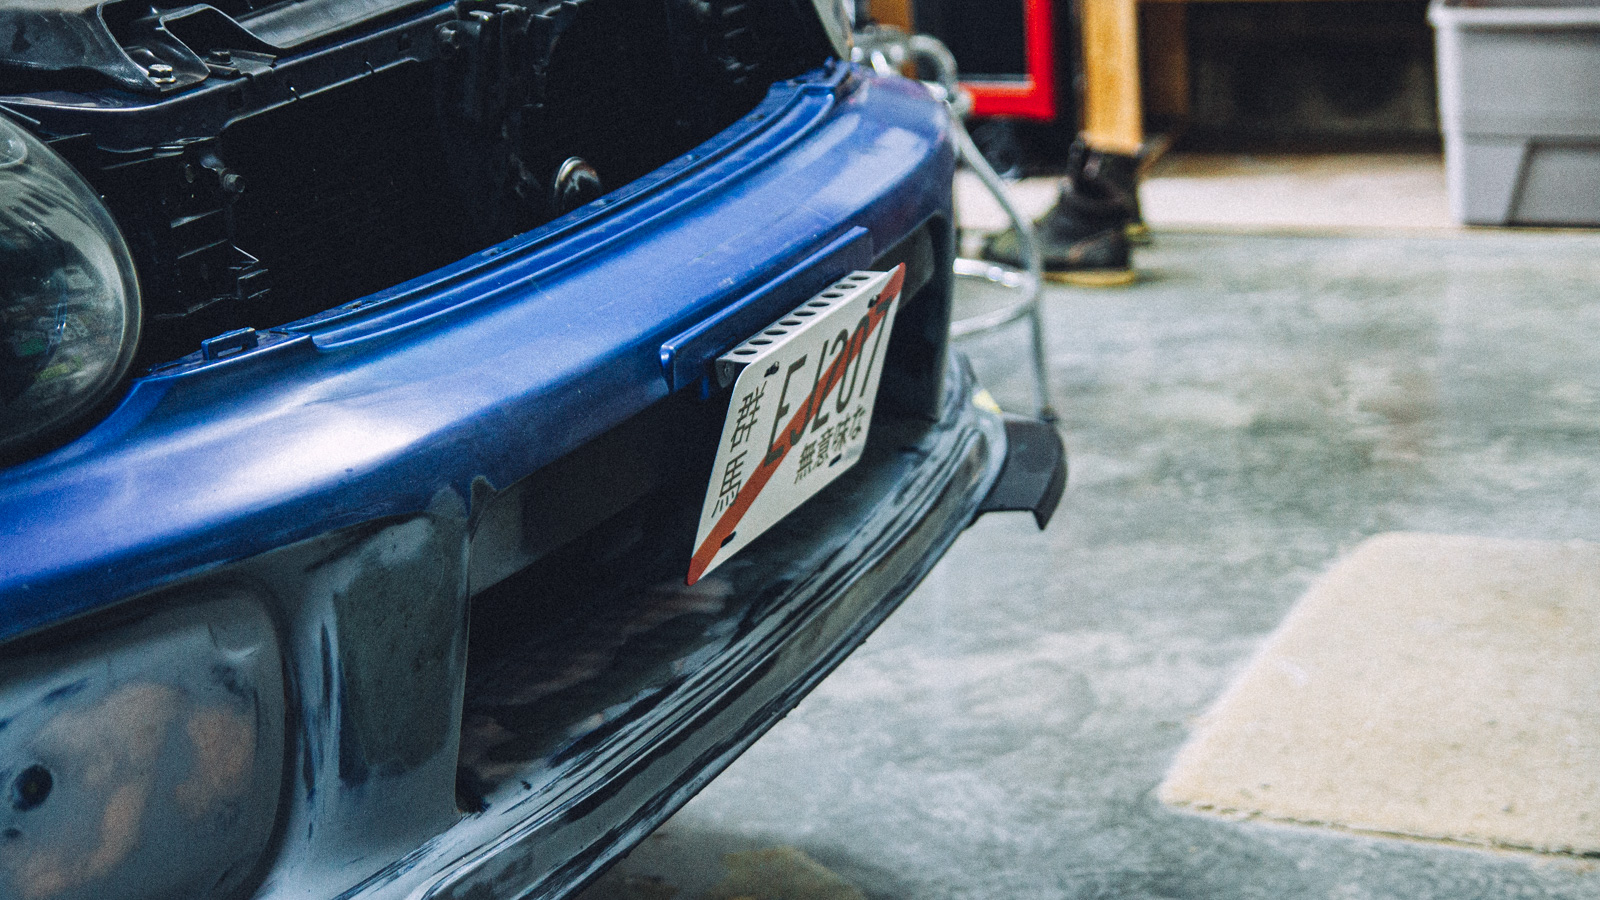
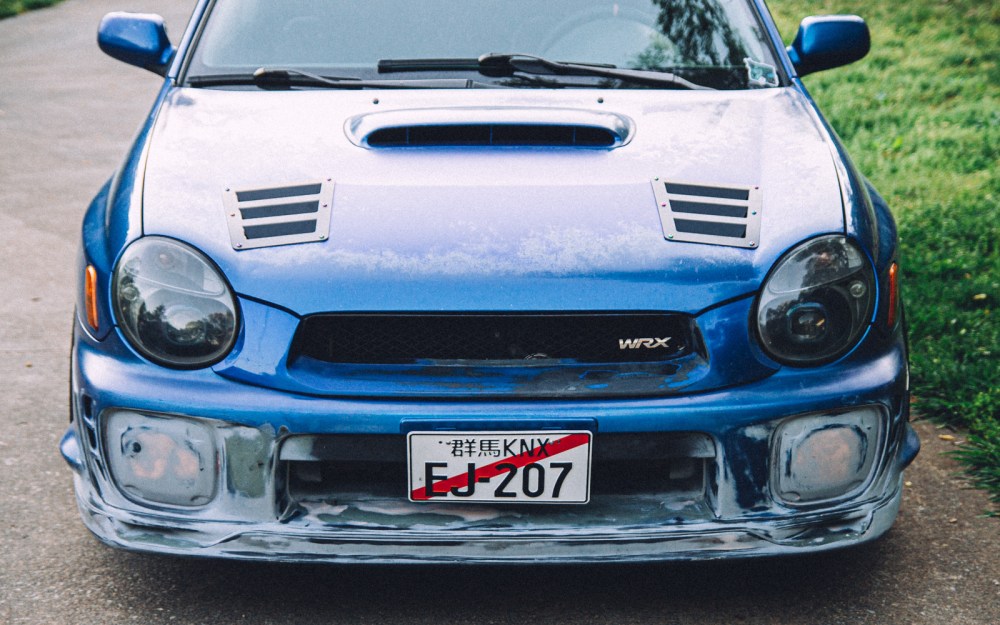
And then we can install the plate.

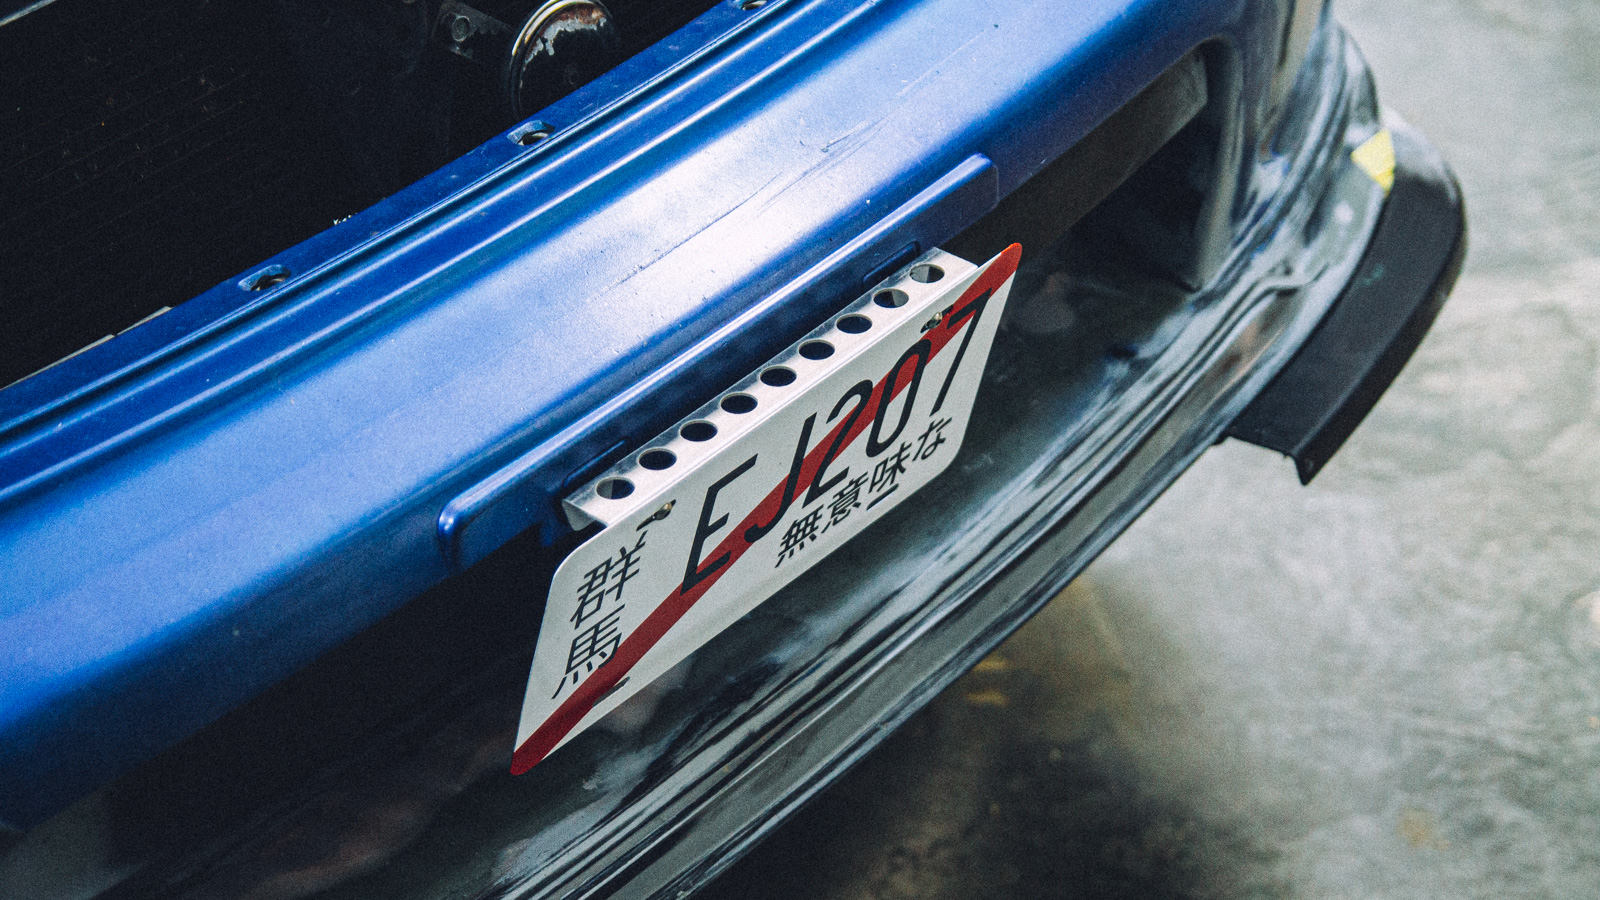
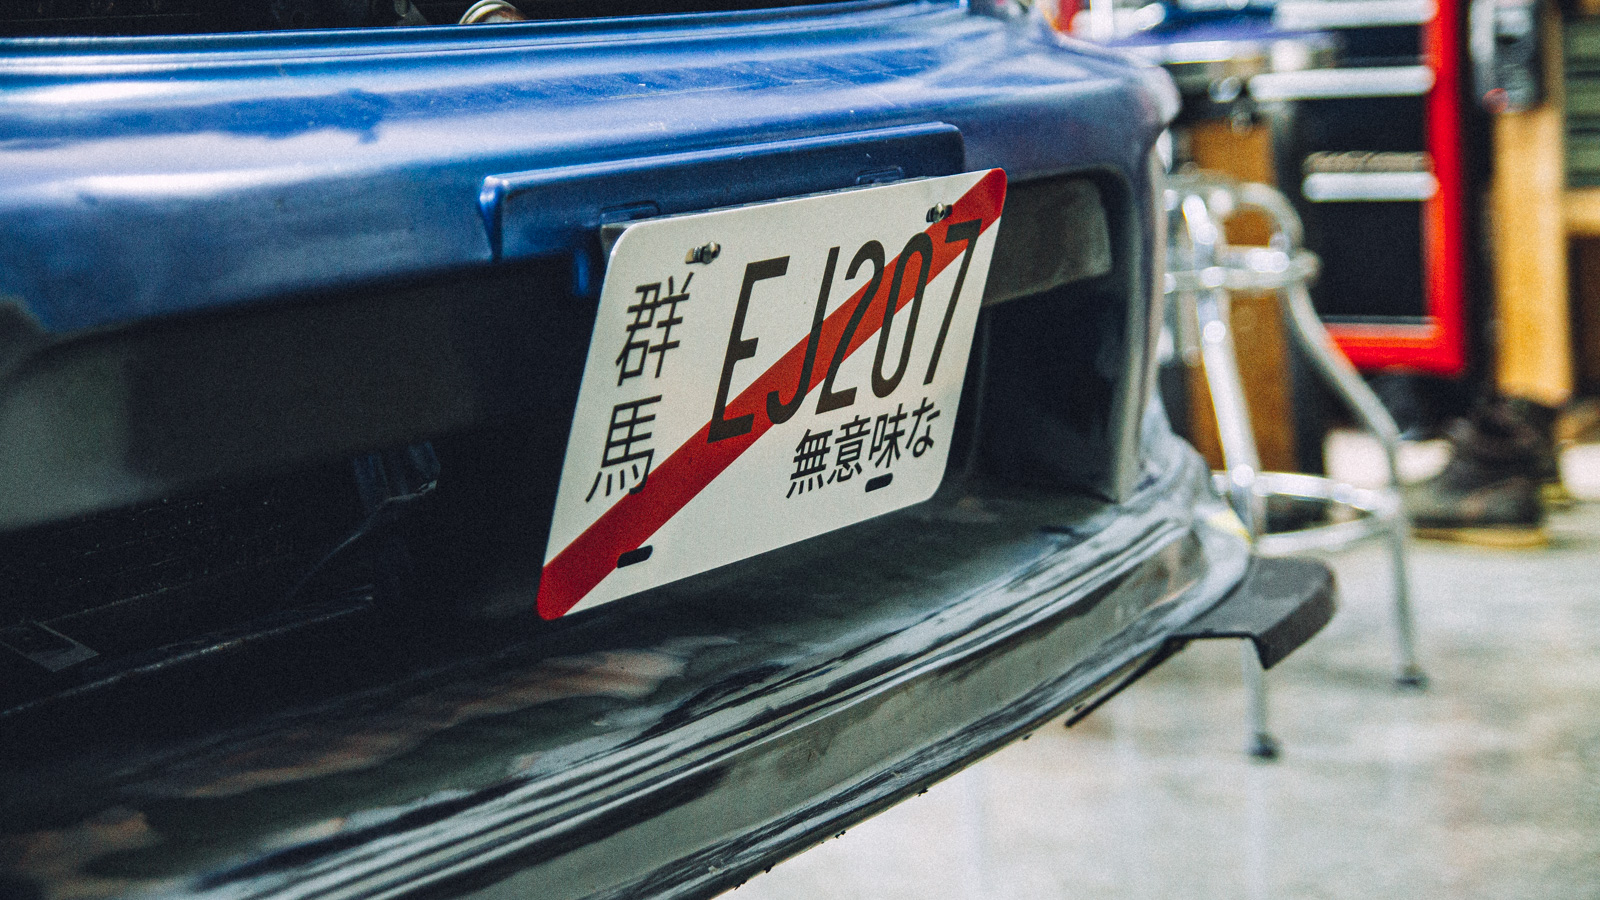


Overall, I think it looks great. However, the vinyl had me a little concerned about its longevity. Some of the edges were already peeling up. I bought some clear vinyl to protect it from car washes, and then I stumbled across customjapaneseplates.com. They make stamped aluminum versions for a little bit more than the senseless_co plates.
I would not recommend the slowest shipping option if you are on the east coast since they come from California. Mine arrived with a little bend in the corner that I decided to leave alone.
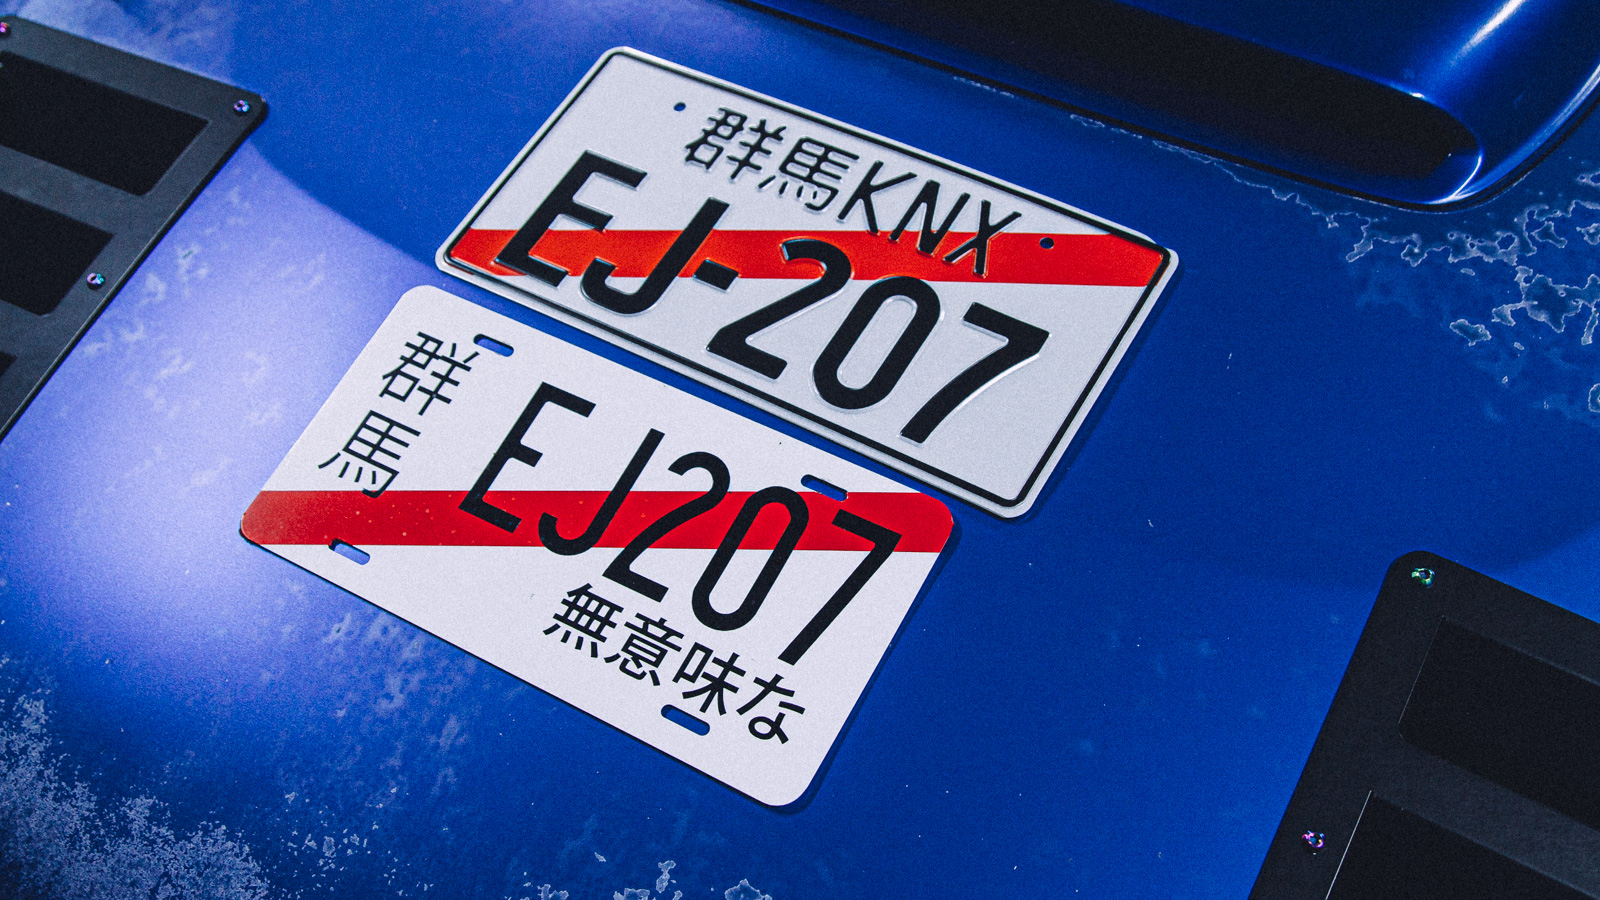

The new plate is a little larger in all dimensions.

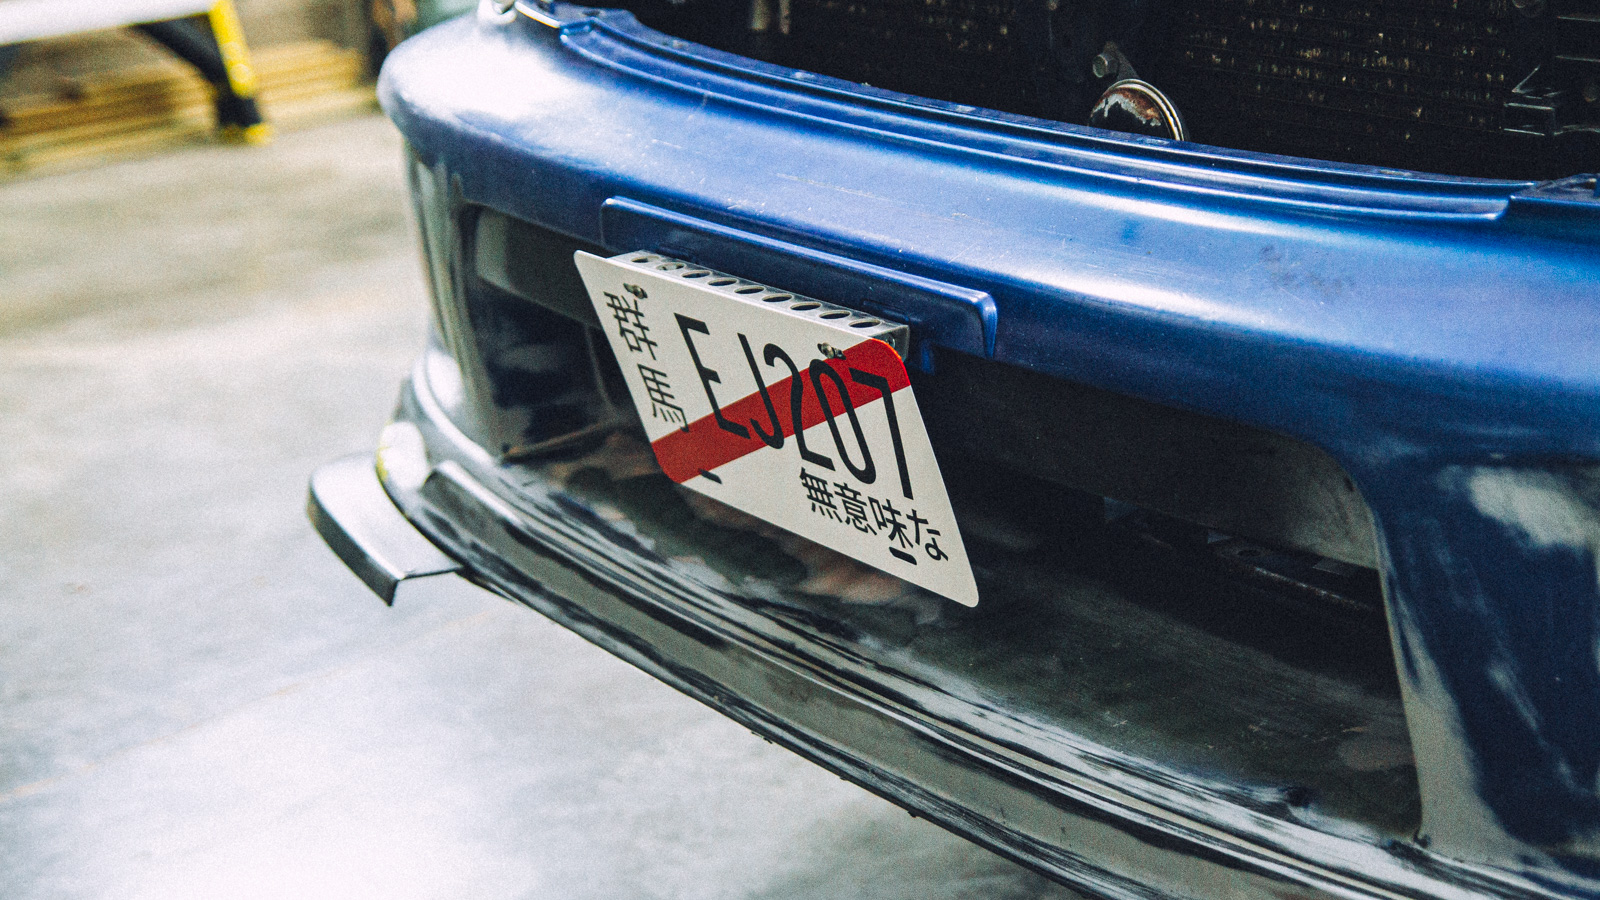
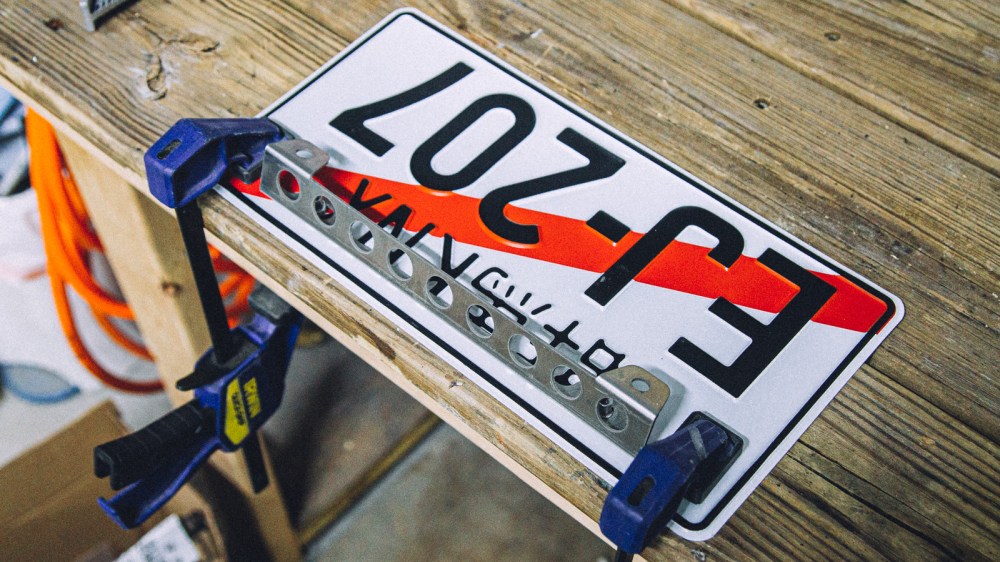
Ironically, the new plate mounting holes don’t line up with my bracket as they are JDM spec. FWIW, they fit the OEM Bugeye bumper holes if you don’t want the angled bracket. I really wanted to keep the Rick’s bracket, and I didn’t want yet another adapter hanging off the bumper, so I decided to just redrill the plate. I was able to loosen and push the rivnuts to the edge of the slots, so I didn’t have to drill through the text/kanji. After taking a bunch of measurements, I made my marks and drilled the holes.
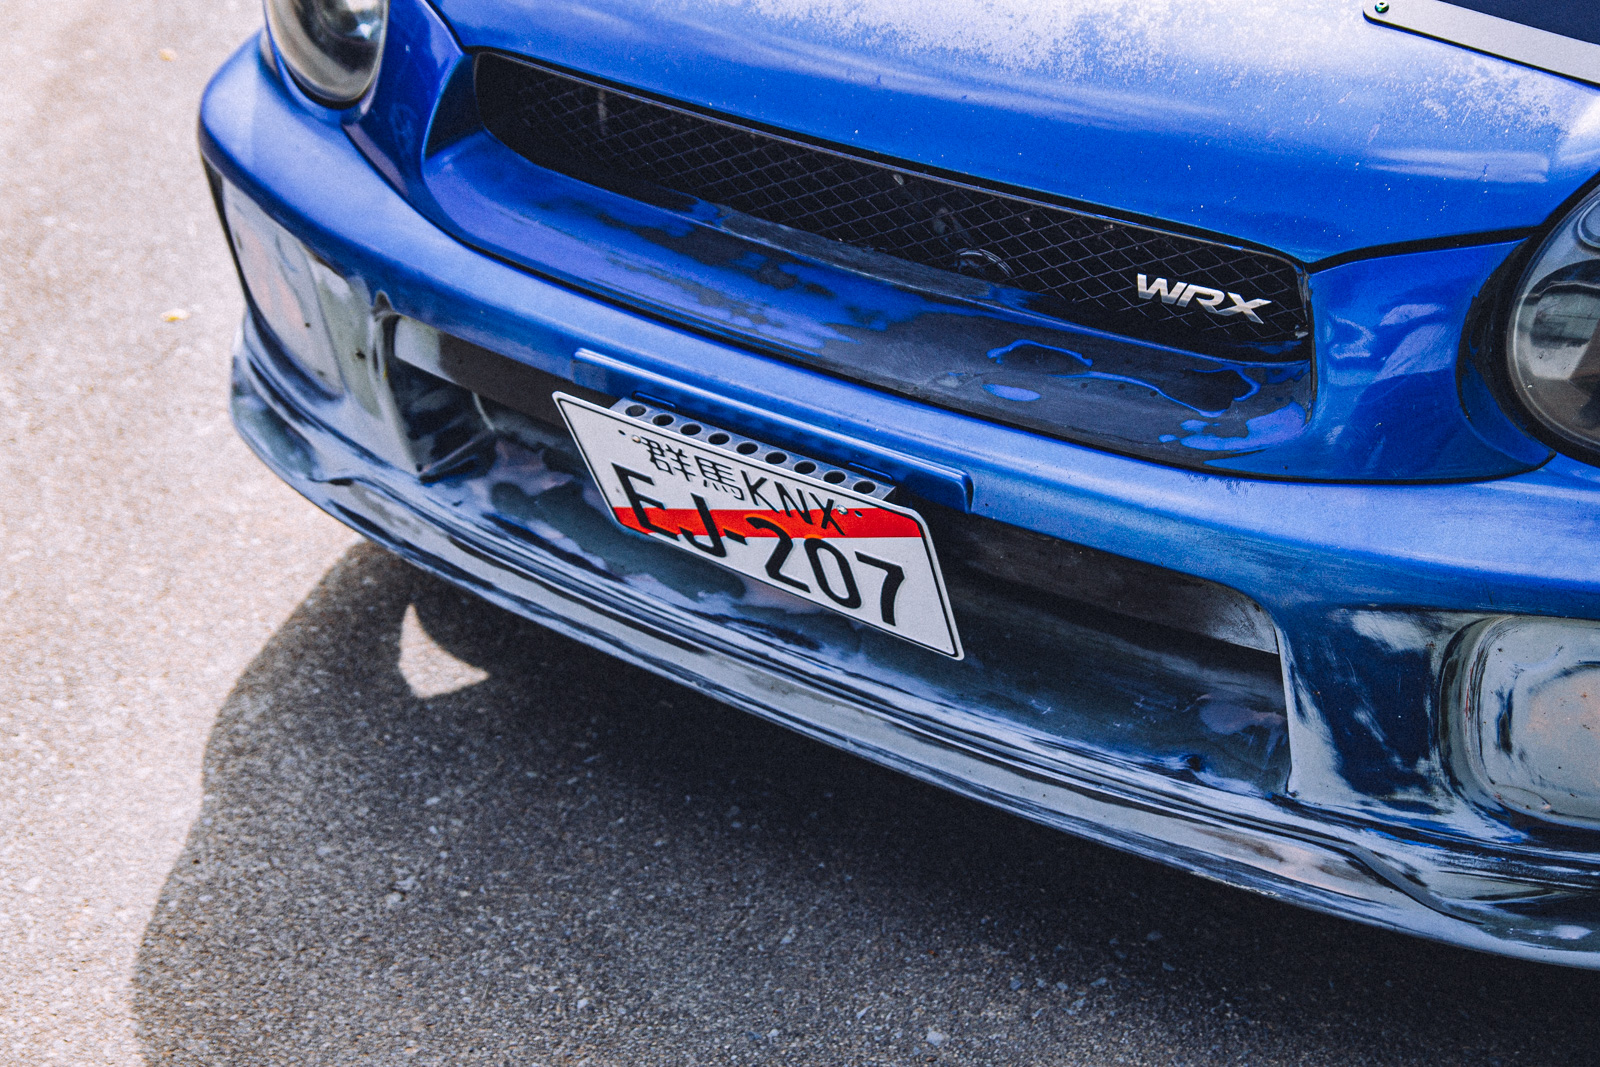
And here it is all mounted up. Overall, I am happy with the final product. My only concern is how the rubber inserts will hold up over time. I might just directly mount it to the bumper. We will see.


Cheers!

Leave a comment