
I have been contemplating an Oswald Lightweight Bumper Beam for some time now. Even back when I owned my 2005 STi, however the STi handled so well that it seemed to be permanently in the “maybe next time” camp.

The 2003 WRX handles much better than I expected even though it has lower grip than the STi at the limit. I think part of this is due to the lower weight of the WRX (3085 vs 32XX) and it having the shocks and springs from my old 2005 STi. I have an idea that I would like to try out and that is in a sense, Project +Lightness.
Removing 20 lbs off the front edge of the car should provide pretty noticeable results. I have noticed a difference with a slightly smaller battery up front.
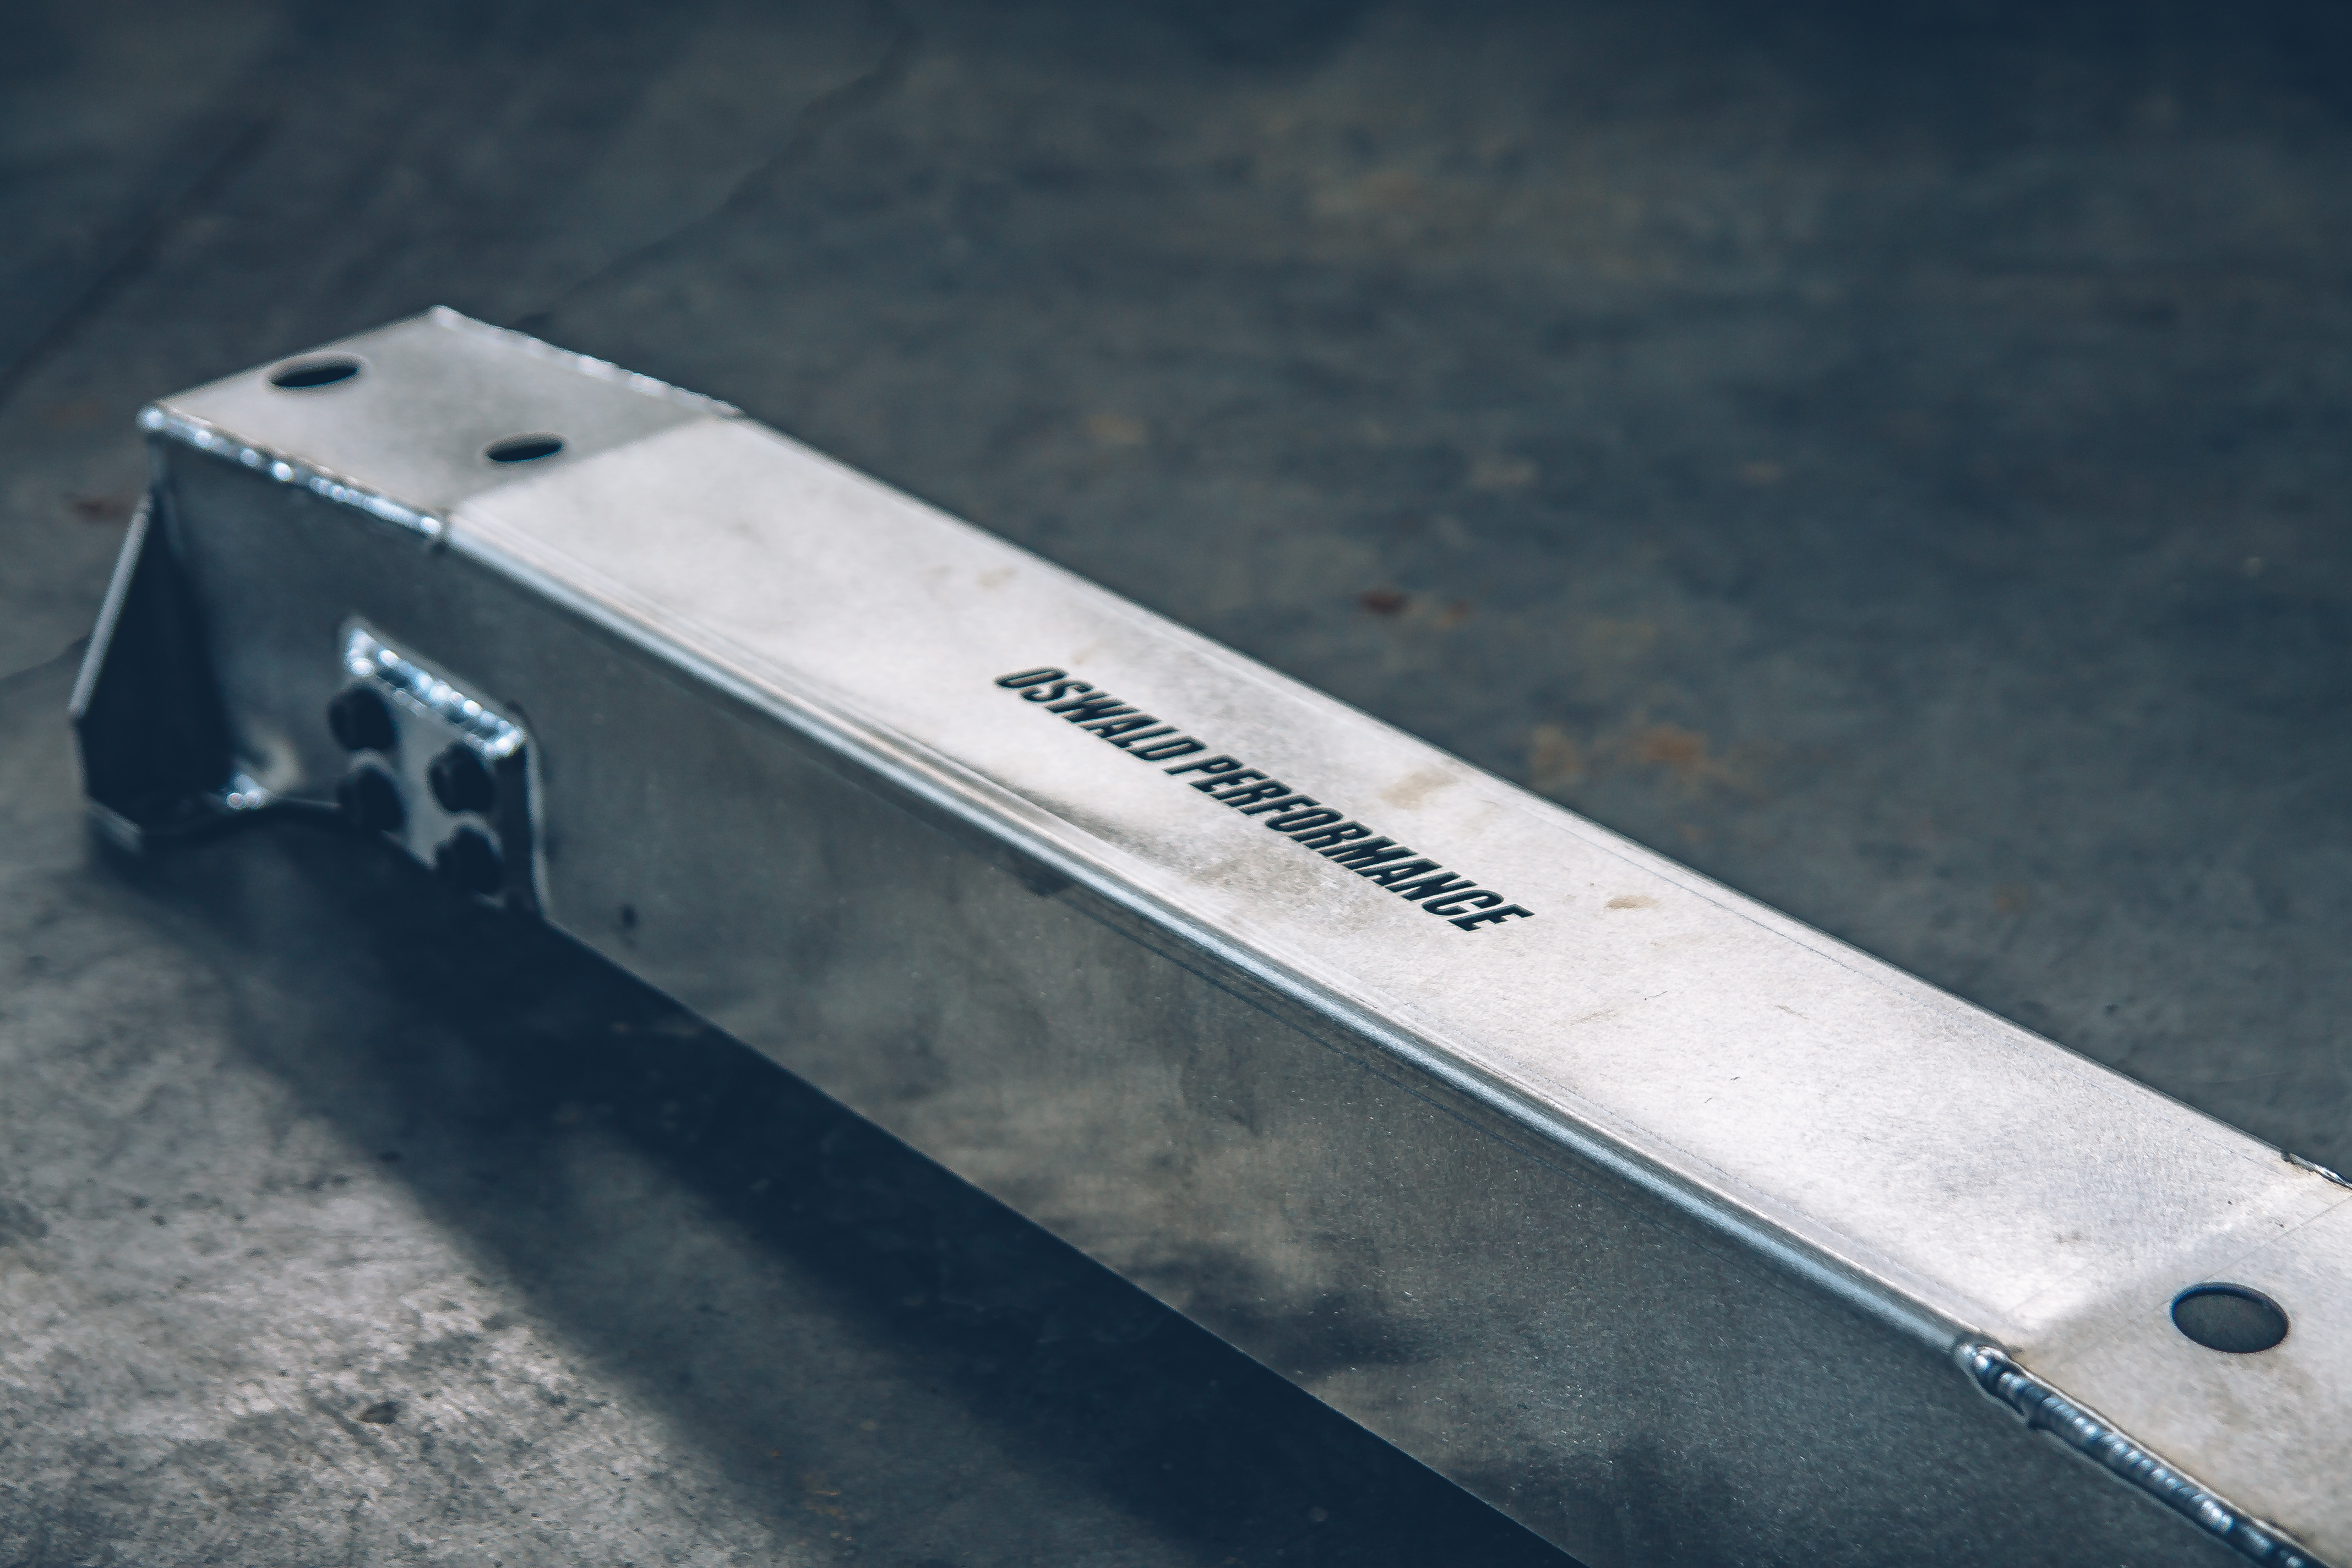
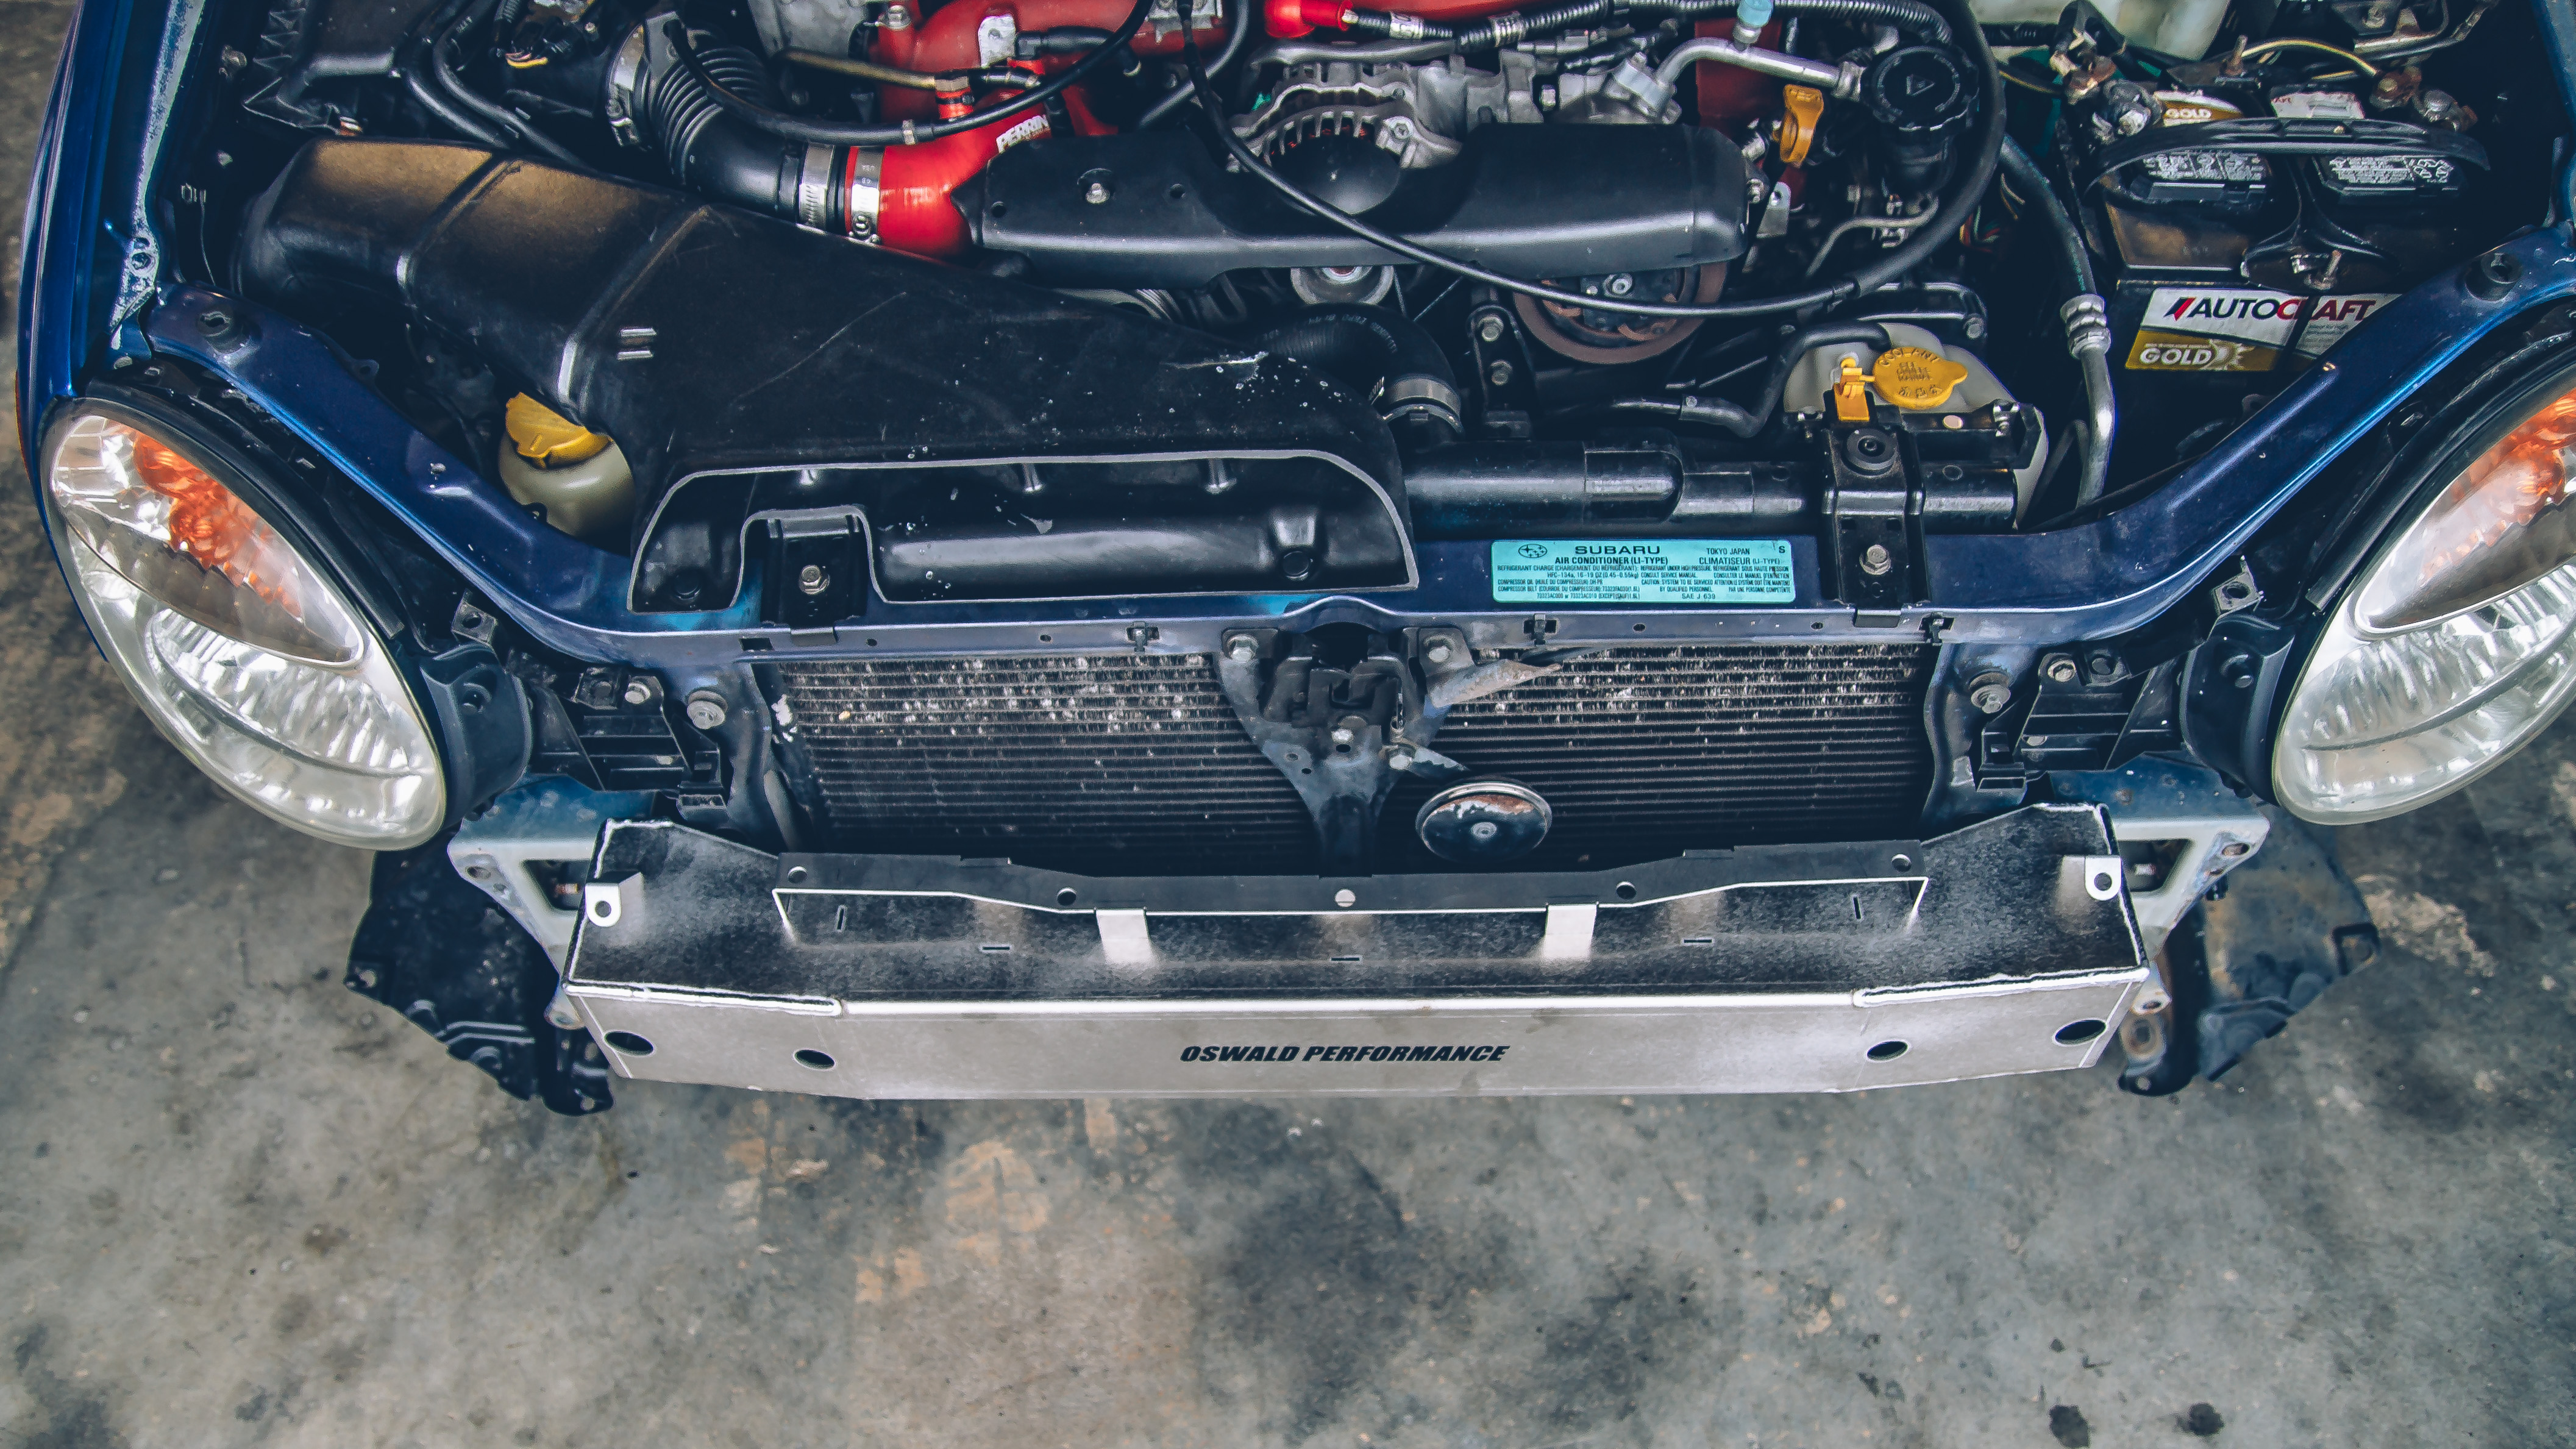
Oswald says that this beam weighs 6 lbs. In an effort to beat the rain to snap pics of the install I didn’t get a chance to weigh it, but the shipping weight was logged at 8 lbs. The tow hook feels like it weighs at least a pound by itself.
Overall the quality is pretty good. I did think it was odd that the back of the beam wasn’t boxed in but perhaps it won’t make a huge difference. 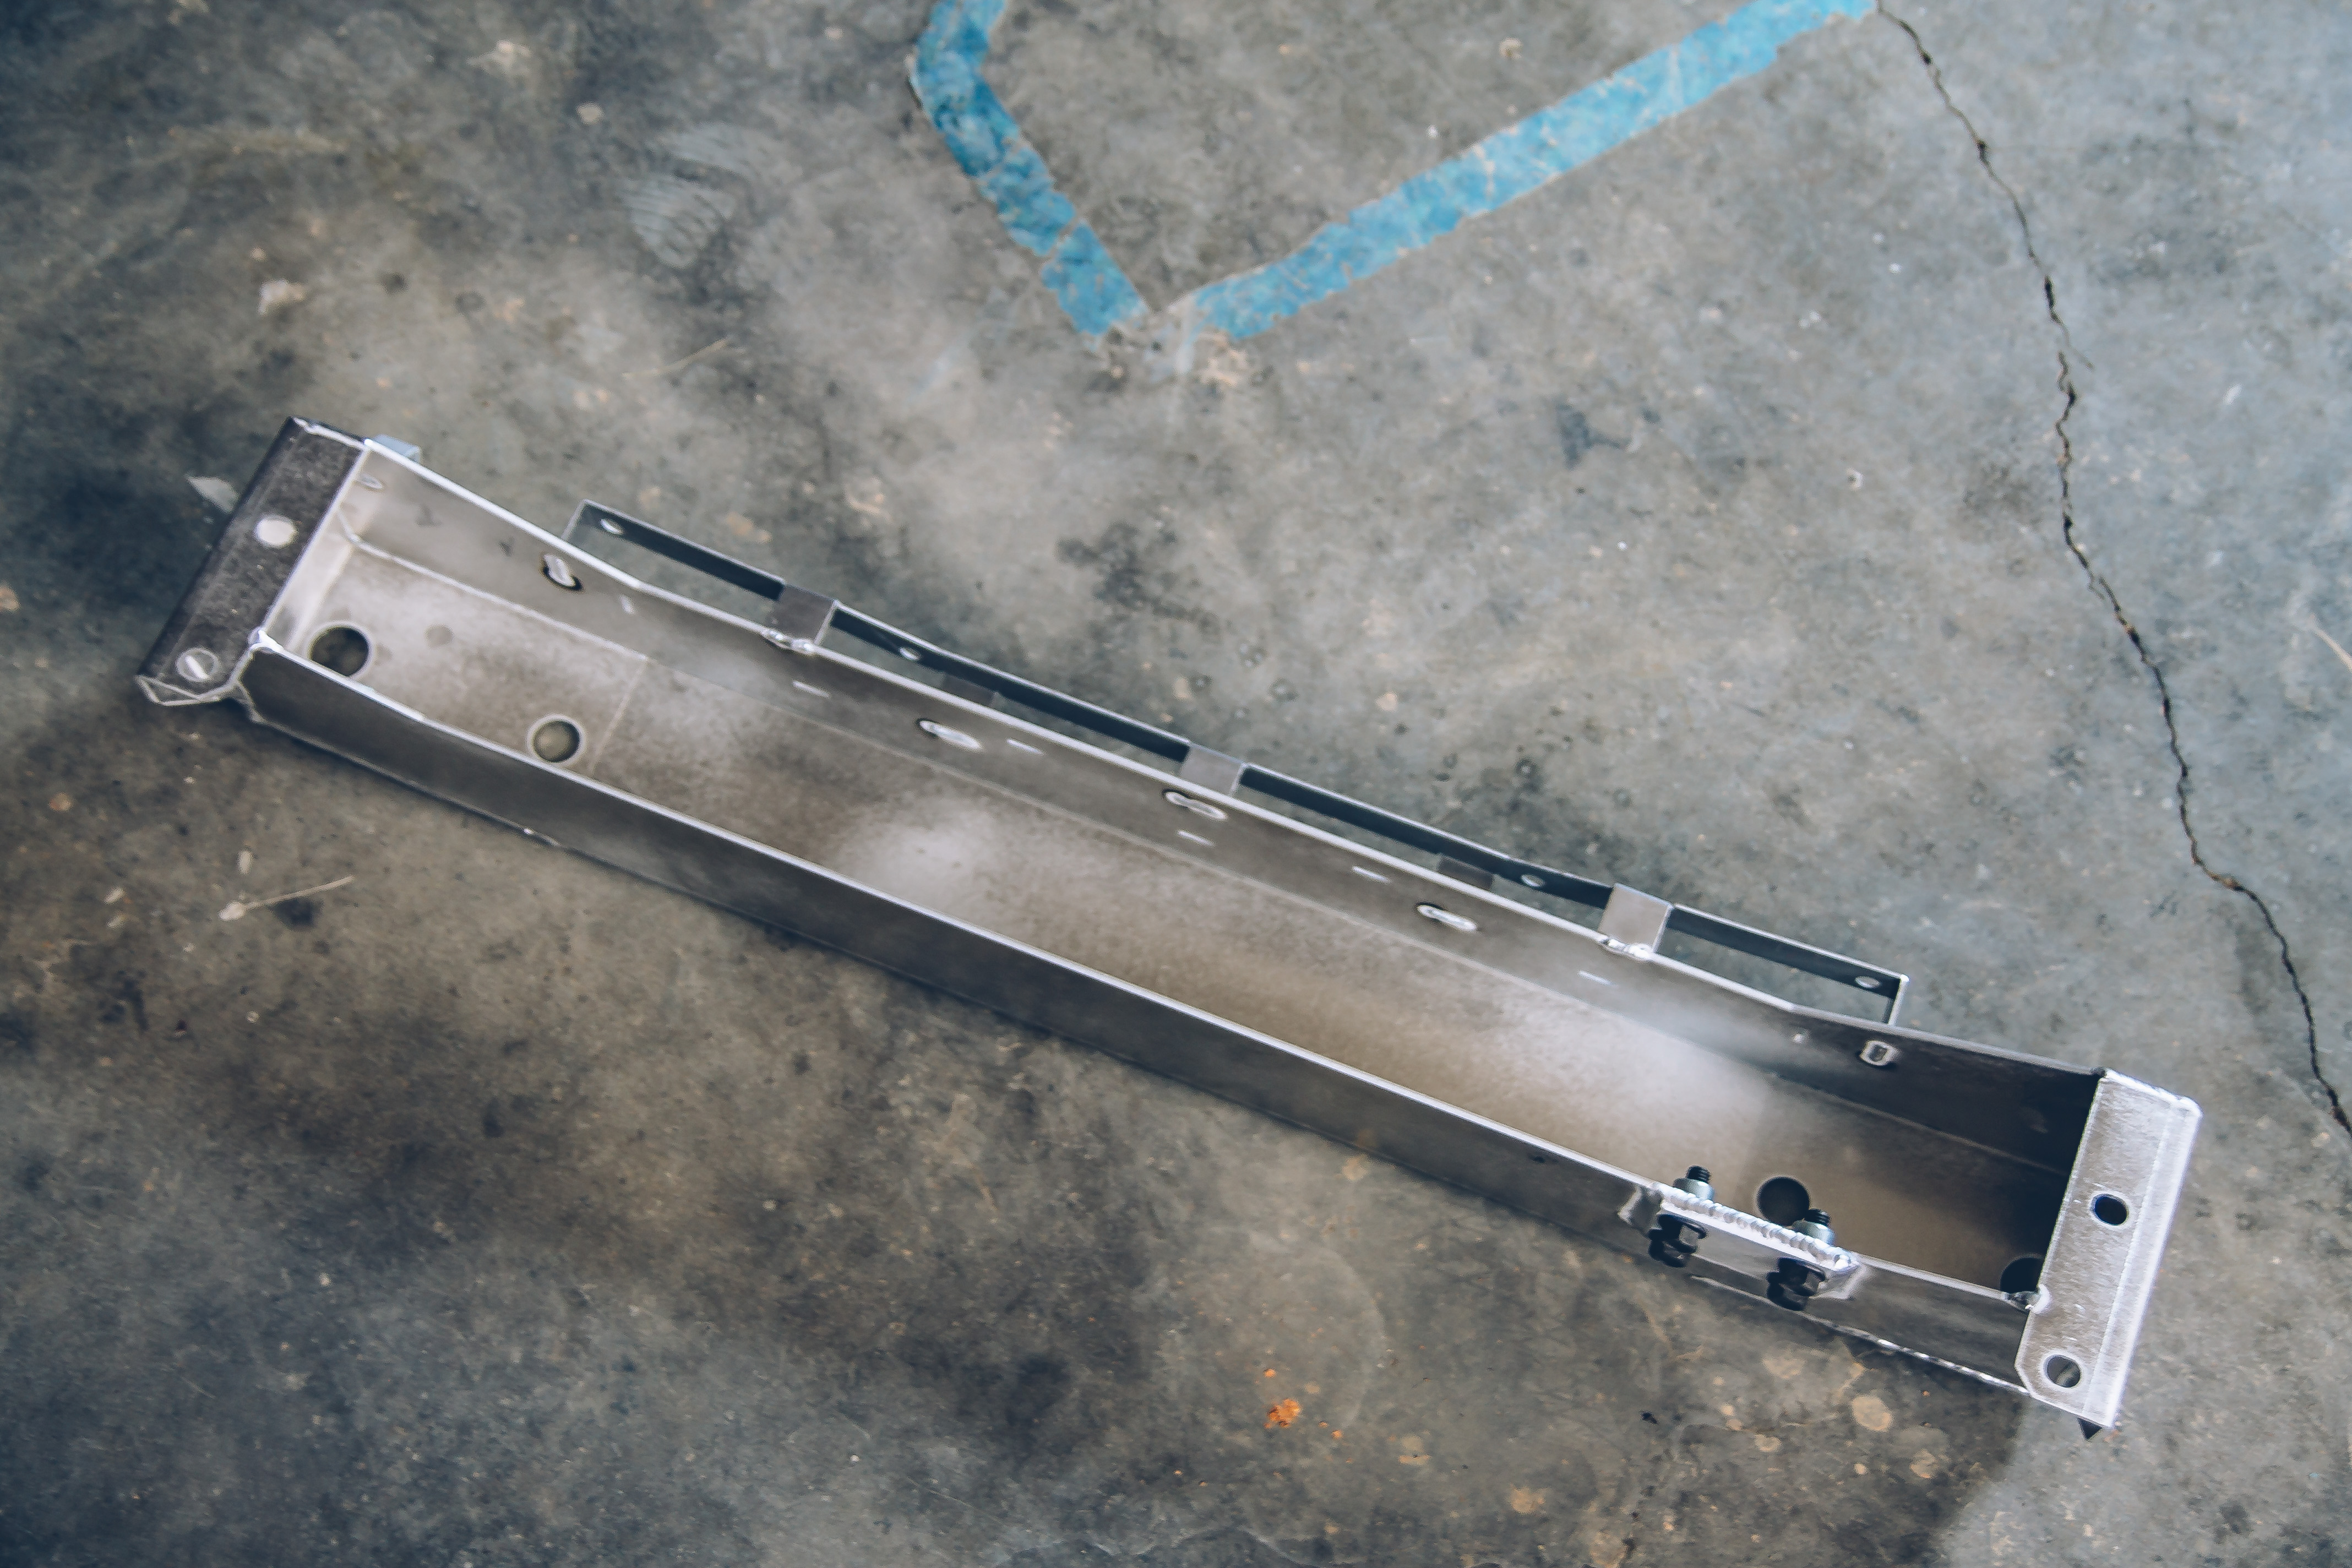
[Installation]
First step is to pop the hood. And or jack up the car if you can’t reach the bottom pop-fasteners along the bottom of the bumper.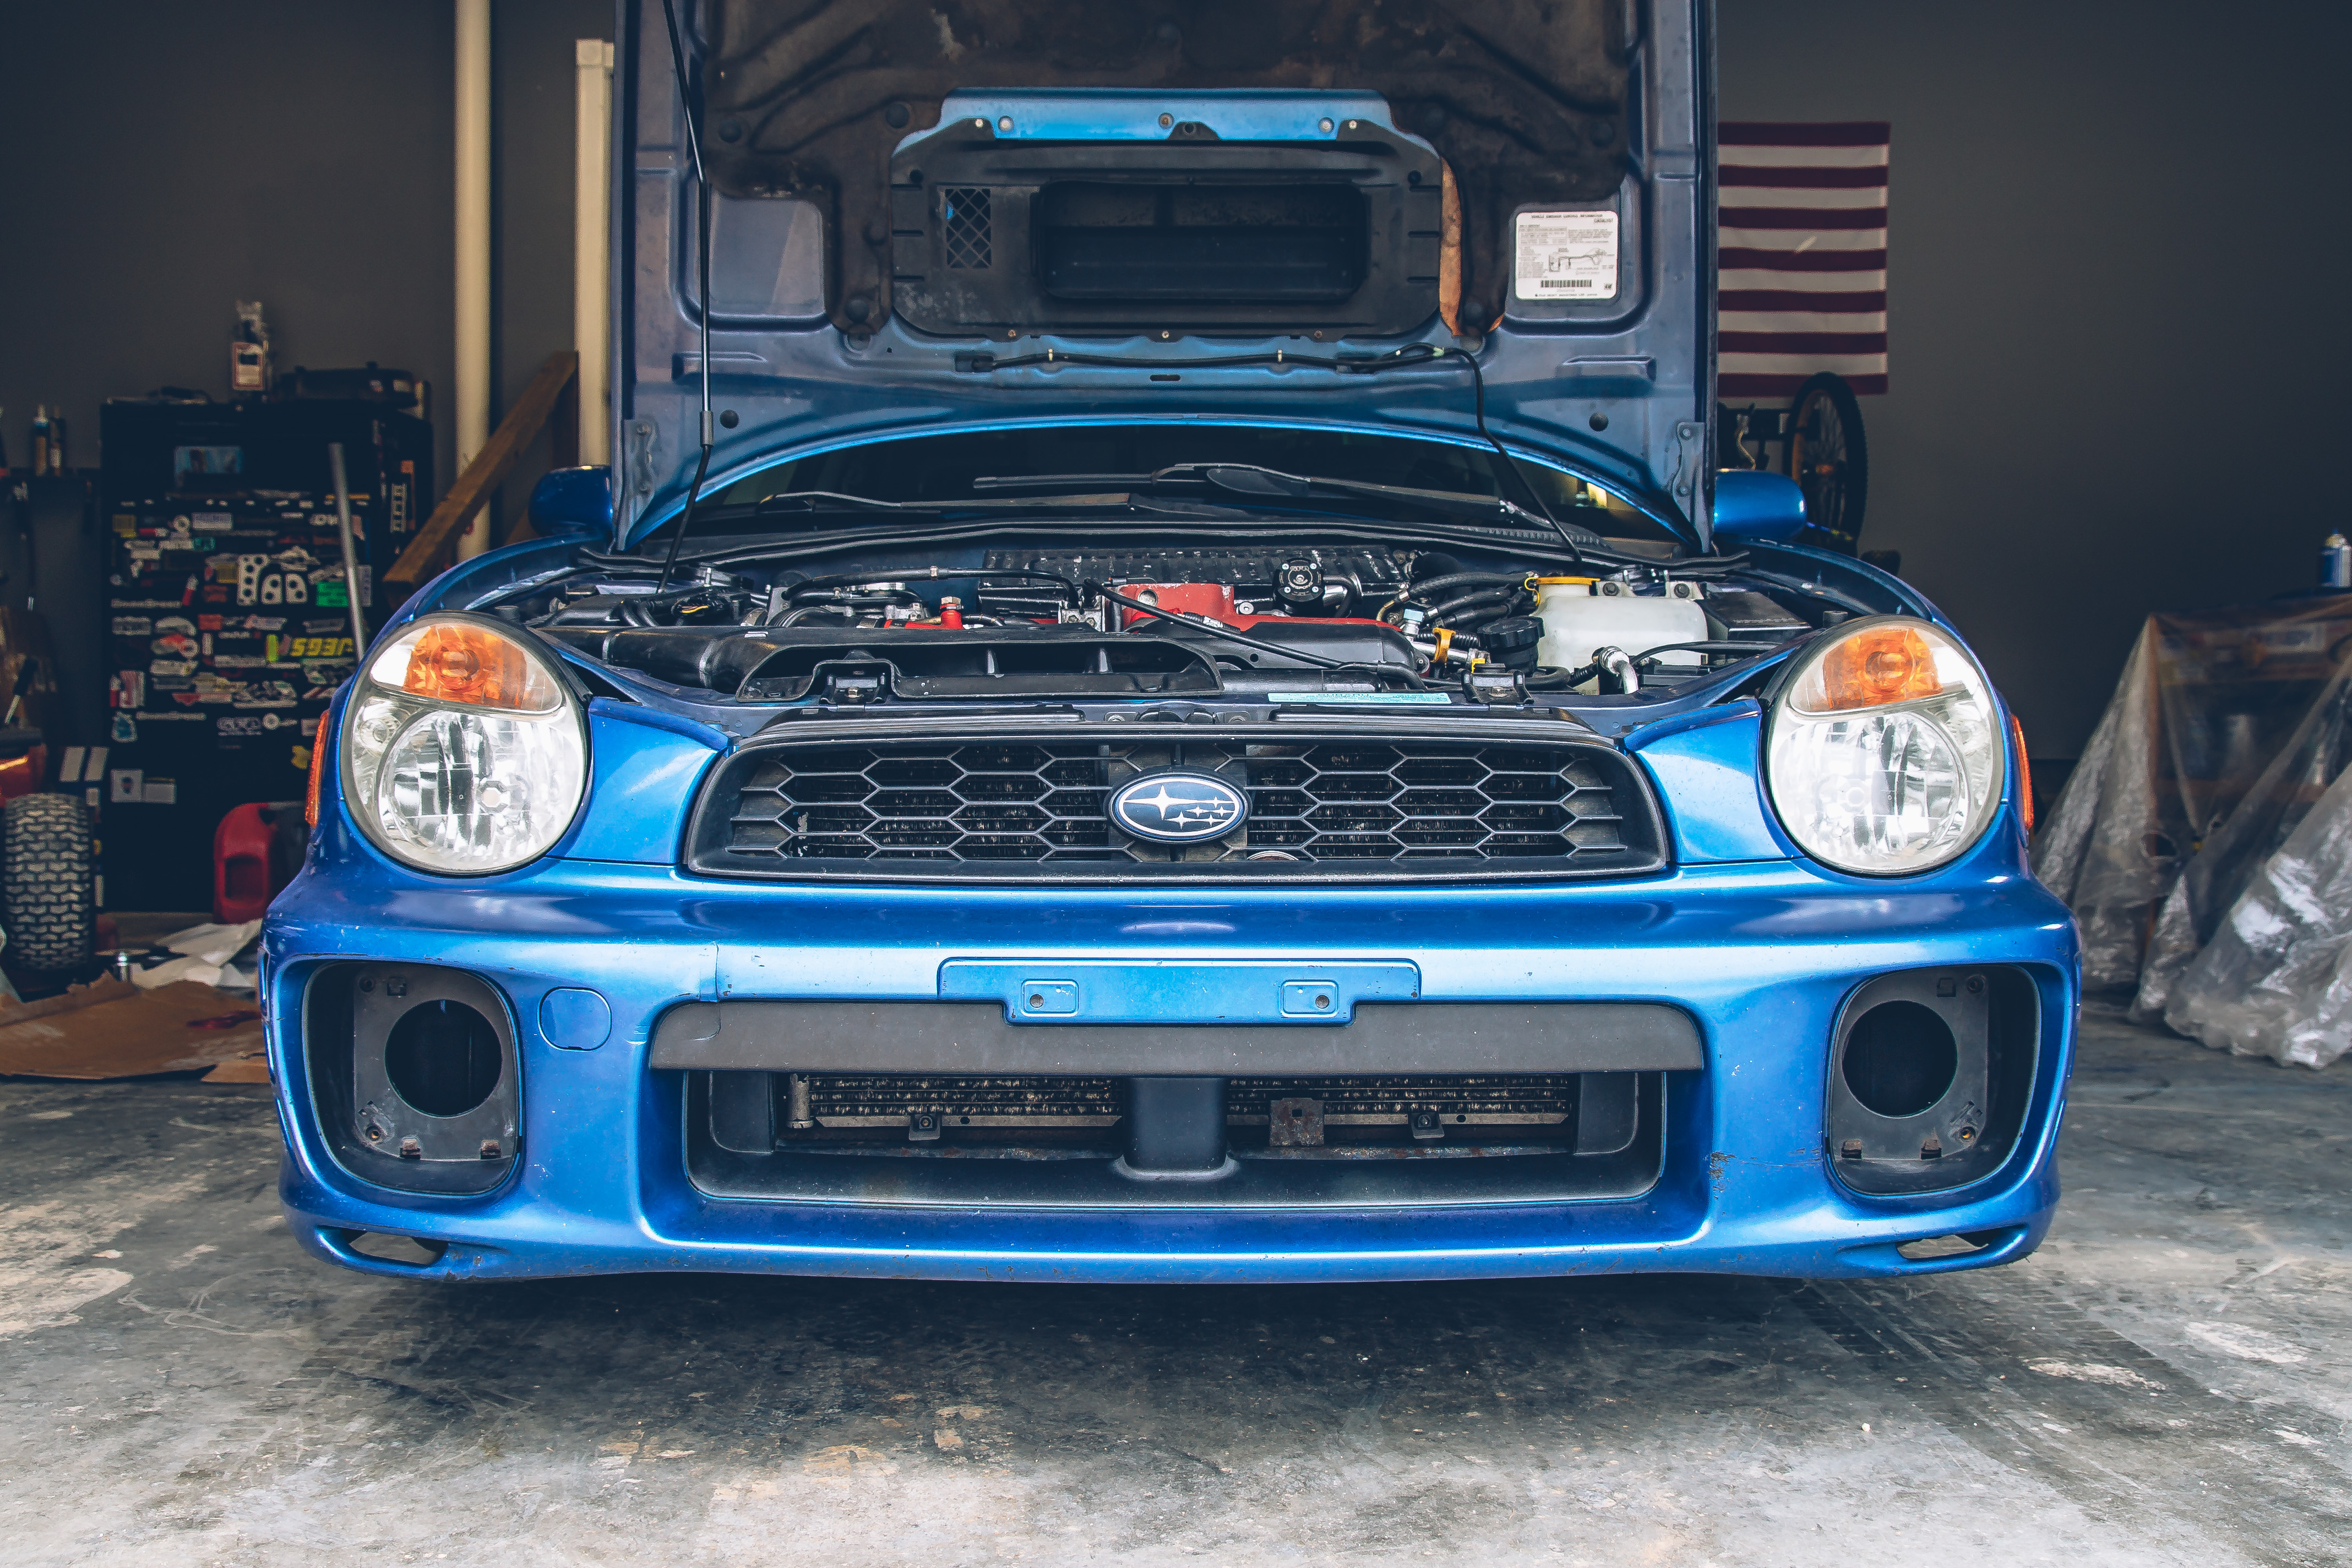
Next thing is to remove the grill. If your clips are broken like mine then this should take about 2 seconds. 
Next is to remove the grill surrounds. There are 3 pop-fasteners holding these in. Two on top and one just inside the surround on the bottom. Then there is just a clip holding them in place.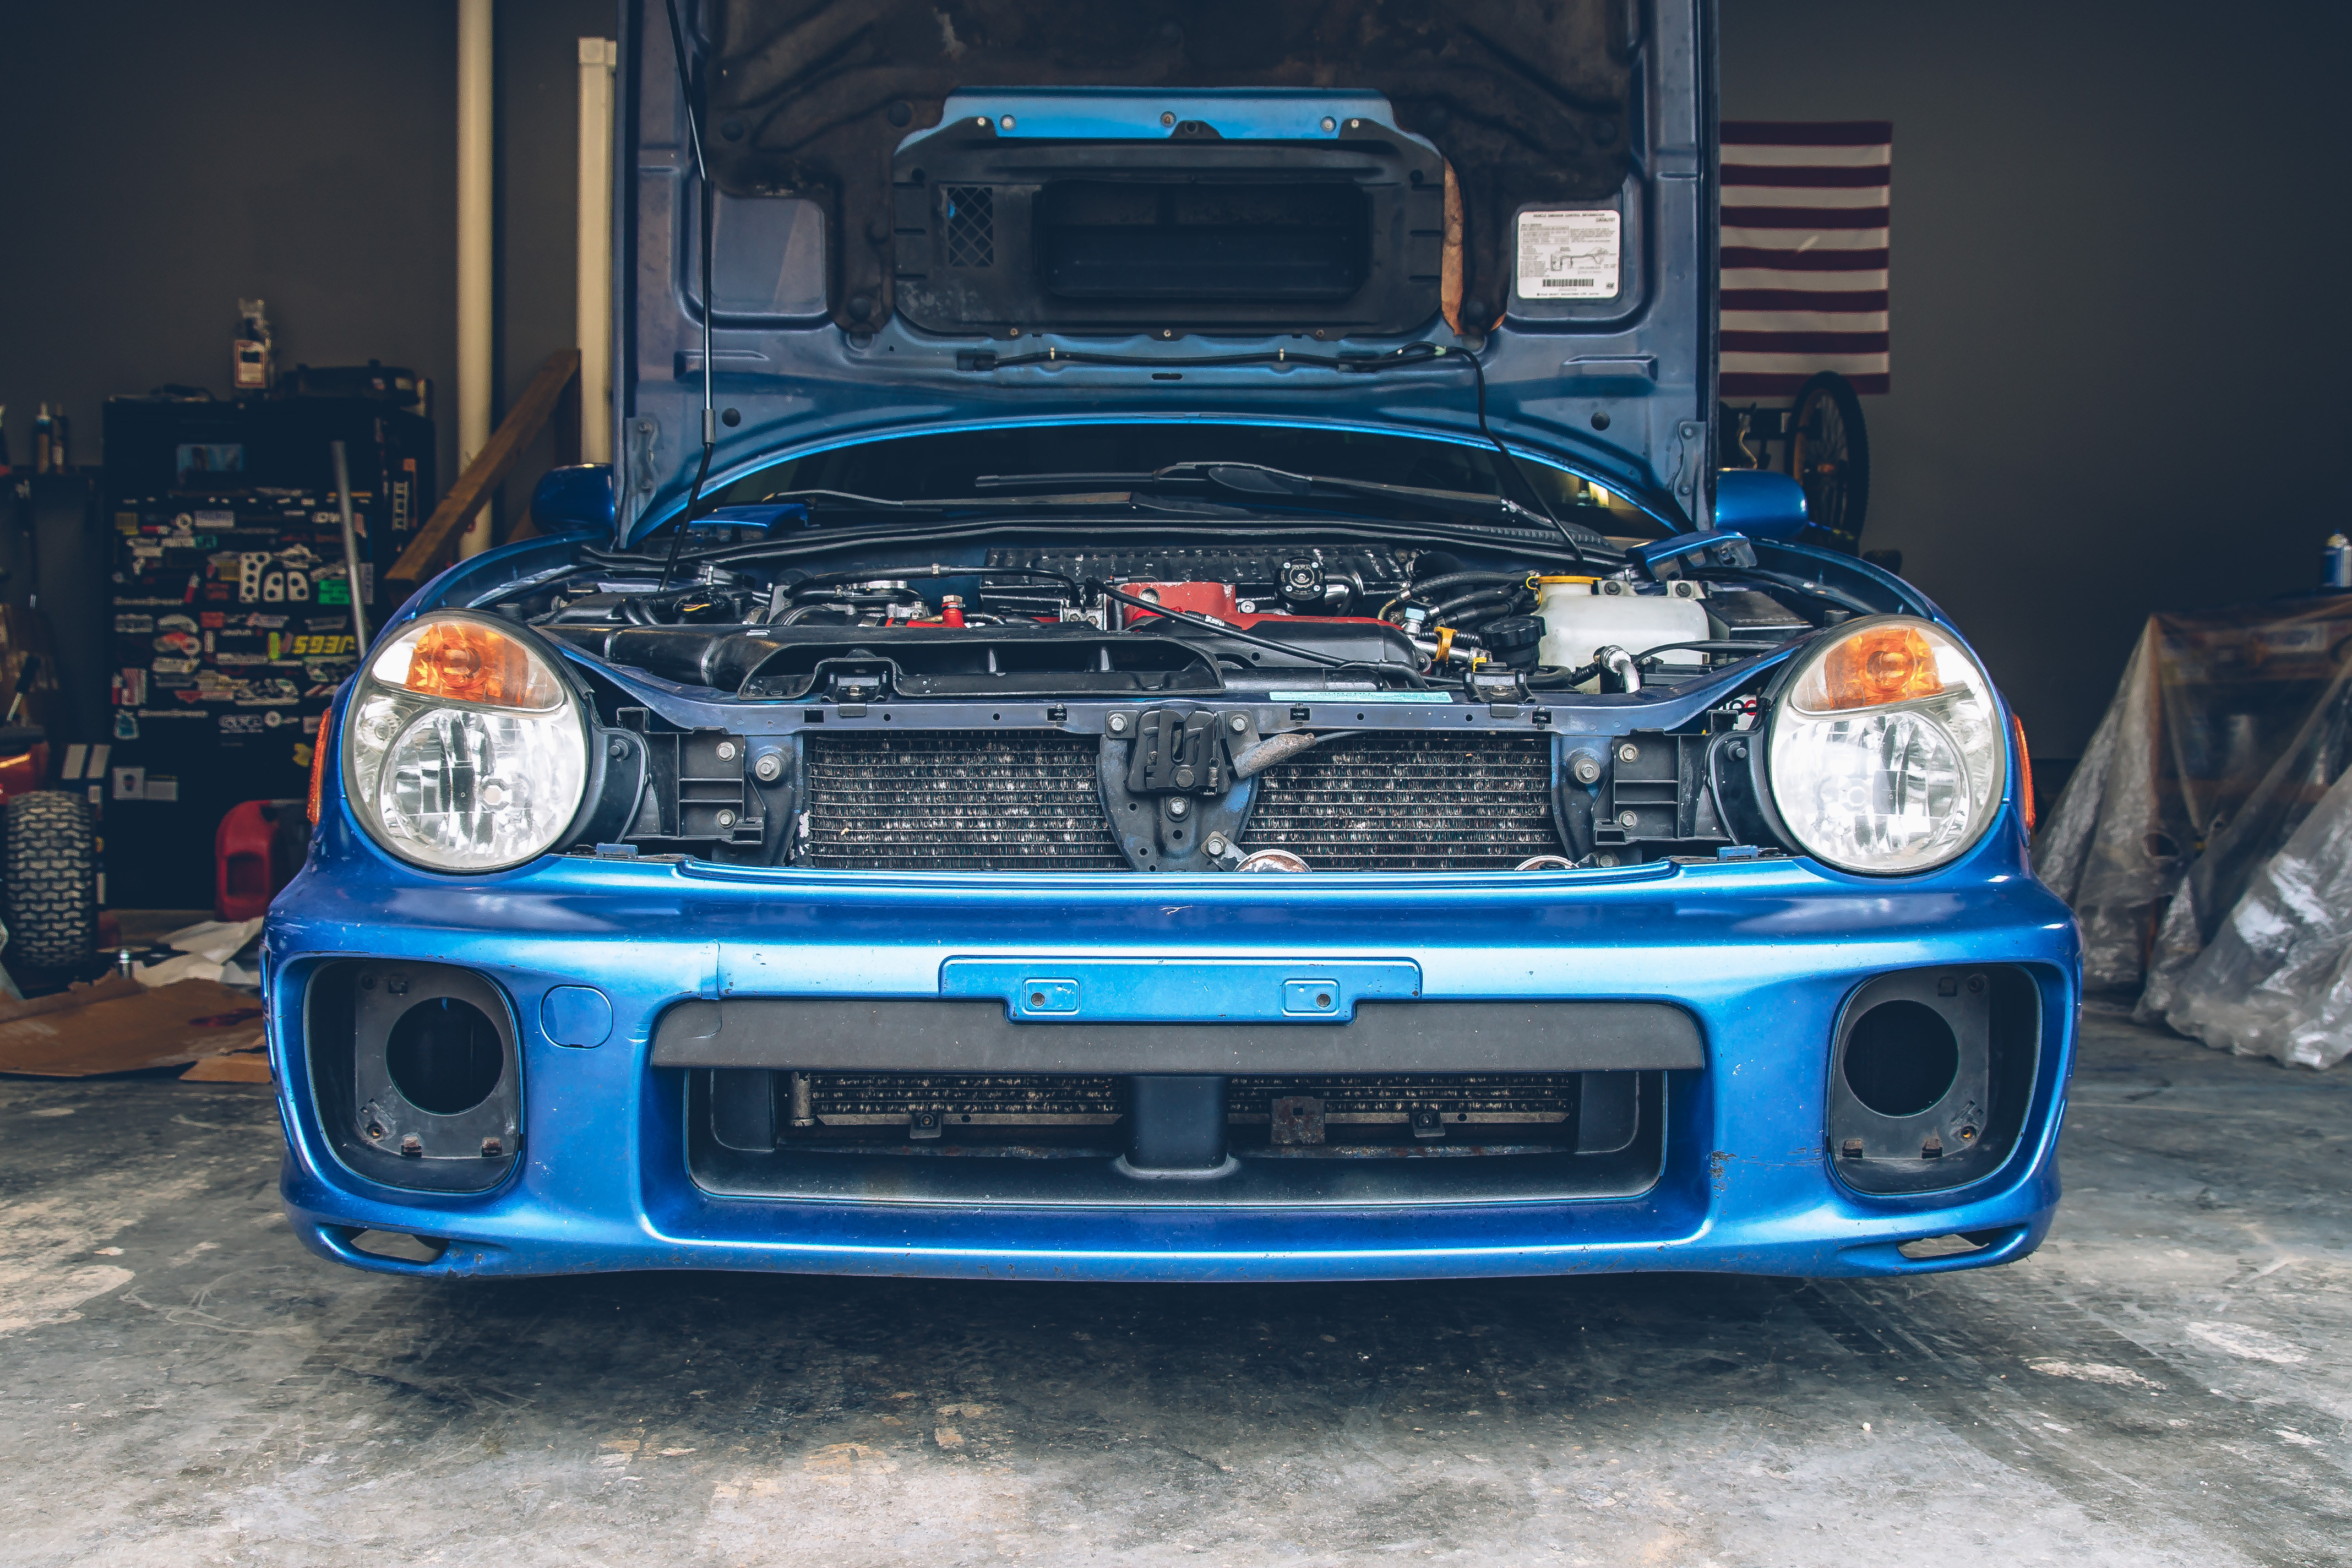
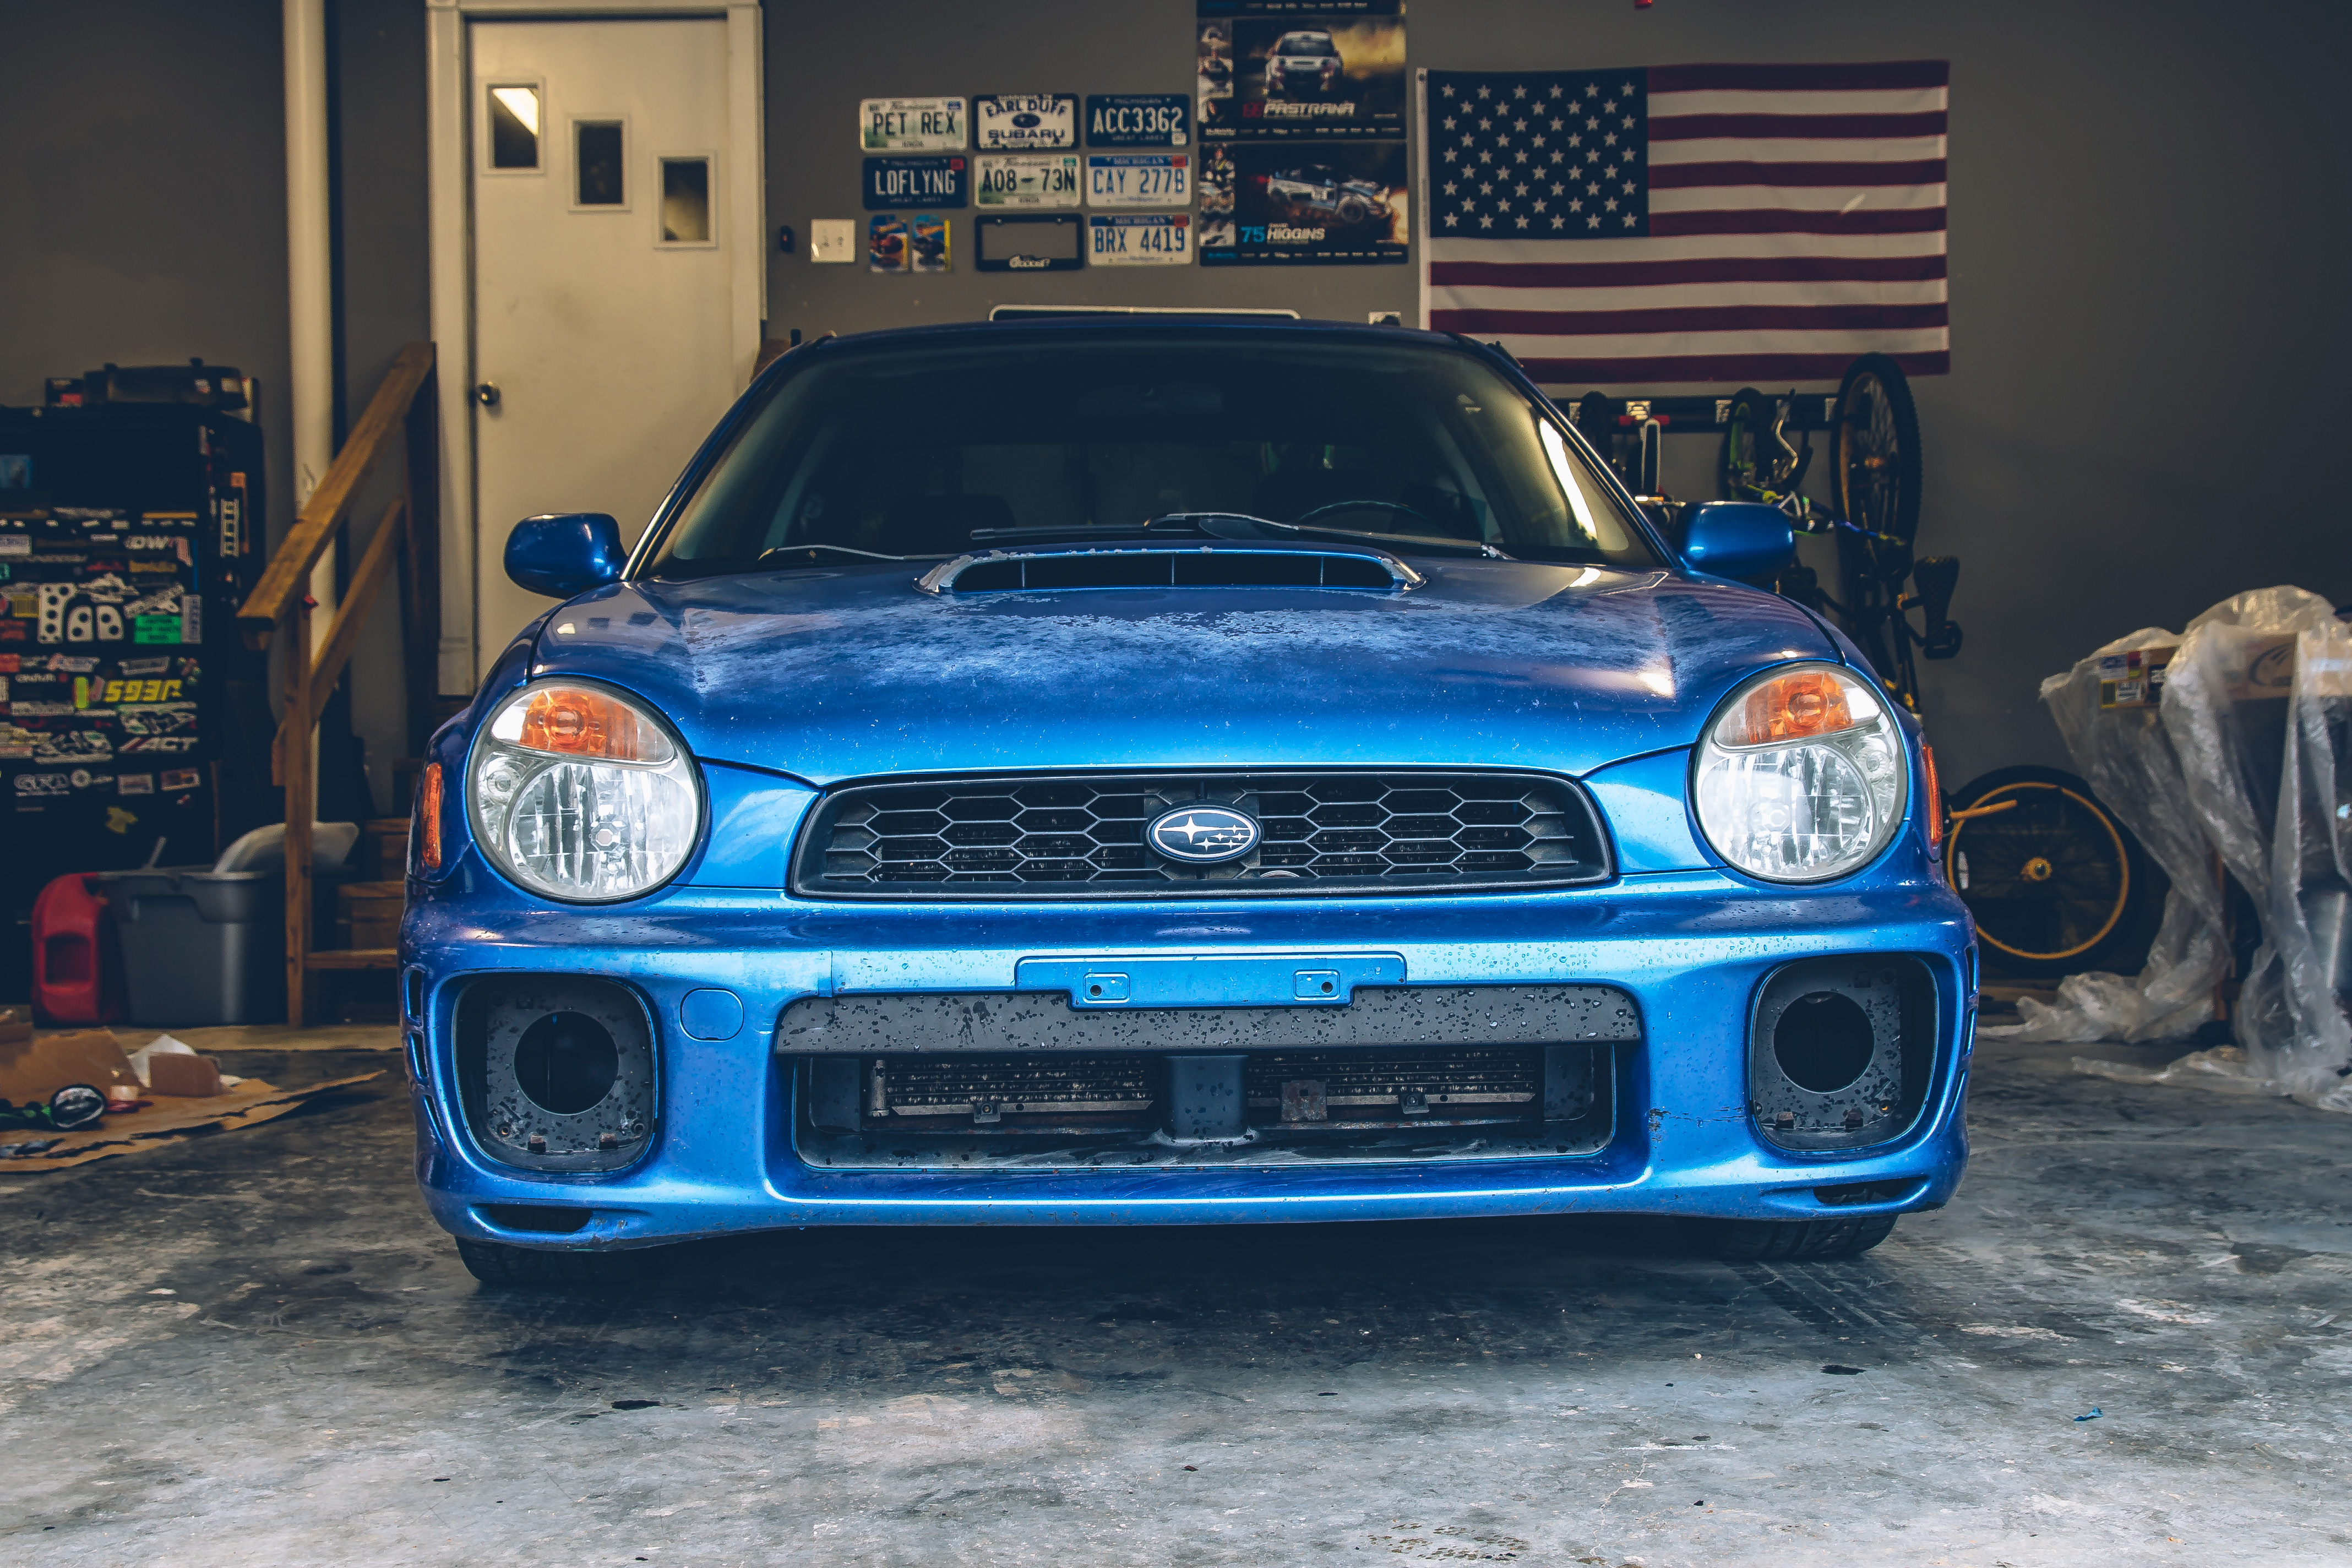
To remove the bumper there are about 6 pop-fasteners below the grill area, one on the inside of the bumper that connects to the fender (the fun ones) and a couple that connect to the bottom bumper beam on each side. There should be a few that connect to the under tray however mine is MIA since purchase.
There is a support strip running along the fender/headlight area. Once the clips are all removed you will need to pull the bumper out and away from the fender to release it. And if you still have fogs don’t forget to disconnect the wiring harness.
However I didn’t expect to see all that rust. Holy crap! Well, there are (2) 14mm nuts, (1) 14mm bolts, and (1) 12mm bolts holding the bumper beam on each side. Grab your favorite impact tool and get that beam on the ground. 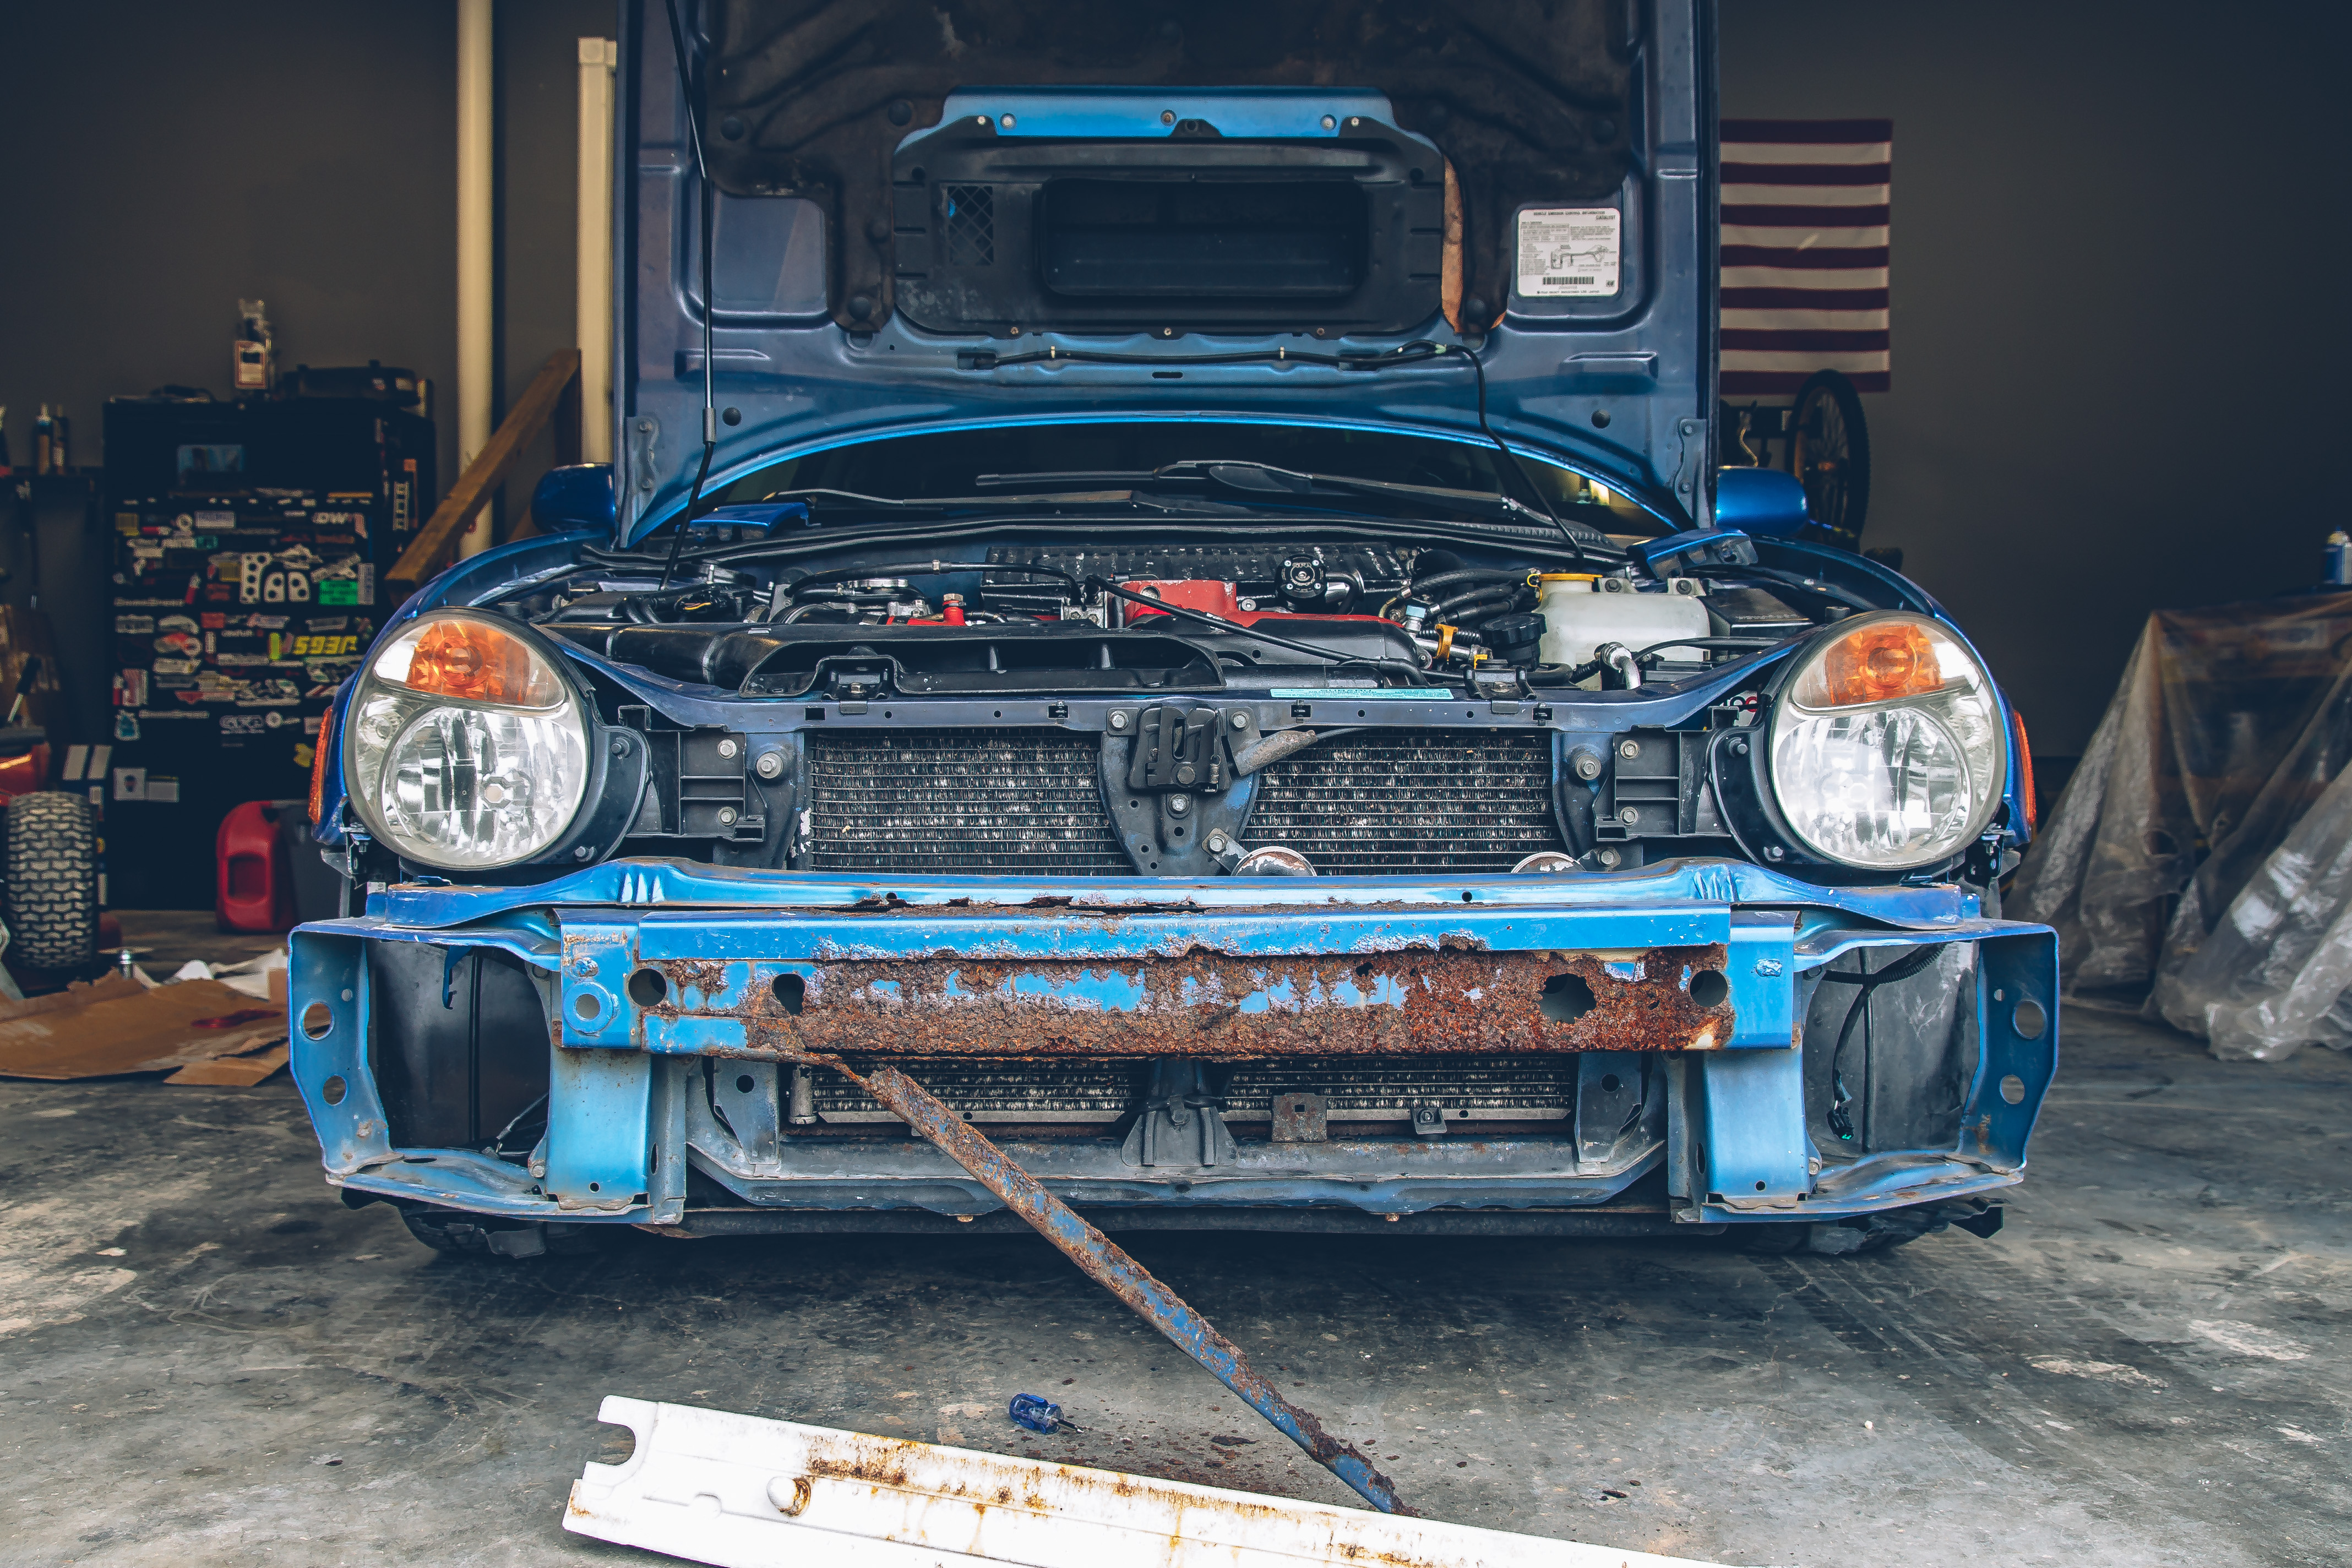
With the bumper beam removed it’s time to sweep up a pile of rust and install the Oswald piece. Now might be a good time to install your Hellas if you have set laying around.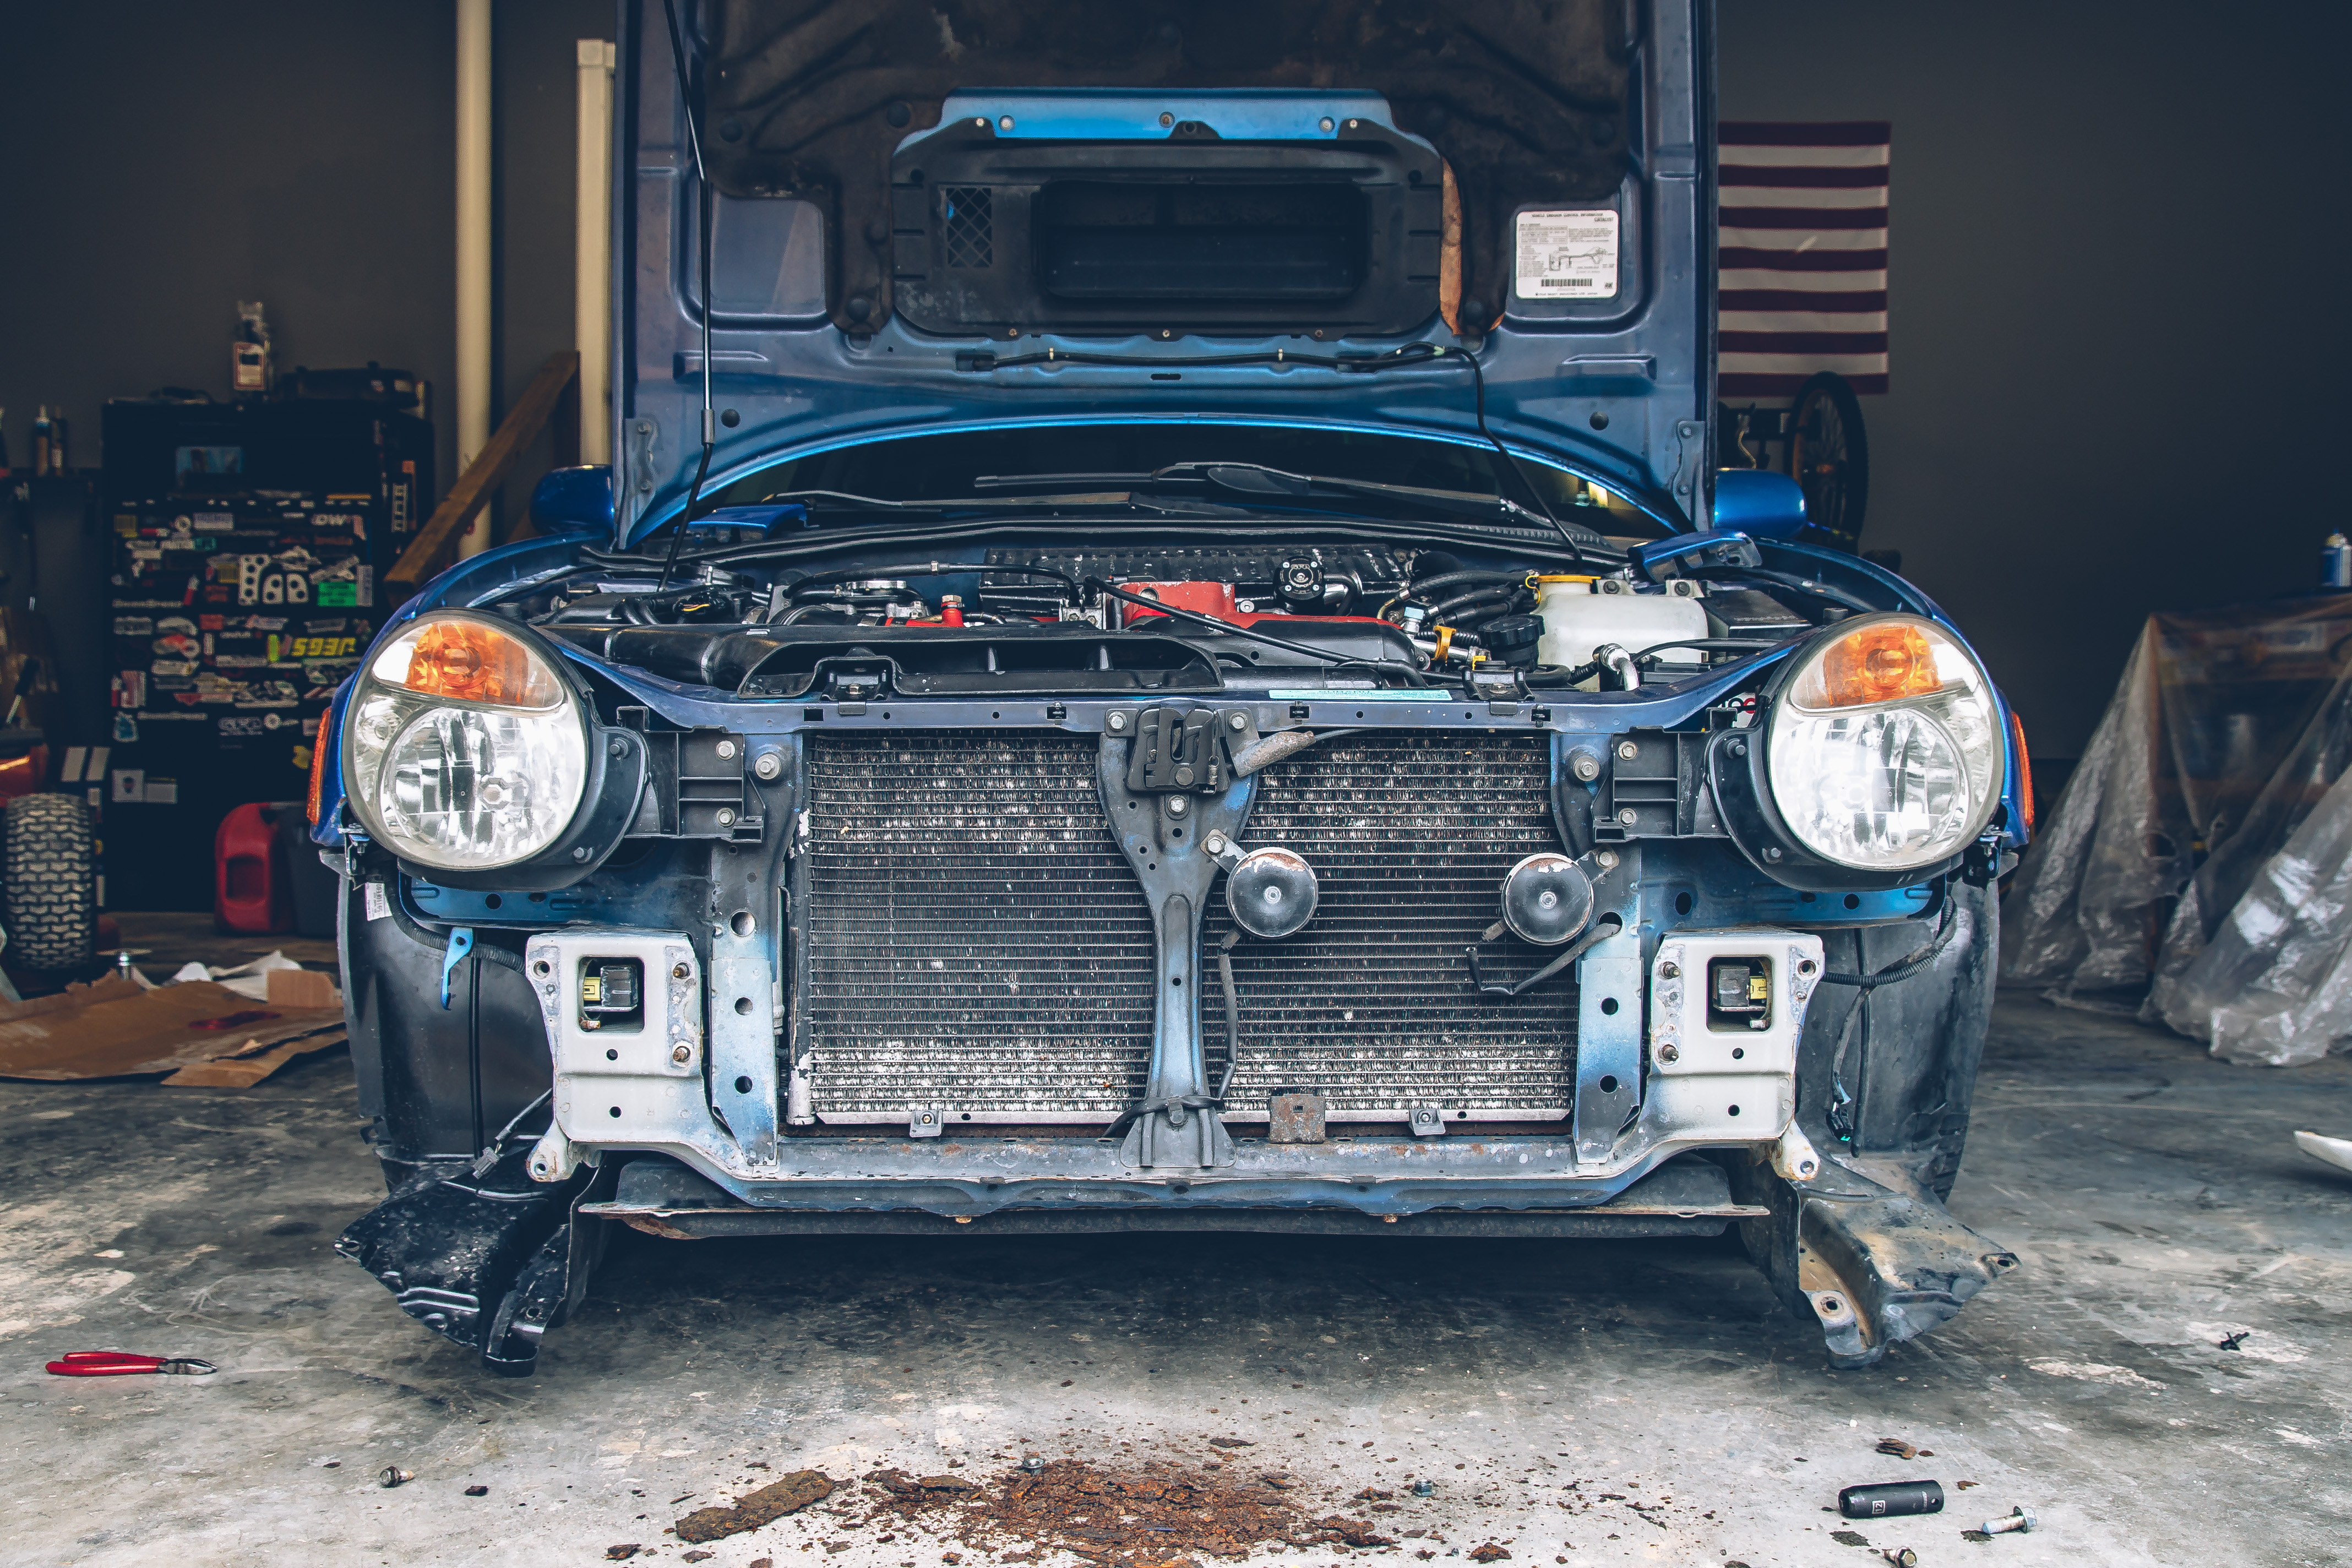
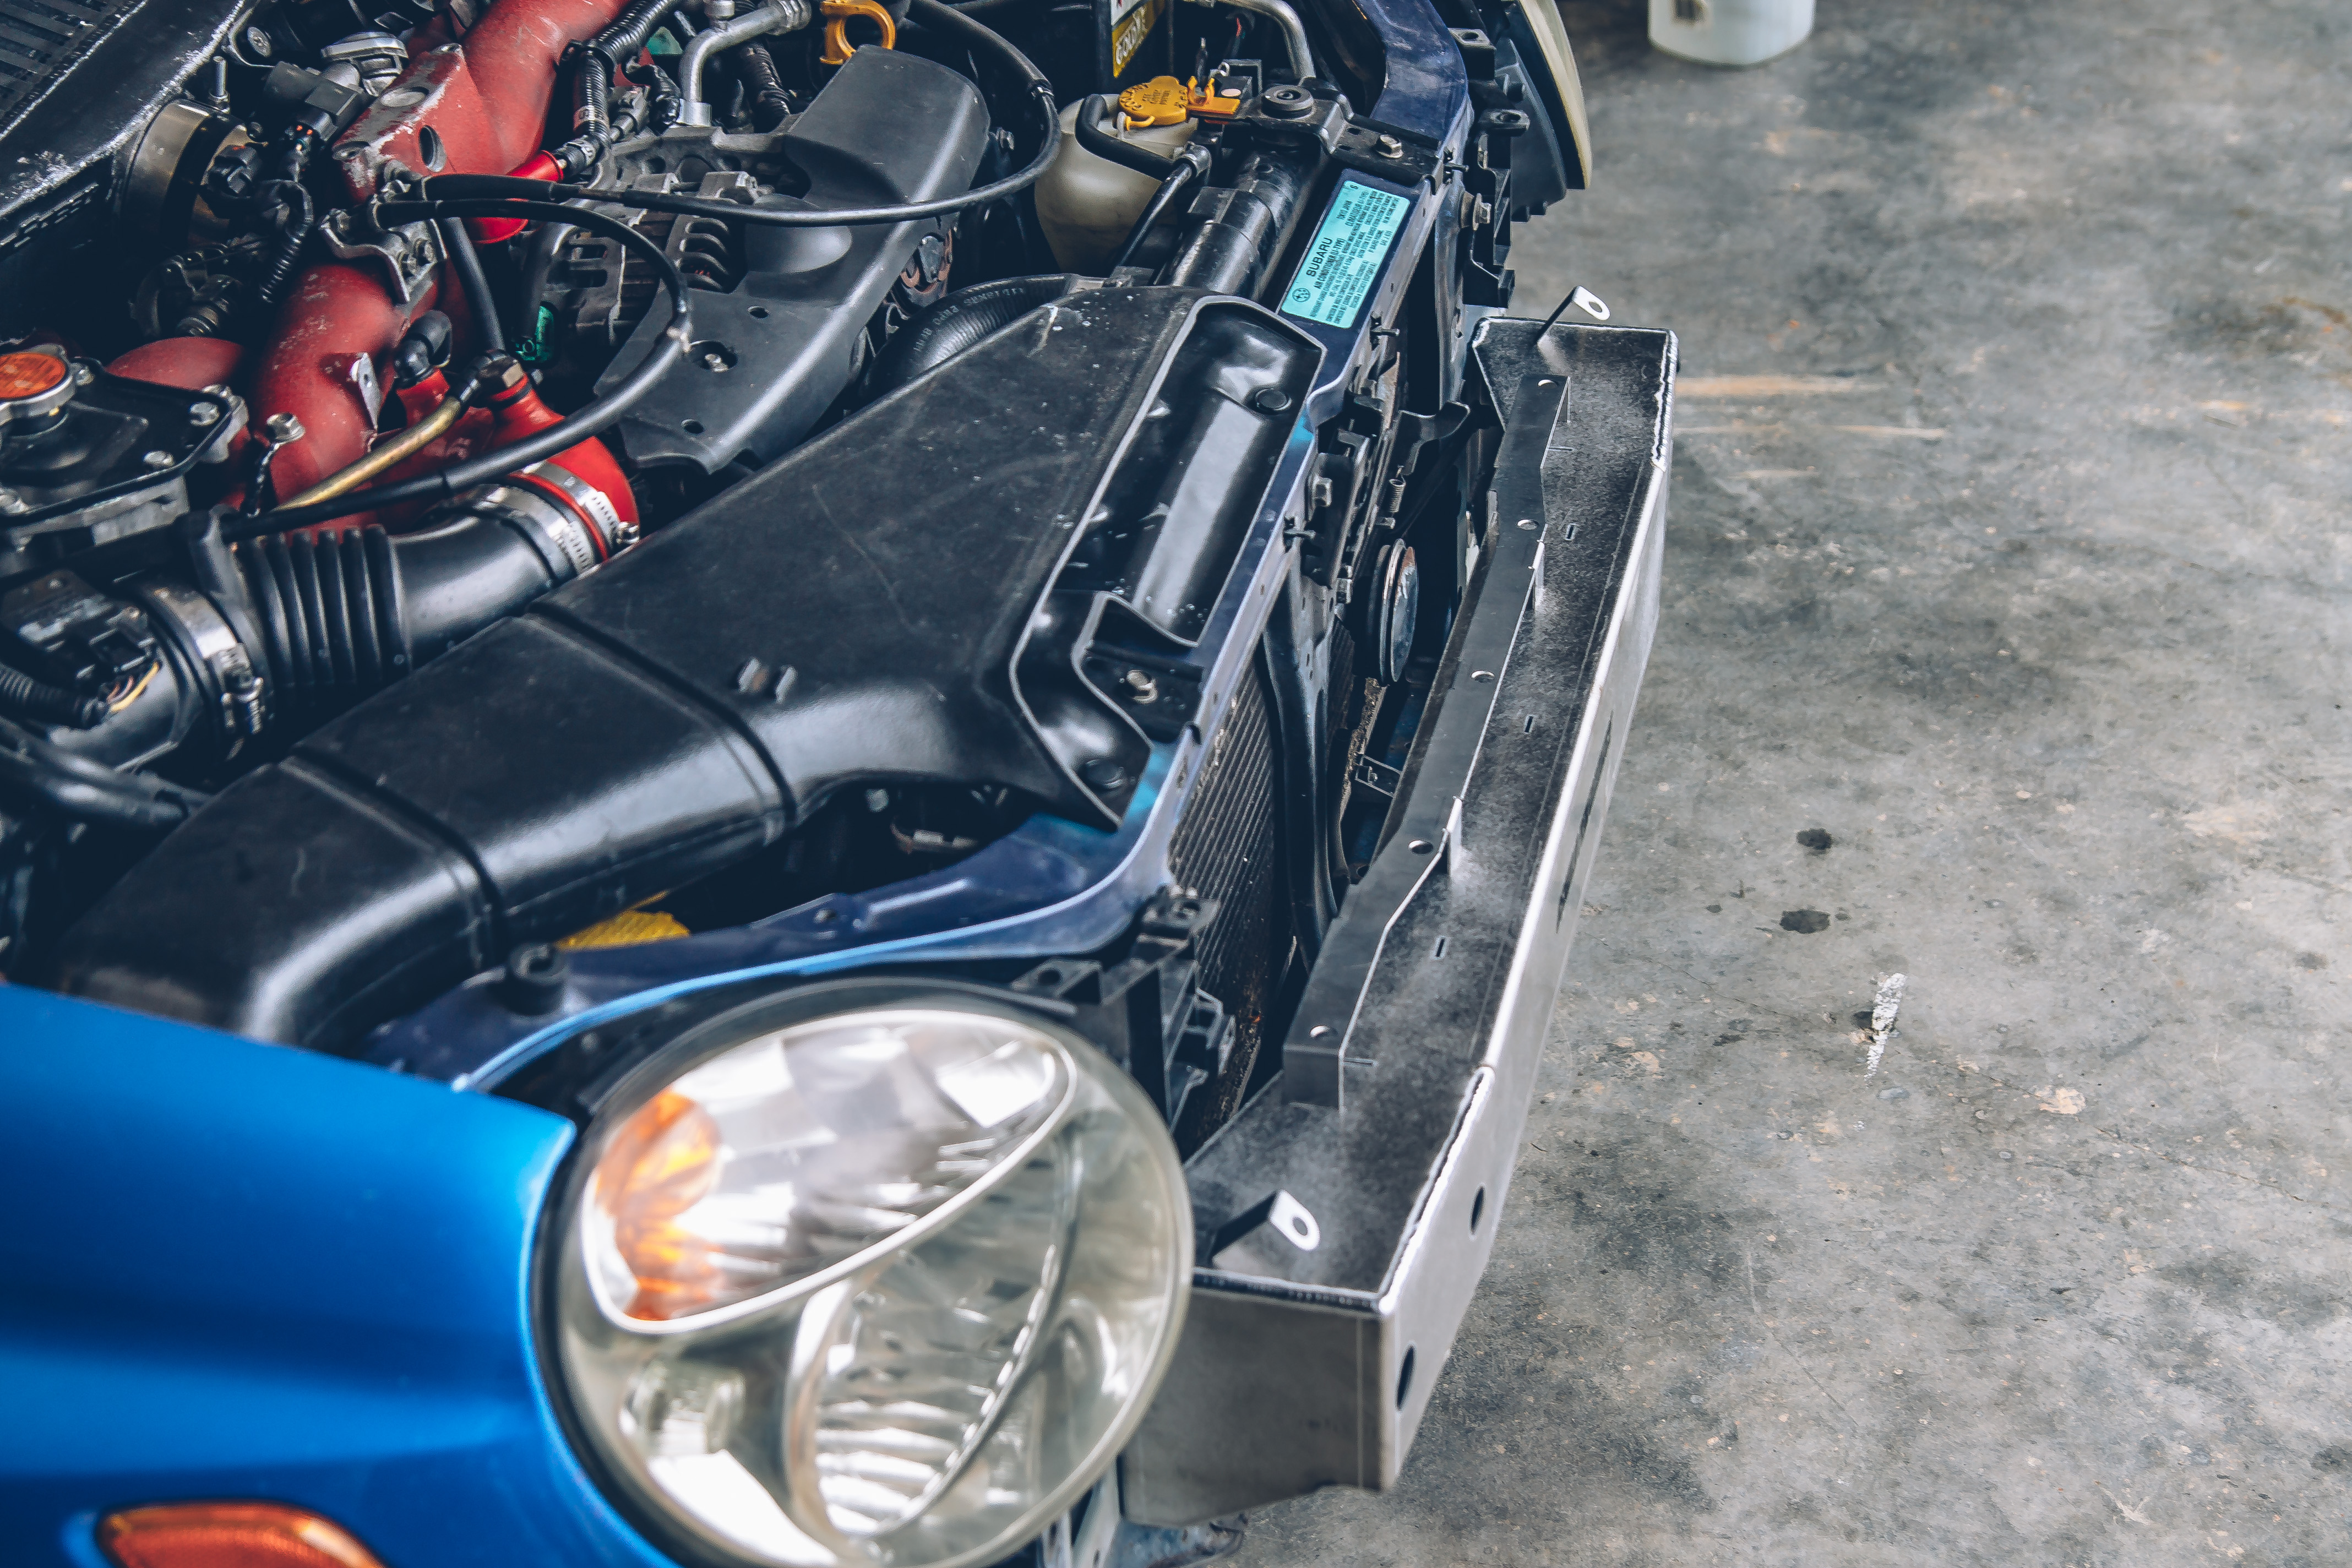
Installing the Oswald beam is pretty easy since it is so light. It only uses (2) 14mm nuts on each side, which might be my only complaint about it. 
I did need to remove the driver’s side horn as it interfered with the beam. I may relocate it later or modify the bracket. Or get a couple of Hellas…

The brackets go on the lower 12mm bolt location. They are used to secure the fender liners in place. And I had to tape my foam in place since my studs were broken. 
After that it is just reinstallation of all the parts you have on the ground.
Time Lapse.
[Initial Impressions]
The car feels a bit more responsive and a touch more nimble up front. Also seems a little bit easier to accelerate from a stop. It was raining lightly so I didn’t push it all that much. The wet roads numbed the steering feedback so I want to reserve further judgement until the roads dry up.

Leave a comment