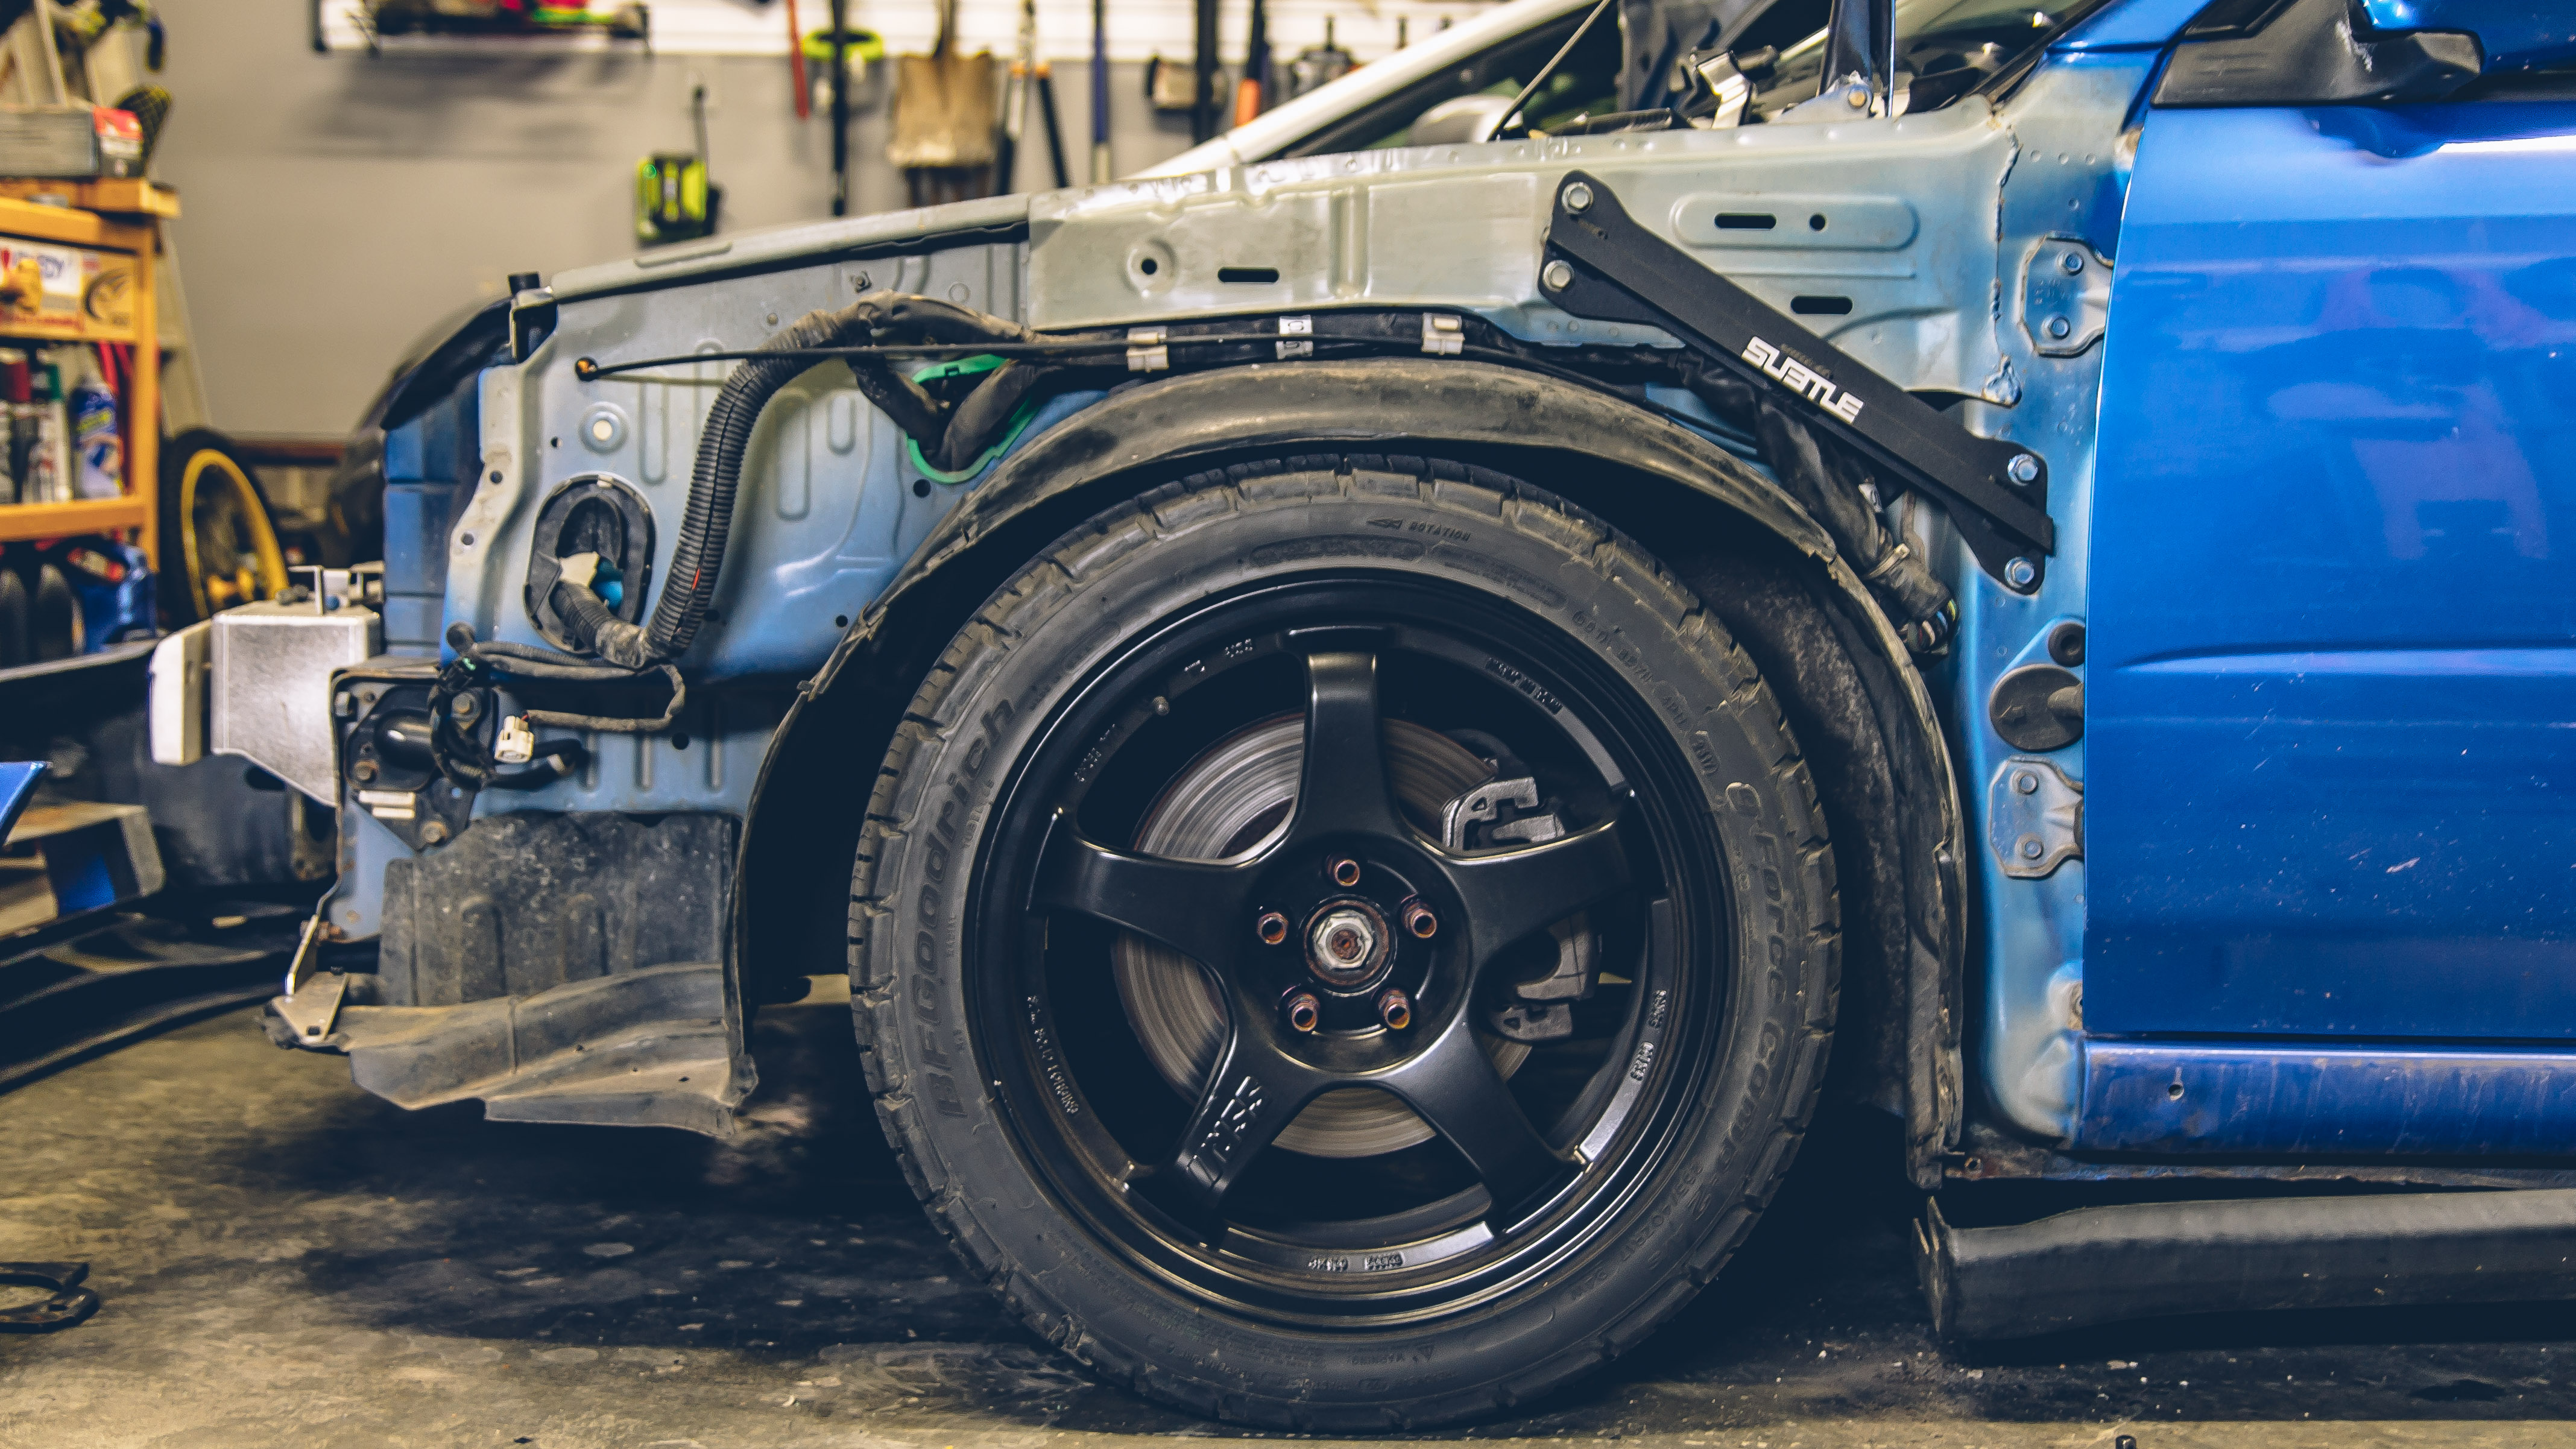
Fender braces are one of those modifications that provide a great bang for the buck. They can be had for around $100 and the steering feel/handling upgrade is similar to that of improving throttle response. If you like suspension response mods, put this one on your list. The only downside is the installation.
You can install these without removing the fenders, but I was planning to fix my fender liners and for illustrative purposes of this install, I decided to pull the fenders. Plus there’s that part of me that just likes to see how things are put together with my own eyes.
I initially purchased a Tomioka Racing Twin-Scroll downpipe, but they are back ordered for a couple of months so I canceled the order and decided to go back to making suspension mods. After getting some seat-time with the new wheel and tire setup, I can tell that the chassis is flexing a bit more, and I a was losing a bit of turn-in response.

So I placed an order with Kyle (kyle@subieworks.com) and the braces arrived the next day (that Kentucky RSD warehouse rocks!). I tend to install parts immediately, but I came down with something (thankfully not the flu) so I had to wait until that moment passed.

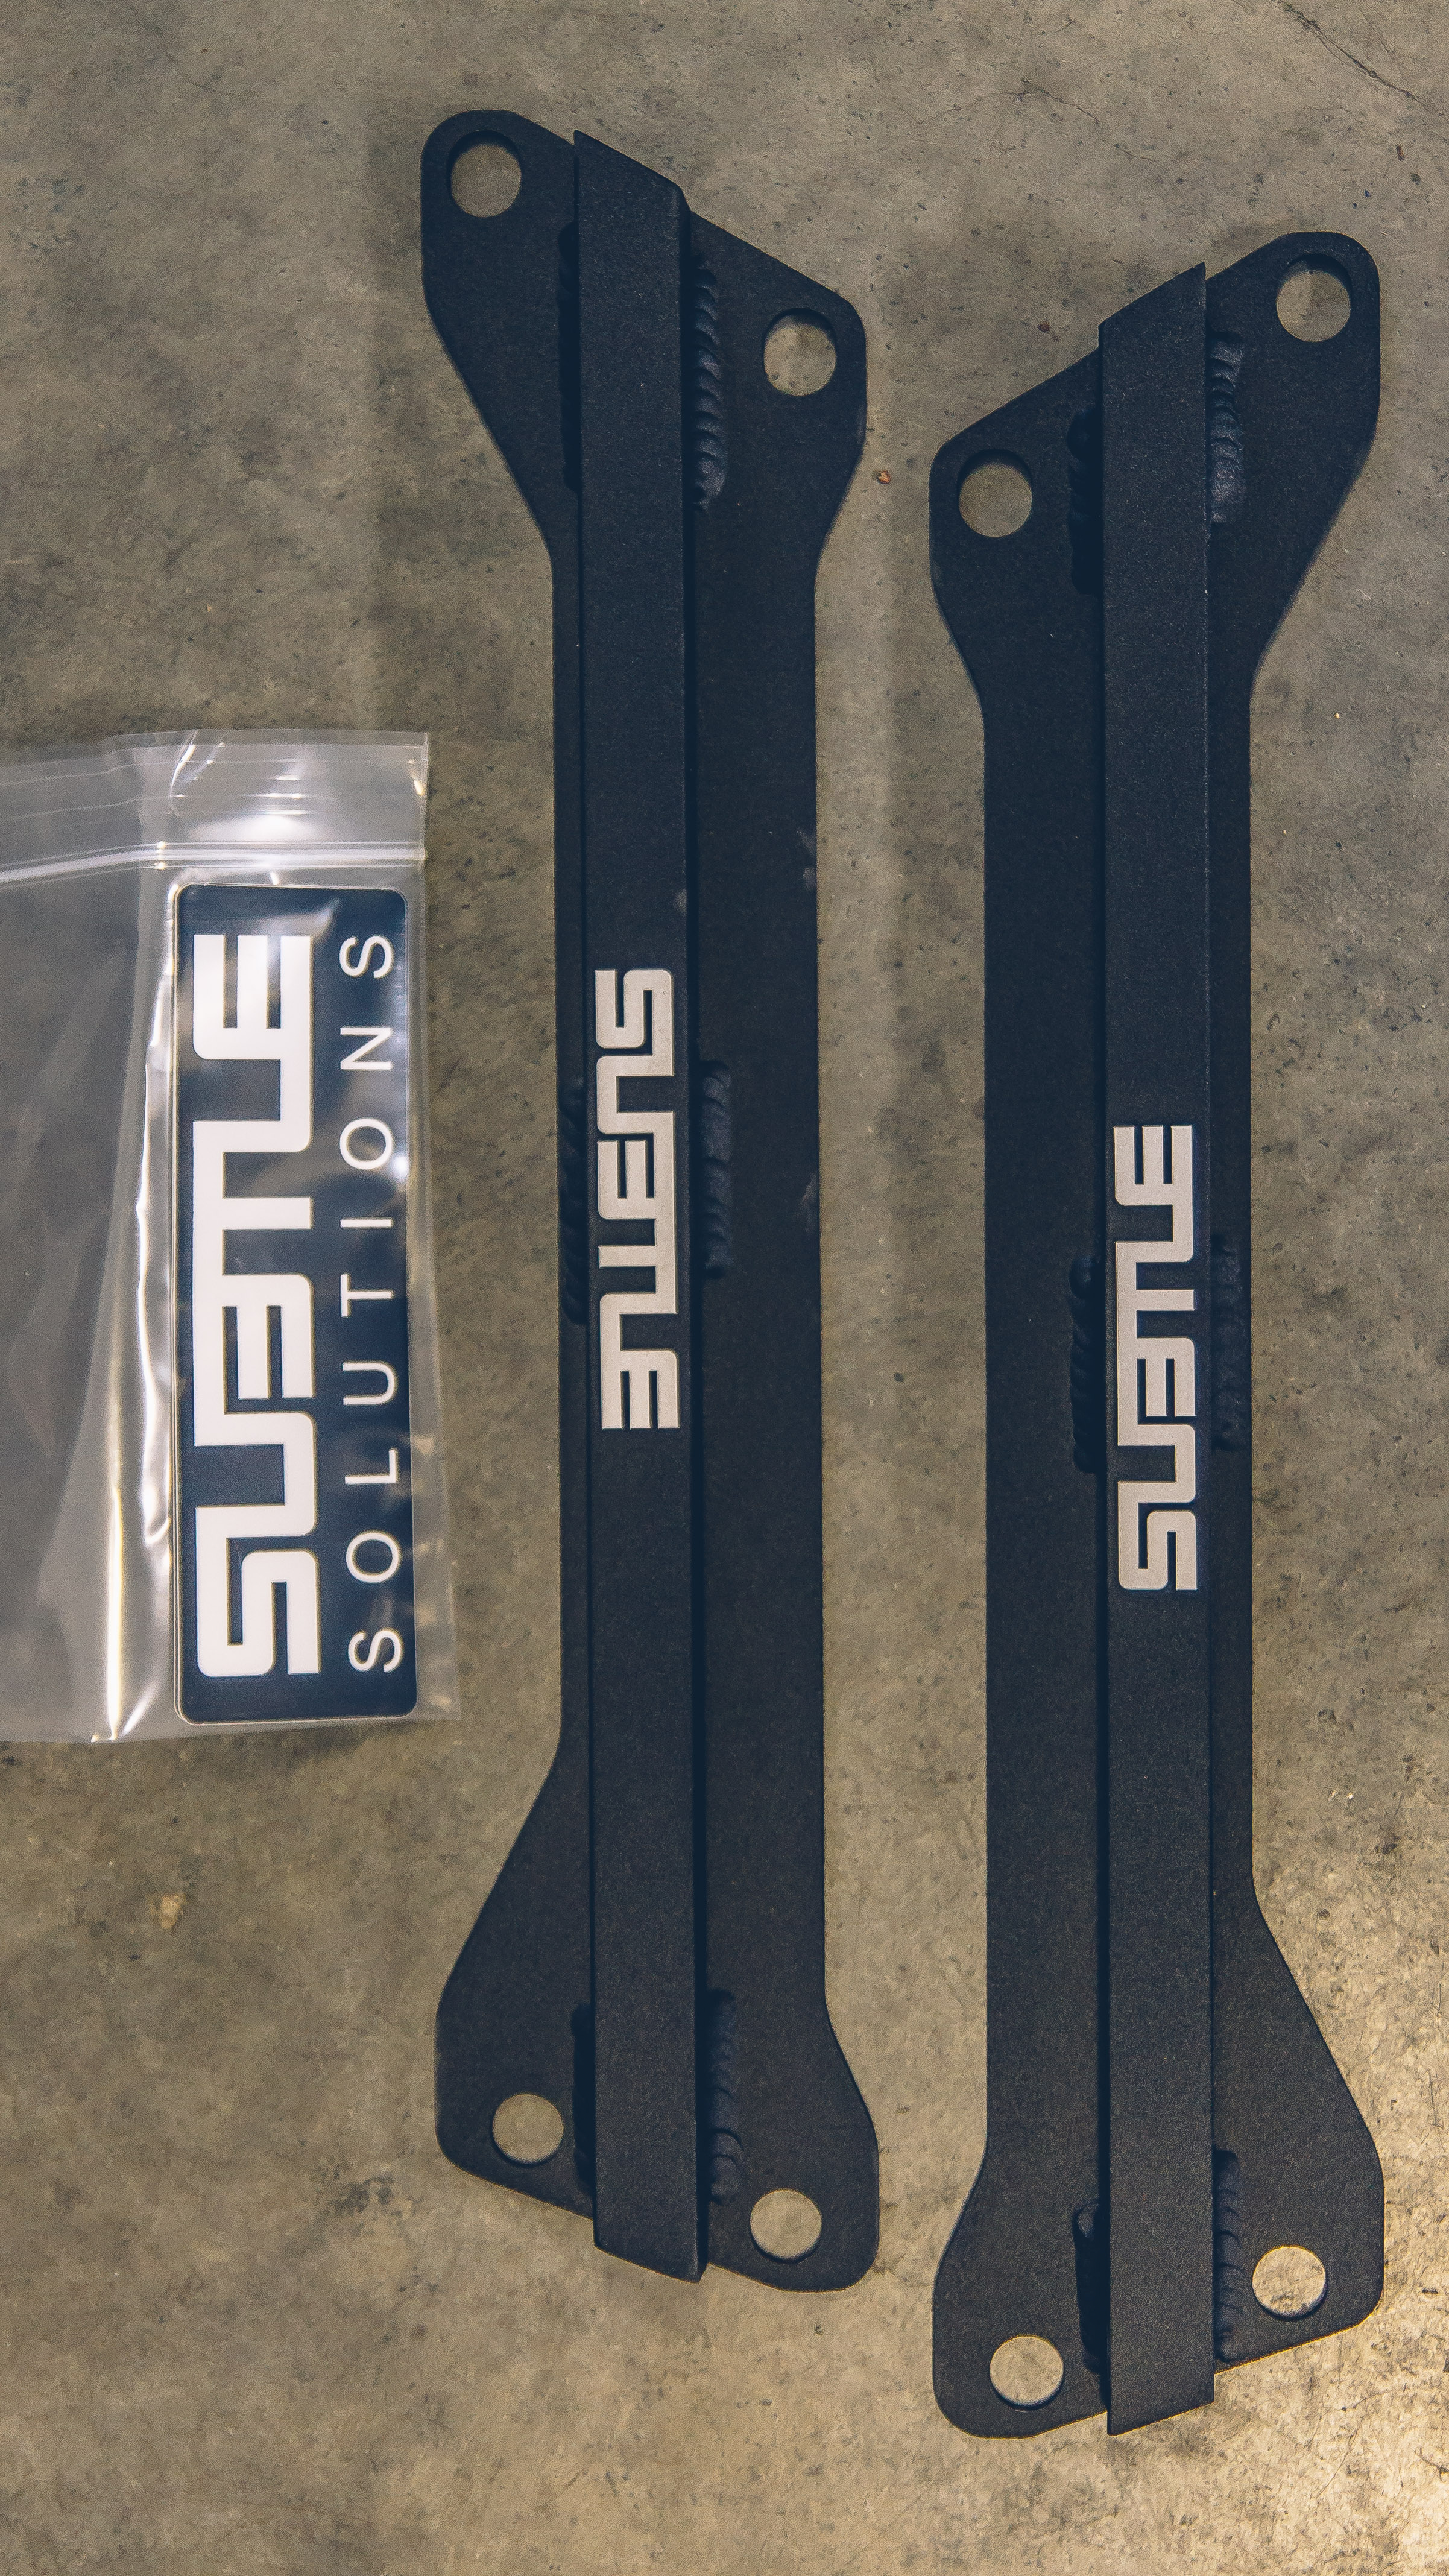
The Subtle Solutions fender braces are the more expensive two-point braces out there. GTSpec makes my favorite fender brace design, but many of their parts are discontinued (even if they show up in a vendor’s system). Now if the Subtle braces don’t make a huge difference, Ultra Racing makes a 3-point brace that works in conjunction with the stock brace. I would try to run it with the Subtle Solutions brace.
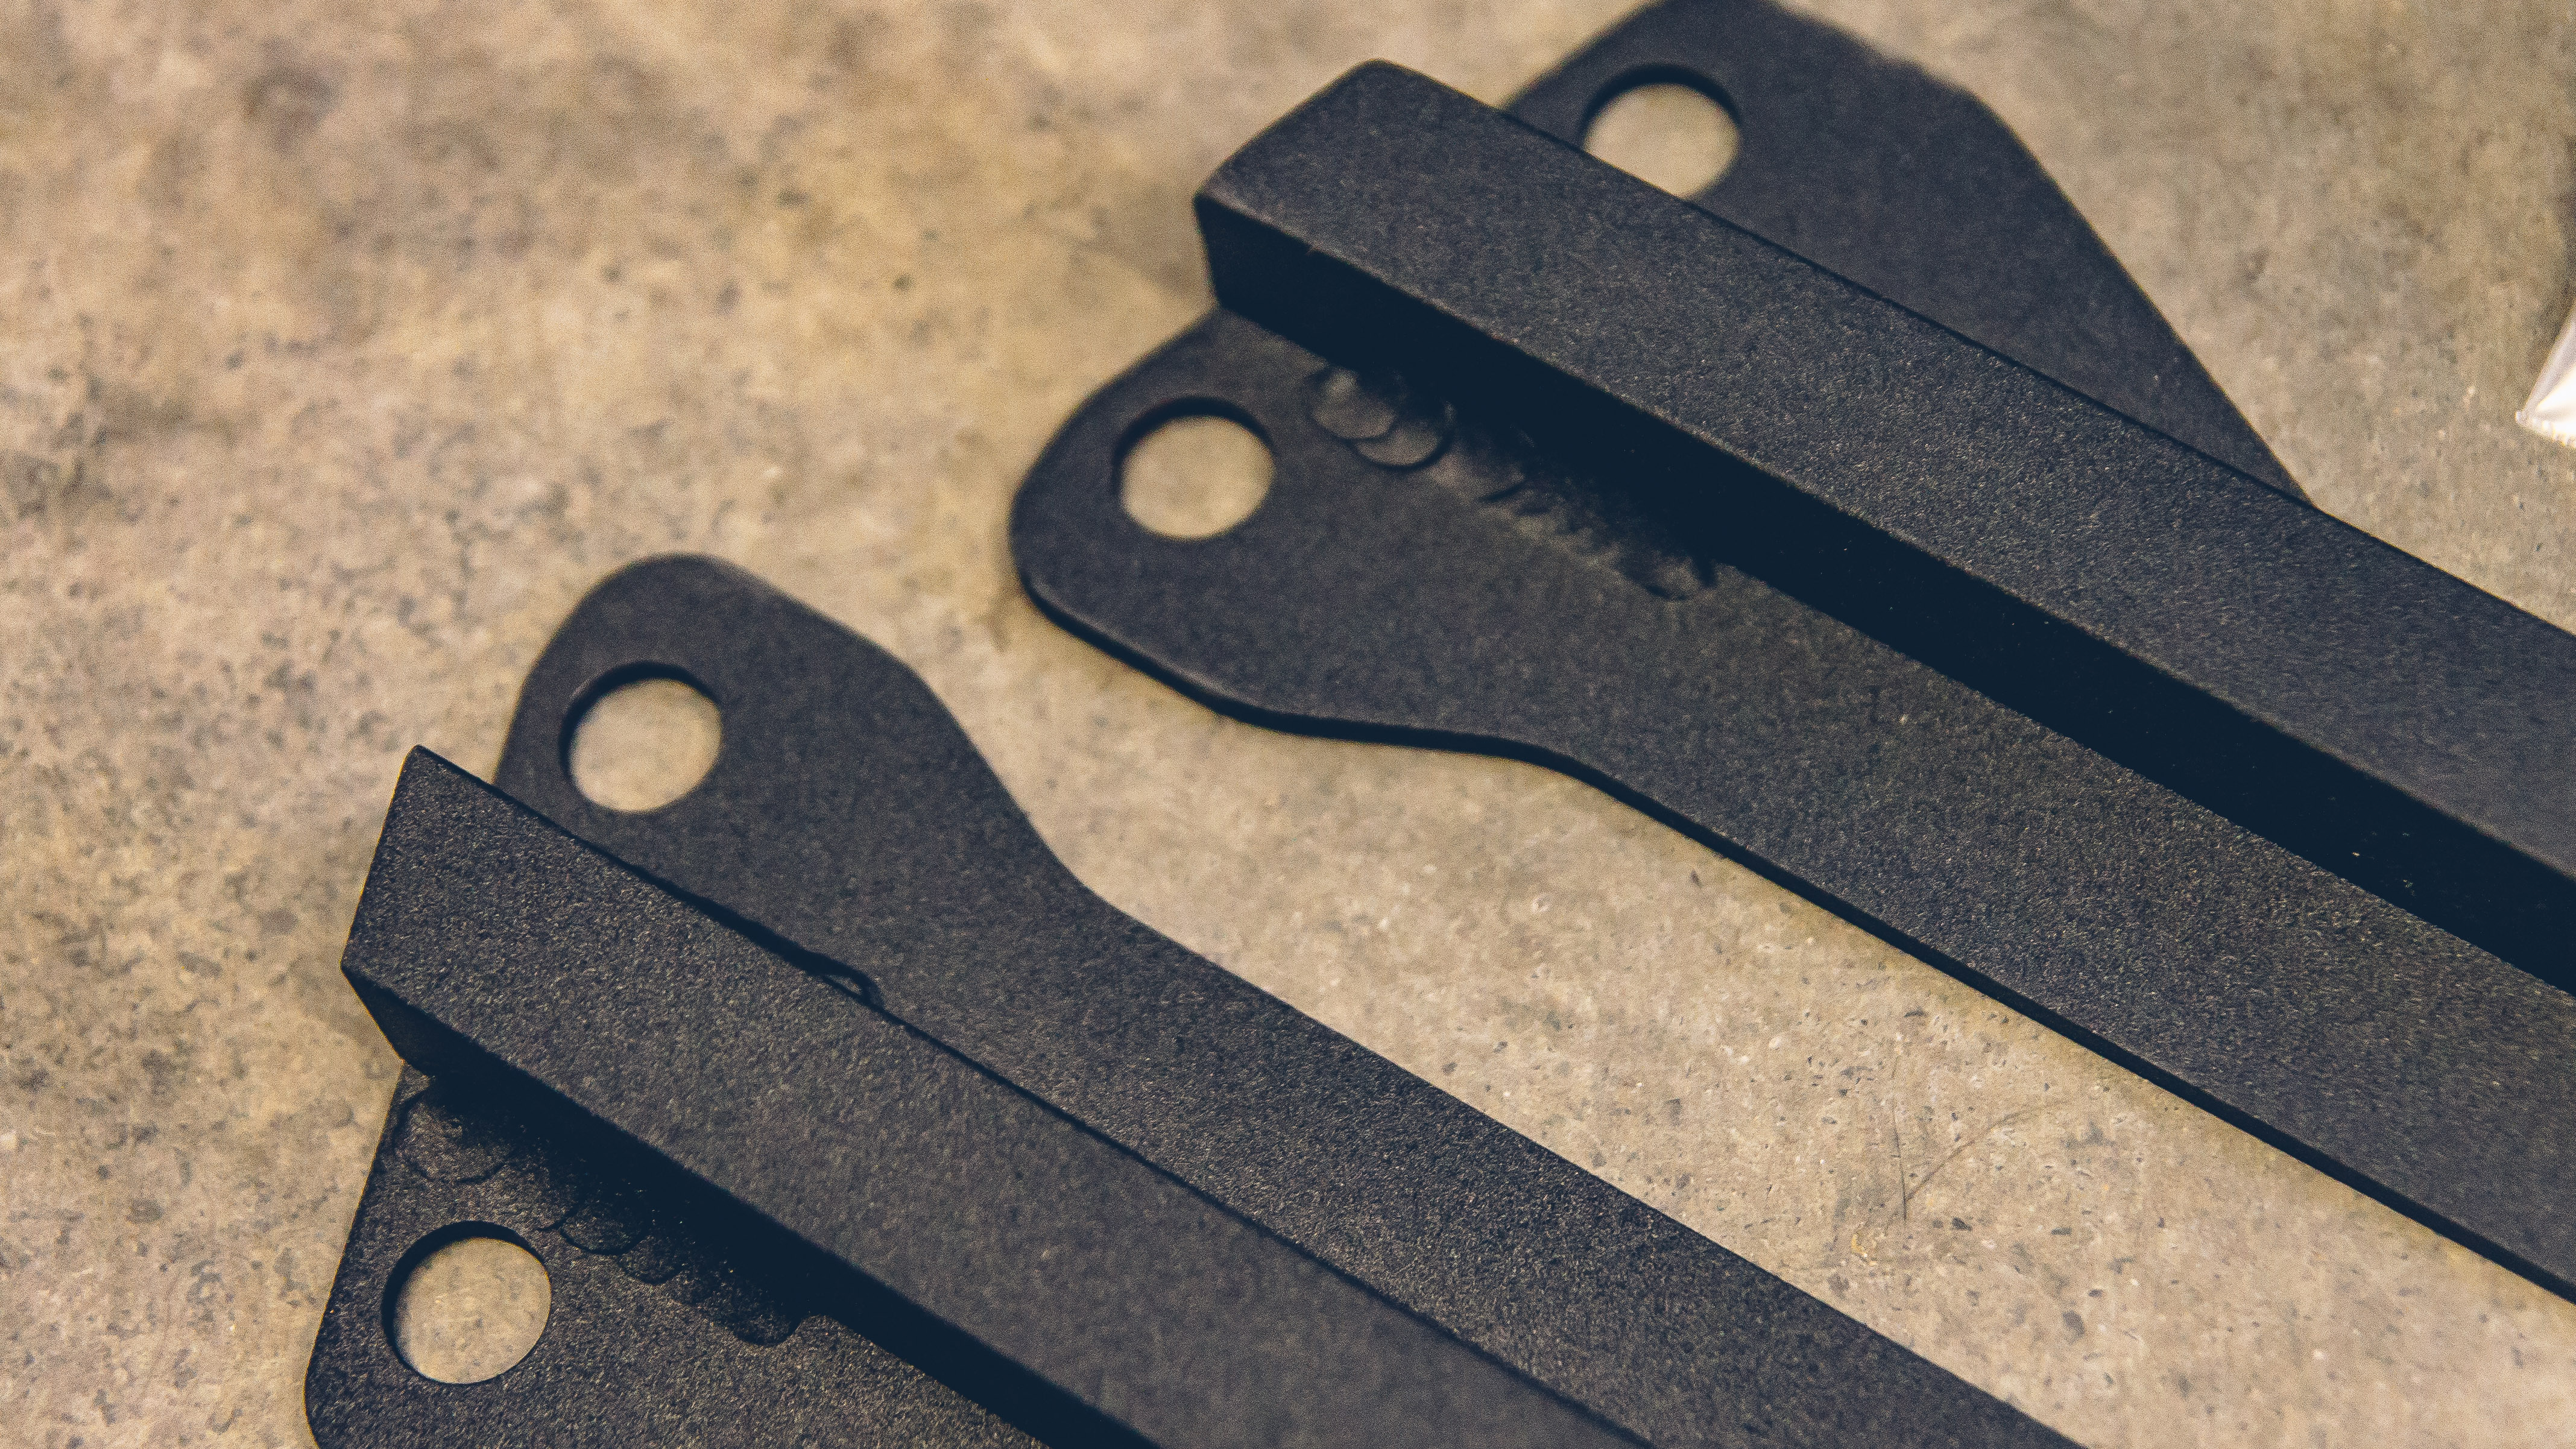
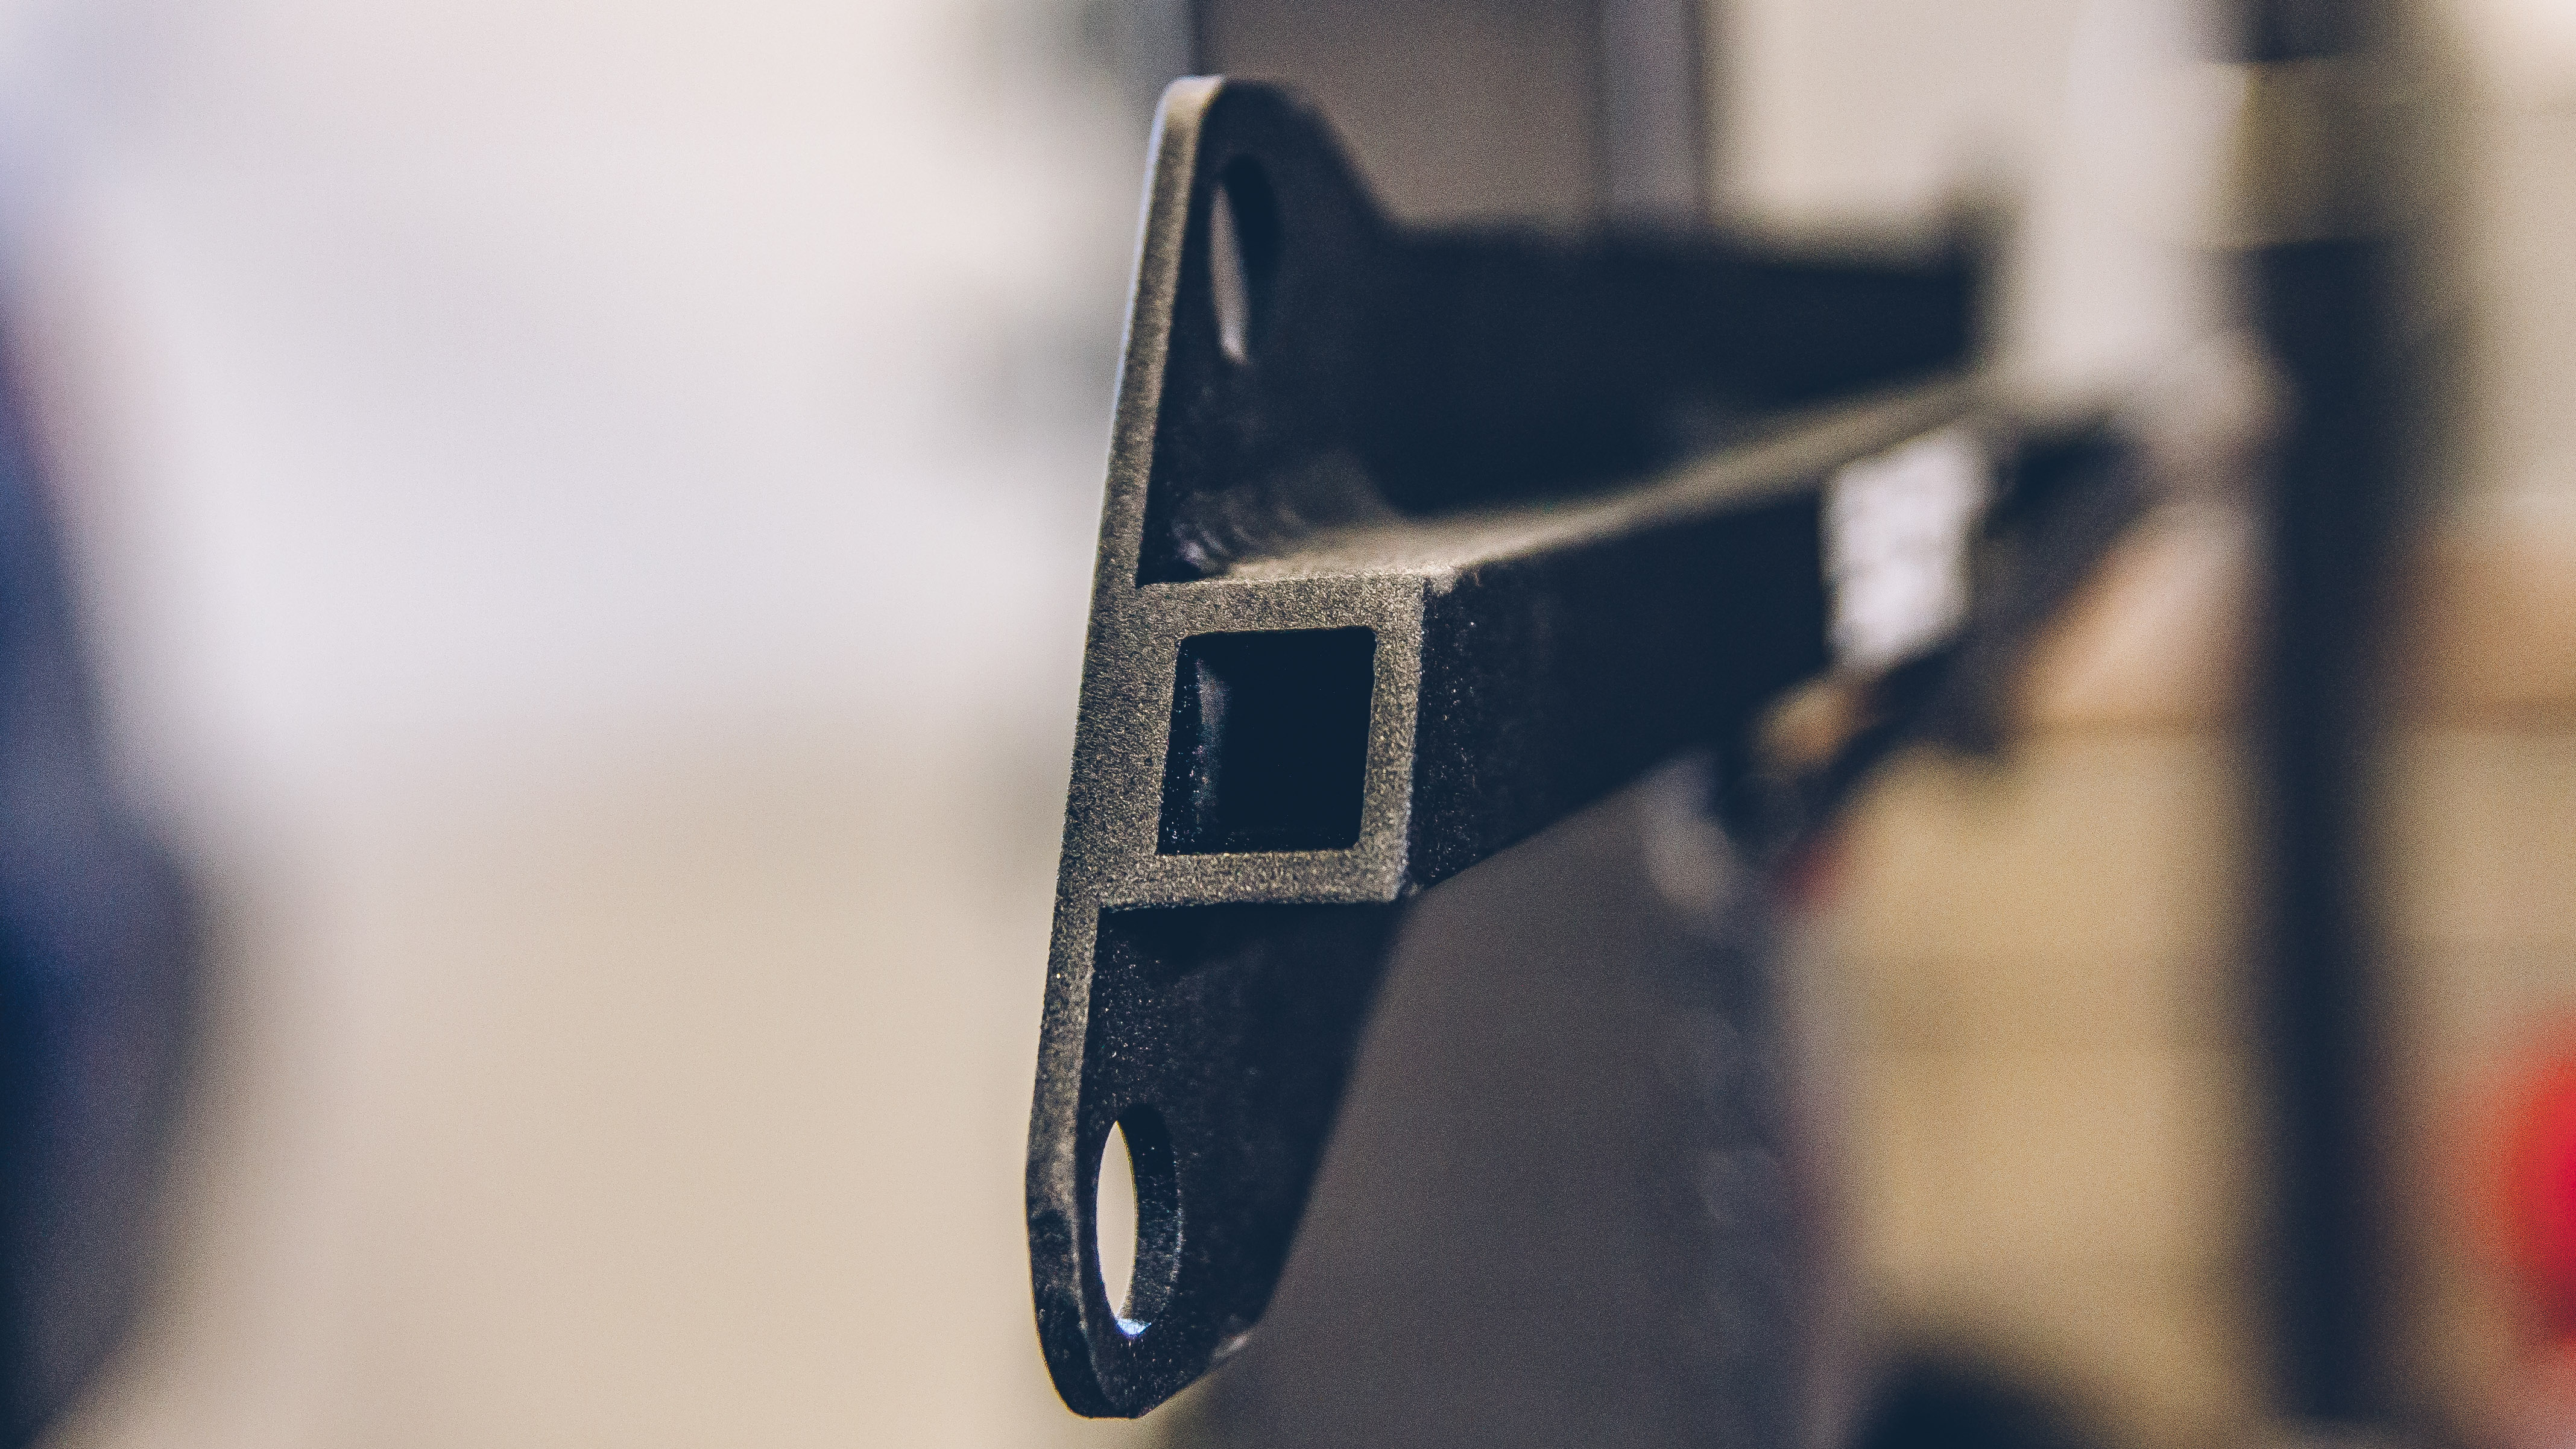
Additional Photos


The next morning I was itching to install the fender braces so I got right to it. The first thing to do is to remove the grill; then the bumper (probably better to remove the headlights second); and then the bumper. This video is a pretty good guide on removing the fenders on a Bugeye.
Installation
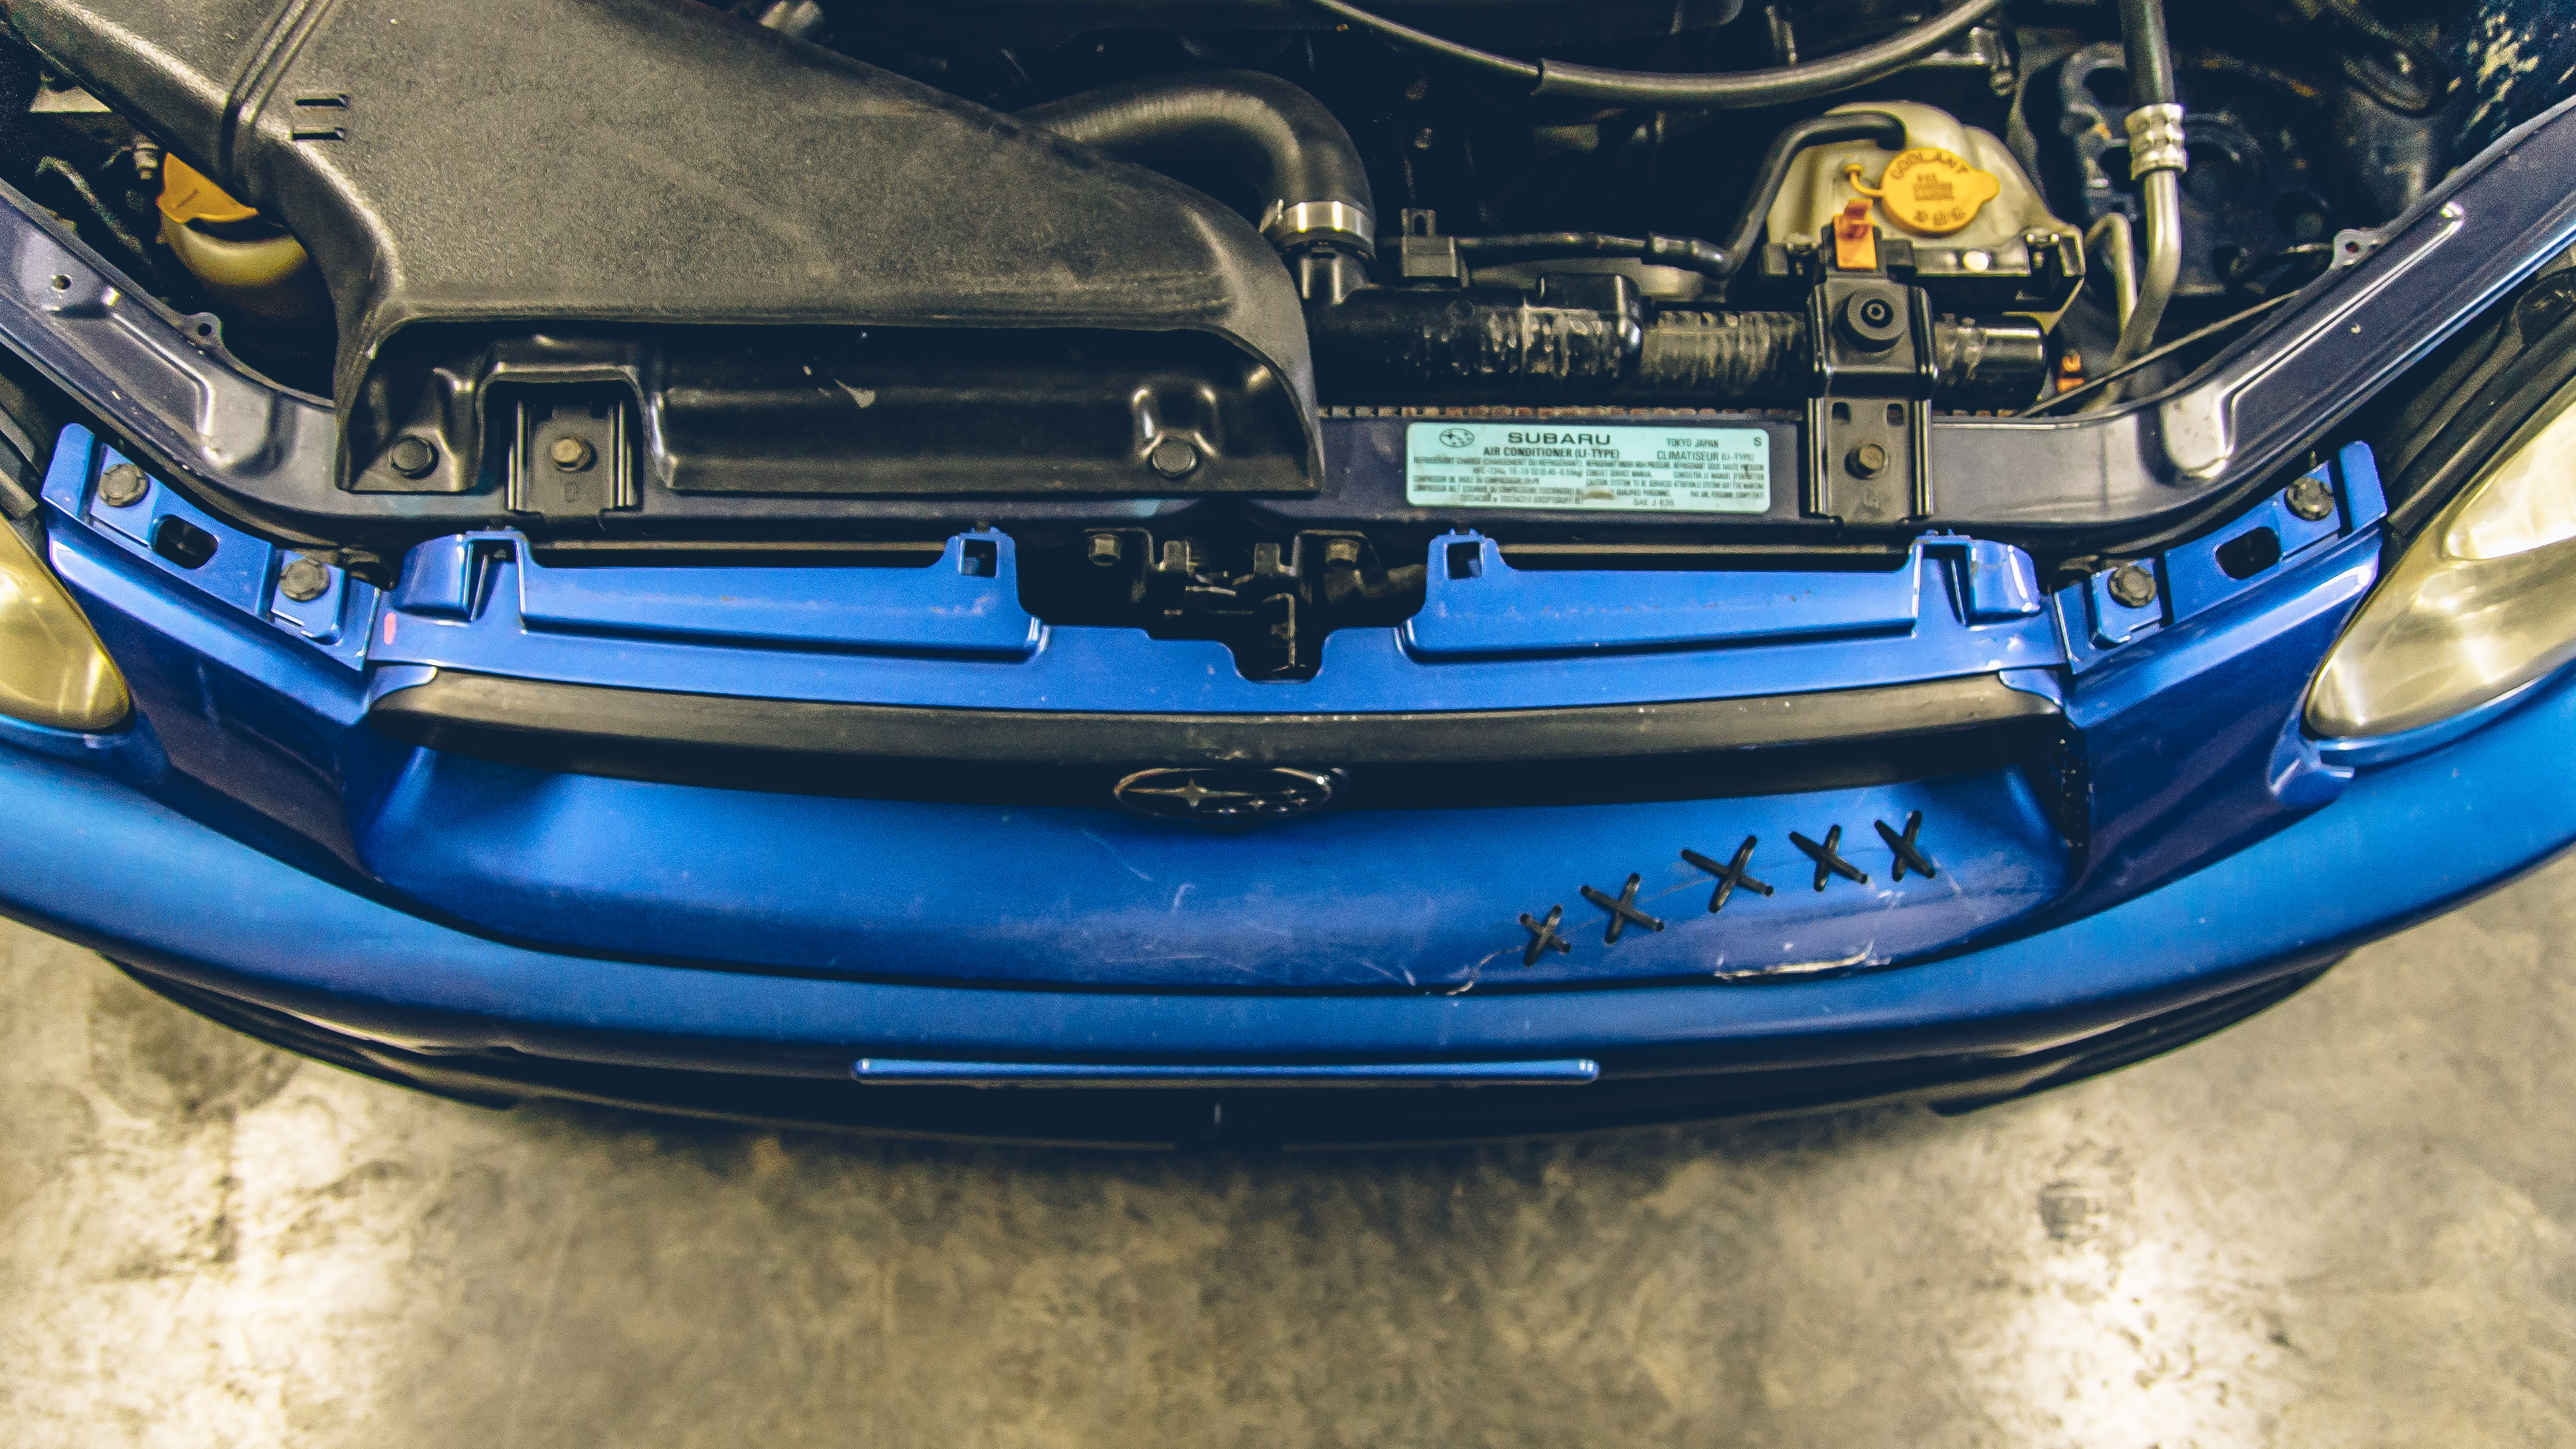
Most GD grills are broken somewhere so removing is pretty easy. On my broken JDM grill (working on a blog post for it) there are just the four push clips and four tabs (one’s broken) and the grill comes right out.

This exposes the remaining five push clips along the front of the bumper.

Next is probably the worst part of removing the bumper. Removing the push clip holding the bumper to the fender. It is a PITA to access without removing the wheel and the fender liner but it can be done. It’s just an awkward angle with a stubborn clip and you are working blind. Once this clip is removed, the bumper can be peeled off.
With the bumper on the ground, I realized I needed to remove the headlights to gain access to a fender bolt. The headlight had three bolts and a retaining pin holding it in place.

With the headlight removed, there are seven 10mm bolts for the fender. Two are behind the door, one is behind the side skirt, and one is behind the headlight. With the 10mm bolts removed the fender can be lifted off the car.
And with the fender removed, the fender brace can be directly accessed; from here there are four 14mm bolts holding the fender brace in place.
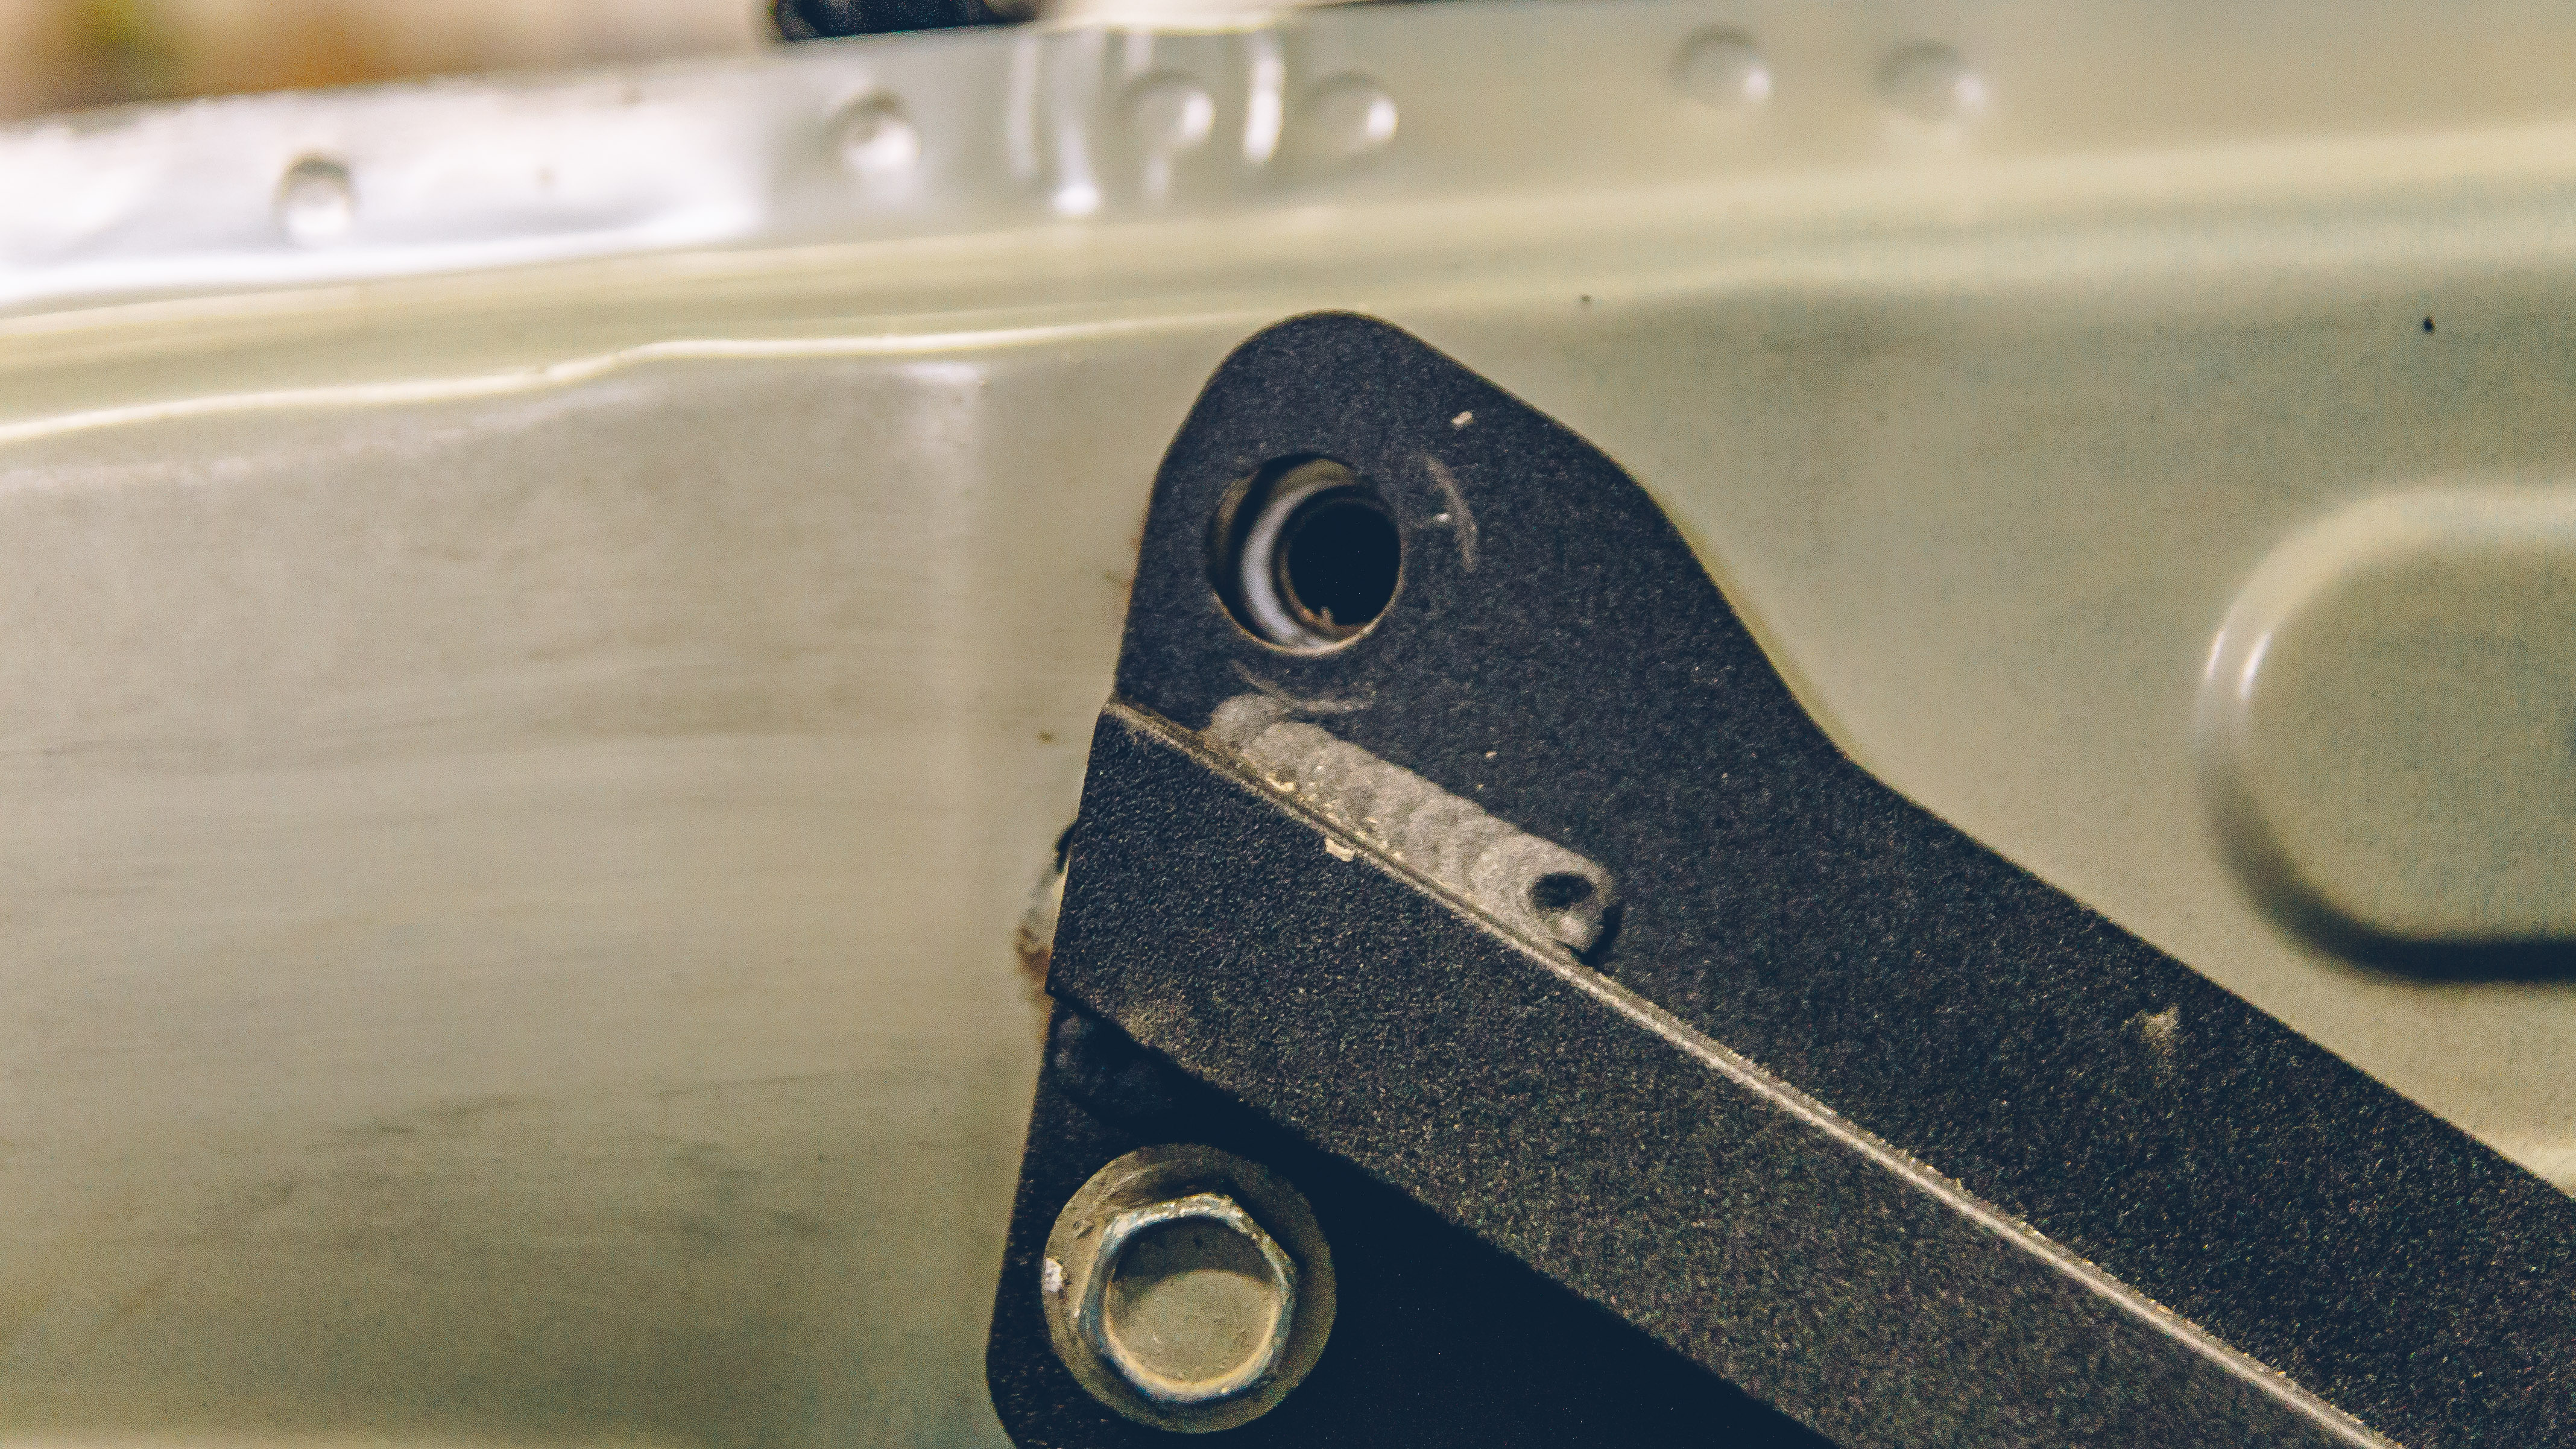
The only issue I encountered was lining up the driver’s side brace. I could only line up three out of the four bolts. A few seconds with a file fixed this issue. Obviously, it would have been nicer to not have to modify a part but that’s the life of car enthusiast.
With the bolt holes all lined up it’s time to tighten down the 14mm bolts to gutentight specs.

Repeat the same process on the passenger side.

After finishing the passenger side, I decided to patch up and trim my fender liners. In the process of fixing the liners, I noticed that both were missing a screw at the top of the fender liner. Since I couldn’t quite get my hand in there, I raised the car up with a jack for access. Before the wheels left the ground I heard a loud pop! I couldn’t figure out where it came from so when to put the screw into the fender liner when I noticed something was off.

My spring broke in two! What the what!?
After realizing that my WRX was going to be down for a few days I stopped working on it; I was taken aback. I had to figure out what I was going to do. How I was going to do to fix this problem, how I was going to get to work and how I was going to get to class.
I considered going with Ground Control Coilover Conversion but they are out in Cali and I don’t have time to wait a week at least for the parts to arrive, assuming they ship quickly in the first place. Nor did I want to introduce another potential issue into to mix. I just wanted my car to be back to the way it was.
In the end, I decided just to order another set of RCE Yellow Springs from Kyle. The parts are in RSD KY warehouse, so if they ship on Monday they should arrive on Tuesday. Hopefully, they arrive early enough for me install the front springs before it is time for me to head to class. I can install the rear springs at later date. I also ordered new clips for my side skirts.
The review portion of the Subtle Solution Fender Braces will have to wait until my placement springs arrive.
Cheers!
