In my previous post, I mentioned that my front driver’s side RCE Yellow spring broke.
https://www.instagram.com/p/Bev5RsXFrNi/
So I placed an order with Kyle@Subieworks for another set of RCE Yellows. RSD shipped them out promptly, and the package arrived on Tuesday, I took off early from work to get my car back on the road.
I had a plan: put the front springs on super quick, and drive to class later that evening; and install the rear springs at a later date. I have pulled the front struts off a hundred times without issue; this time will probably be no different.
I was at work when I got a notification that my parts had arrived. So I took the day off as I had a busy week ahead of me. Opening up a car parts package is like a mini-Christmas or birthday present; except when they are the wrong parts.

I was sent a seat bracket for a Toyota Corolla instead! Not even close. I’ve been sent a slightly wrong part before and I usually just make it work. However, there’s nothing I could do with this seat bracket. Thankfully, Kyle contacted RSD and they shipped out my springs next day air. I still had to figure out how to get to class but at least they were fixing the issue to the best of their abilities.
The next day, while I waited for the springs to arrive, I decided to go ahead and pull off the front struts off and assess the damage.

The broken spring was clearly broken for a while. I suspect the only thing holding it together was the sleeve on the spring and the bump stop (which was damaged). I did some research and it looks like this was an early spring; RCE changed the isolator design due to the potential of entrapment of water; rusting out the springs.

My springs arrived early and I got right to work.

This was also a good time to swap out my upper spring perches and conical washers with the newbies I purchased awhile back because of my bad Whiteline Top Hats. 
In the interest of making sure I got done in time, I didn’t take any photos of this process. I did have to break down the struts to access the bump stops. I believe it was a 14mm nut on the bottom of the strut.
With the struts apart, I went ahead and re-greased the inner struts. Instead of a quick spring swap, this turned into a front strut rebuild. After putting new grease in the front strut housings, I reassembled the complete strut assemblies with new bump stops, springs, perches, and conical washers. Since these top hats were replaced fairly recently, I think I can say that these front strut assemblies have been rebuilt.

With the front struts reassembled, it was time to put them back on the car. I find that it is easier to loosely install the top hat nuts first, then attach the knuckle bolts. 
Don’t forget to torque down all of your critical bolts afterward.

After the struts are reinstalled with new parts, the wheels are reinstalled and the car can be placed on the ground once again.

Following a test drive with no pops or creaks, it was just about time for me to go to class. I considered this install a success.
Except I didn’t have to go to class that day; I was mentally on Tuesday time.
Rear Spring Installation
After that realization, I went ahead and installed the rear springs as I wanted them to settle at roughly the same time as the fronts.
Step 1. Remove the rear seats. There are two 12mm bolts hold the lower portion in place and four 12mm bolts holding the upper seat. If you have an access panel to the trunk, remember to let that down before attempting to lift out the seat. Been there, done that.
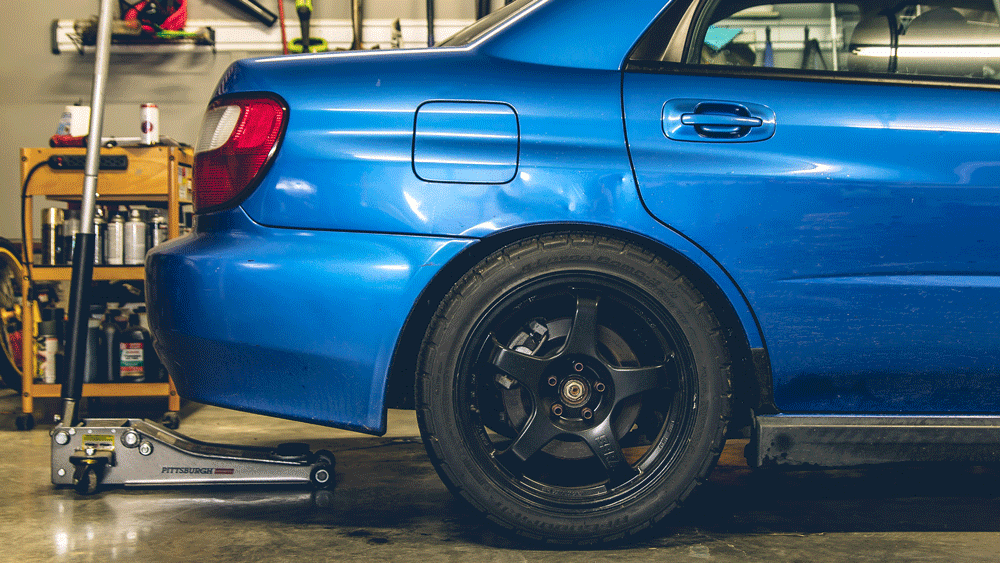
Step 2. Raise and support the rear of the car on jack stands. I use the rear diff as a jack point. 
Step 3. Remove the rear wheel(s).
Step 4. Remove the three upper 12mm nuts on the struts. The one that is the furthest back is totally annoying to remove. Access is very limited so you get about one click per turn on your ratchet. I hope you have your jams jamming.
Step 5. Remove the u-clip holding the brake line to the strut; then remove the two 19mm lower strut bolts and pull the strut assembly out. 
Step 6. Compare and contrast old springs with the new ones.

Does my strut look bent in this pic? Cuz… it looks bent in this pic.
Step 7. Remove the top hat (17mm nut). Spring compressor isn’t really needed. Note position of the top hat to the strut.
Step 8. Remove the old springs and place in recycling bin.
Step 9. Install new springs. Spring compressor might be needed.
Step 10. Reinstall top hats. I regreased my struts via a zerk fitting since they were beginning to clunk again.
Step 11. Reinstall all the parts! Double-check your work and torque down all of the bolts. 
Success!
Before reinstalling the rear seats, I like to go for a test drive and make sure there aren’t any noises that would warrant taking the seats back out to investigate. After you are satisfied with your work; reinstall the rear seats.
Review
After about a week of driving, I think the springs have settled. The ride height is slightly higher than before (eye test) but overall it rides smoother and handles much better. I recently went on a 4-hour round trip to central Tennessee driving nothing but backroads. I had passengers and everyone complimented how well the car handled curves and pothole alike. Despite the issues with the original RCE Yellow springs, I would recommend them to anyone looking for a strut/spring combo.


On another note, the mods are probably going to slow down until the end of the semester. The springs were an unforeseen purchase so I’ve blown my mod budget for a while. However, I do have one more mod on the way.
Stay tuned.
Cheers!
