Picking up where I left off on the v7 JDM STi grill in Part 1, it’s now time to remove the drift stitches and make this piece structurally whole again. Or at least attempt to.

The first area I wanted to address was the crack below the main stitches. With a sharp blade, I removed enough material so this crack could close on its own without too much pressure. 
And then I sanded the area down to prep it for epoxy. Looking at this pic, I probably should have sanded it more. Most of the paint has spider cracks so it all needs to be sanded down or stripped before I repaint it. 
And I applied the plastic epoxy to the lower crack and to a spot the main crack with the zip ties to stabilize the area. Once the epoxy cured, I removed the main zip ties and sanded down the areas. I didn’t go too crazy with sanding because I wasn’t sure how strong the epoxy was.

Added mesh backing for extra support. 
And applied a decent amount of plastic repair epoxy. 
One benefit of starting on the back of the grill is the epoxy works its way through to the front, including most of the holes I drilled for the zip ties. I tried to smooth this side out but the epoxy cured pretty quickly. 
Dealing with excess epoxy isn’t a big deal since this stuff sands pretty easy with 80-grit paper.
After this first round, I was curious how the grill fit without those zip ties.
This part of the grill is probably had the worst damage. It was cracked in multiple places and there was giant dent right next to this area; most of the dent came out on its own with a heat gun. You can still see what’s left of the dent below. 
Most of the zip ties were melted into the grill from when I used the heat gun to remove the dent from the grill. These were smaller zips so I guess they couldn’t handle too much heat. I just sanded down that mess before using the epoxy.
I don’t think I needed the mesh backing here but it kind helps hold the epoxy in place.
The outside is more troublesome to work with. I can’t get my sanding block or orbital sander in there so this was and will continue to be a slow and tedious process until I locate a tool that will work well in this area.
One of the few remaining clips was hanging on for dear life so I applied some epoxy to it and used tape to hold it in place while the epoxy cured.
One of the last areas was the side of the grill next to the driver’s side headlight. This section was binding up so I removed enough material until it fit together easily. 
It still needs work on this side but the piece is solid now. The remaining work is essentially cosmetic; except I ran out of epoxy. 
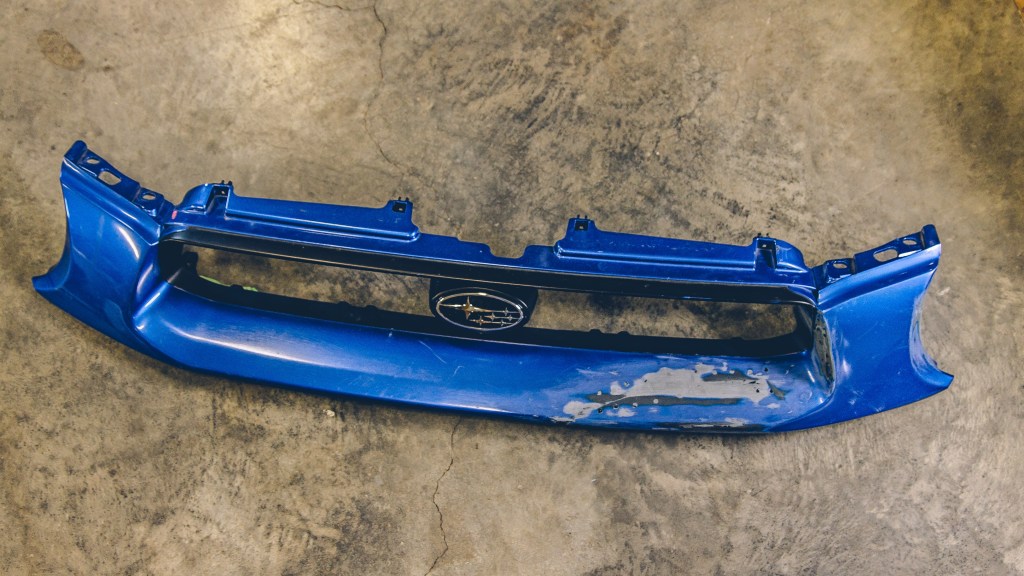
Overall, I am pretty happy with how this is turning out. All of the zip ties are gone and the grill is as far as I know, structurally sound. Now it just needs some more cosmetic work and then some fresh WRB paint. 
One thing that surprised me is how much better the grill fit on the driver’s side. It’s missing two brackets on that side and yet the gap over there is nearly closed. Before it was about a half-inch gap other there. 

Cheers!
