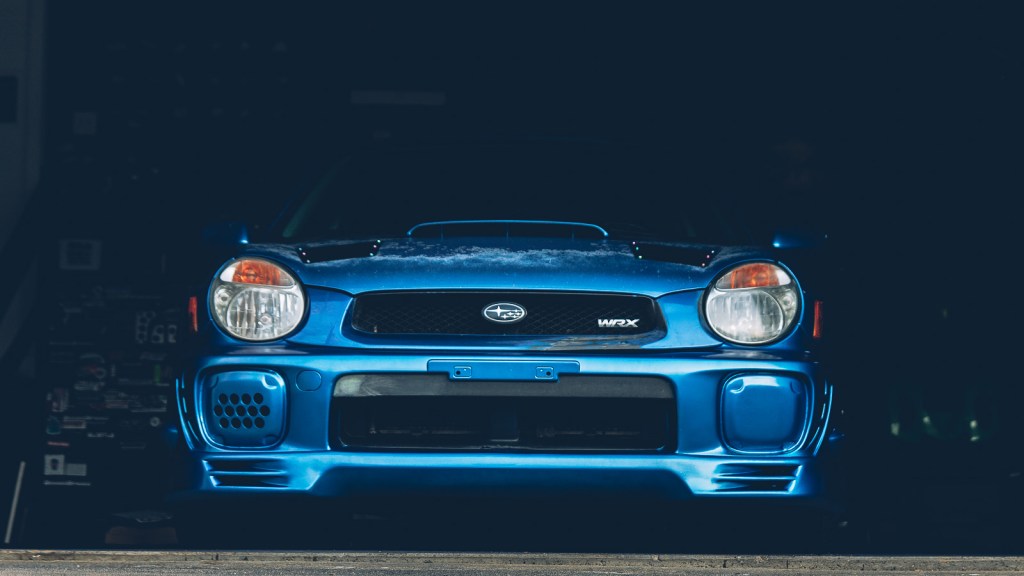
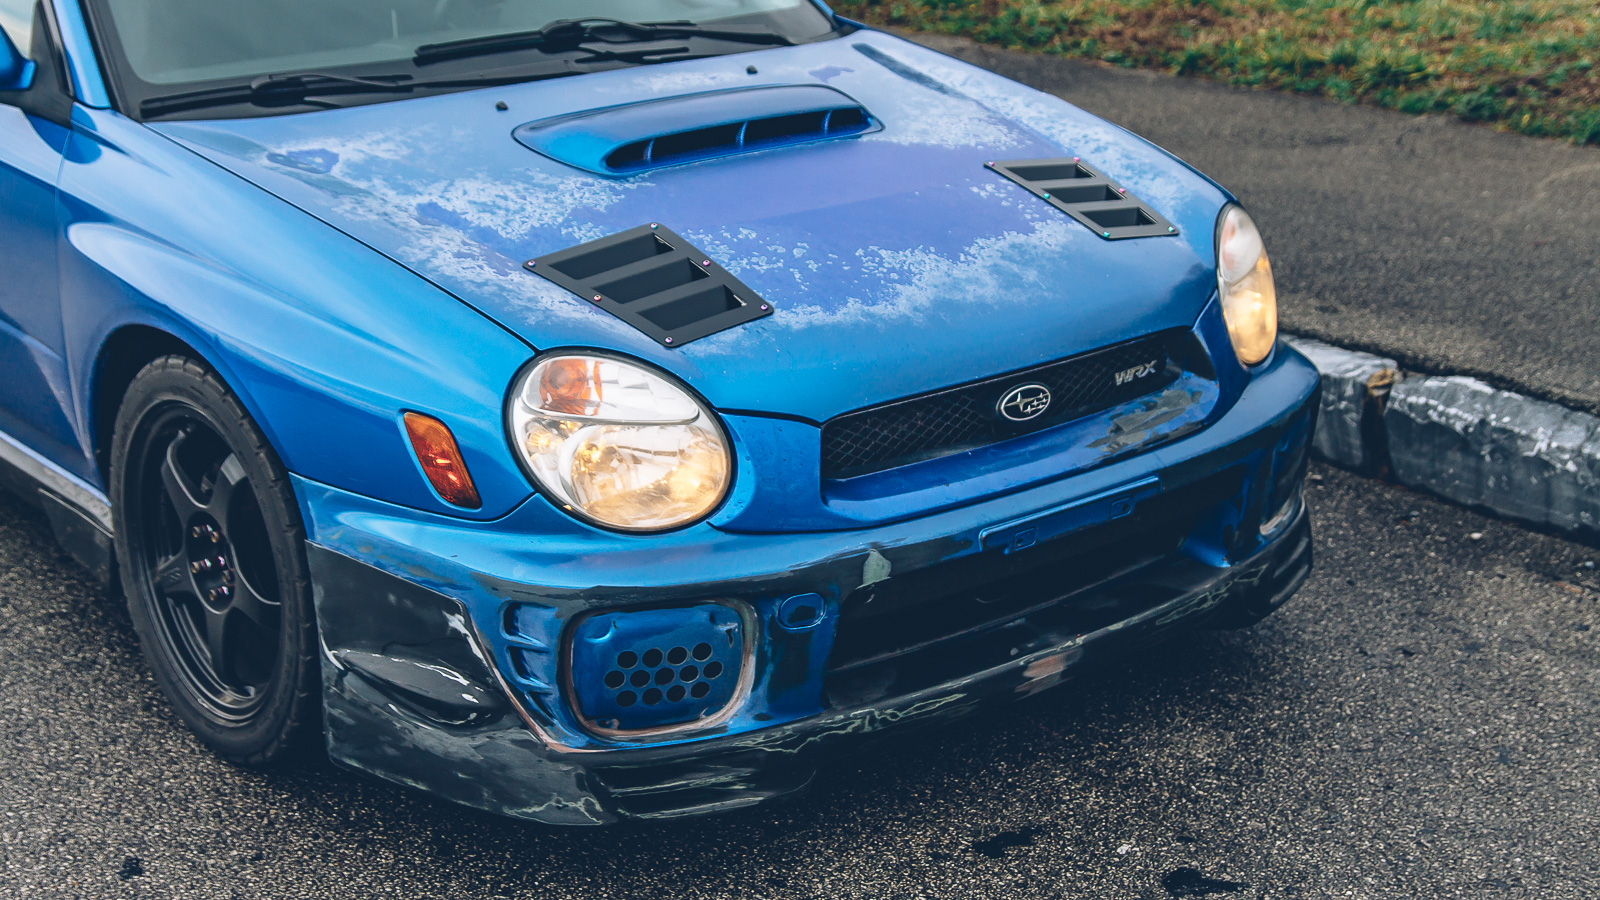
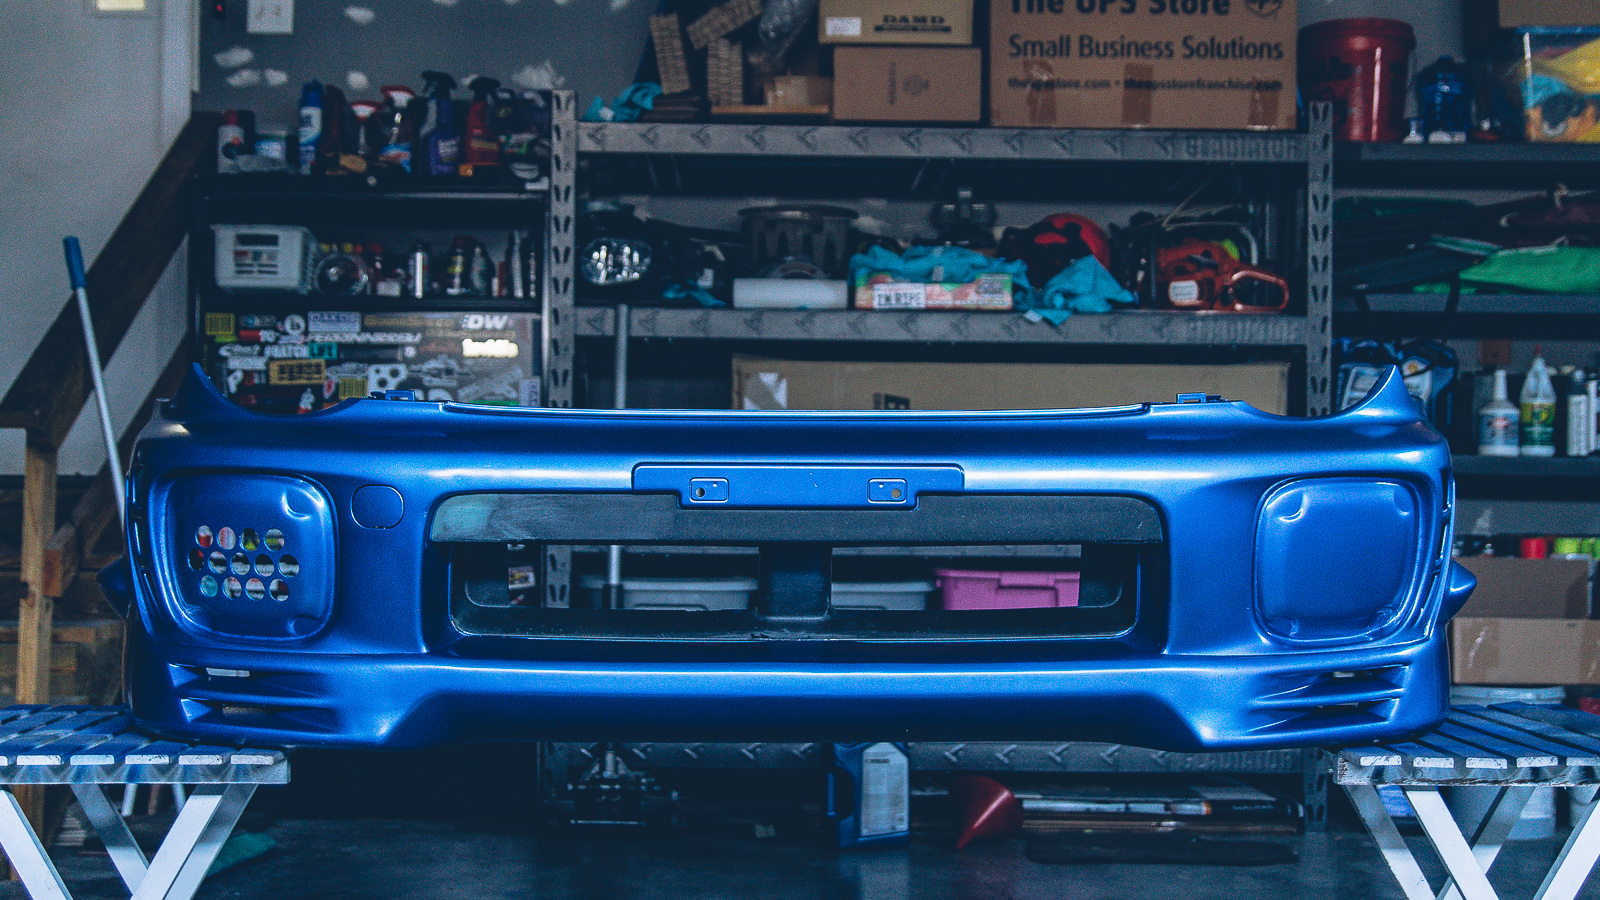
Picking up from Part 1, we are going to continue working on the front bumper.
 Install: 2003 WRX Front Bumper Modifications – During the semester winter break, I knew this would probably be my best time to get some modifications done. And since I want to spray the front lip and bumper during the spring, I figured I should probably get a big jump on prepping those items for paint. First thing first, weigh the bumper of […]
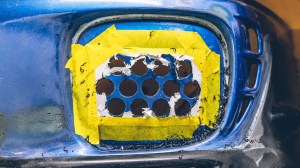
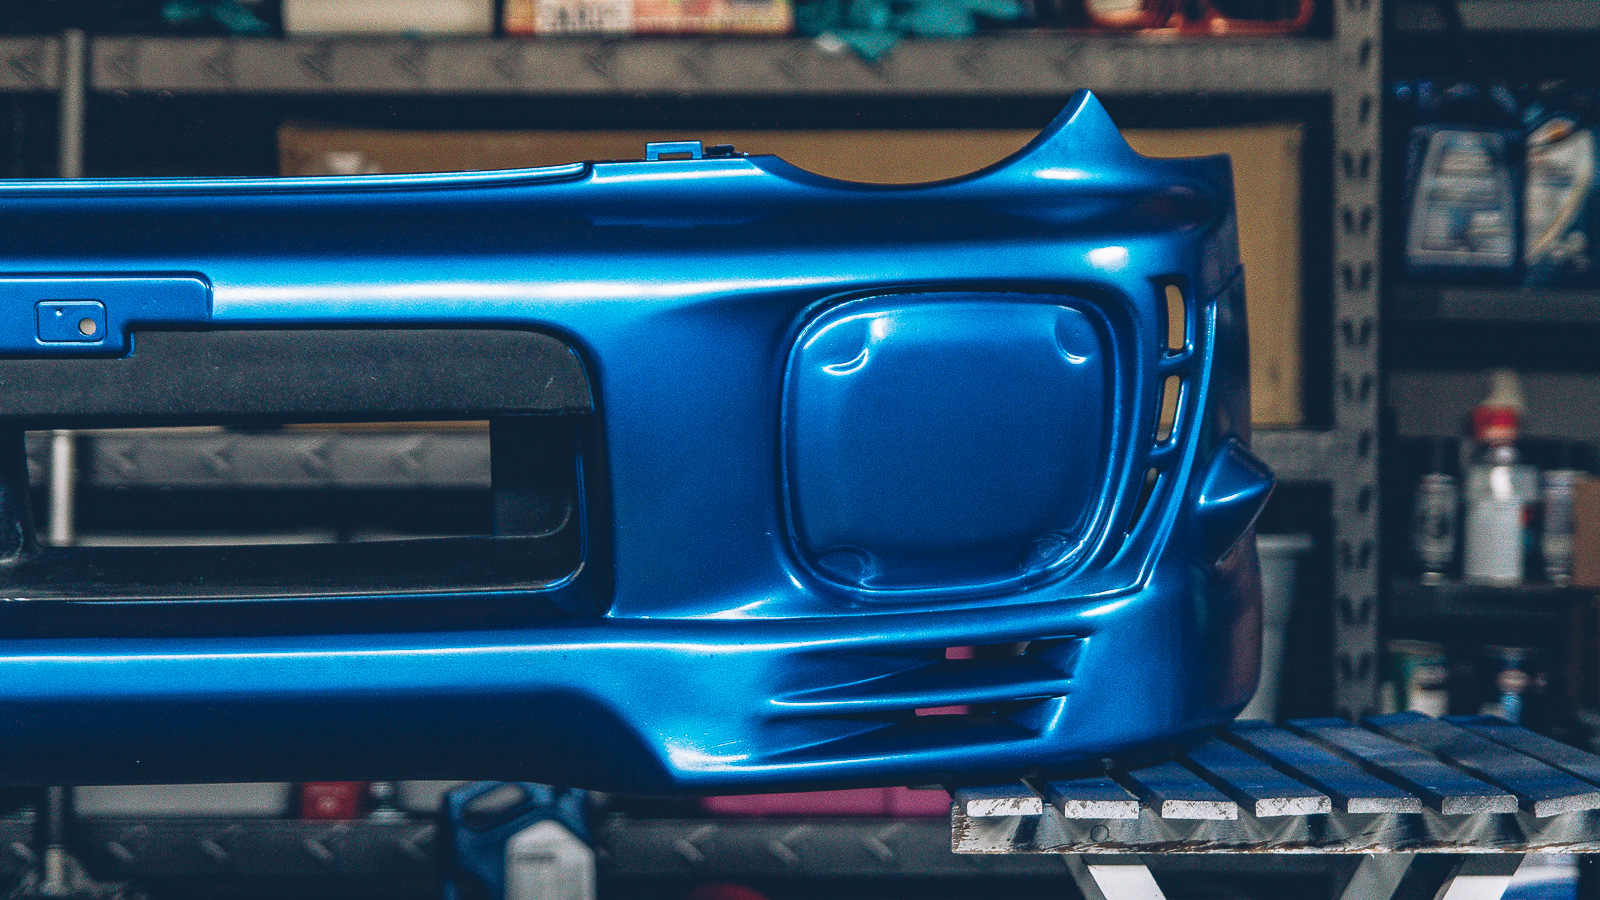
For the fog light covers, I didn’t like the way it looked around the edges or I didn’t trust if the paint would stick to the adhesive so I added a layer of Bondo Glass around the covers.
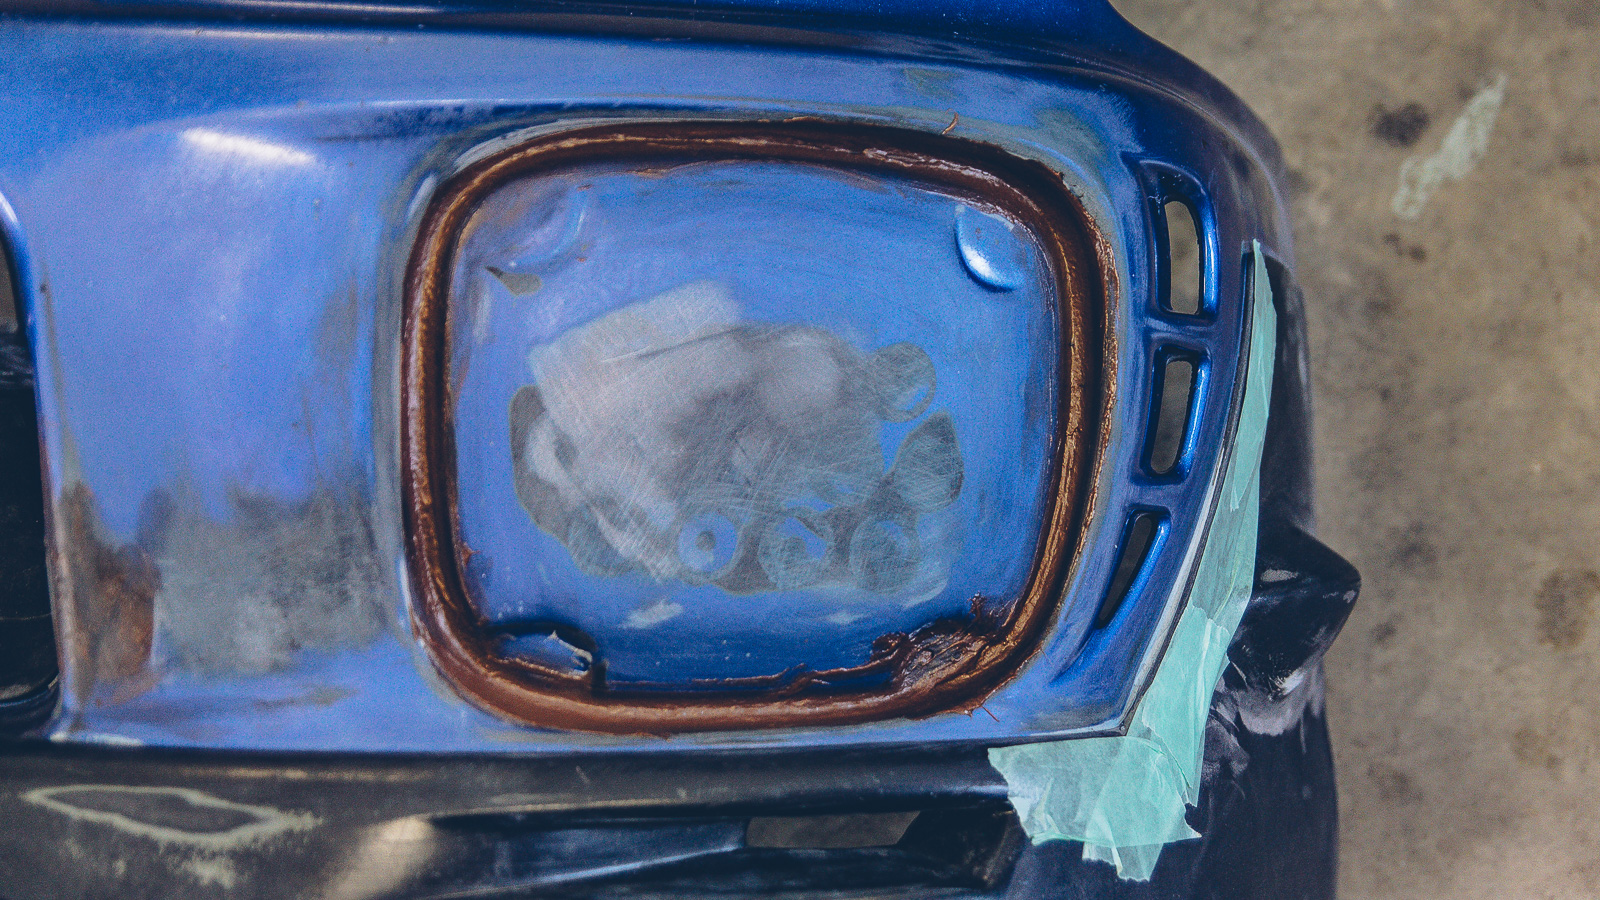

Next, we just sand down and reapply as needed.
Because it is impossible to cross-sand in the edges of the covers, I ended up with a bunch of waves; which required more Bondo and more sanding. They still aren’t perfect, but good enough for me.
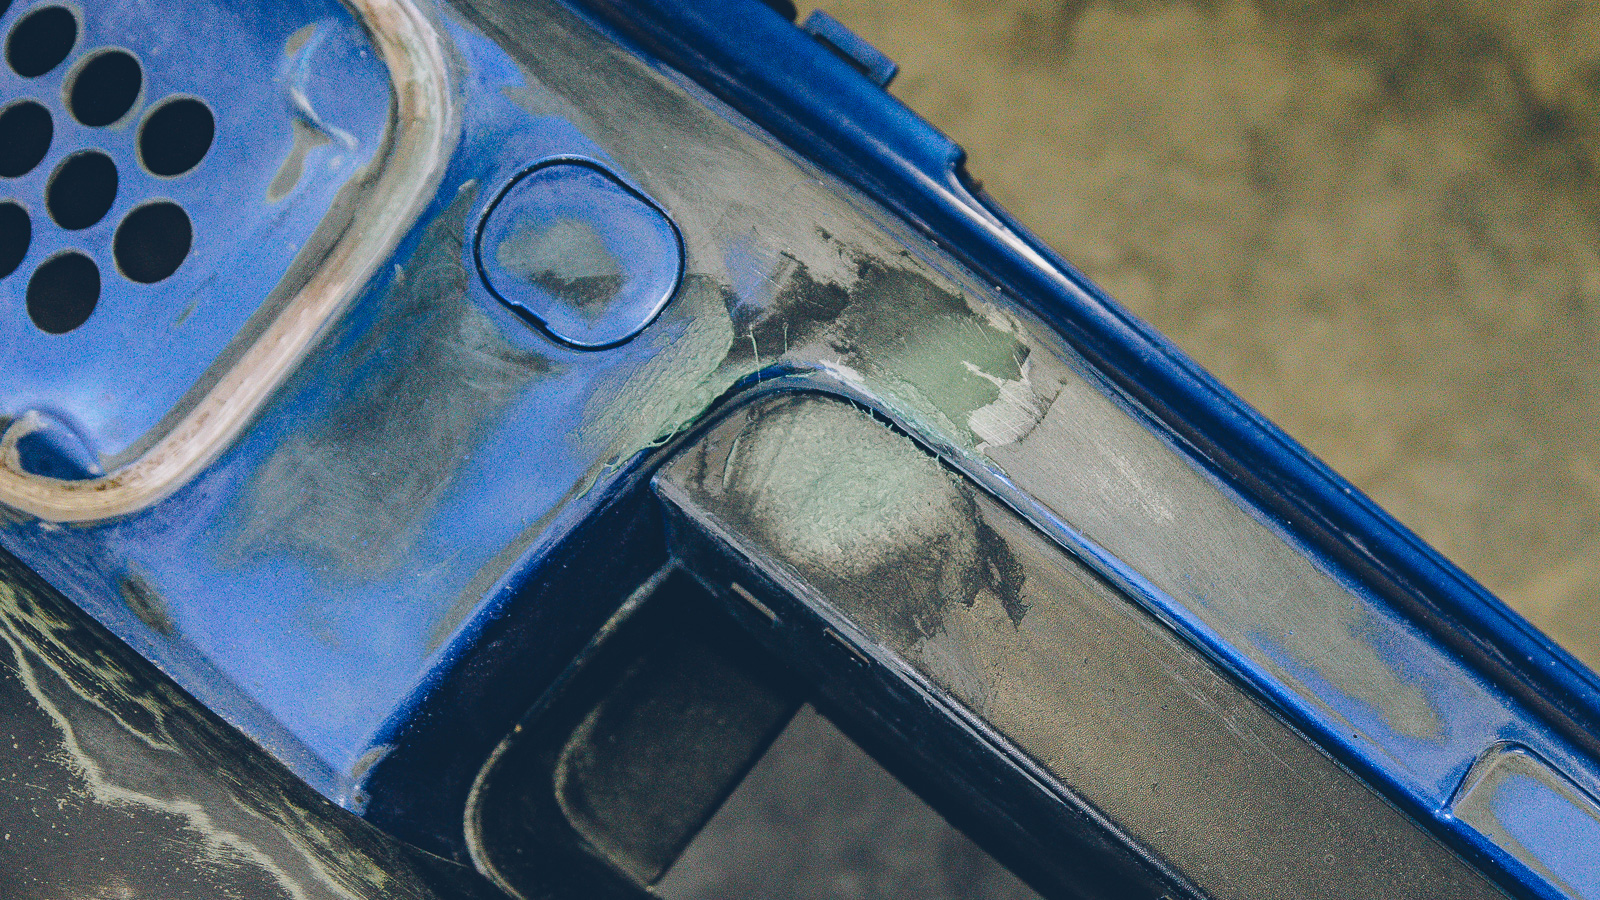
On the passenger side, there was a crease in the bumper. Either someone backed into the previous owner or the P/O hit something. Either way, there was a dent that needed to be filled in. My original plan was to use plastic epoxy, however, that stuff was becoming expensive and hard to track down. Bondo Glass is far cheaper so I decided to give it a shot.
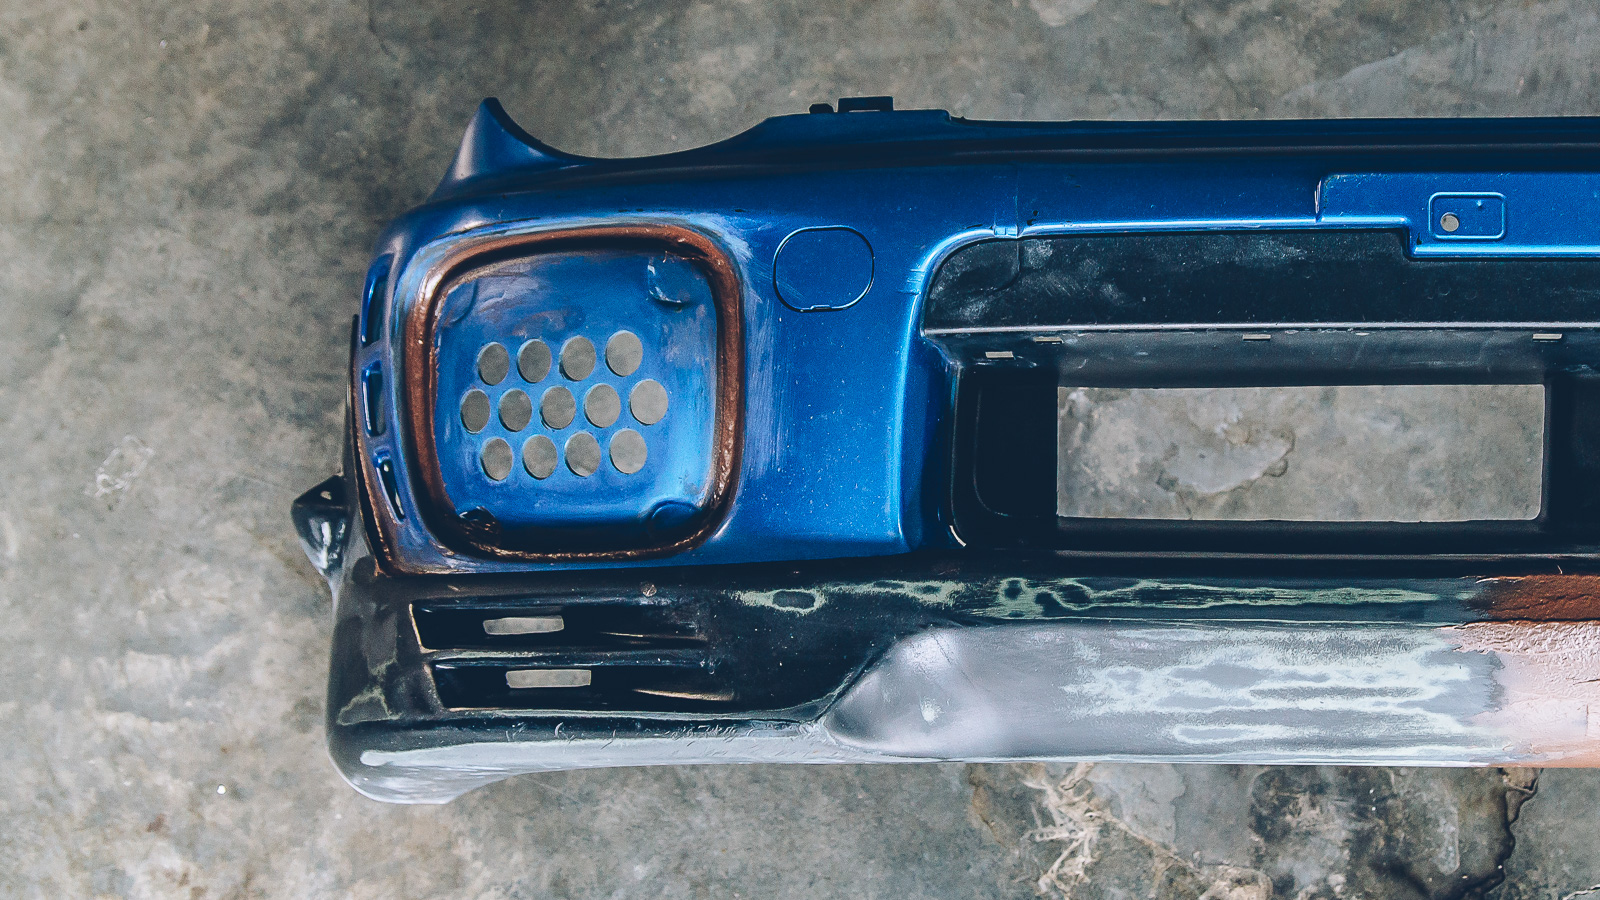
And since I don’t really know what I’m actually doing I decided to only fill in the top crease and see how well it would hold up. What better way to put it through a torture test than to drive the Cherohala Skyway, the Tail of the Dragon and Foothills Parkway… in the rain.


After surviving a full day of back roads driving, with debris all over the place, it was time to fill in the other crease.

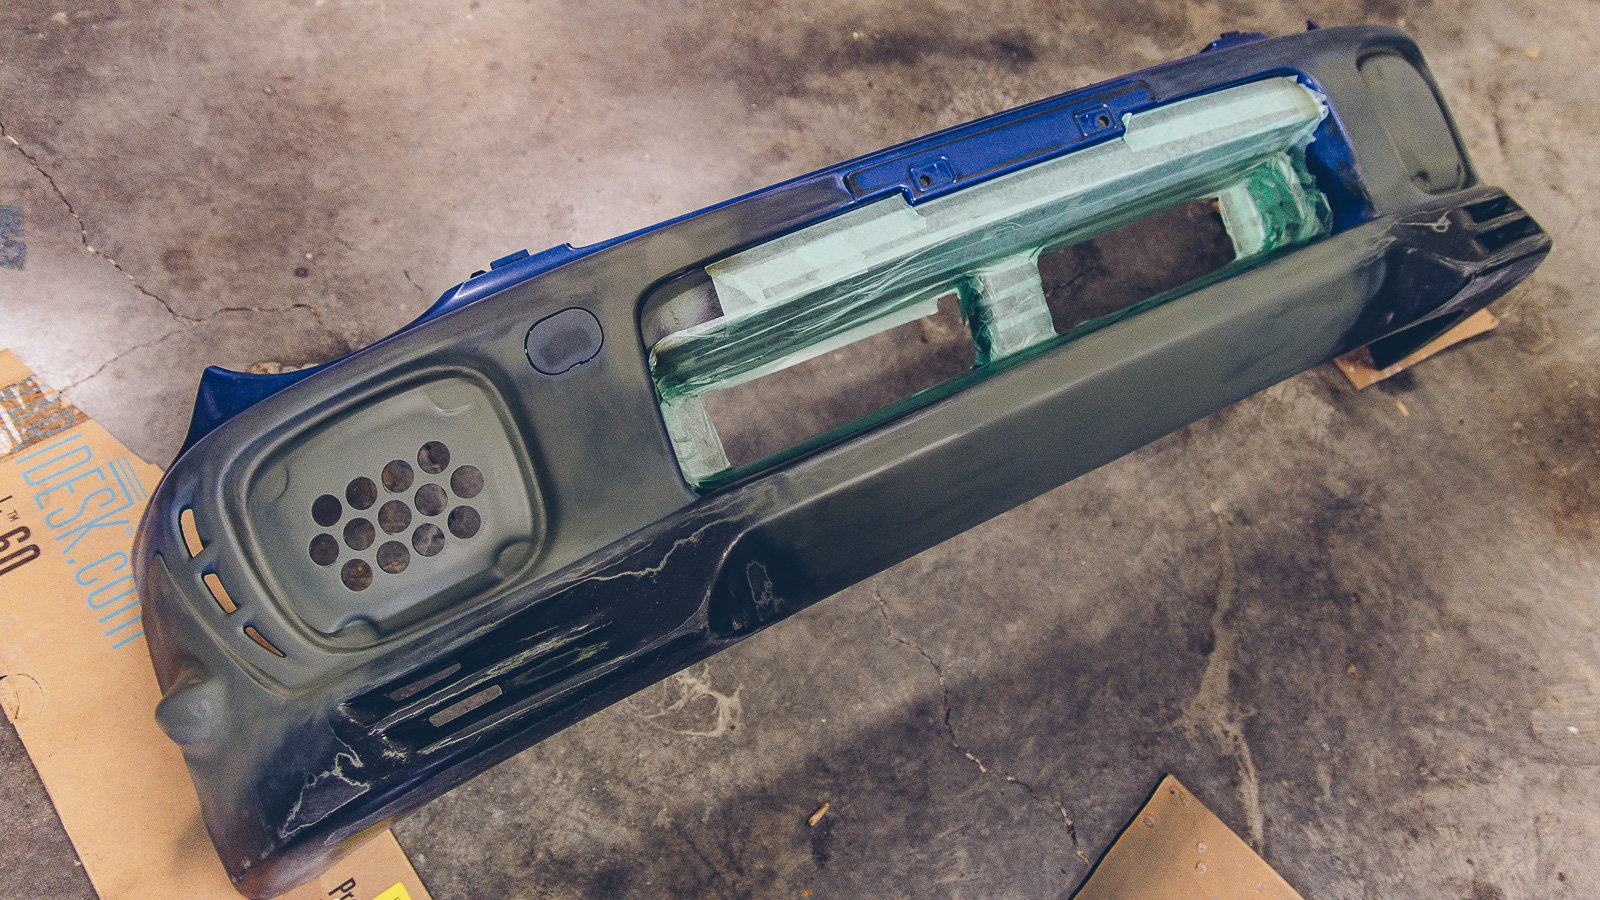
From this point until my Grimmspeed paint arrives, we are back to sanding. And once the semester got underway, I had very little time to devote to this project. So I ended up driving around partially primered and partially sanded front bumper for a few weeks. I suspected that my best chance to get the bumper painted (especially with that polar vortex hanging around) would be spring break.

However, we got a break from the freezing weather.
And since the eBay vendor I purchased the Grimmspeed paint from sent me a couple of expired cans in the batch, which I didn’t even know was a thing,
I decided to just use them a test coat; instead of going through the rigamarole of sending them back.
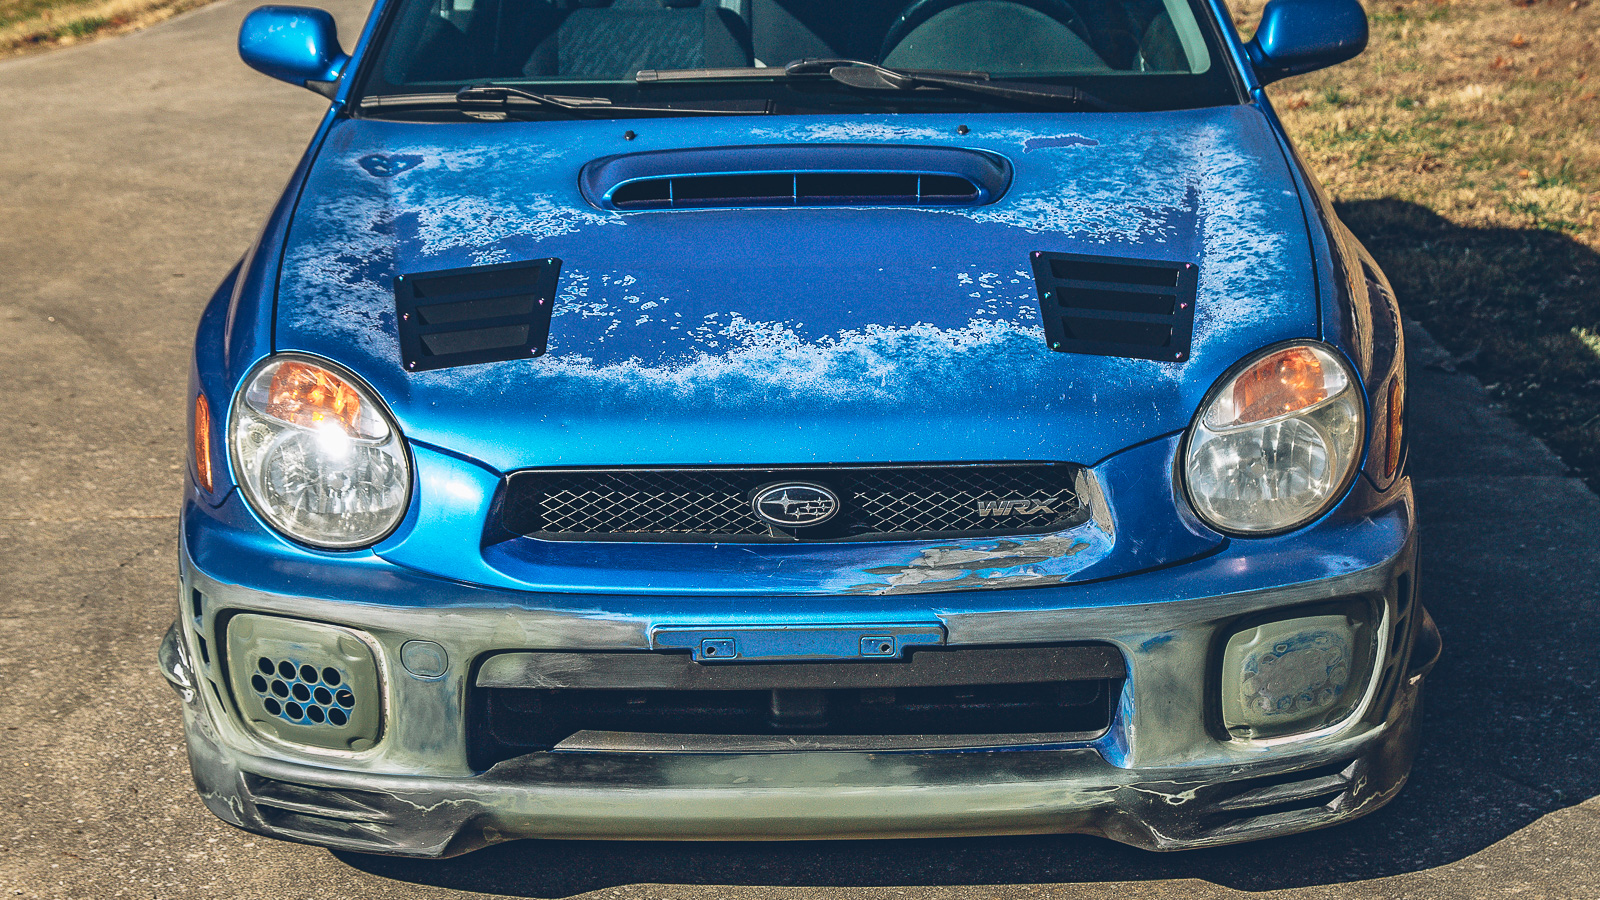
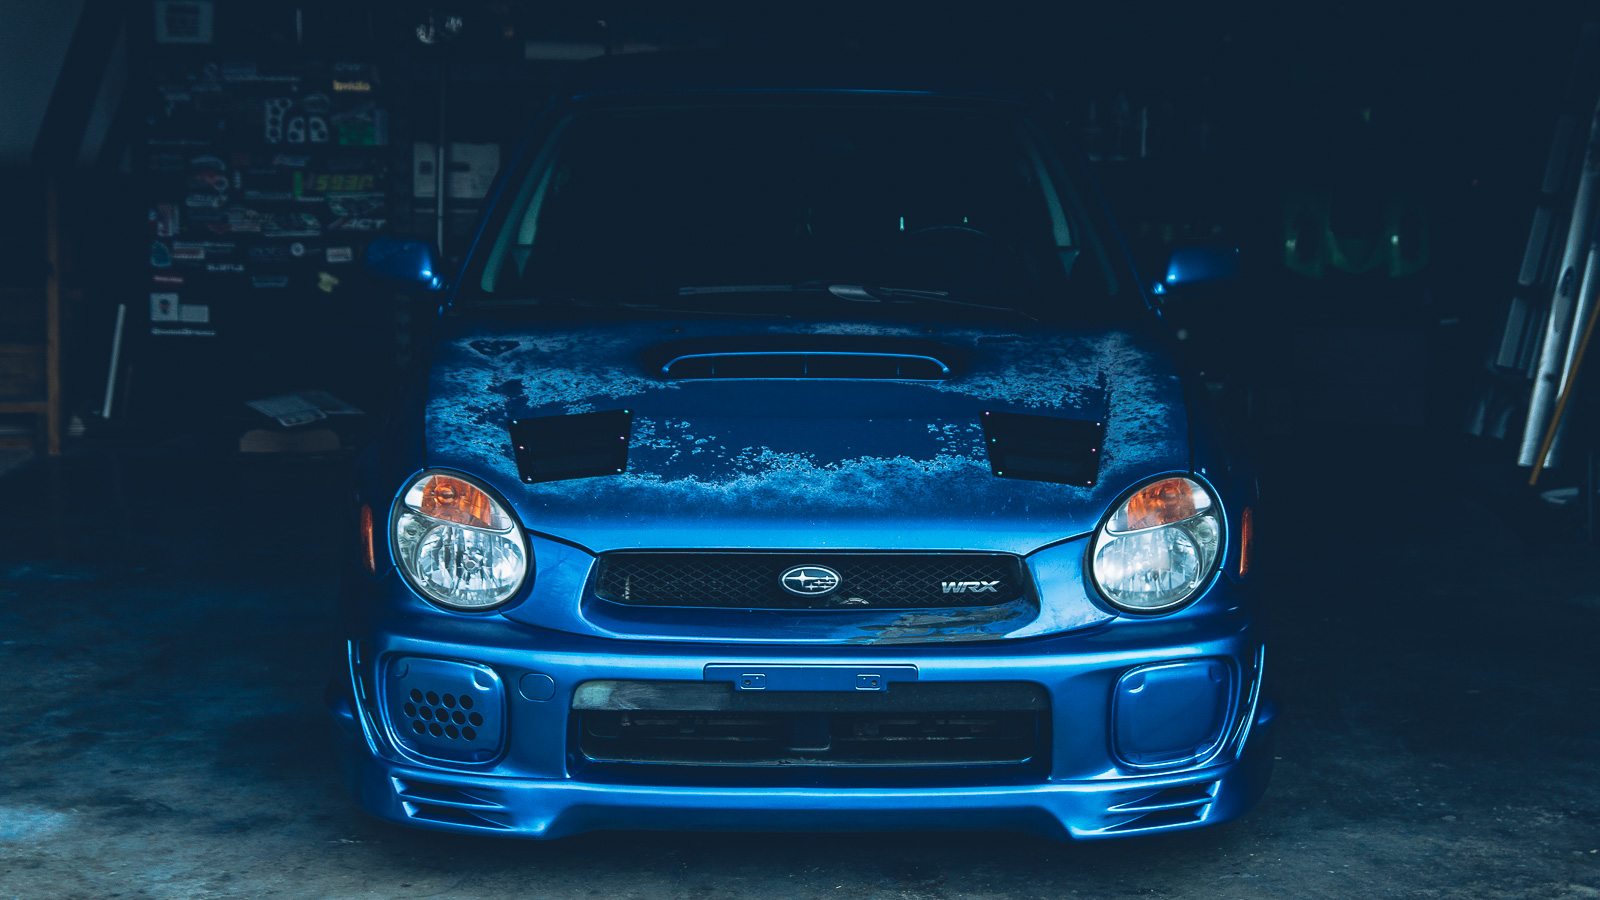
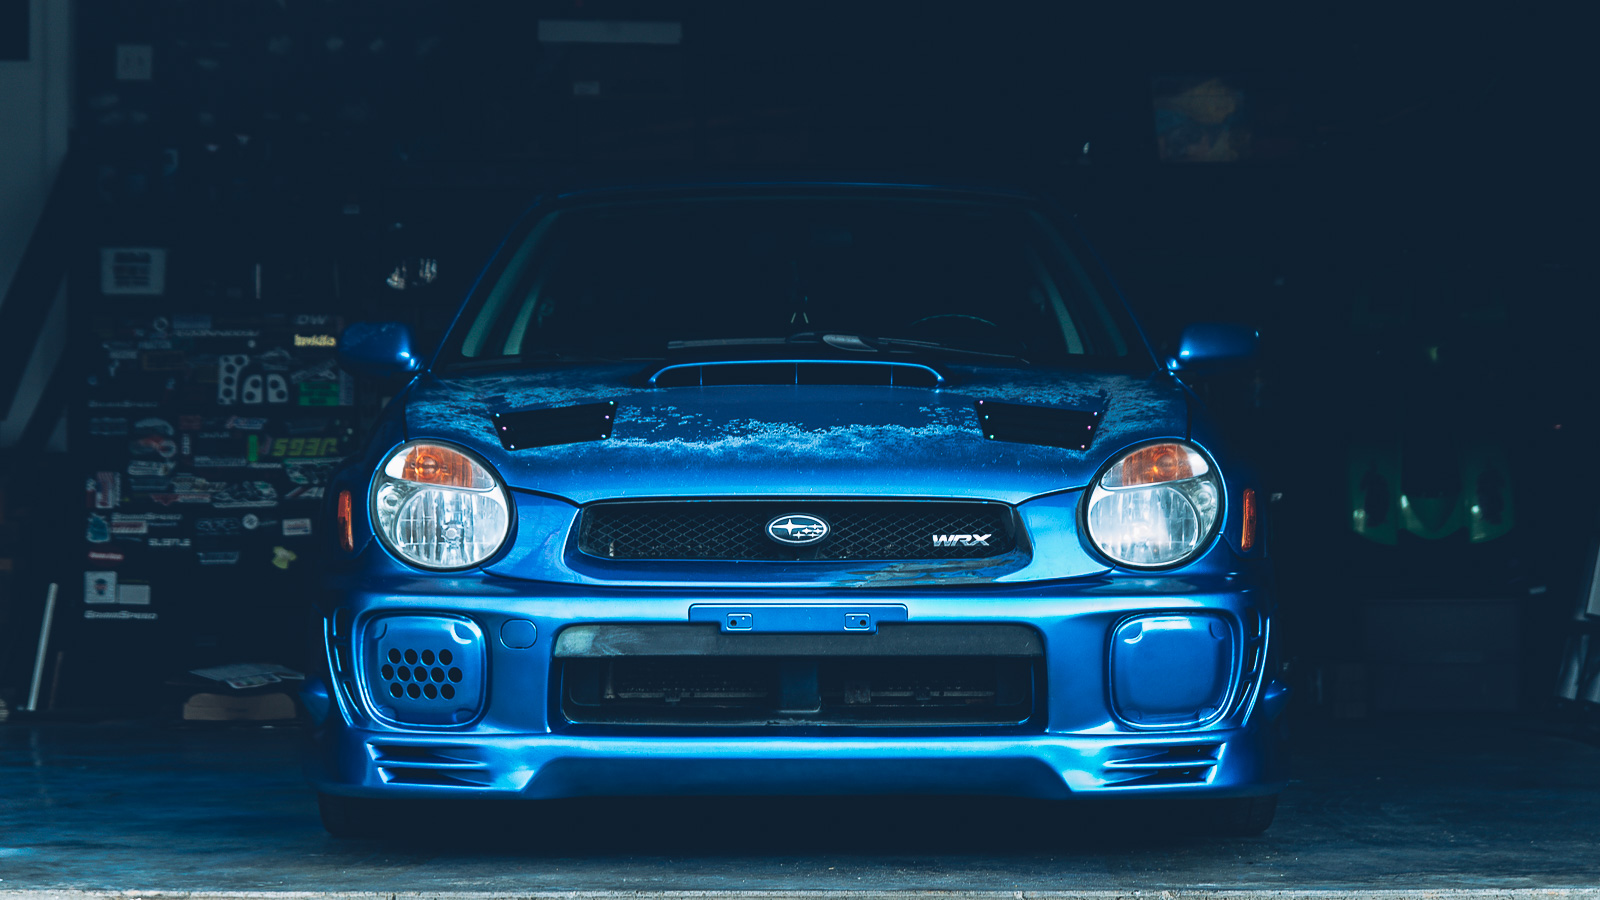
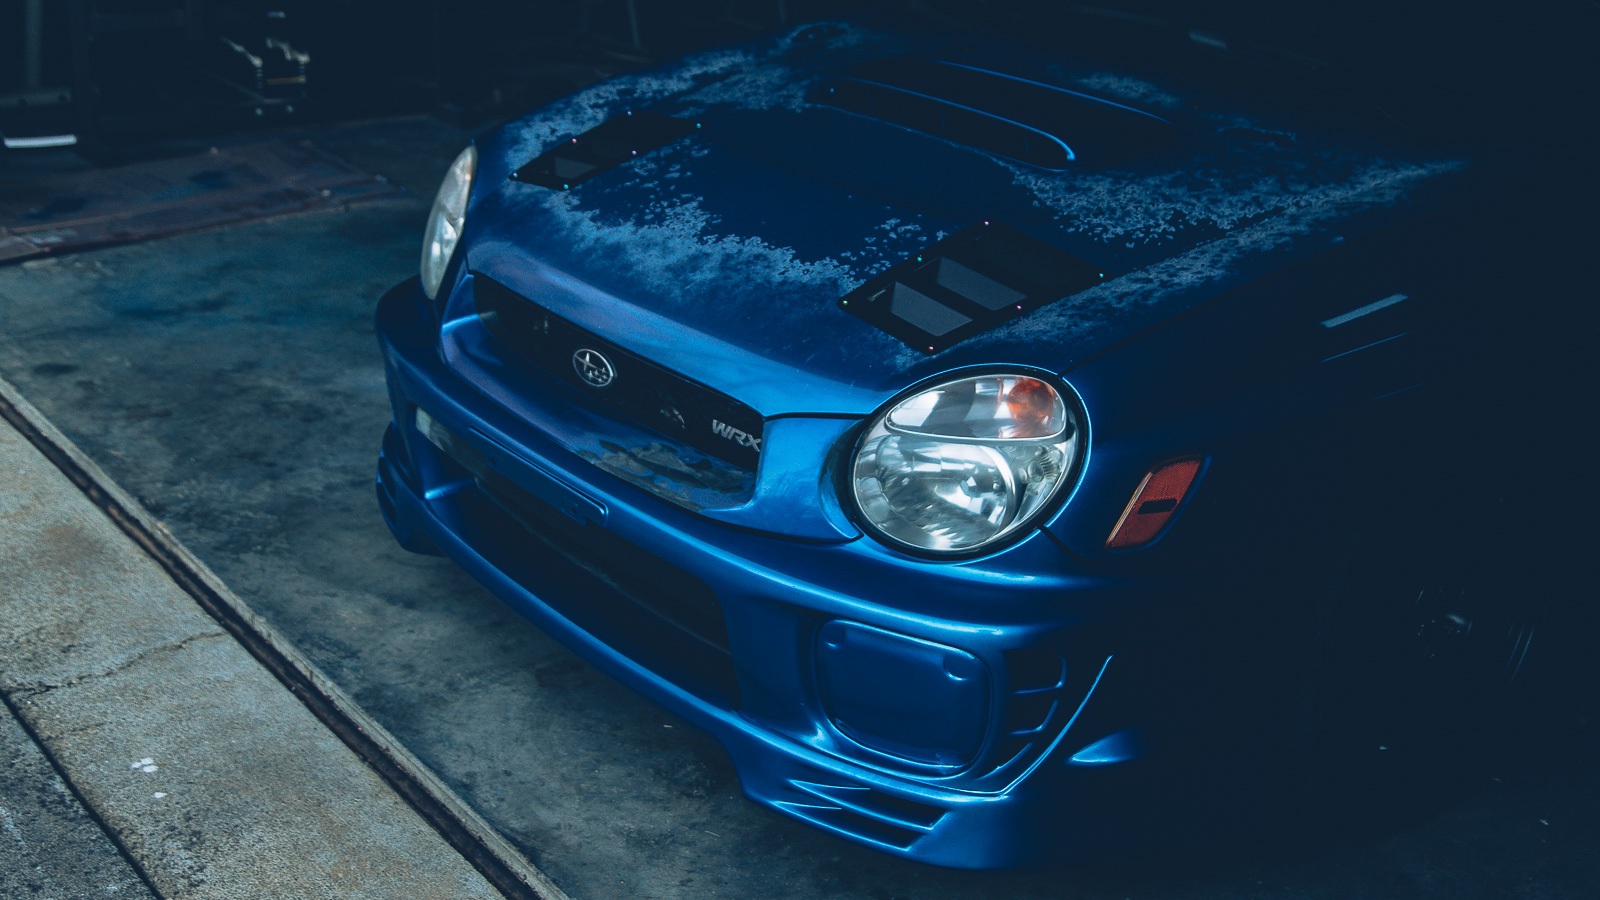
This would also allow me I could see how the bumper would actually look in World Rally Blue and show my mistakes so I can address them now. I used primer as more or less a guide coat previously and I was able to find and address spots that needed work.
The first can went on fine.
The second can spit and sputtered the entire time.
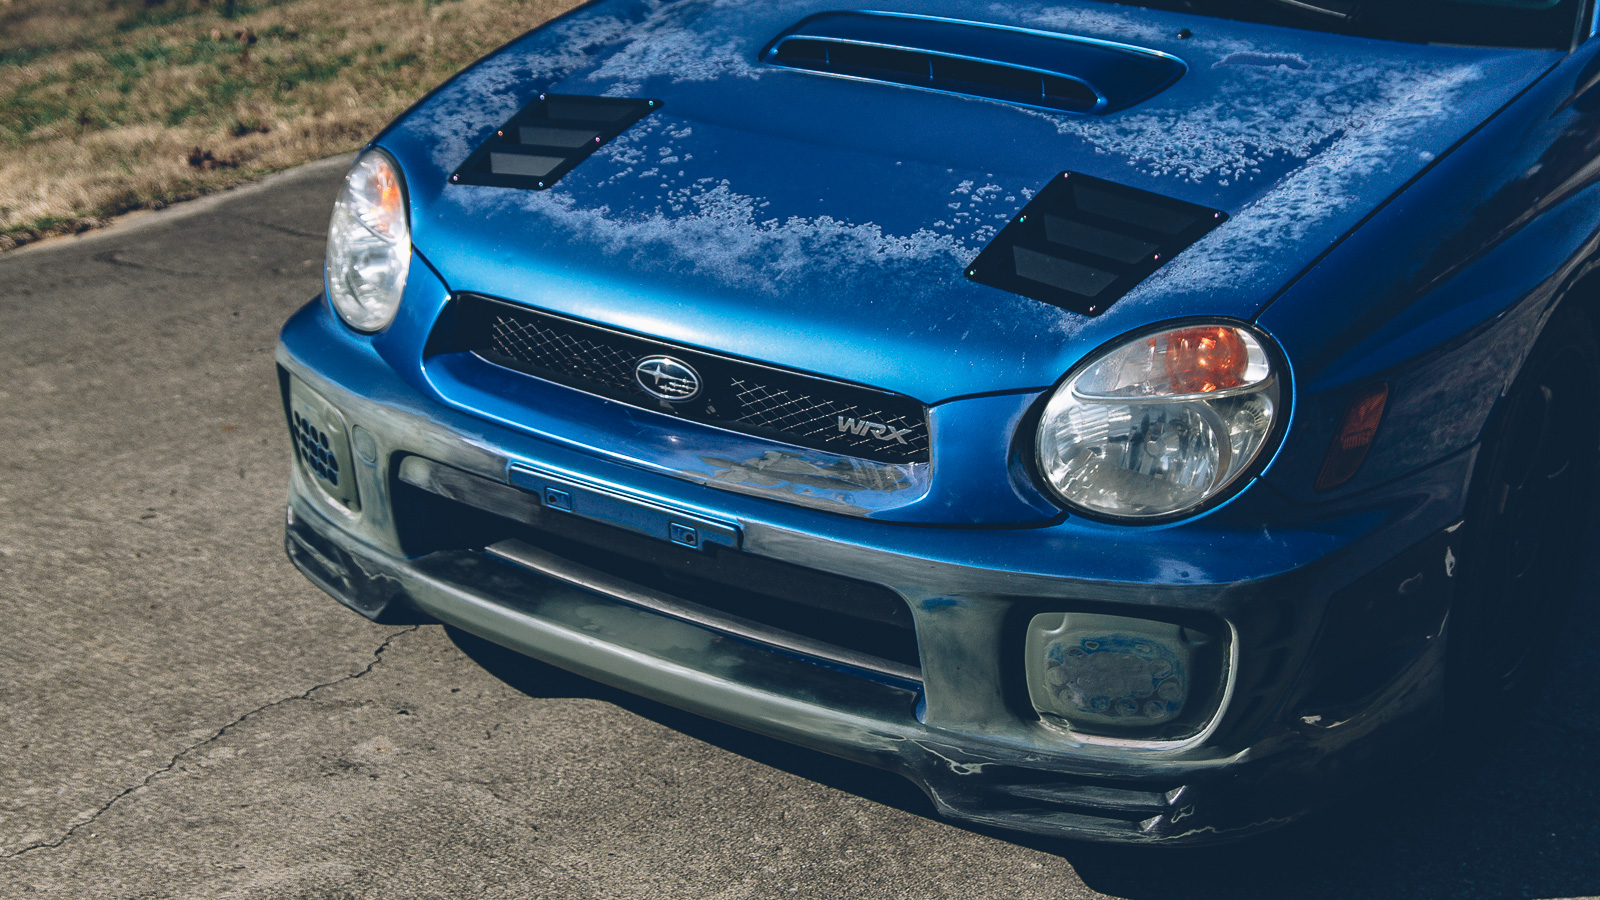
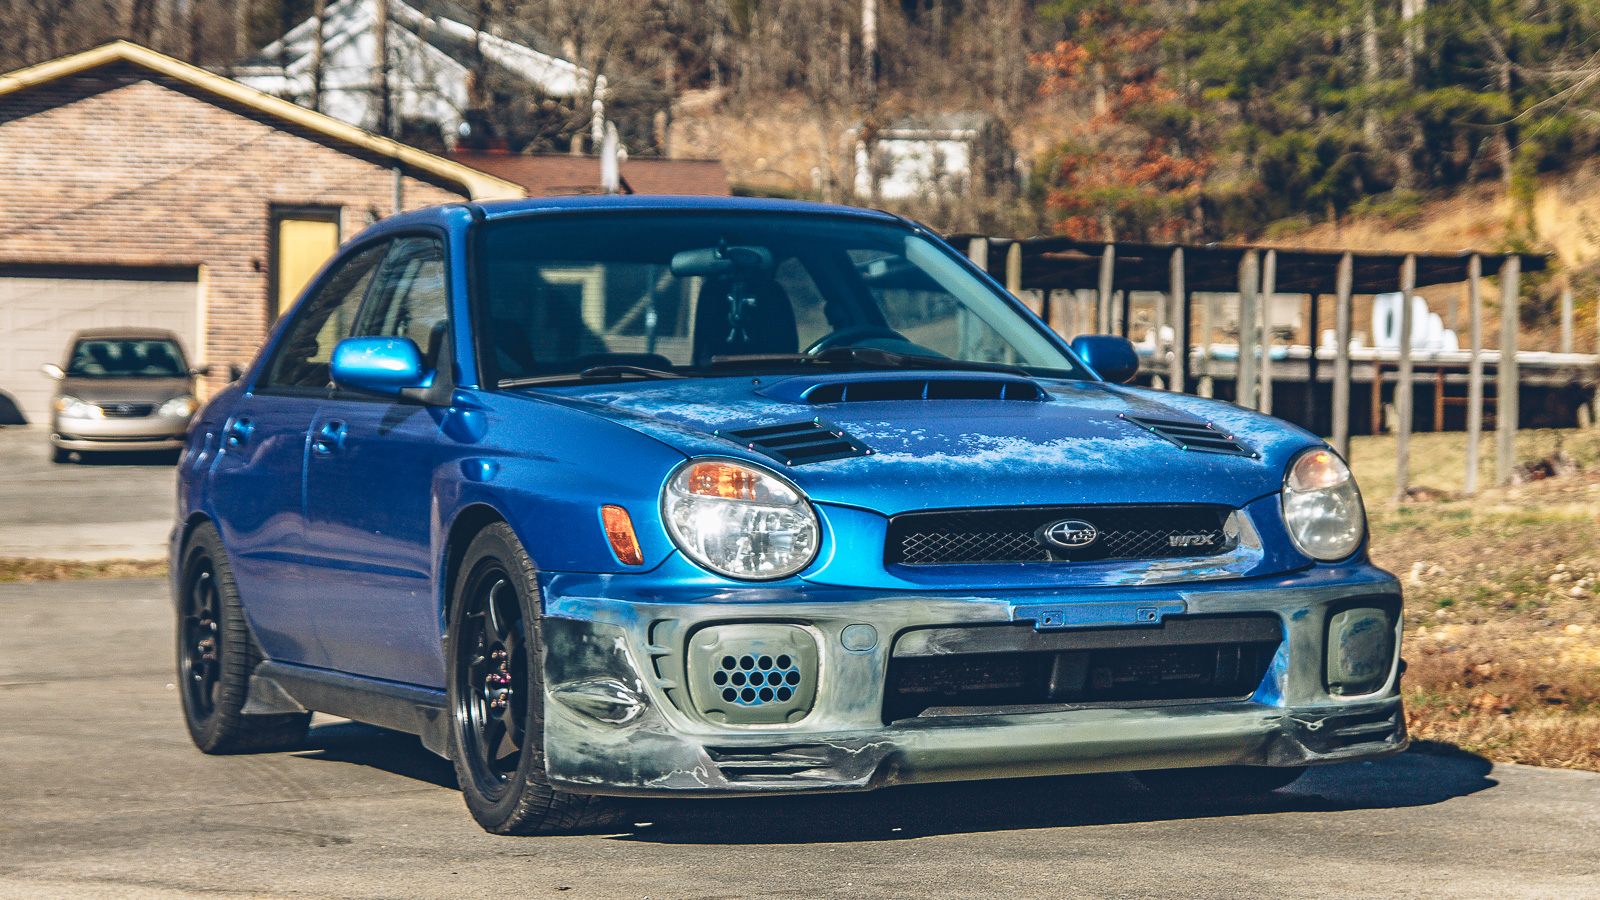
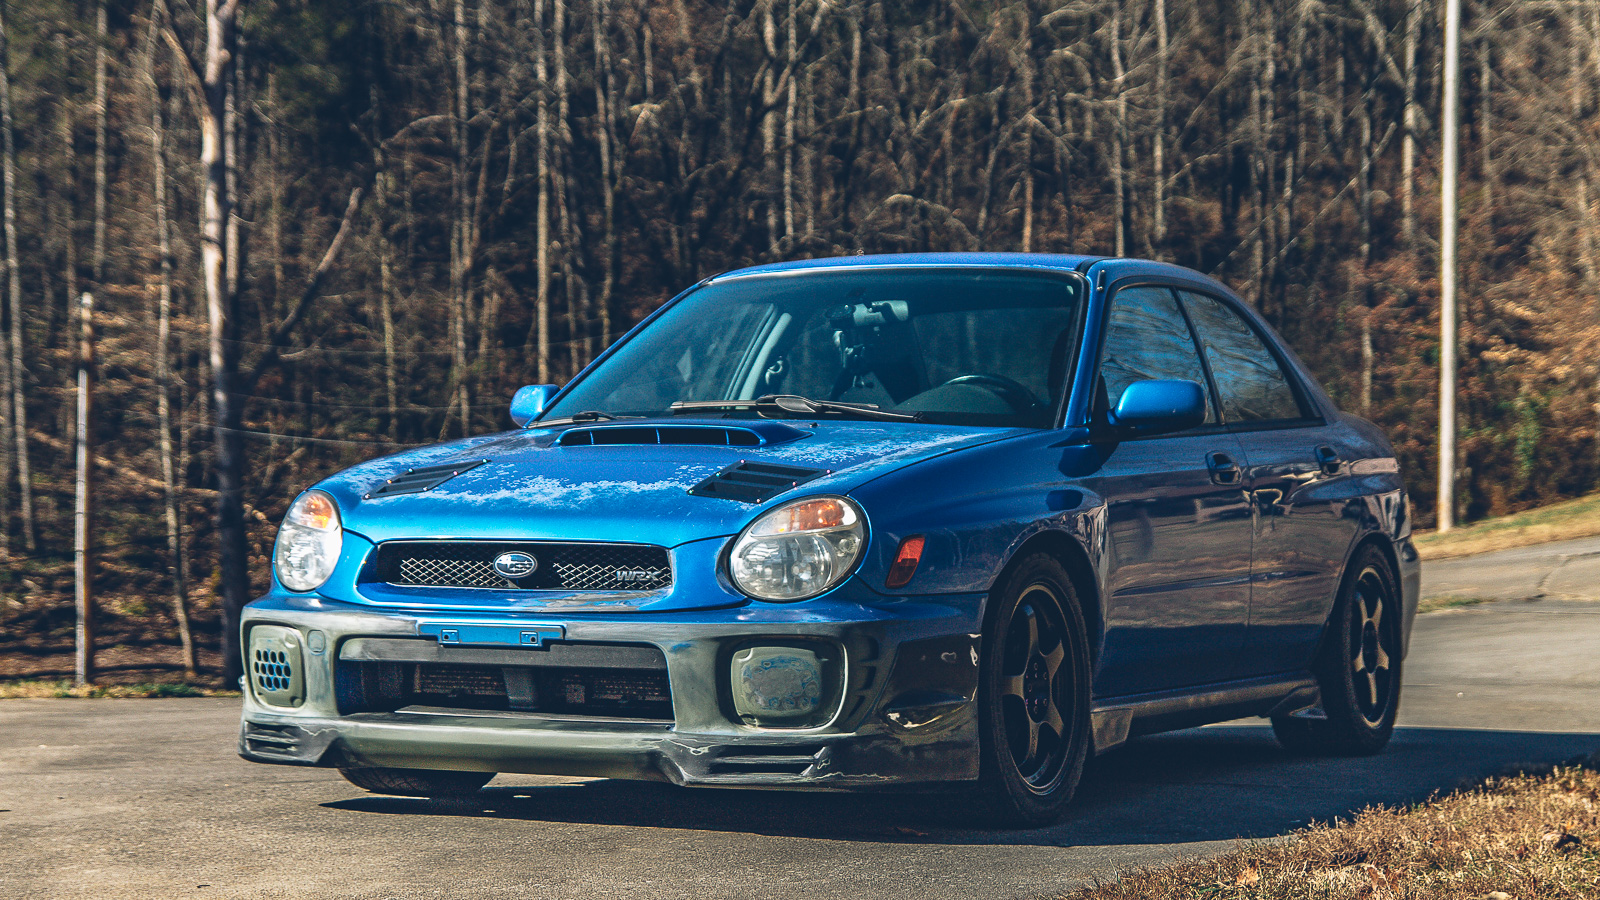
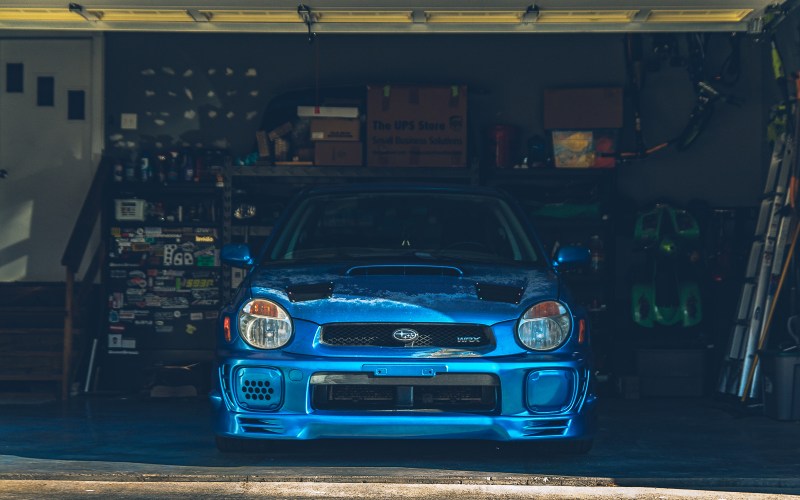
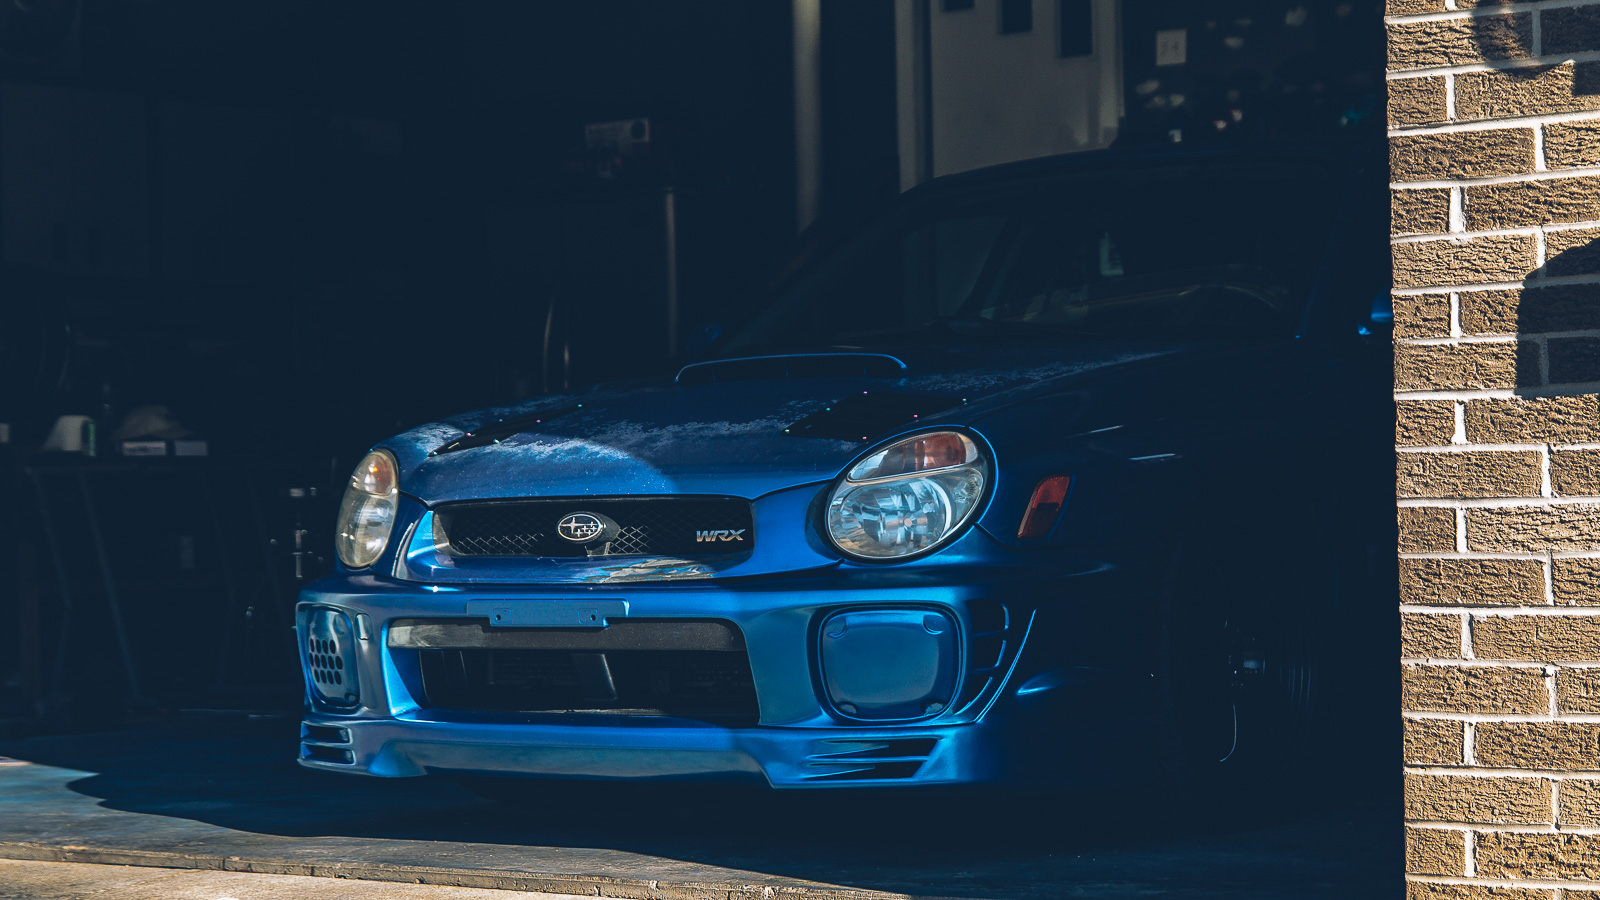
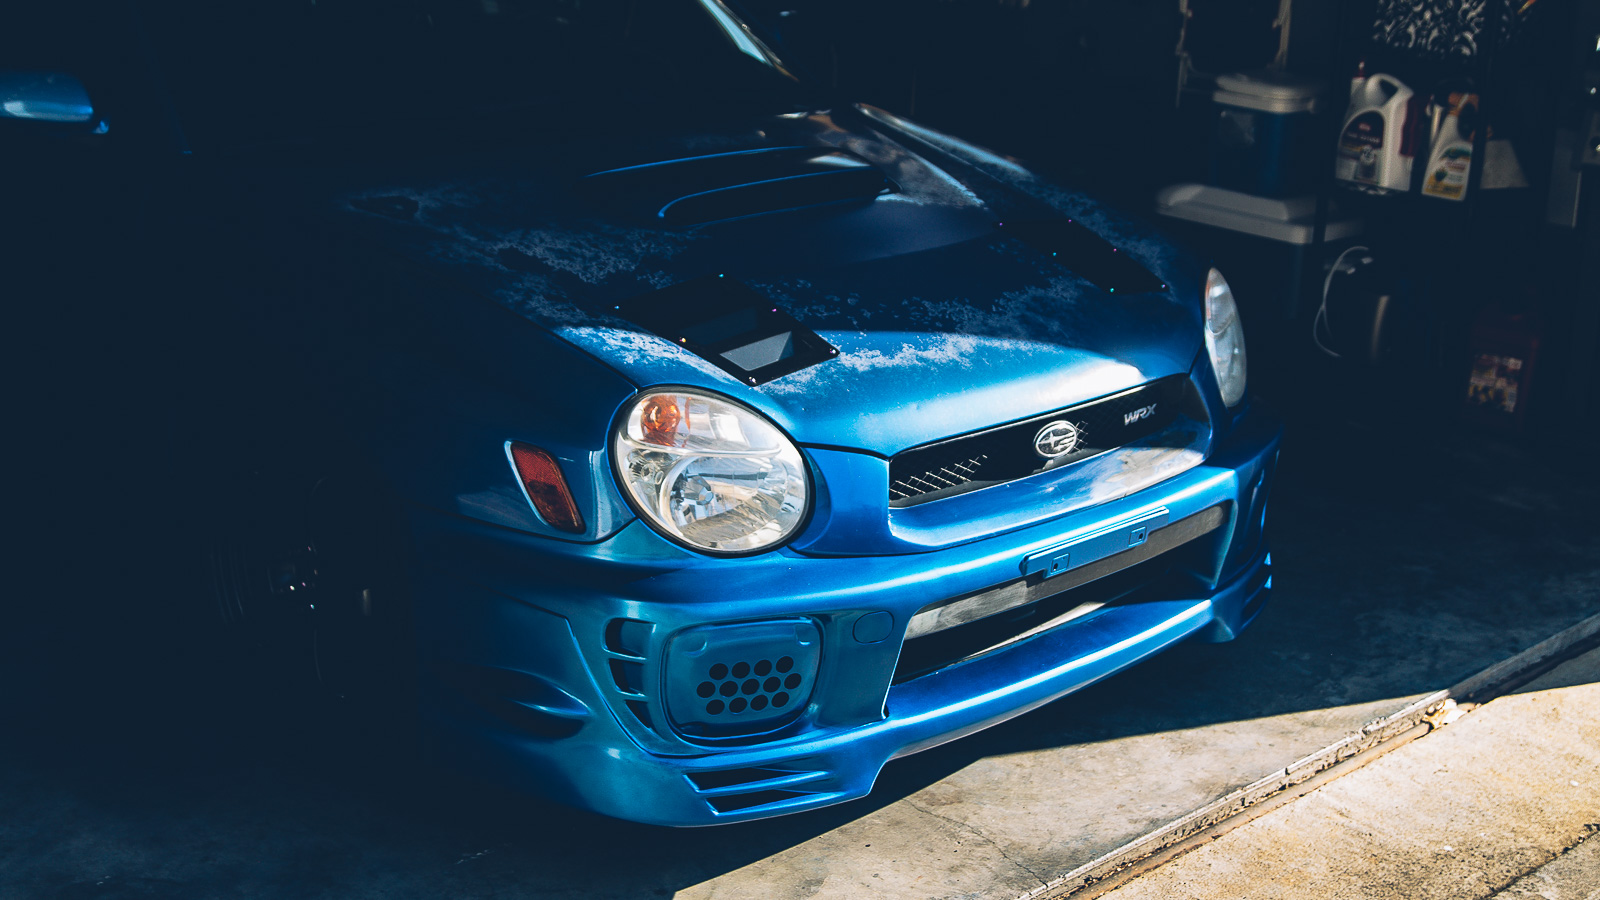
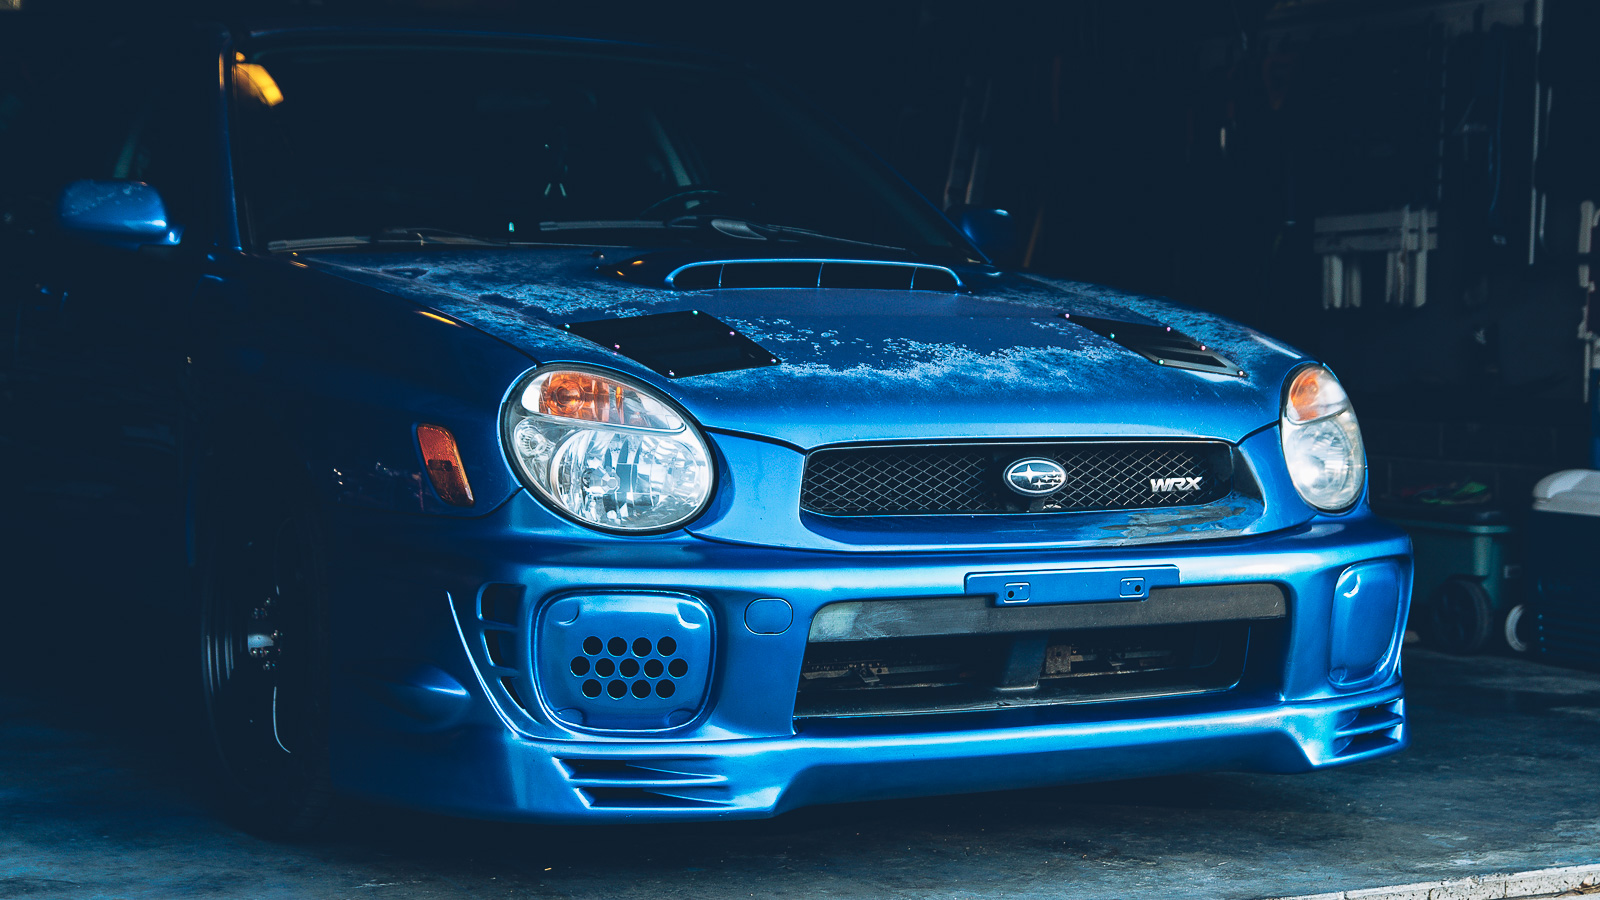
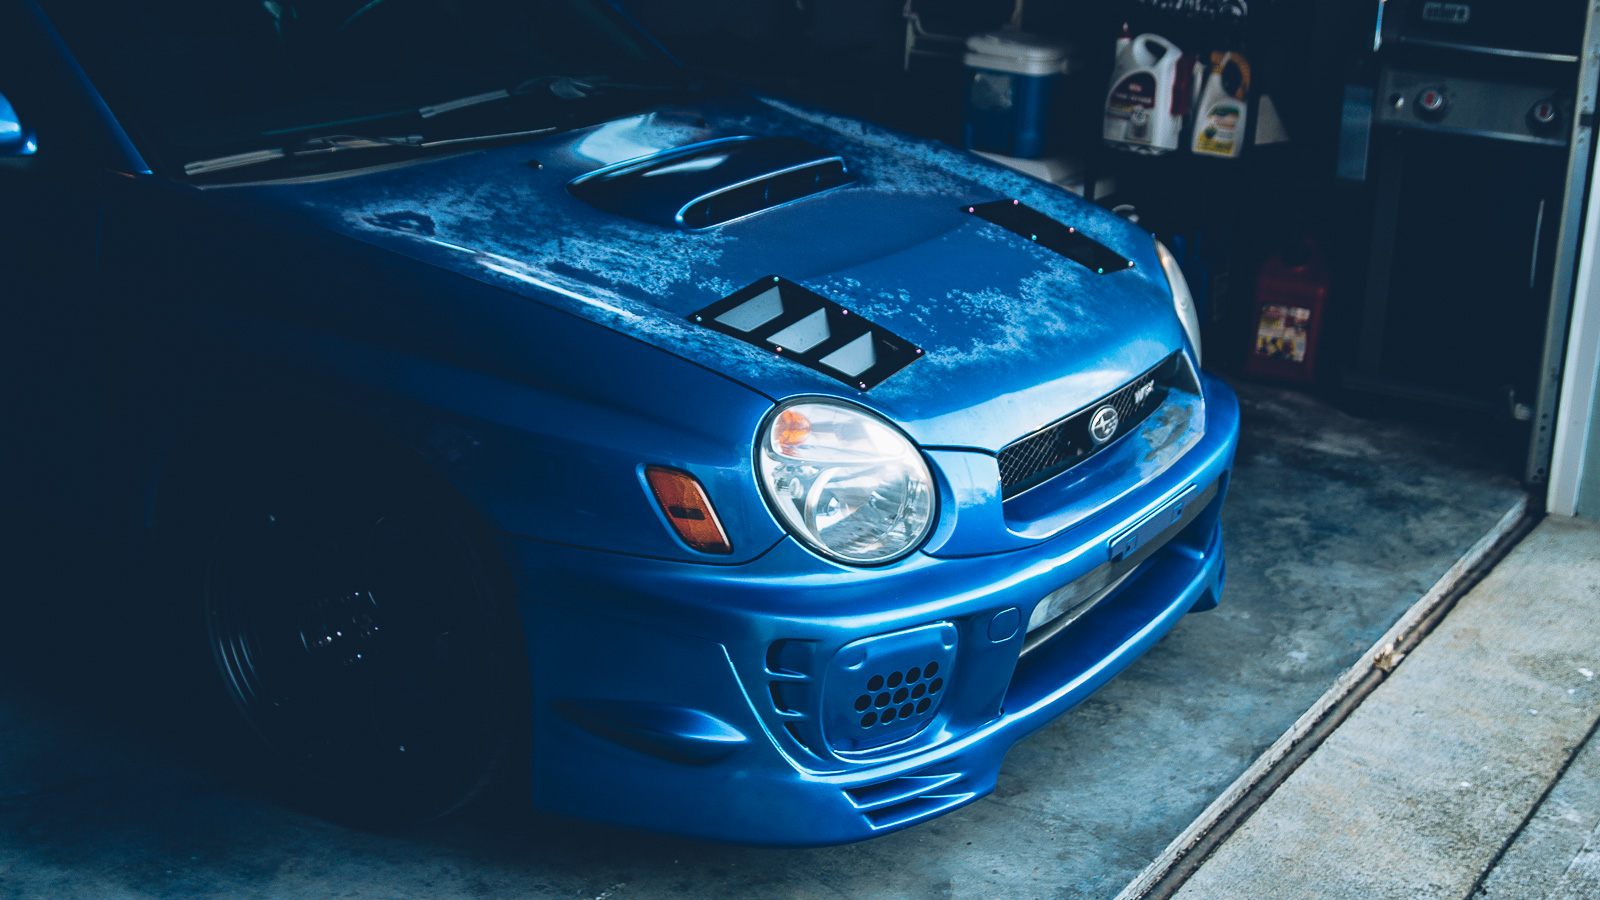
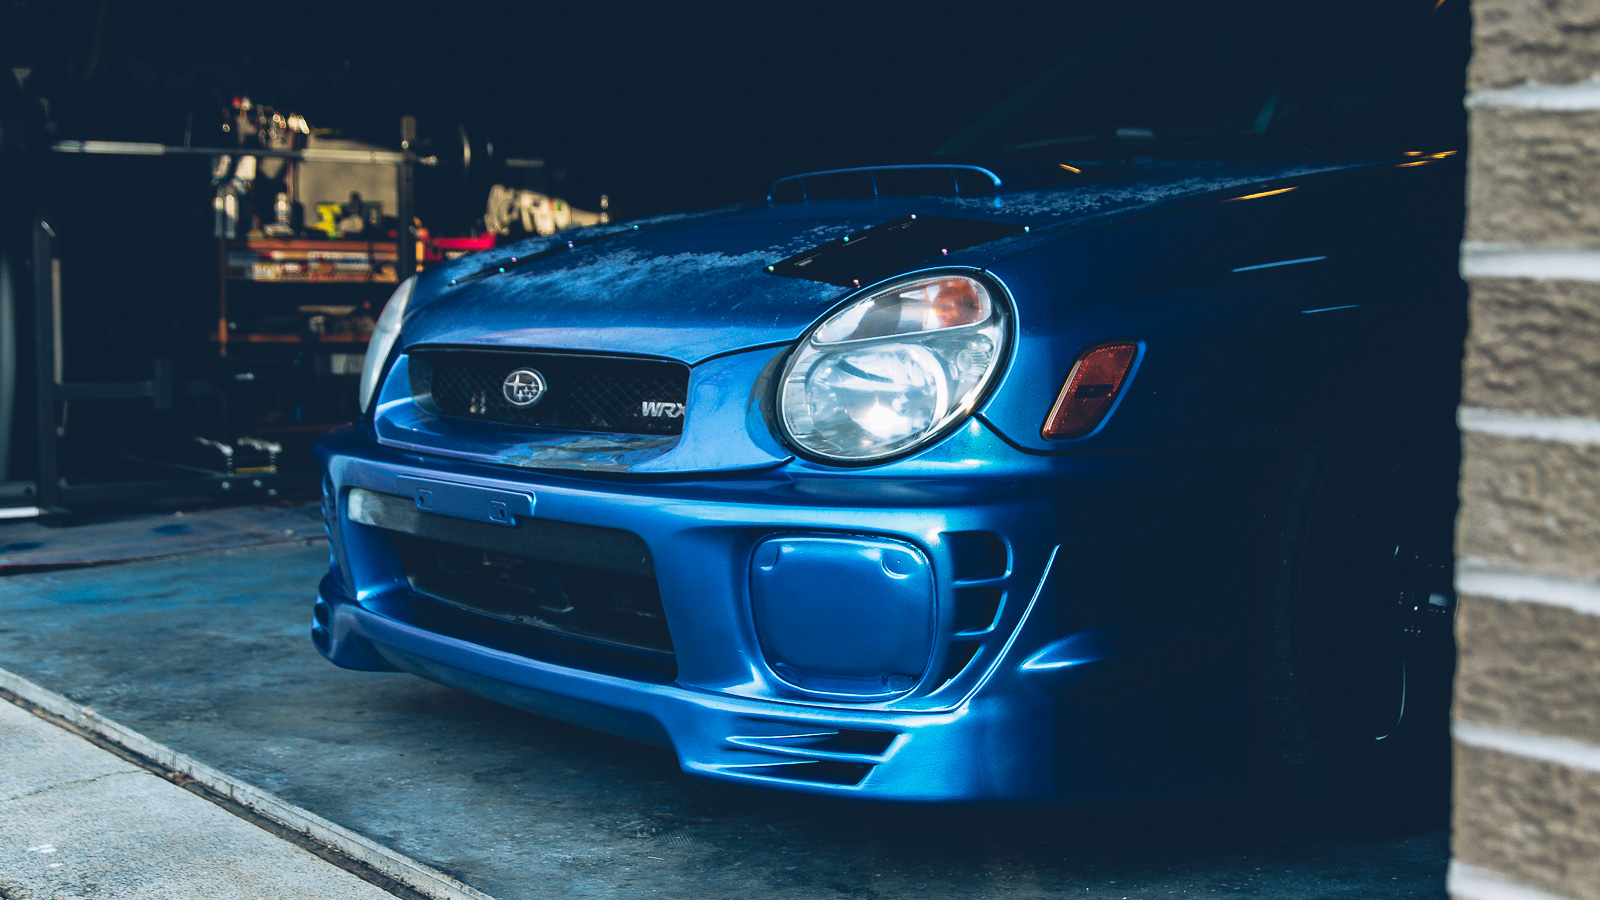
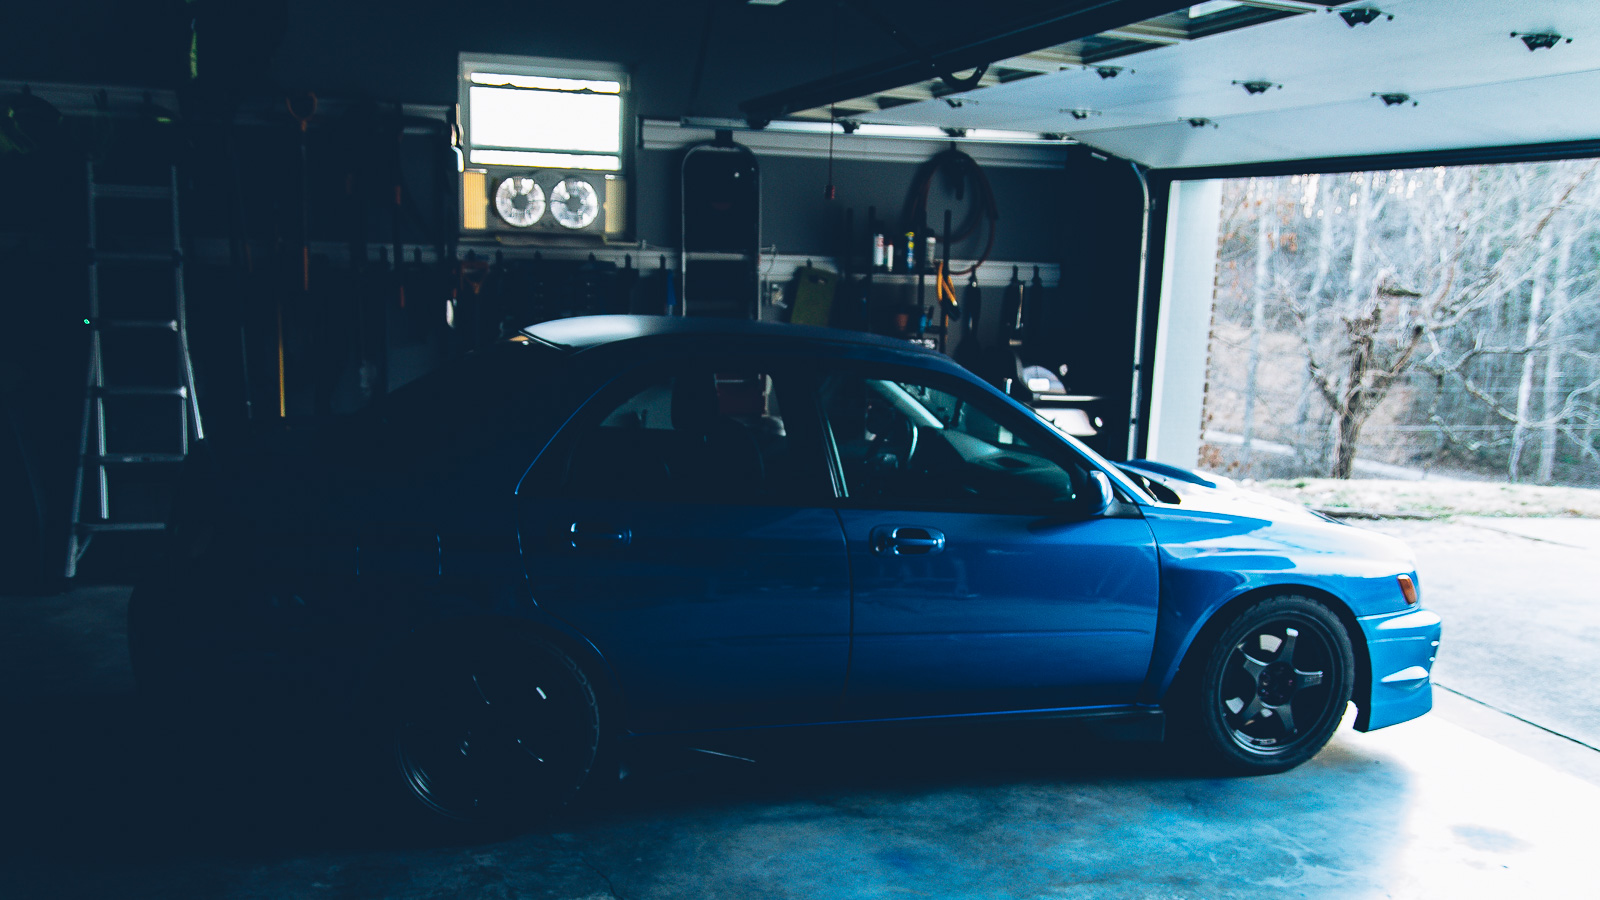
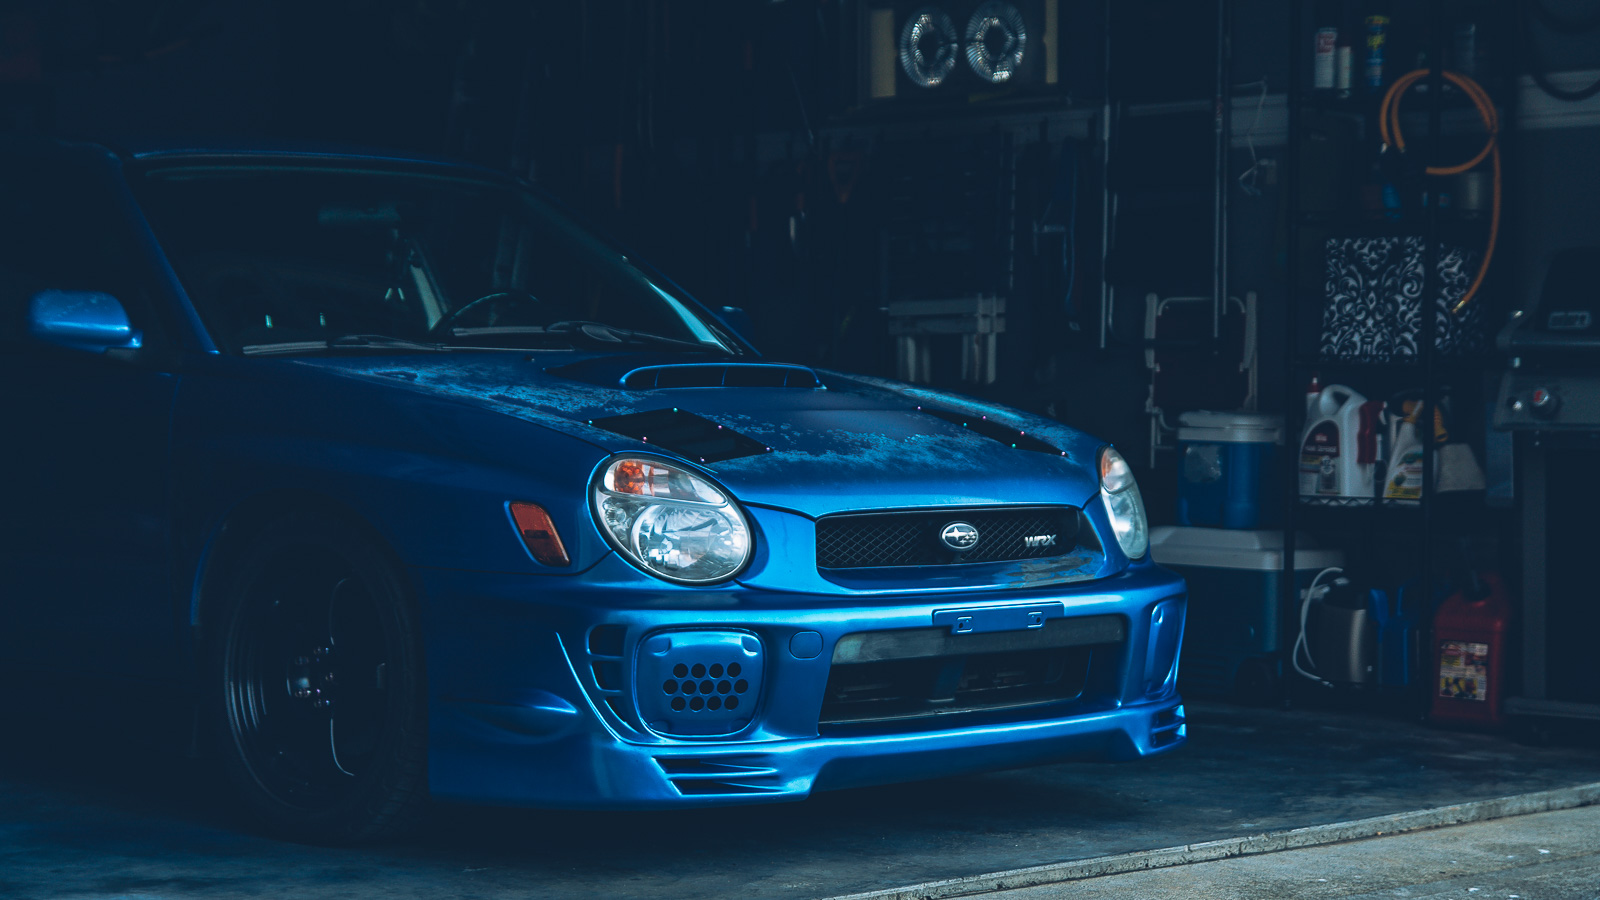
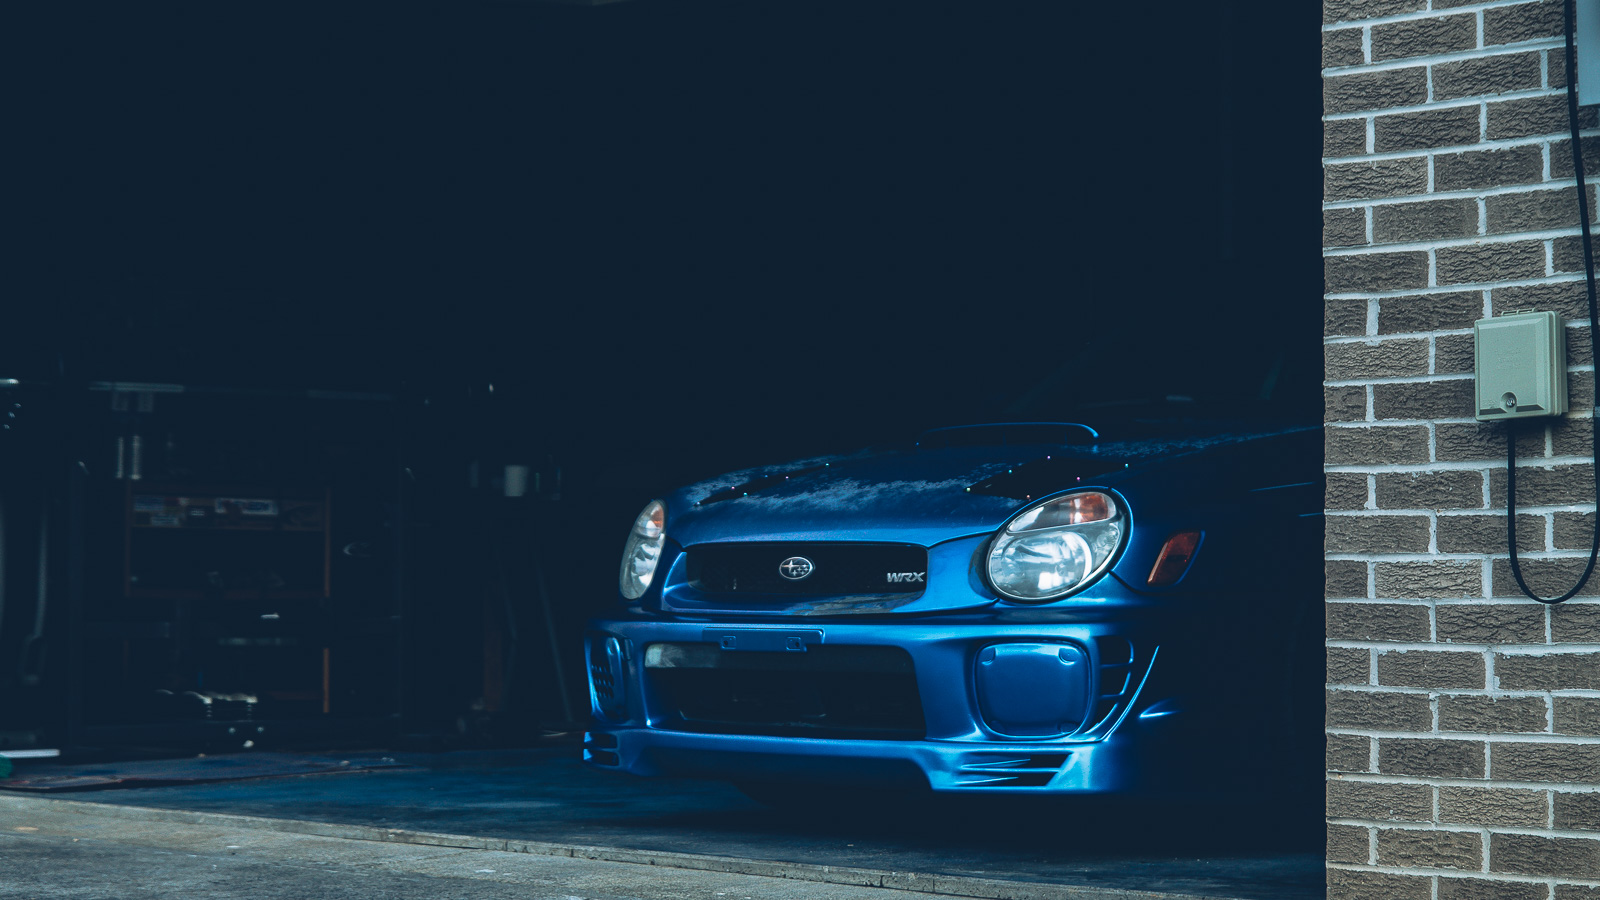
However, I am actually pleased with my work. It’s not great by any means, but I am pretty content with most of the results. There are only a couple of areas that I missed that still need Bondo or epoxy.
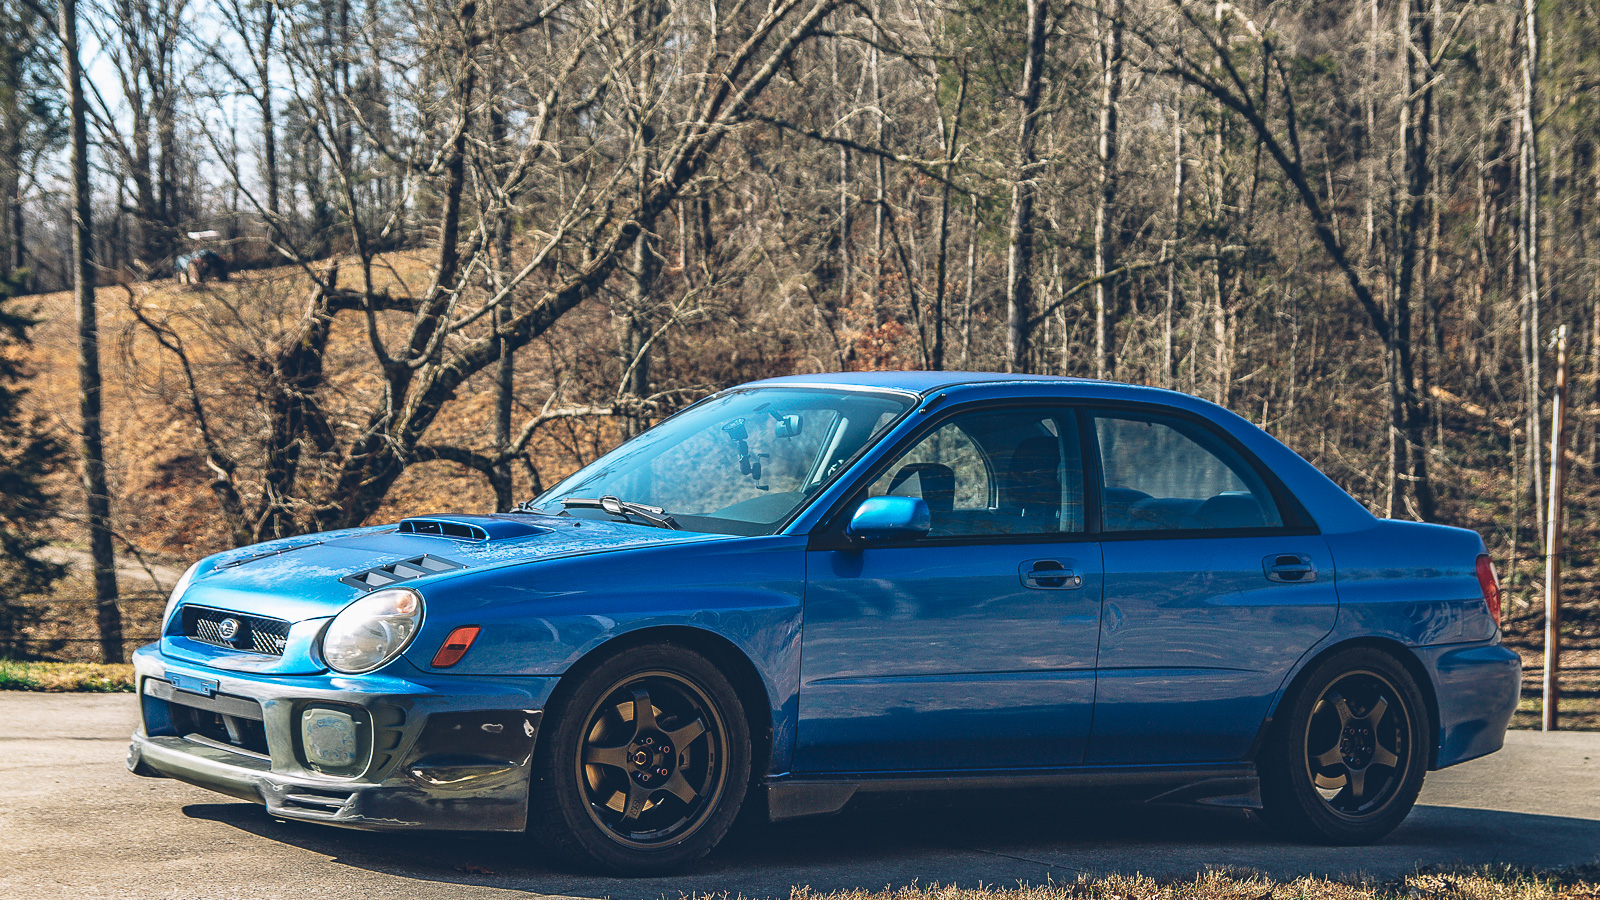
I’m not 100% in love with all of the blue on the front end now. I think it needs another black lip or something to balance out the blue.
I was thinking about this eBay lip, a so-called “S204” lip. Which didn’t seem like an OEM Subaru part to me. Outside of the big wings, Subaru was still pretty conservative and that lip seemed awfully aggressive, especially for 2006-2007. So after some digging, I found that it was actually a Chargespeed knockoff.
After some further research, I found a Bugeye with v2 lip and the Chargespeed lip. And I think it looks pretty good!
https://www.instagram.com/p/Bs4mXjDAVKt
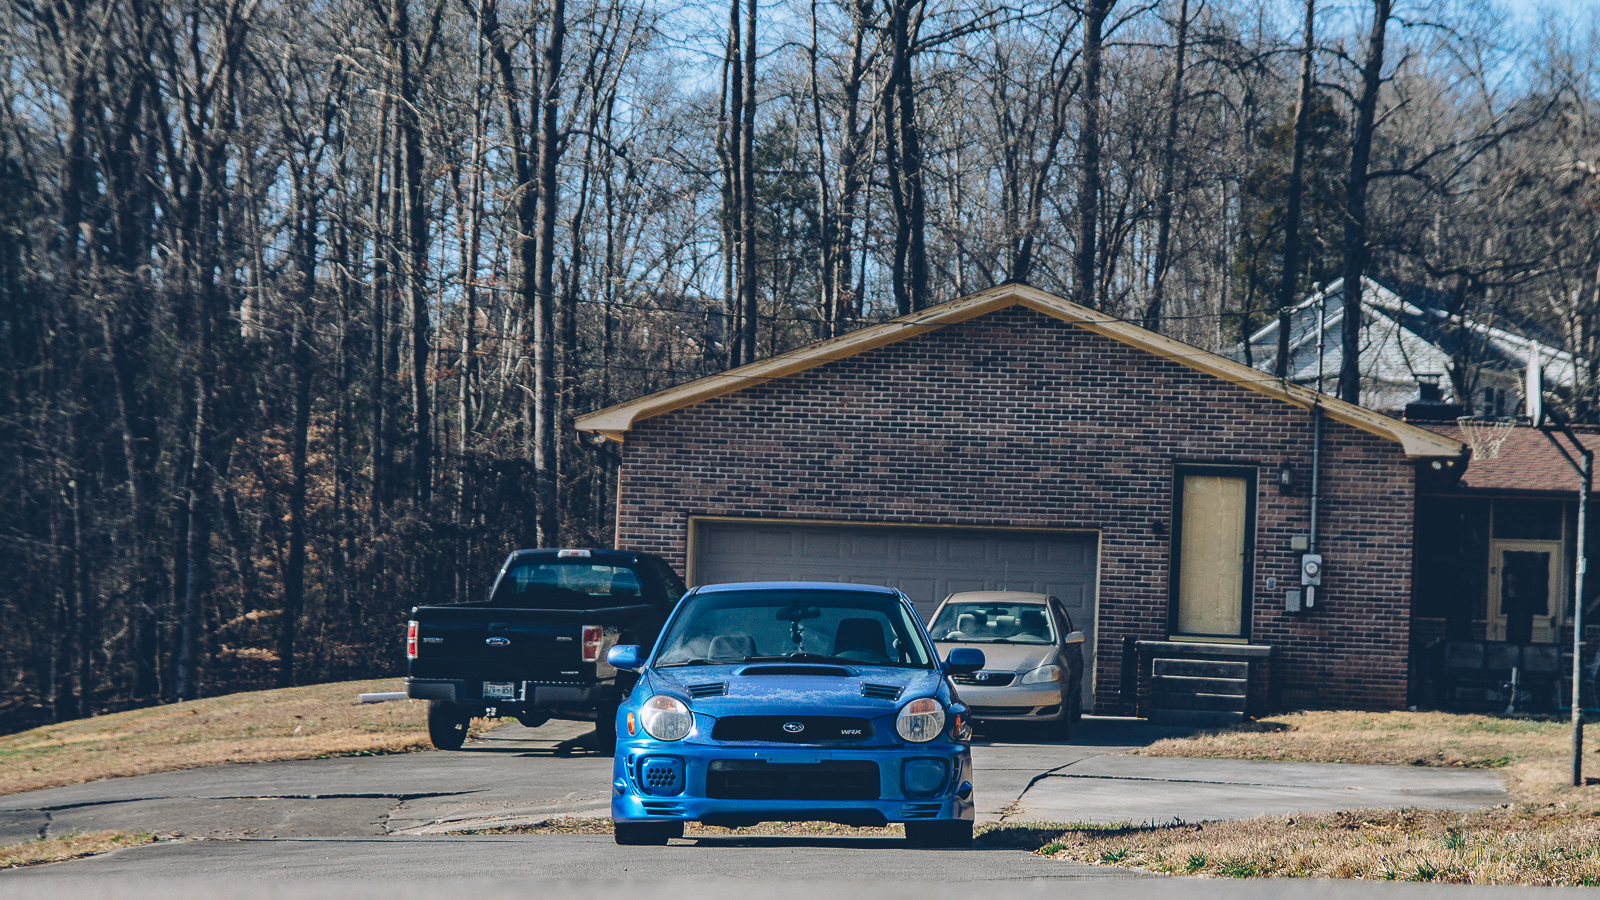
Unfortunately, unless I get bags or air cups (bags: unlikely; aircups: maybe), I think a second lip like the Chargespeed one is out of the question. I won’t even make it out of my driveway.
Gallery


Up next? Maintenance.
Cheers!

Leave a comment