
Picking up from Part I, it is time to make this lip a single piece. I started this process back in April, but I had a few issues come up along the way. Then I lost motivation a few times and moved on to other projects.
Back in April, the lip was still in five main pieces. Our focus is on bridging the gaps in the corners of the bumper. If I wasn’t happy with this outcome, I might scrap the project altogether.

First, I decided to make a template to get a general idea of the shape of the finished lip.


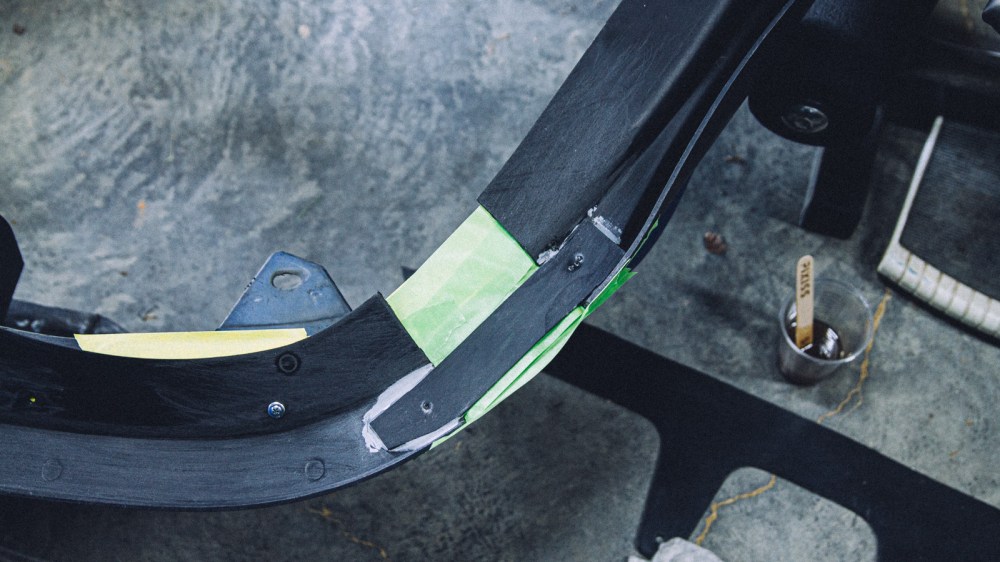
I used some scrap pieces of abs plastic to bridge the gap and serve as a kind of skeleton for the fiberglass. I sanded them down (probably should have used the orbital) to prep them for epoxy.

I screwed them in place with a couple of self-tappers while the epoxy cured.
To add some strength and material to the gaps, I filled them with fiberglass. I should point out that this is my first time using fiberglass. I have watched a ton of smaller youtube channels (Street Bandito and Built) that use fiberglass and carbon fiber, so I have a general understanding of the basics. One thing that I had to adjust to was the quick curing times. Especially in the summer. The stuff I used hardened very quickly.
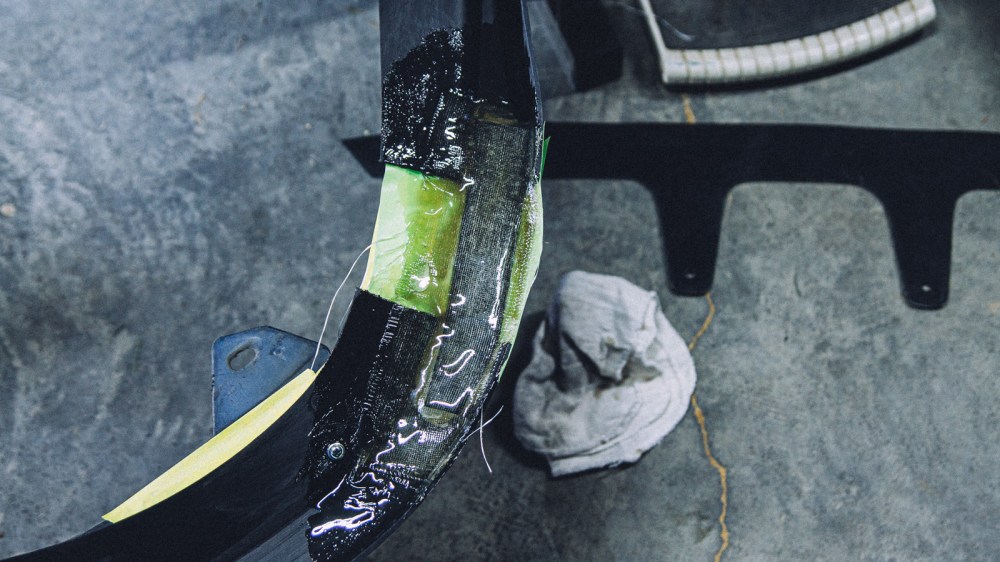

As you can see below, I didn’t use enough fiberglass on the edges, but we can fix that later.

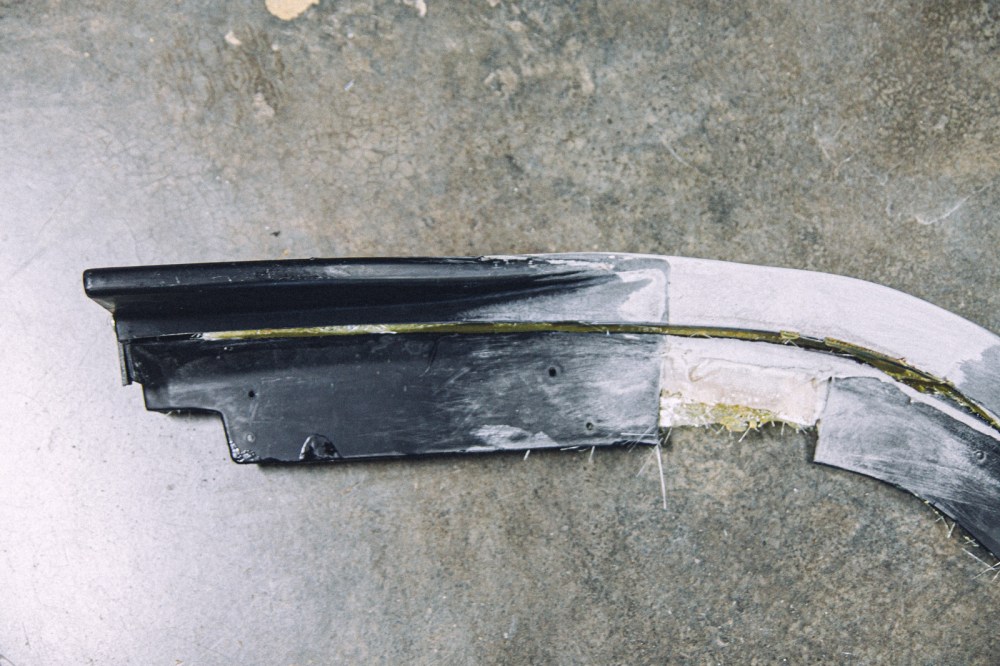
I then used some strips of fiberglass to fill the gaps on the top of the lip. If I had to do this over again, I would use long strips of fiberglass to overlap the two pieces to prevent them from cracking at the transition edges.


And as with anything that involves composites, you will be sanding for days.

To add some strength to the center section of the lip, I added a couple of layers of fiberglass. Otherwise, it was pretty floppy. I left some room on the ends to fiberglass the two outer pieces to the center section.

With everything cured, we can test fit our current progress.

I did add some fiberglass filler to the new sections of the lip to help fill in the low spots.

And once again, more sanding. But so far, I am happy with the progress.

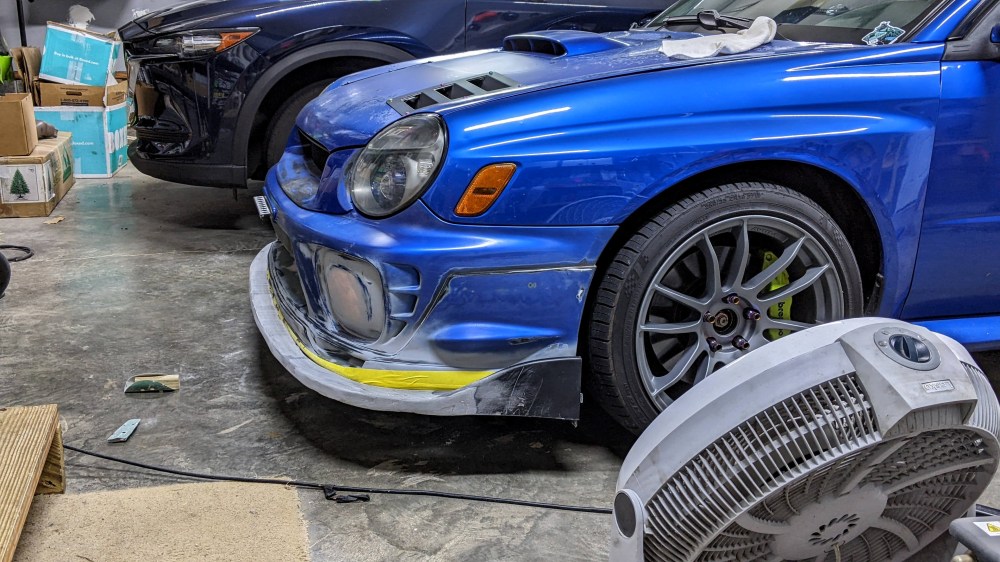
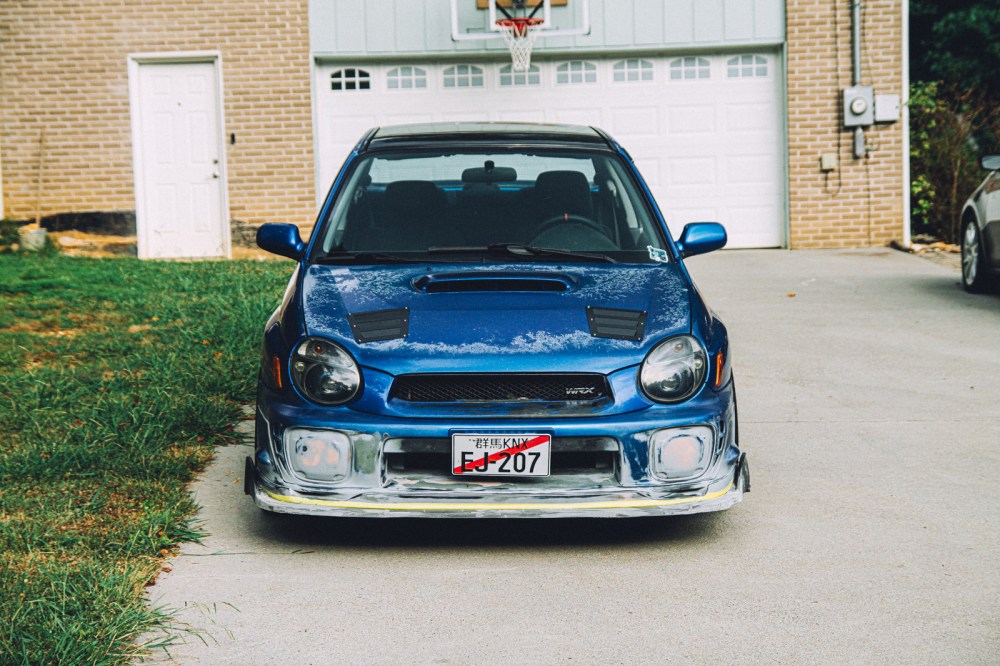
Before we got too far along in the process, I wanted to pull the car out of the garage to get a better look at the lip.

One thing I didn’t like was how the lip sagged down on the sides. I was so focused on keeping everything tight to the bumper that I didn’t notice the sag until after I took the photo. Unfortunately, I wouldn’t notice this until after I put many more hours of filler and sanding to the lip.

I took a break from this project for two months as I wasn’t sure how to fix this without grinding down all the filler and fiberglass and starting over.
In early July, I came up with a plan to fix this issue.
The first was to make relief cuts in the lip to fix the high and low sections. Once I got the angle I wanted, I held them together with self-tappers and some scrap abs. Then I could fiberglass them in the new position and pull the self-tappers out.

I also cut along the entire side of the lip to raise it up so it sits closer to the bumper. This was pretty nerve-wracking as I wasn’t sure if this would work.
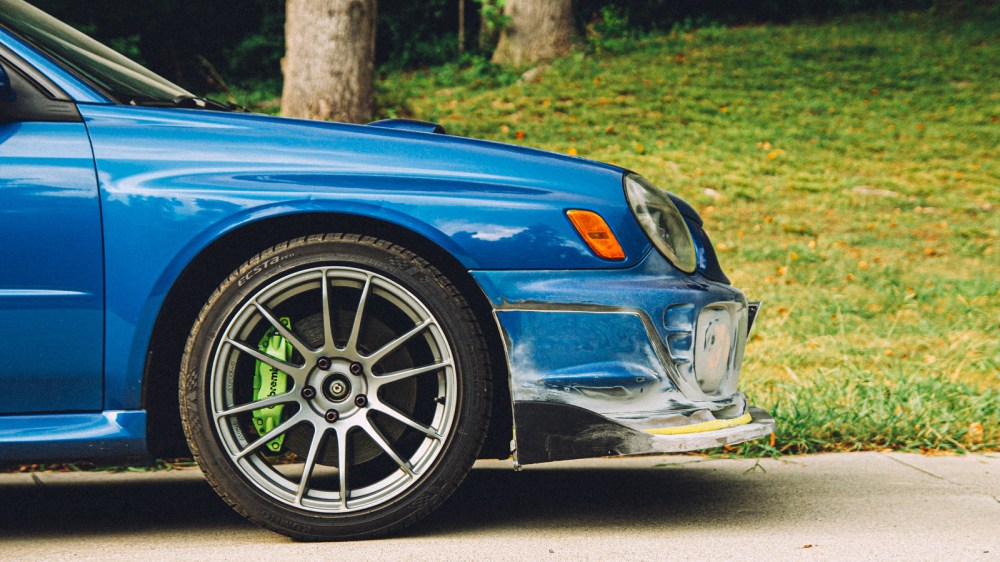
Here you can see how much I lifted the side of the lip.

And, of course, now we can get back to our favorite activity of filling and sanding.

After another test fit, I am much happier with this version. It sits a lot flatter and is more consistent than before. I will need far less filler to level things out.
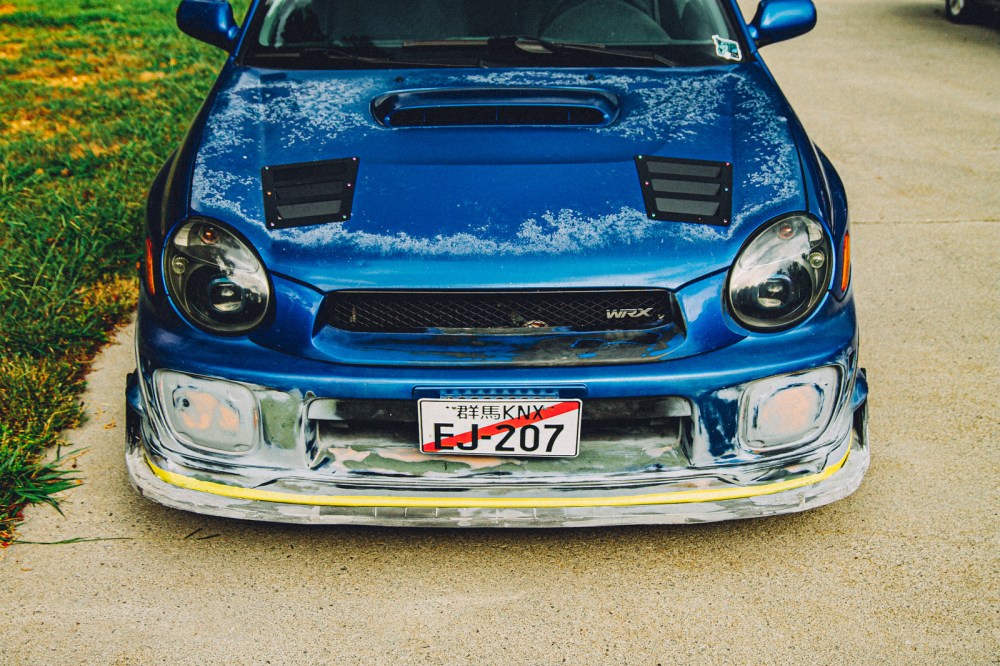
And after pulling the car out into the sun, I can confirm that this is a much better fitting lip than before.


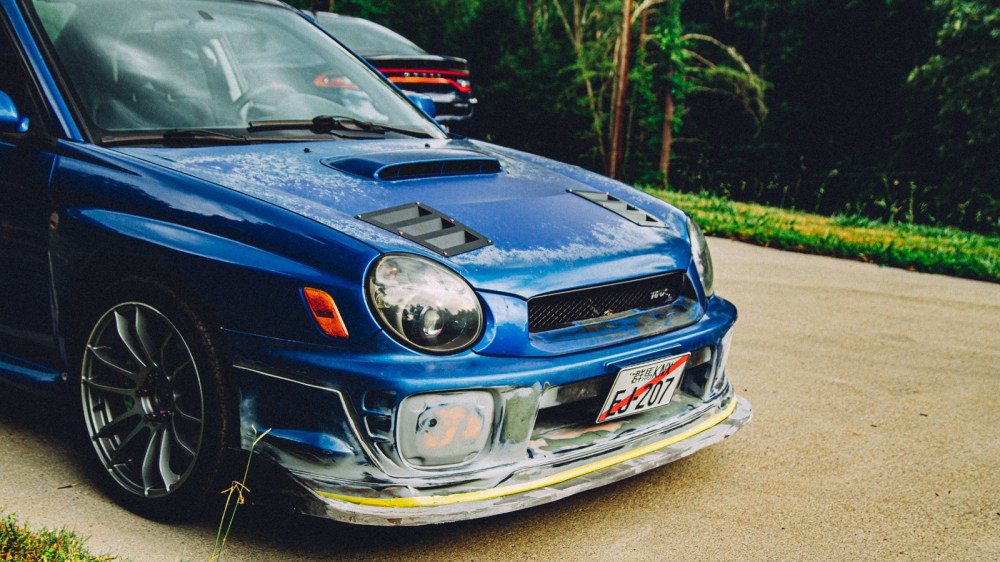


I think this is a good stopping point for the update as I ordered canards to compliment the lip. It still needs some work, but overall I like the direction this project is heading.
Cheers!

Leave a comment