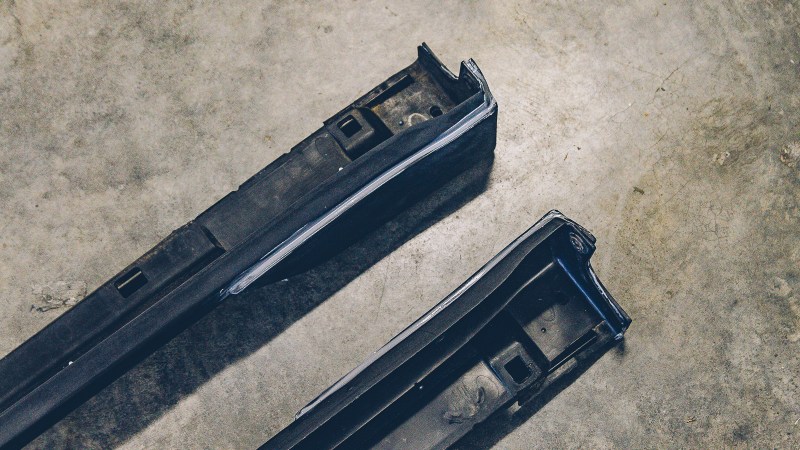
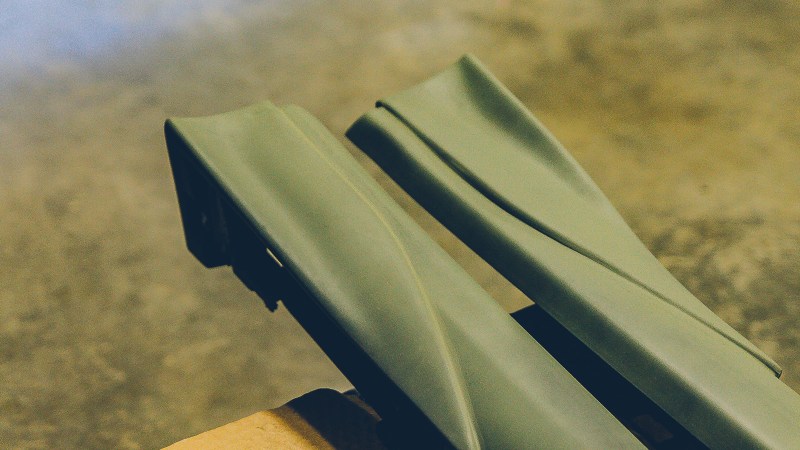
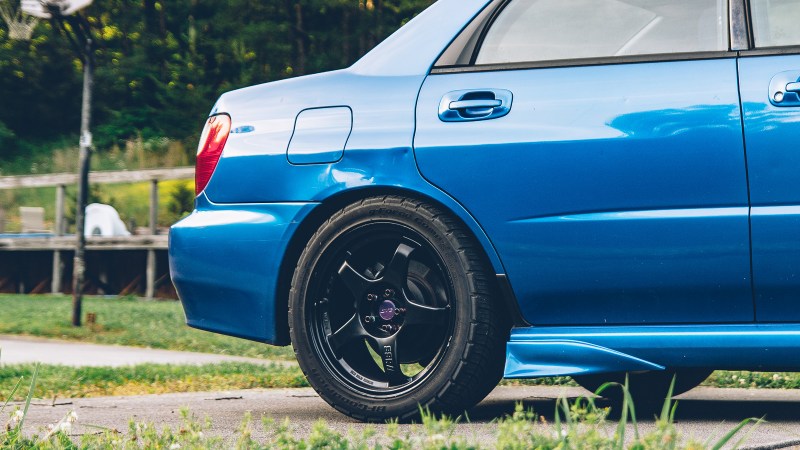
Picking up from Part 1, I decided to mold the side skirt spats into the side skirts. The primary reason was a cleaner install; I’m a bit paranoid about those self-tapping screws backing out and landing in my tire. But I also wanted to keep debris out of the spats and side skirts.

First step was to clean up the skirts and spats. I painted the side skirts with trim paint awhile back to keep them from discoloring so quickly. Which worked great. Unfortunately, it is really obnoxious to remove as it gums up the sandpaper really quickly.
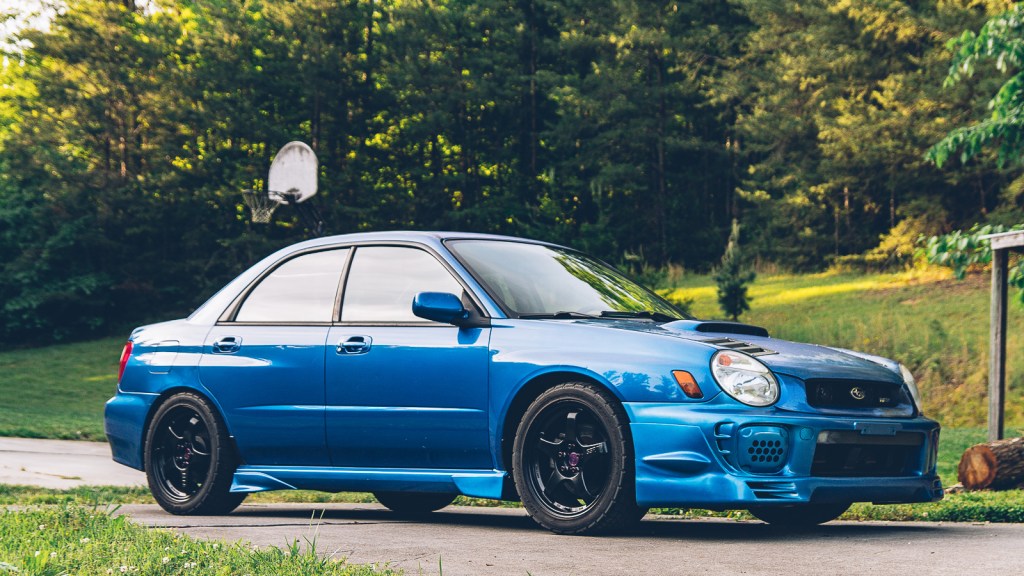
Install: 02-05 WRX Side Skirt Spats (Part 1)
 Install: 02-05 WRX Side Skirt Spats (Part 1) – I picked up these WRX sides skirt spats from Amazon, however, they are available on eBay as well [affiliate link]. My goal right now is to get as many of my cosmetic mods installed as I can during the winter; then paint them after the spring semester. The quality of these pieces is ok. There are […]
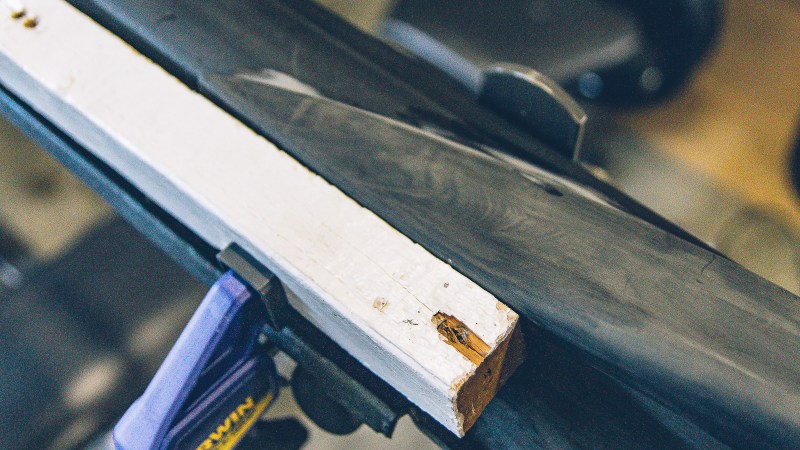
Since I wanted to bond the spats to the skirts, I needed to improve the fitment a bit more to improve the chances of success of the bonding process. This required heating the spats and clamping them in place to get them to hold the shape better.


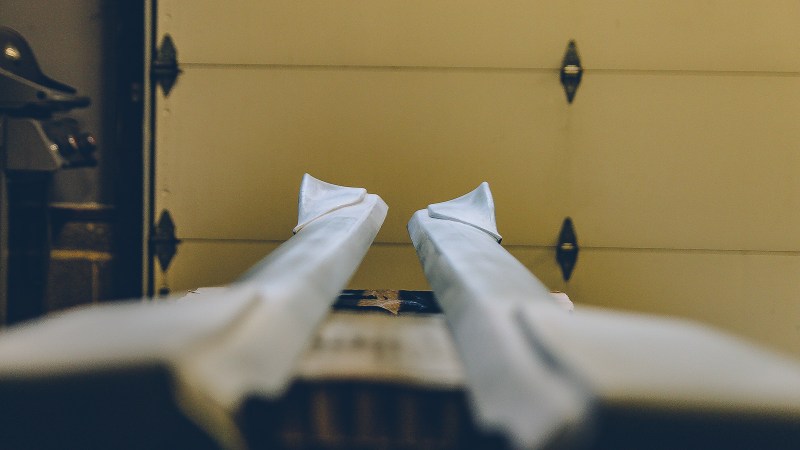
Once I was satisfied with the fitment, now it is time to prep the surfaces for bonding. I sanded and cleaned the contact surfaces several times before using the epoxy. In my experience, if a bond fails, it is usually because of a contaminated surface.
For the v2 lip, I used 3M plastic bumper repair from the local parts store to bond the two pieces together. It works great, but the largest packages are only 1oz (~30ml) and you have to mix them manually. So I ordered a 500ml package from eBay.

The 500ml uses an applicator gun (purchased separately) and mixing nozzles which is perfect for larger projects like bonding big pieces together. The nozzle is trashed after use so make sure you order another package of them as the 500ml only comes with two nozzles.

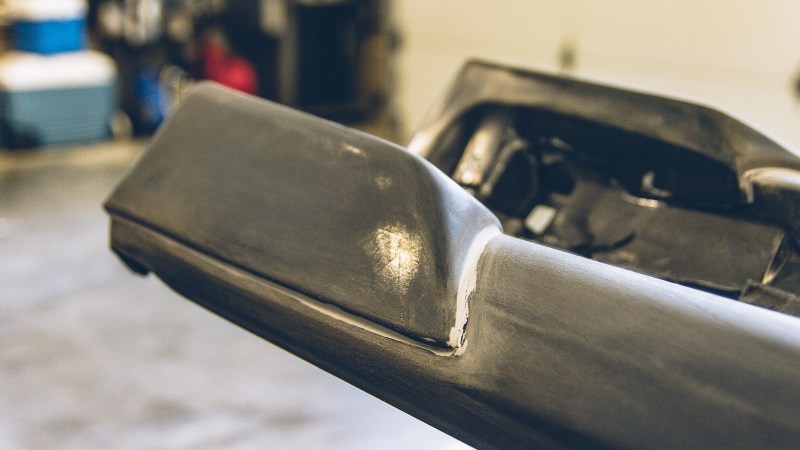
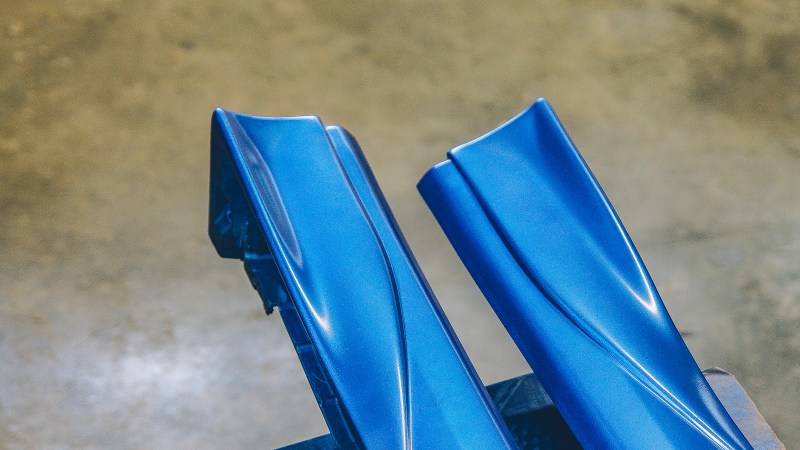
I used a generous amount of epoxy on the spats; I did not want these things to come flying off on the road. The material will run a little bit so keep that in mind.

While the working time is 5 minutes, it seems to be a little bit faster than that. So definitely work quickly.
You can then attach the spat(s) to the side skirt and clamp them down, then apply epoxy to any gaps.

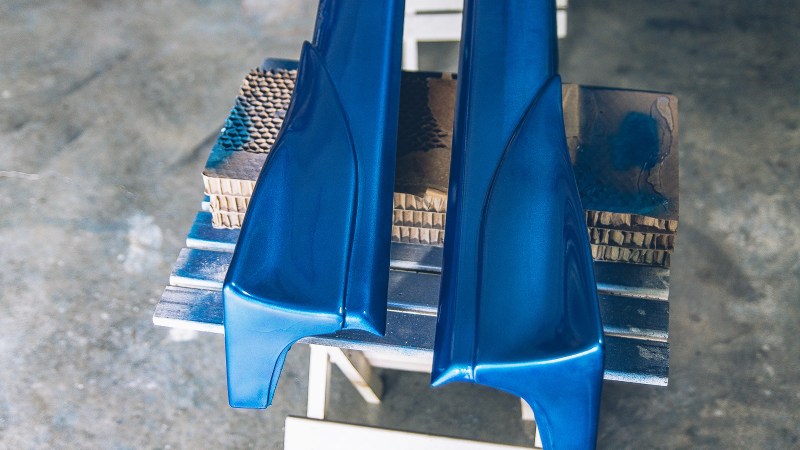
Depending on the temperature, this stuff can dry and be sanded in like 15 mins but I let them sit for an hour before handling just to be safe.

From this point, we just need to sand down all of the high spots; fill in any low spots we missed and repeat the process until the areas are flat.

I think I need to pick up a can of guide coat. At some point in the process it became very difficult to find the high spots; they only become apparent after laying a coat of paint.
With the bulk of the sanding done, it’s time for primer. I used self-etching primer.
Fixing any issues then putting down a coat of high fill primer.

Next up, we paint!
There were a few rough spots so I wet sanded a few areas to get a smoother finish. I didn’t originally plan on clear coating the side skirts, but I decided to see how it would work out for future projects.


I did get some runs in the clear coat; I don’t have a lot of experience spraying clear coat, it turns out it very hard to spray something you can’t see very well. I probably need better lighting but I will probably wet sand it down in a few weeks.

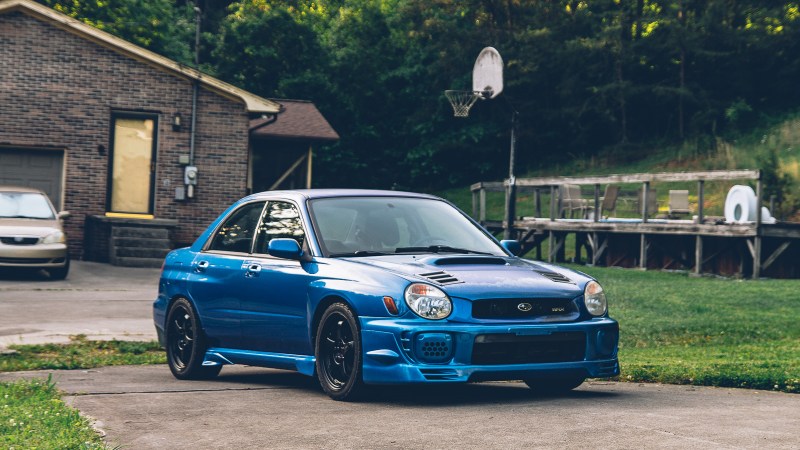
But from a distance, a very, very good distance, I think the side skirts came out pretty good.

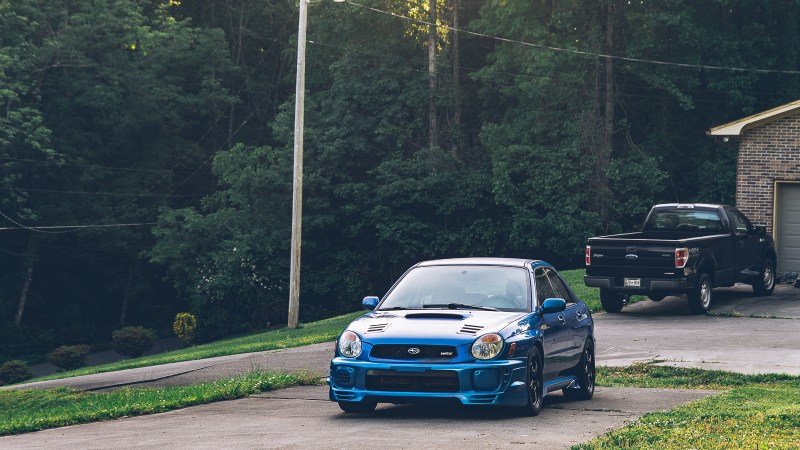
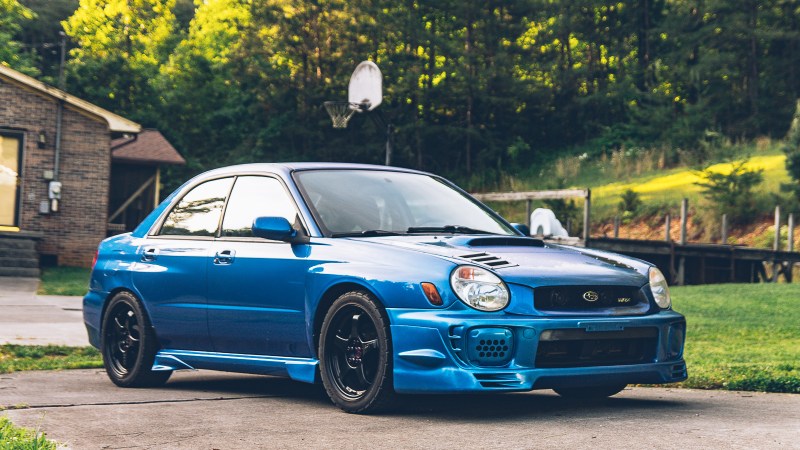
Gallery


Cheers!

Leave a comment