
Overview
I have been looking around for an Anti-Lift Kit (ALK) that uses pillow ball bushings over polyurethane. I’m not a huge fan of poly in control arm bushings even though it would probably fine. I just would like to keep any suspension bind to a minimum.
The only pillow ball setups I could find were Beatrush, Hardrace, and ESM Racing. There are a few brands in the UK and Australia but I don’t want to deal with international shipping right now.
Also, Perrin’s’ PSRS used to use spherical bearings but they have since switched to polyurethane. Perrin also has a great piece explaining anti-lift and also why it shouldn’t be called anti-lift but since that’s what everyone knows this part by that’s what we are going to call it in this post.
The Beatrush ALK is discontinued and it cost $700. While there are a couple places with new old stock but I would rather spend that $700 on… literally anything else.
That being said, here is a good review of the Beatrush ALK on Nasioc; just ignore the ensuing meltdown over using pillowballs on the street.

The Hardrace pillowball bushings are reasonably priced, however, they are out of stock in the US. I am a little afraid I may of just missed the last shipment of these bushings, hopefully the Hardrace US distributor gets a new shipment relatively soon.

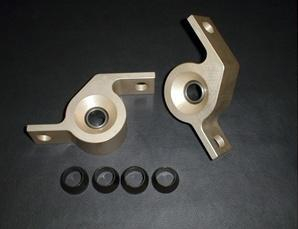
ESM Racing sells the spherical bushing without the aluminum housing. So I would need to get the bushings pressed in, which isn’t a huge problem. My main concern is the lack of a protective boot. I’m guessing I could probably figure something out, but at over $300 (granted it is for a full set), I’d rather try and track down a set of the Hardrace bushings.
In the meantime, I decided to test out this anti-lift business myself by making my own ALK setup.
Don’t Call it an Anti-Lift, Anti-Lift
This mod is free if you have a set of old and busted WRX bushings laying around, however, you should be able to pick up a set for cheap. I don’t know if this will clear the u-brace as my u-brace is long gone. In general, if the ALK bushing isn’t an offset style bushing (see SuperPro) then it won’t clear the u-brace without spacers.

The only thing we want are the mounting points; we are going to use those as our spacers to push the mounting point down, thus generating anti-lift characteristics.
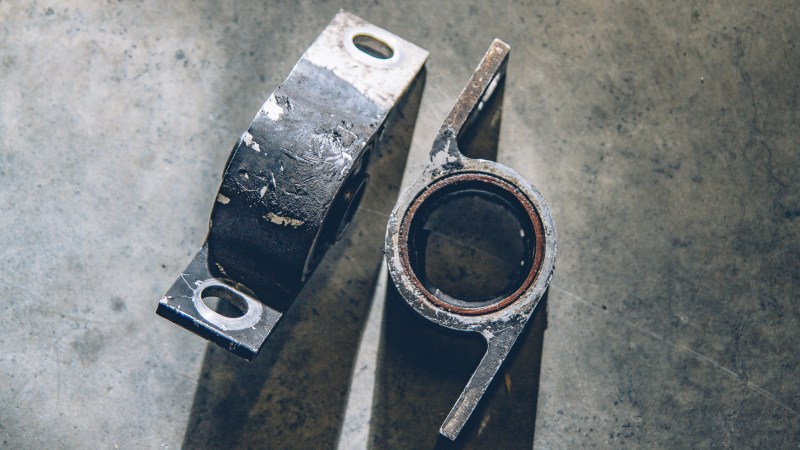
First up, grab your favorite cutting tool, I would recommend a bandsaw of some kind, but a grinder with a cutoff disc works too. That’s what we will be using.


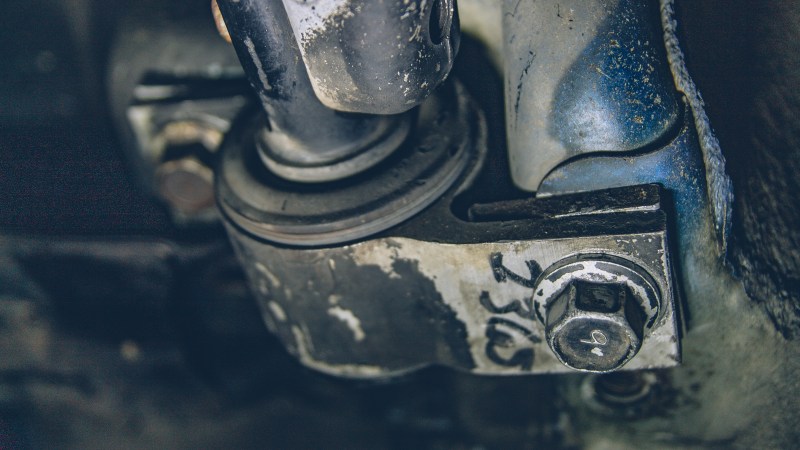
With our mounting tabs free, it time to place them onto the car.
It seems like it’s easier to install the rear bushing by loosely threading the inner bolt first before doing the outside bolt. For whatever reason, if you go in the opposite direction, the inside bolt needs a lot of coercion to line up.

Also, if you haven’t done so, now would be a good time to flip your control arm pins for more caster.
 Install: Flipped Control Arm Pin (Free Caster Mod) – I initially heard about this mod on Nasioc but I can’t seem to find the thread. After removing the Whiteline top hats I needed more positive caster in my life. Turn in, even in daily driving mode, is annoyingly worse than before. So with new wheels almost ready to install (along with the holiday break), […]
Now, we just need to repeat the process on the other side.


I cut one of the mounting tabs a little too long so I had to trim it down to get it to sit flush.


From here you can torque all the hardware down to gutentight specs and go for a test drive.
It’s definitely a good idea to get your car realigned as well. I have a few more mods planned so I am going to hold off for a while. My tires are beyond saving at this point anyway.

Review
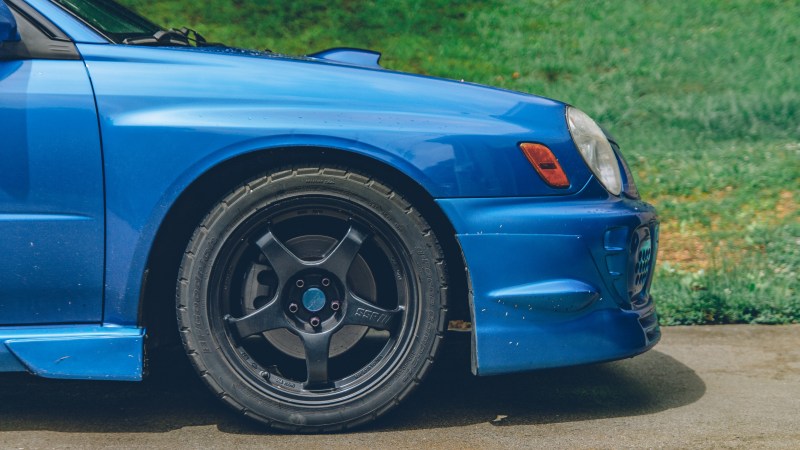
I went for a drive and to be honest, I didn’t notice that much of a difference at first. Maybe it’s because of the rain or maybe my toe needs to be adjusted (I’m pretty sure I need to remove some negative camber). Or maybe my expectations were a little too high.
From the outside, it doesn’t appear that I gained a lot of caster. It looks about the same as before. Which probably makes sense as most ALKs advertise around 0.5 degrees of caster.
Since I have inner fender liner rubbing issues I decided to check and see if my clearance was significantly worse.

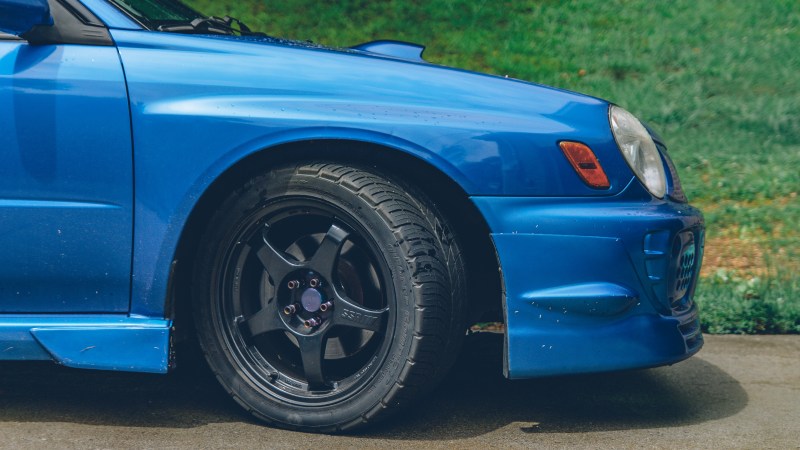
It wasn’t.
After a couple more days of driving in dry conditions, I can definitely tell a difference. The steering is heavier (a hallmark of more positive caster) and turn-in seems more aggressive at speed.
Grip might be better, but it’s been a while since I’ve driven this car on any good roads. I’ll have to take it to the Dragon and the Skyway to get a final assessment of this mod. The WRX does seem like it pulls better though the turns on throttle.
But so far I am pretty happy with the outcome.
The next post will either be an update on the telescoping steering column retrofit or an install of a roll center kit.
Cheers!

Leave a comment